Data Terminal |
Environment Server |
Dust Automation |
Dust Bin Detector |
|
Arduino Info
| |||
|
Data Terminal |
Environment Server |
Dust Automation |
Dust Bin Detector |
|
Arduino Info
| |||
A few of years ago I bought an obstacle avoidance car for my grandkids. Shortly after that I bought a Zumo maze solver for the Gkids, both devices had Arduino Uno controllers. After playing around with the programming for these I started thinking of keen things I could do with Arduino. I have a couple of Unos but Nanos usually end up in the final system. I soon discovered the Nano breakout board which I have used a number of times in testing as well as finished systems.
One of the neat things about using Arduinos and it's IDE, is the serial communications. I communicate between arduinos using RS232, which I can also drive from the IDE, allowing me to test each subsystem with the IDE. The only time this this didn't work was using the V8 board, which talks RS232 to/from the Dust Auto system, to also talk to the Env server. I had to kluge up a device to relay between the IDE and the V8 board, which was simple with another Nano and a breakout board. So far I have used 9600 Baud for all these, its plenty fast for all these projects, and with the electrically noisy environment in the shop, its more stable than trying to use a higher Baud rate, which I don't think is necessary. Even when you look at our "Home Weather" page, which accesses the shop temp via our network and RS232 to the Env server, you certainly don't see any delay in the web response.
|
|
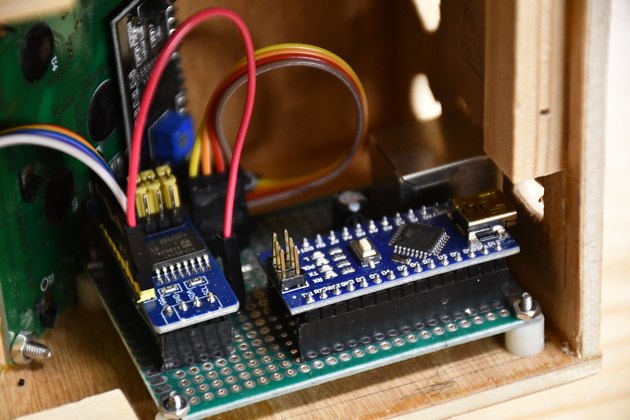
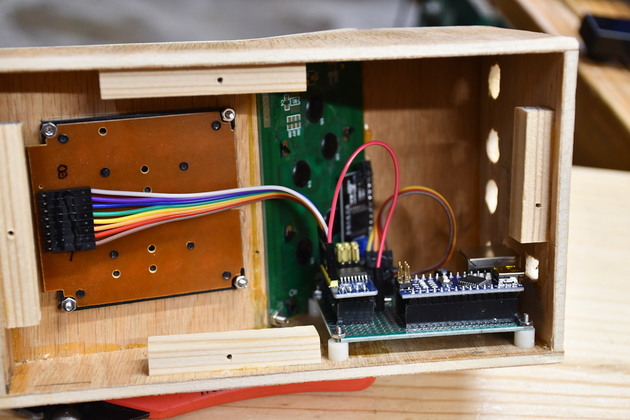
This is the circuit board inside my data terminal. You can see the LCD on the left, the keypad isn't visible here. You can see the parallel interface (PFC8574) on the left side of the PCB with the cable going to the left to the keypad. It doesn't look like it but the keypad cable is an 8 wire cable. |
|
A little bit better look at all the stuff inside the data terminal, and you can see the 8 wire flat cable to the keypad better. |
|
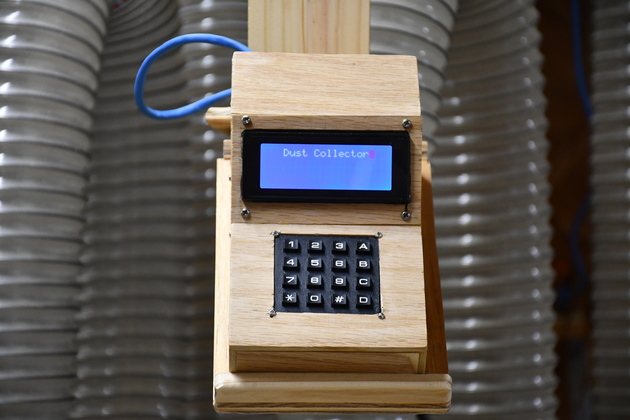
Here it is, at work, on it's swivel mount, in the shop. |
|
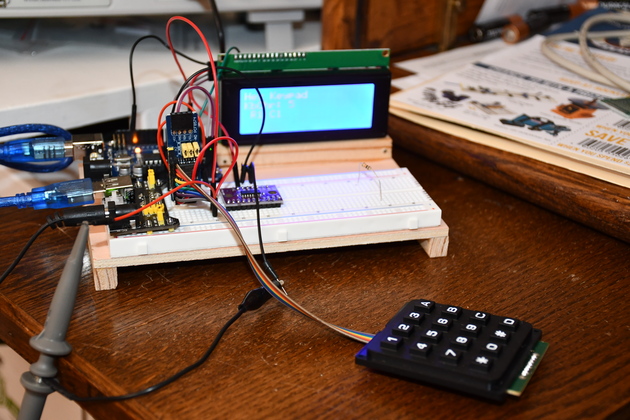
This is the data termial prototype using an Uno (see below). |
|
|
This is the circuit board for my Dust Collection Automation system.
|
|
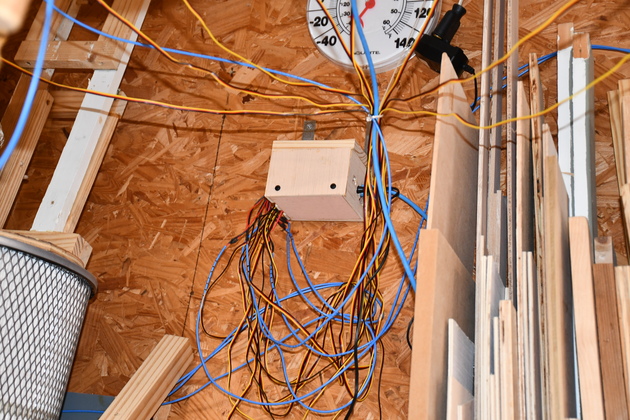
Here it is mounted on the shop's west wall with all the Servo and Isensor leads attached.. |
|
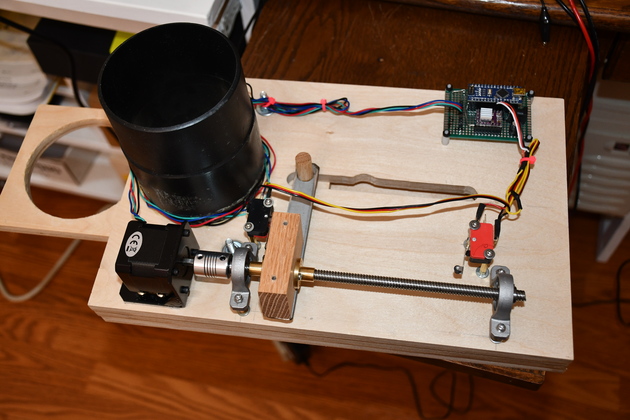
This is Valve #8, a 4" dust valve, note the Nano on the pcb, top right. Its also a good look at the NEMA-17 and lead screw that open and close the valve. |
|
|
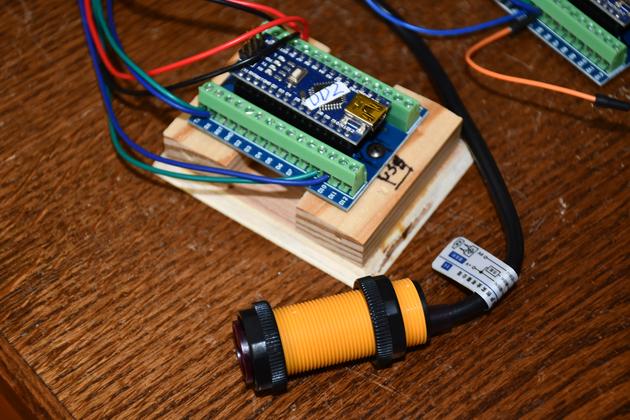
This is a test setup for the Dust Detector, note the Nano's breakout board is attached to the base of one of my Nano Mounts. |
|
|
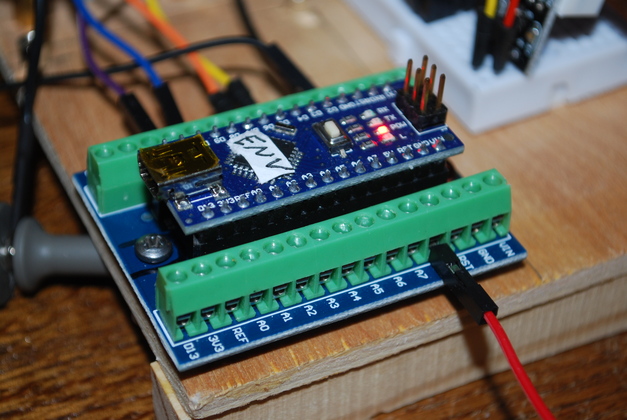
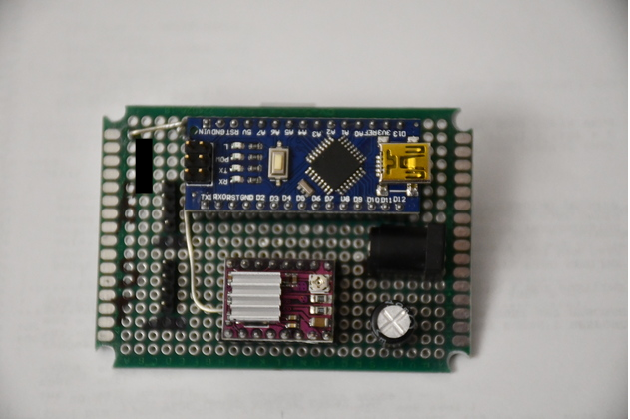
This is the Nano for my shop Environment Server on it's Nano Breakout board. This guy will also be on a Nano Mount. |
|
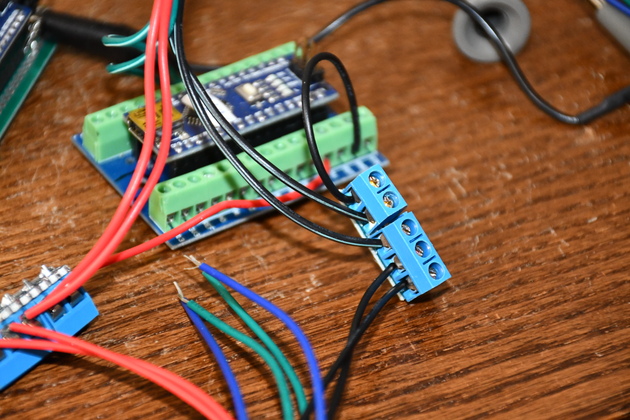
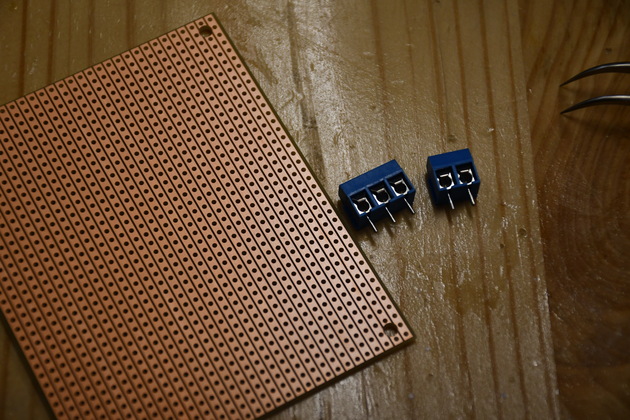
The Env server needed to supply power to itself and both temperature/humidity sensors and it is hard to get more than two wires in the screw terminals on the Nano Breakout. So I came up with these power distribution device, its a small pcb with larger screw terminals soldered to it.. |

|
The Env server (Nano on breakout) and Rpi-3 in a test lash-up. Note the flat cable splice on the right, I put heat shrink on each wire then solder each pair of wires together and heat the shrink to seal them. |
|
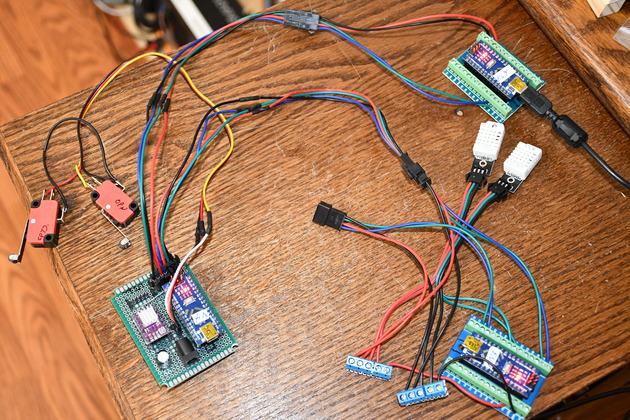
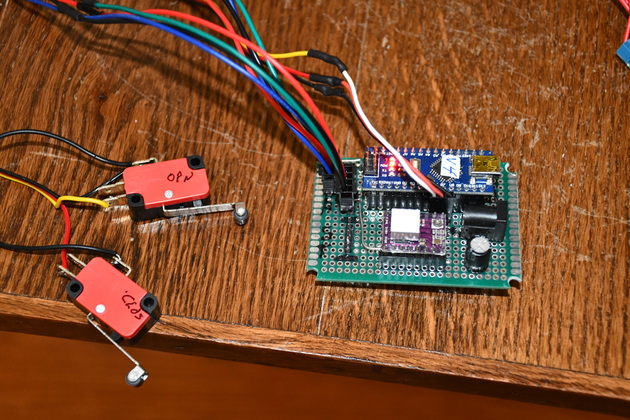
Testing V8 relay to the Env server, note the Nano on a breakout, upper right. The valve 8 pcb is at the left, you can see the two limit switches for testing. Also you can see more of the cable splices with heat shrink. |
|
An even better look at heat shink on joints on the V8 board in a test mock-up. |
|
The screw terminals and PCB. I cut off a small section of the pcb. |
|
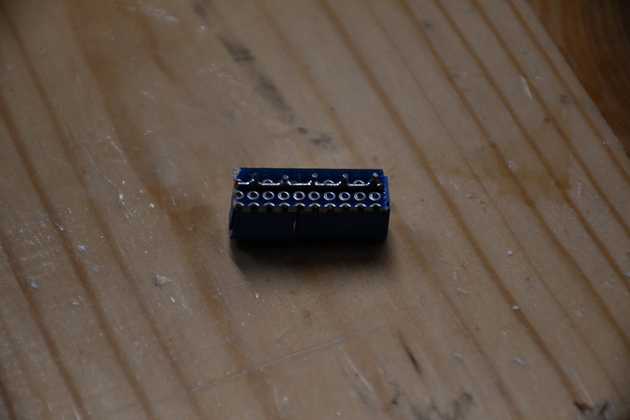
Here is one of the power distribution devices upside down, you can see the buss wire I soldered across all the terminals. |
|
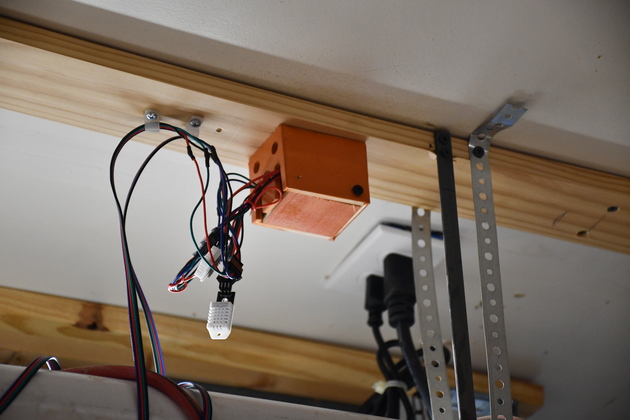
Here is the Env server mounted on the shop ceiling in it's mount box. |
|
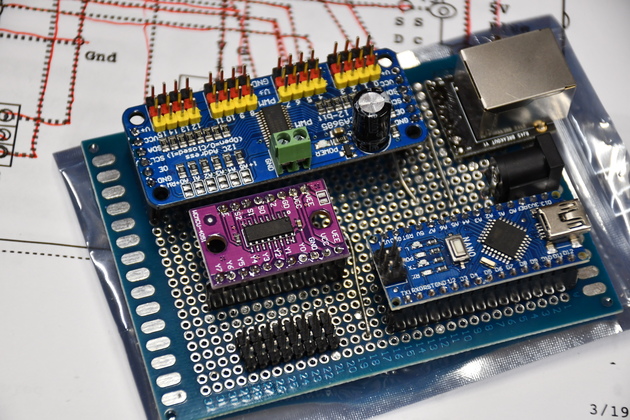
Here is the circuit board for the 4" slider valve. Note the stepper motor driver (DRV8825), with the heat sink, (purple board) lower part of pcb. |
|
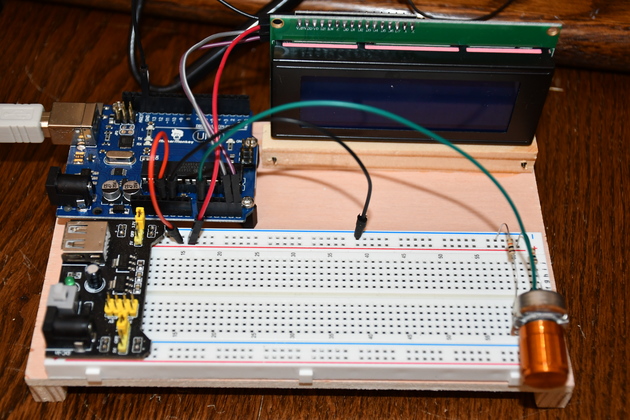
Uno prototype board. You'll notice I have the Uno with the replaceable processor chip. Being a prototype, it'll be reloaded many times, so I figured I might wear out the flash memory. |

|
|