I like to prototype Arduino projects so I kluged together a little breadboard space.
I don't like the processon (Uno/Nano) to be moving around while I'm working so I attached an Uno and a MB-102 breadboard to a small piece of thin plywood, mounted on two 1/2" X 1/2" wood strips.
I also attached a 20 X 4 LCD display, again with a 1/2 X 1/2" wood strip, I don't like the display flopping around either.
I placed an MB-102 Power Supply Module on the end of the breadboard.
It's keen, you supply it with 6.5-12V DC in, and it regulates it to either 5V or 3.3V jumper selected for either of the outside rails on the MB-102.
There is an on/off pushbutton, a power LED, and extra male gnd and +5 or +3.3v pins.
The USB A connector supplies 5V to run an Arduino with one of the short A-B jumpers.
BTW, on the sketch, I took an example that supposedly did what I needed but I couldn't find the <LCD.h> library so I used the simpler <LiquidCrystal_I2C.h>.
/*H******************************************************************
*
**********************************************************************/
#include <Wire.h>
#include <LiquidCrystal_I2C.h>

/************************** DEFINES ************************************/
#define I2C_ADDR    0x27                              // I2C Add FOR PCF8574A


/************************** VARIABLES ************************************/
LiquidCrystal_I2C Lcd( 0x27, 20, 4);

/************************** PROTOTYPES ************************************/

/*F******************************************************************
*
**********************************************************************/
void
setup()
{
	Lcd.init();
	Lcd.backlight();            // BACKLIGHT ON
	Lcd.setCursor( 0, 0);                    // GO HOME COL, ROW
	Lcd.print( "Pot Voltage:" );
}
/*F******************************************************************
*
**********************************************************************/
void
loop()
{
	int    snsrVal;
	float  volts;

	snsrVal = analogRead( A0 );                          // READ SENSOR VALUE
	volts = snsrVal * (5.0 / 1023.0);     // SCALE SENSOR VOLTAGE (5.0/11015.0)
	Lcd.setCursor( 0, 1 );                                 // DISPLAY VOLTAGE
	Lcd.print( volts );
	delay( 500 );
}
|
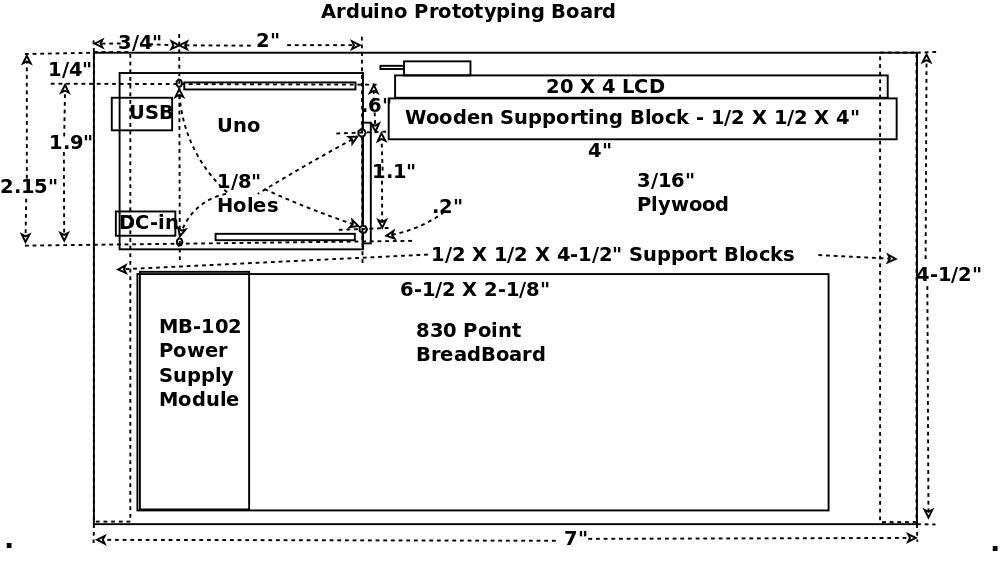
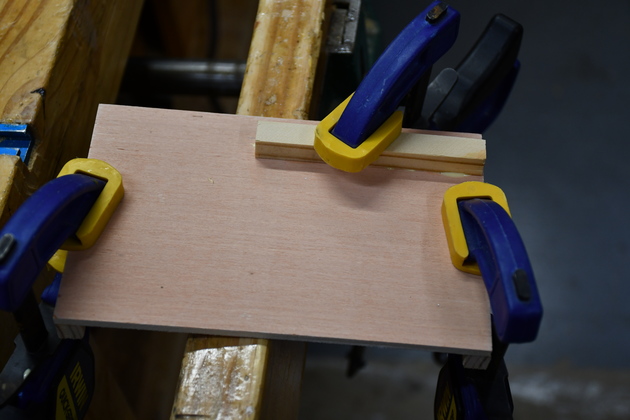
Gluing the LCD mount to the 3/16" ply base.
|
|
The two support strips are already glued.
|
|
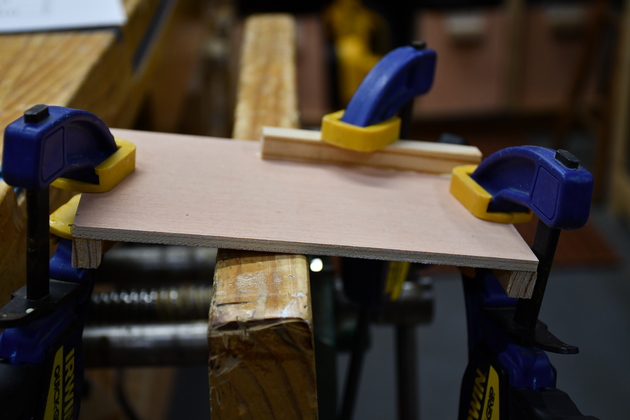
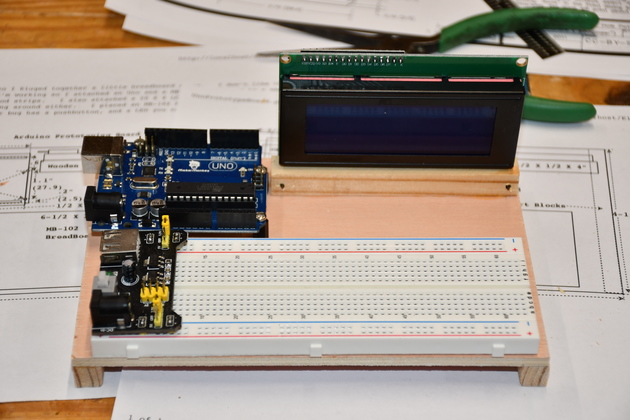
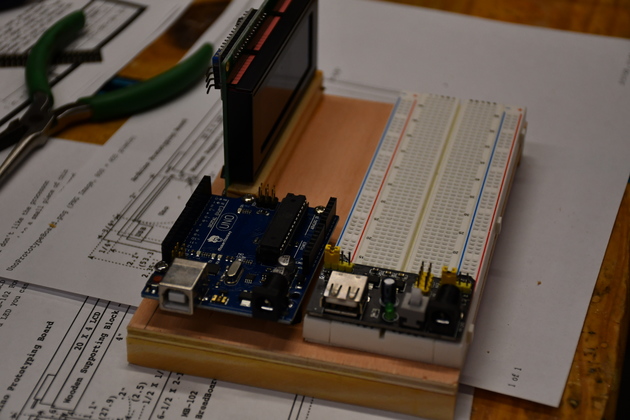
Everything mounted.
|
|
All the DC comes in on this end.
|
|
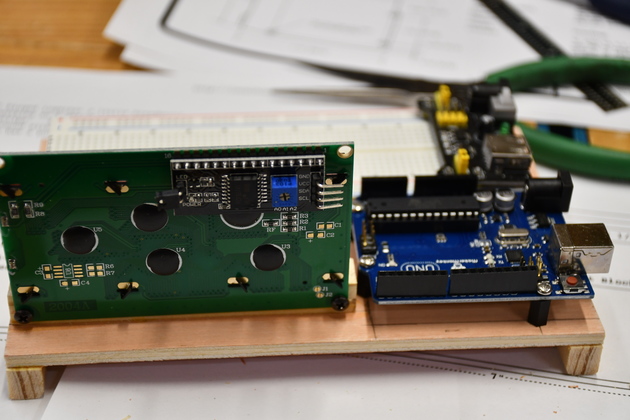
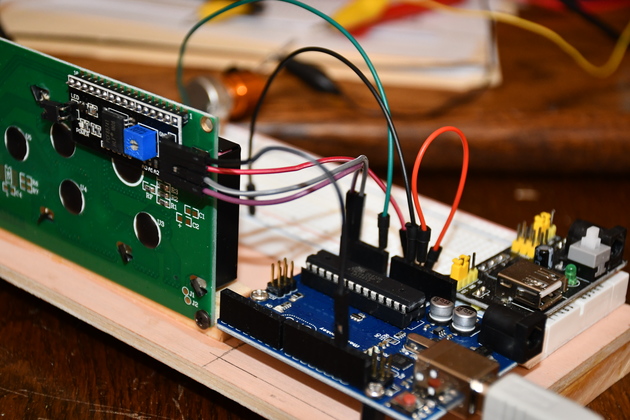
Back side, you can see the i2c and power pins on the back of the LCD.
|
|
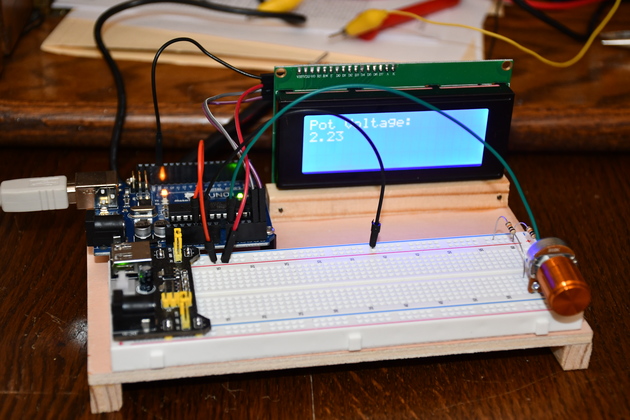
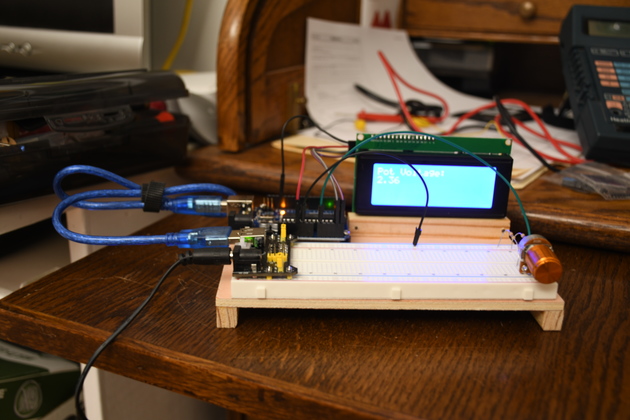
Voltage reading program running.
You can see the pot on the right plugged unto the breadboard.
|
|
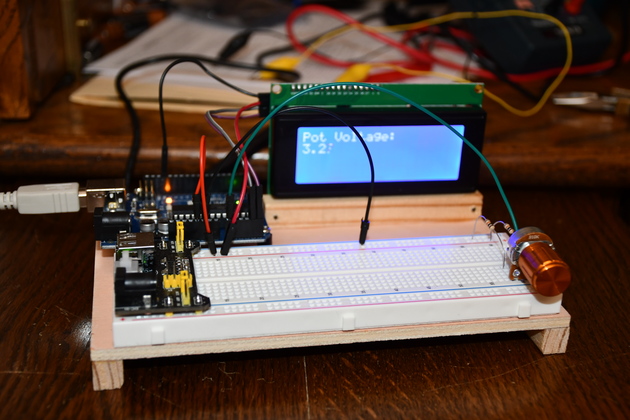
With a different voltage on the LCD.
|

|
A little closer look at the display voltage project.
|
|
You can see how short and neat the connections to the LCD are.
|
|
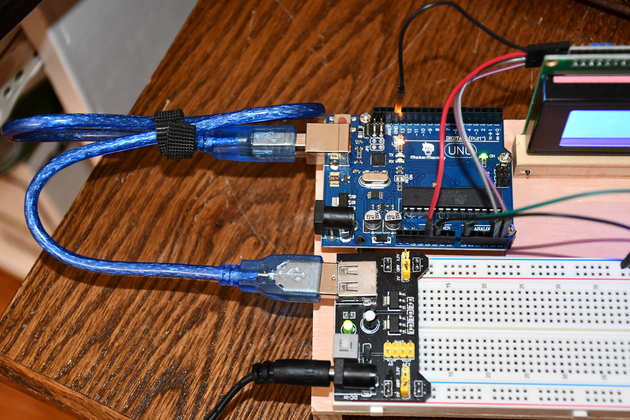
Prototype board powered from 9V power supply and usin USB A-B for the Uno.
|
|
Closer look at the short USB A-B powering the Uno from the MB-102 power module.
|

