
Original | 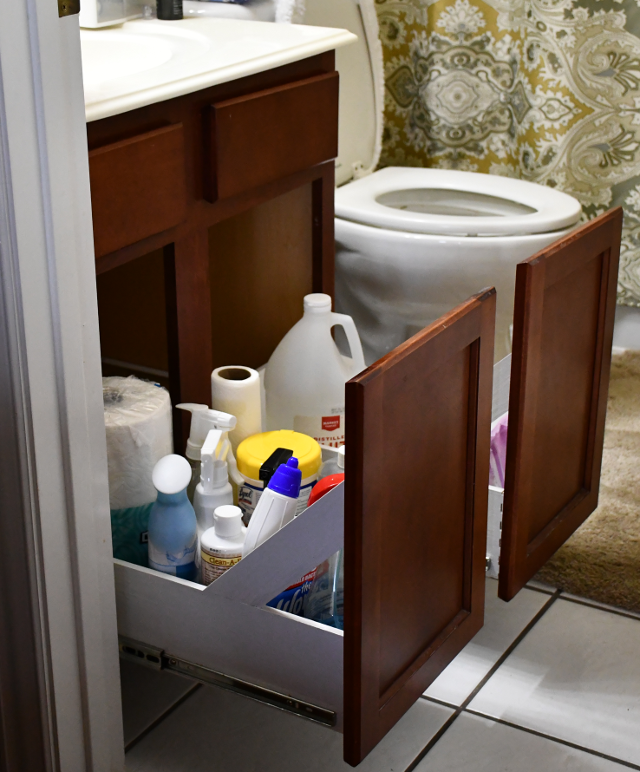
| ||
|
Susan's Vanity Sliders
| |||
|
Original |
| ||
|
Susan's Vanity Sliders
| |||
| Back to Susan's page | Construction Info | Drawer Pulls | Old Pics |
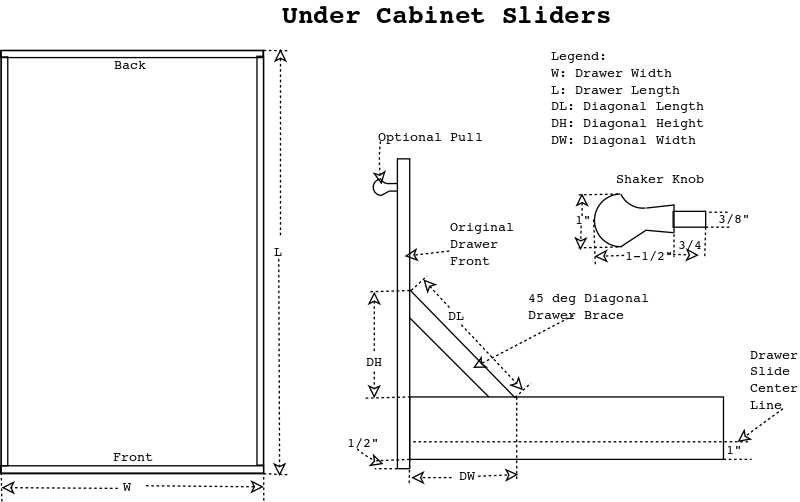
This is a similar situation to the vanity in our front bath, it needed more convenient storage so I'm going to make some sliders for it. I'll build drawers, and install guides at the bottom of the vanity area. Then remove the vanity doors and glue them to the new drawers with diagonal braces. In the process I usually reinforce the inset panel in the door to make it flush with the back side of the door frame and give a place to install a pull, if required.
Dimensions:
| Door Opening = 17" | Door Height = 18 | Cabinet Depth = 21" | |
| Width = 11 | Length = 20" | Diagonal Len = 11" | Diagonal Height = 7-3/4" |
|
Edge of a 2x8, cut to length, and marked for resawing into two 11/16" pieces for the slide mounts.
For more on this please see my lumber preperation page.
|
|
Edges of 2x8s, cut to length, and marked for resawing into drawer sides/backs. For more on how I resaw (2x into 1x or 3/8) please see my 2 -> 1 page. |
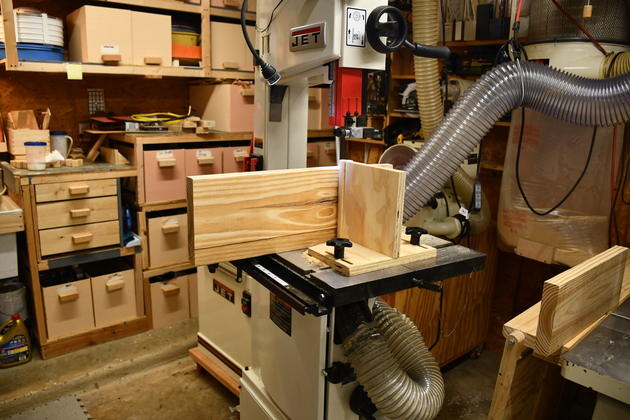
|
Resawing drawer sides. |
|
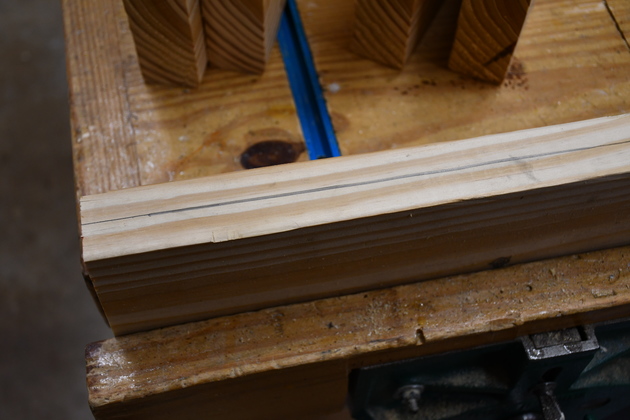
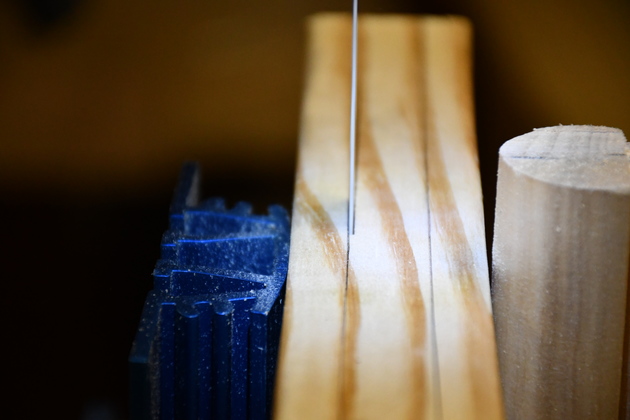
Closer look at the resawing process, note the blade's edge is right on the mark leaving exactly the right amount of wood, on the left, for a drawer side/back. I mark these with 3/8" for the side/back plus 1/167quot; for the planer to smooth the bandsaw marks away. |
|
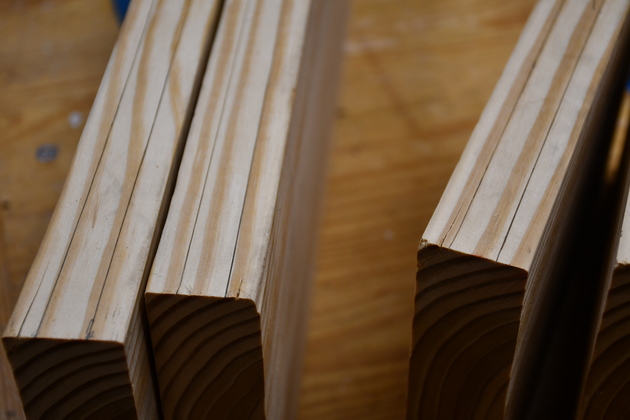
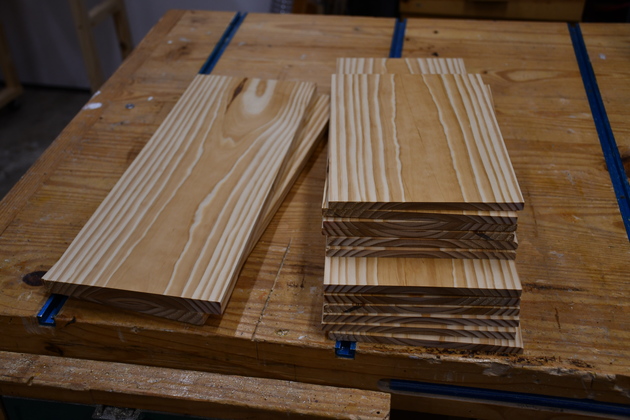
Drawer sides/backs after resawing and planing, ready to rabbet and dovetail. |
|
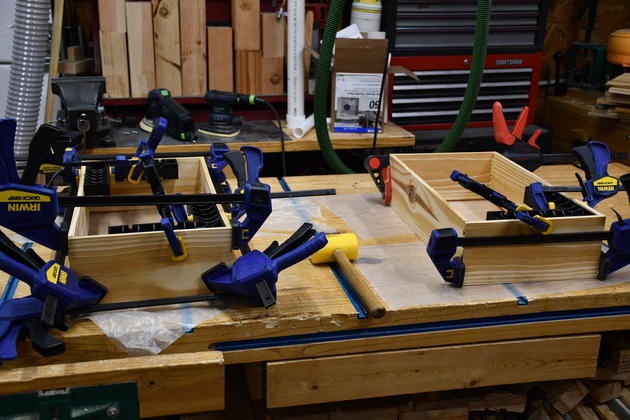
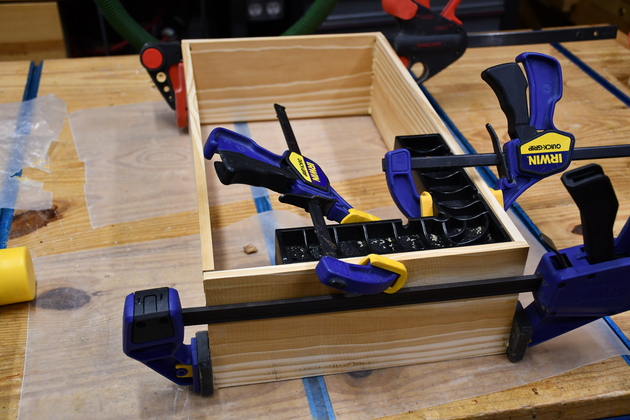
After dovetailing the two drawers are in the glue. Take a look at more on drawer making. |
|
Closer look at drawer gluing, note the ClampIt keeping the drawer frame square.
|
|
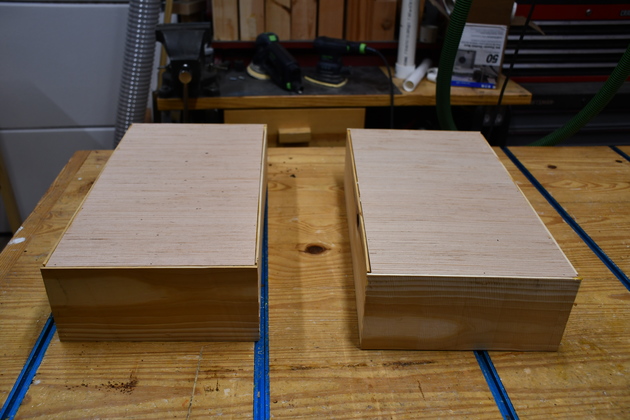
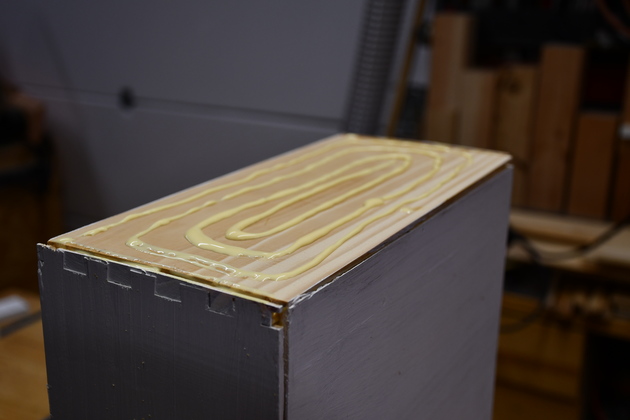
Drawer bottoms being glued in. |
|
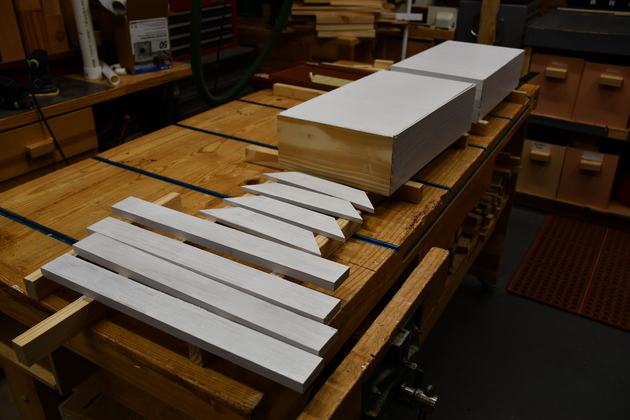
Painting: slide mounts, diagonals and drawers. You'll note the front of the drawers aren't painted, they'll be glued to the existing door (slider front). Also you can just barely see the doors at the far back corner of the workbench. |
|
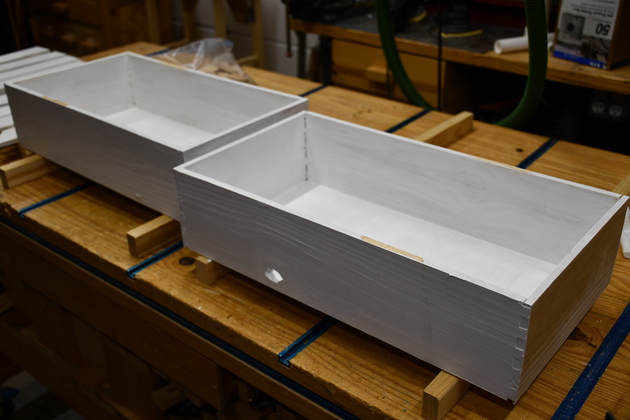
Drawers painted. |
|
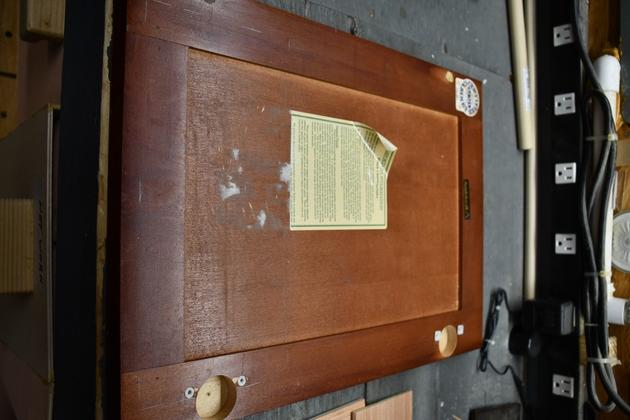
Back of a original cabinet door from Susan's vanity after removing the hinges. Note the inset panel (quite thin) is recessed on the back by 3/16". I need to glue a drawer to the lower 5-1/2" inches of this so I need it to be flat. |
|
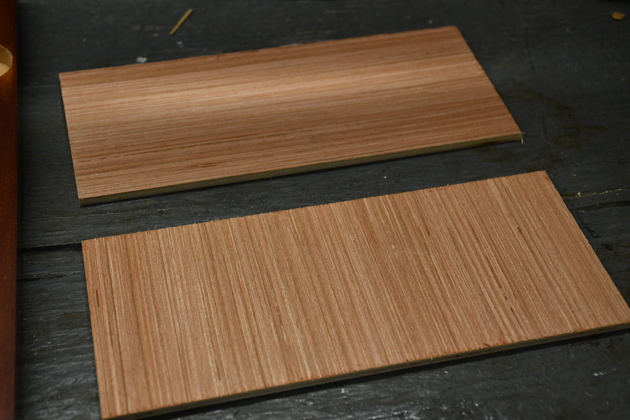
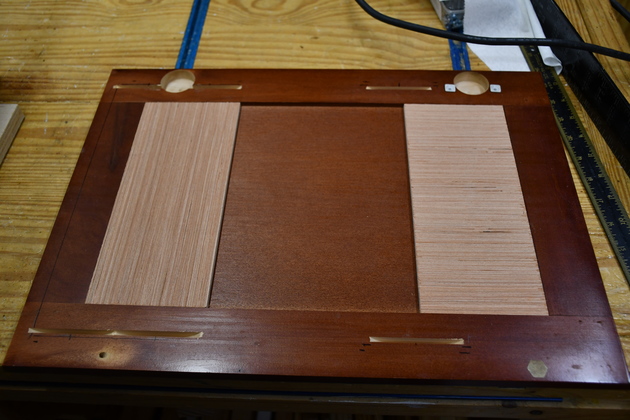
I cut out 4 pieces of 3/16" plywood, one pair for each door. |
|
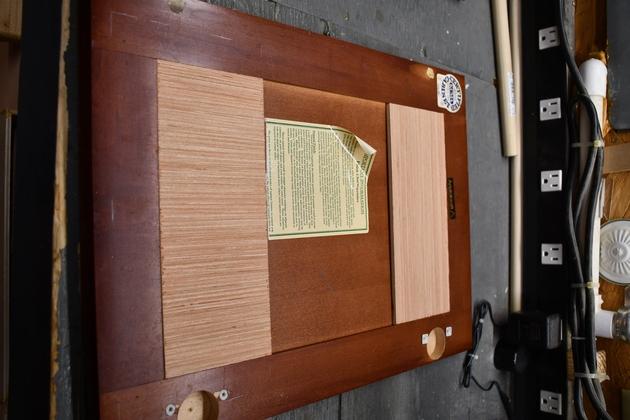
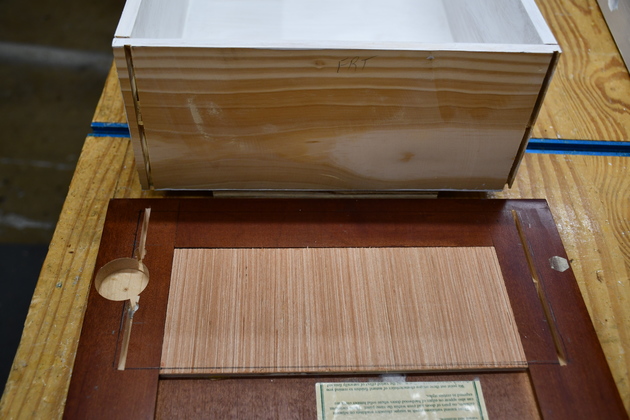
Test fit of the cut out panels. BTW, I removed part of the label that was under this plywood piece. |
|
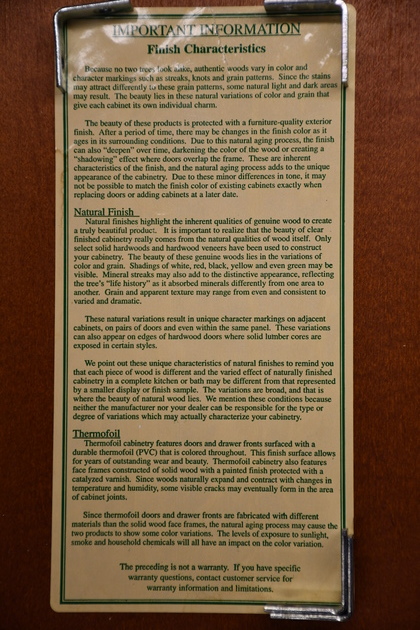
Here is the label if anyone ever needs to know who made this door/cabinet. You can click on this and see it in hi-def if you have something like "Eye of MATE" where you can zoom in. |
|
Put glue on the back. |
|
And glued the panels to the doors. Now the door backs will be flat. The upper panel will add strength to the door if I need to use a pull or handle. |
|
Back of door, you can see the double biscuit slots on the left for the slider box, and the two higher biscuit slots on the right for the diagonal supports. |
|
You can see the biscuit slots cut into the front of the drawer edges and the matching slots in the door back. |
|
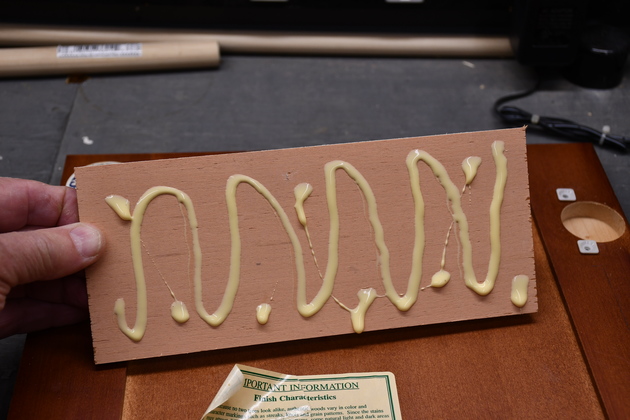
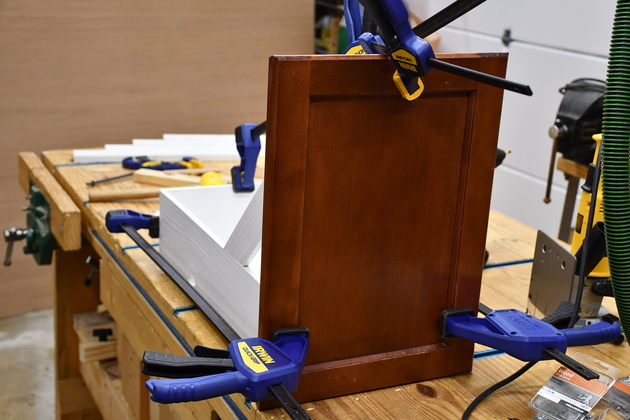
Glue on the drawer front for gluing to door. |
|
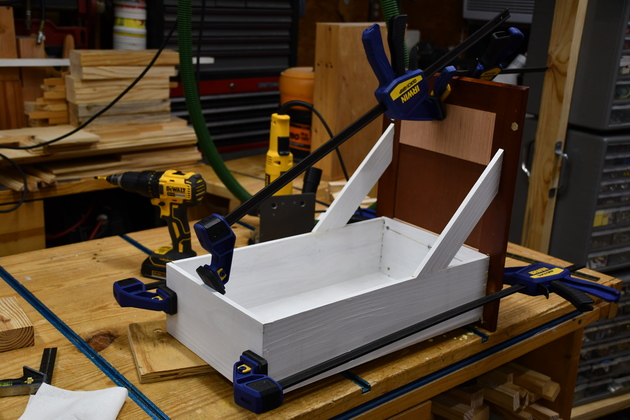
Door being glued to front of slider box. |
|
Door glue on from the front. |

|
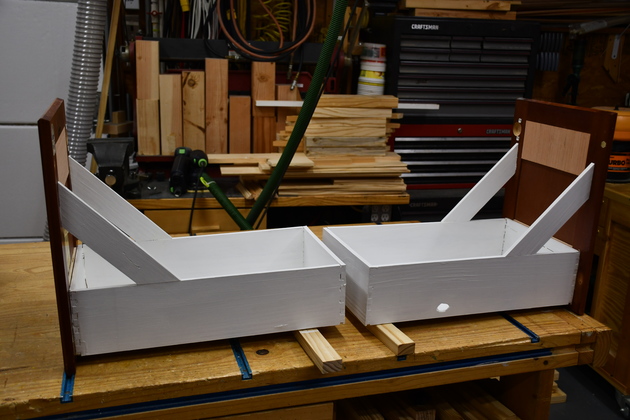
Both sliders glued. I'm not sure we'll need pulls until I get Susan's report on ease of use, but the doors are reinforced for the pulls if needed. |
|
After final coat of paint. You'll note one knot fell out. |
|
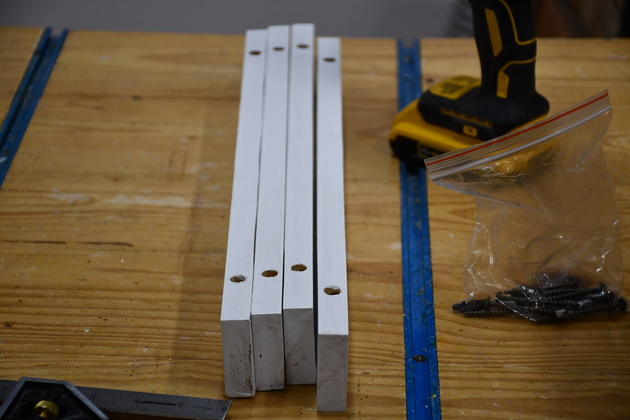
These are the slide brackets with holes drilled and counterbored for mounting screws.
Im trying something differtent on these sliders, instead of metal angle brackets counter sunk into the wooden bracket, I'm putting 2" long pocket hole screws through the wooden bracket which is also 2" hi.
The counterbore is 3/8" wide and 5/8" deep, the bracket is 2" wide and screws are 2" long.
So I should get 5/8" of screw protruding from the bottom into the cabinet bottom.
The sack contains 2" pocket hole screws to mount brackets.
|
|
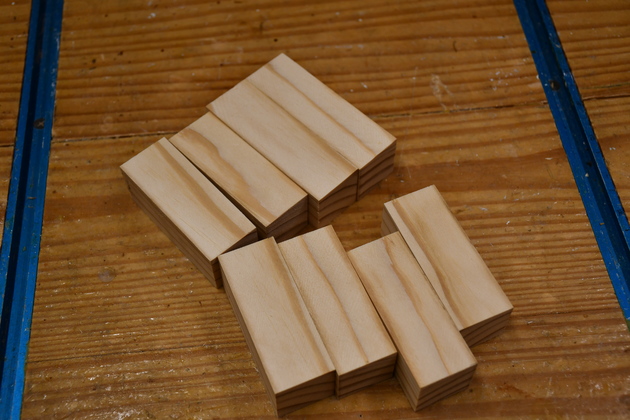
I cut out these 1" X 1" by 3" SYP blanks to experiment with. I like to make handles/pulls from the same wood the drawers are made from so stain will look consistent. |
|
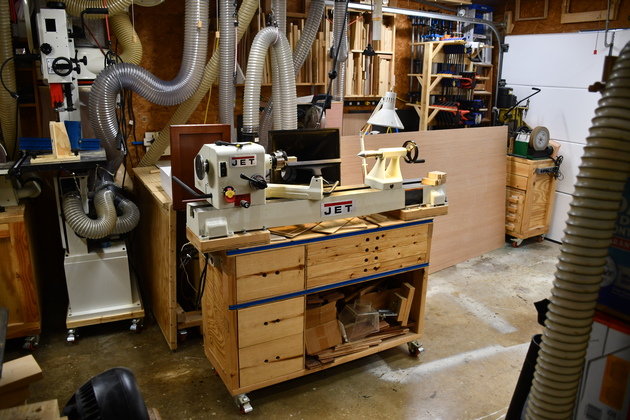
And pulled out the lathe. |
|
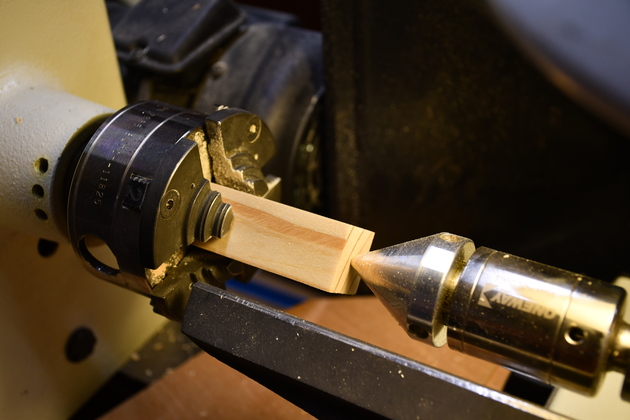
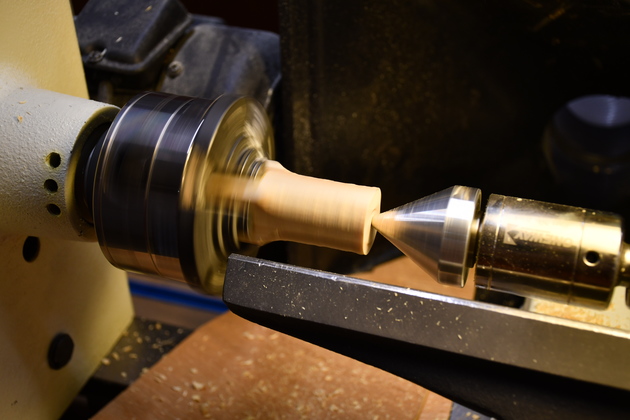
One of the blanks, chucked up. |
|
Starting to round it out with a roughing gouge. |

|
Still a flat side, needs more roughing gouge. |

|
Took off a little more. |
|
Now its round. Time for a spindle gouge. |

|
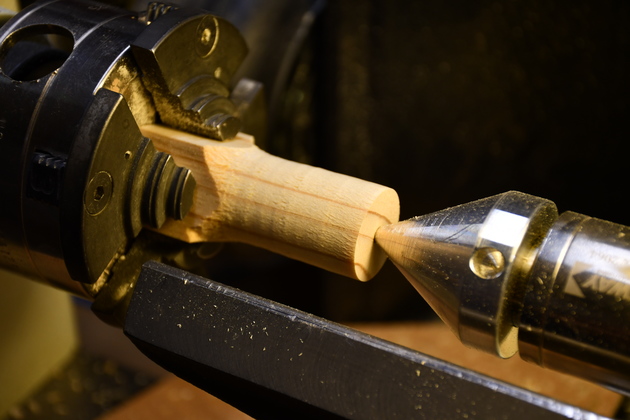
Starting to take off what doesn't look like a shaker kind of pull. |
|
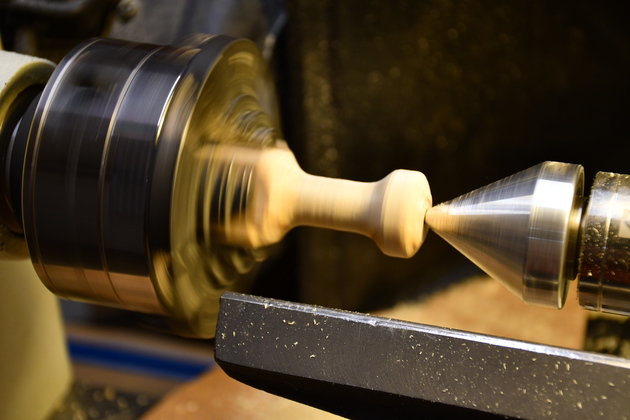
Getting closer. |
|
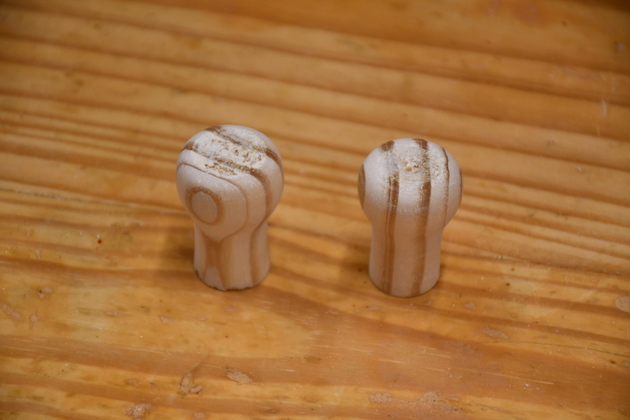
A couple of yellow pine drawer pulls ready to be stained, painted, and installed. They're 1-1/2" high and just under 1" in diameter, just like Susan wanted. |
|
|
After installation, no pulls yet. |
|
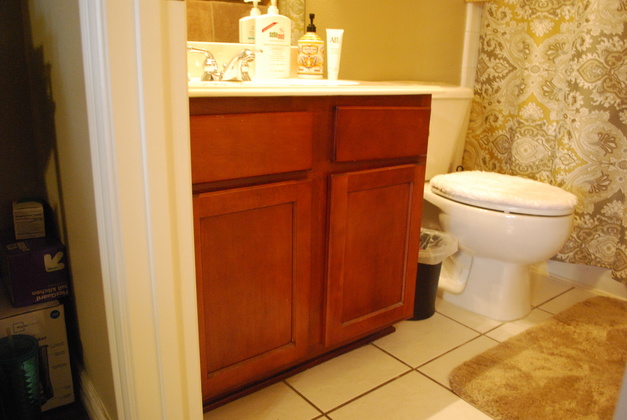
Earlier pic of the vanity in Susan's bathroom. |

|
With the doors open, you can see some of the contents and the doors themselves. Problem with vanitys like this is you have to get down on the floor to see everything in the storage area. I'll make large drawers that fit exactly into each side then remove the cabinet doors and make them into drawer fronts. One nice thing about this particular vanity is the builder stained the interior a light color which makes it easier to see whats inside. |

|
|