| 
| |
|
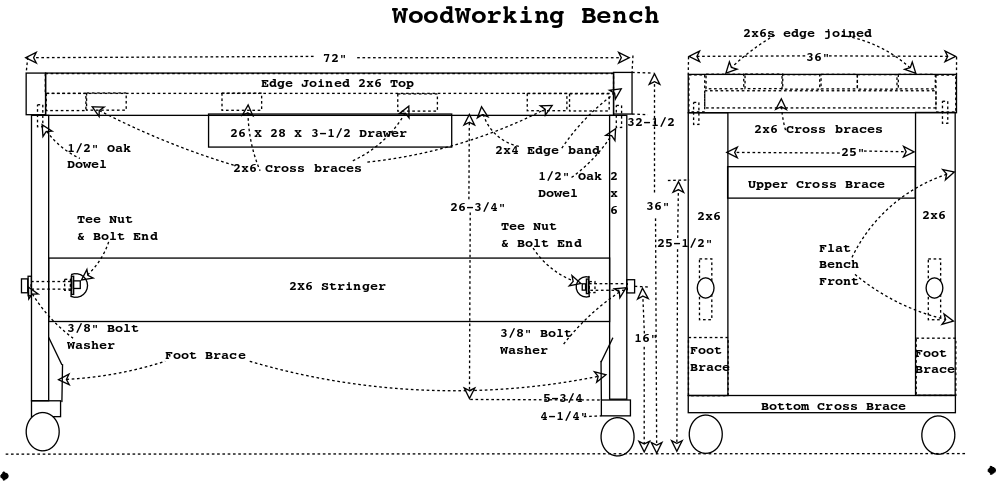
Woodworking Bench
| ||
|
|
| |
|
Woodworking Bench
| ||
| Original Pics | Diagram | BackSplash | 2018 Resurface |
| Flattening the Bench | Support Trestle | Vises | Storage |
A long time ago I used sawhorses when I was working on a wood project, like my grandfather and father did. When I needed a table or flat surface, I laid boards across the sawhorses (when I had them). As I neared retirement and was planning more woodworking, I read a number of articles and realized the benefits of a woodworking bench, so I started planning. This was in early 2004.
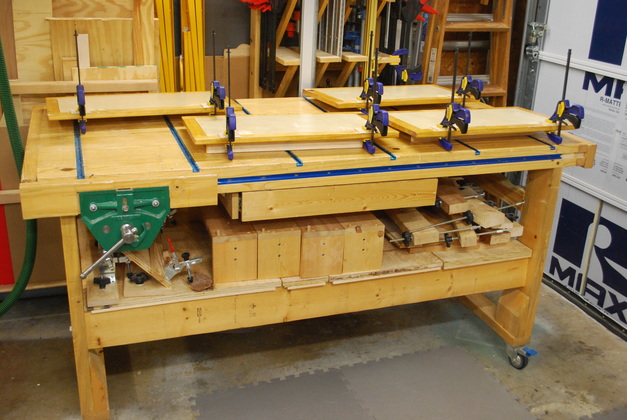
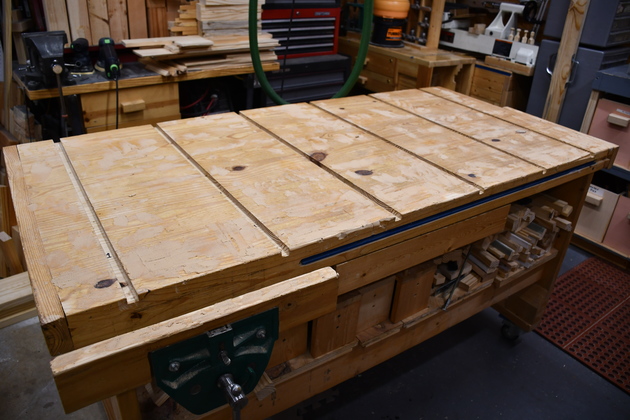
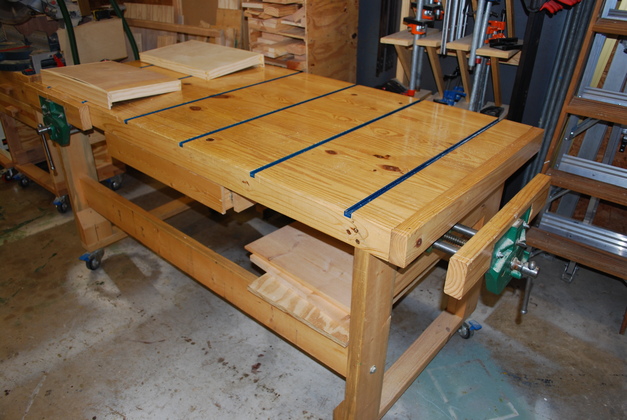
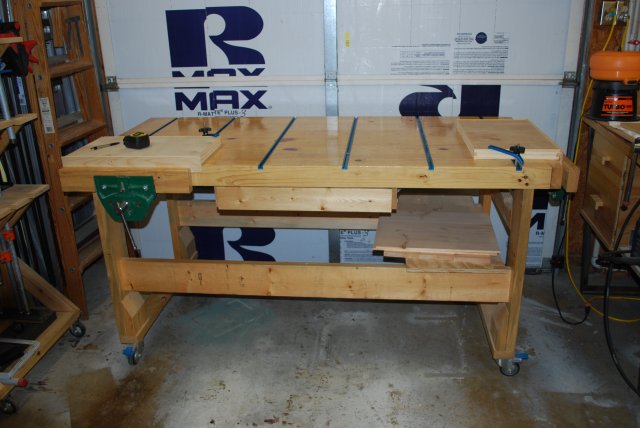
Most of the benches I saw in articles were narrow (< 24" front to back). I decided my bench would be large and flat so I could do lots of things. I decided on 72" long, 36" wide, and 36" tall, with two vises, one at the front and one at one end. The quick-release vises came from Woodcraft and had the largest opening that I could find (9-1/2"), I paid about $65 in 2014. I also wanted lots of tee tracks, they are really handy for lots of stuff. The tee tracks are spaced every 12" with the two end tracks 6" from the ends.
I have always liked yellow pine, its the strongest and heaviest pine commonly available, but it is really bad to warp.
I had to look around quite a bit for yellow pine 2x6s but finaly found them at Ivey's on Plano Rd.
I had to kluge up supports for jointing them on my little 4" sears jointer, but I got it done.
I edge joined all of the table top's 2x6s with biscuits then glued a 2x4 belt around the outside edge of the bench after I had mounted the vices at the front and end.
I also added crossbraces 2x6s underneath at 4 places and doubled at the ends for a total of 6 2x6 crossbraces.
Each vise has a 16" 2x4 covering the outside push plate, with the inside imbedded into the bench's 2x4 belt.
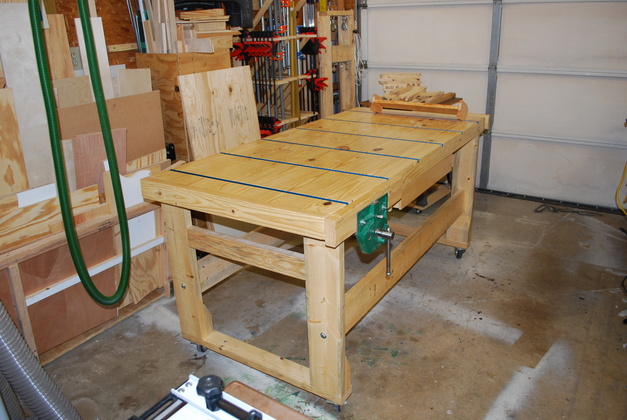
Like everything else in my shop, it is on 3" Shepherd casters, I paid $5.50 each at Home Depot (in 2013).
When I got through the table top weighed well over 200 Lbs, I rarely have to lock the casters when I'm usng it.
Now that I had a table top I had to machine it flat so I mounted a 1x4 on each of the long sides and, with a couple of strings, made them parallel.
I made a trolley for the router that would let it slide back and forth as I moved the trolley down the parallel 1x4s, then machined the entire top with the router on it's trolley.
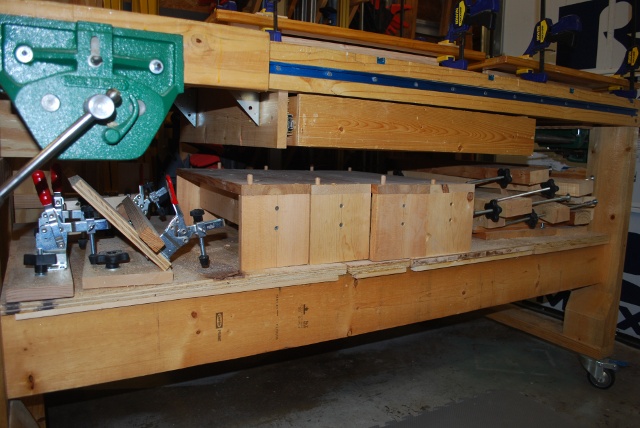
For the under carriage I built a trestle that caught each side just short of the end and flush with the front belt, also clearing the front vise.
The support trestle was made with 2x6 verticals, 2x6 horizontal stringers (with casters naturally), and 2x4 cross braces.
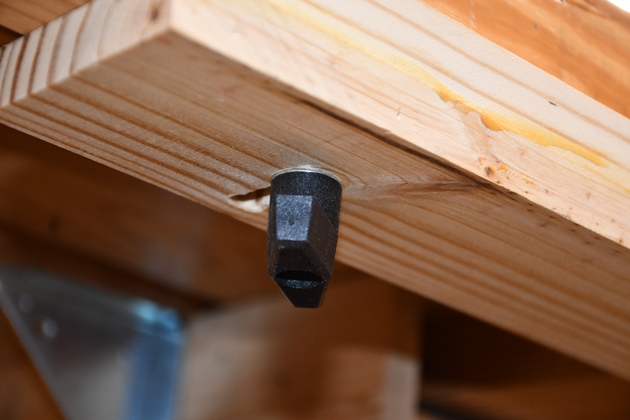
The carriage had a 1/2" dowell sticking up at each corner, I drilled a hole for each in the table top and set the top on the trestle.
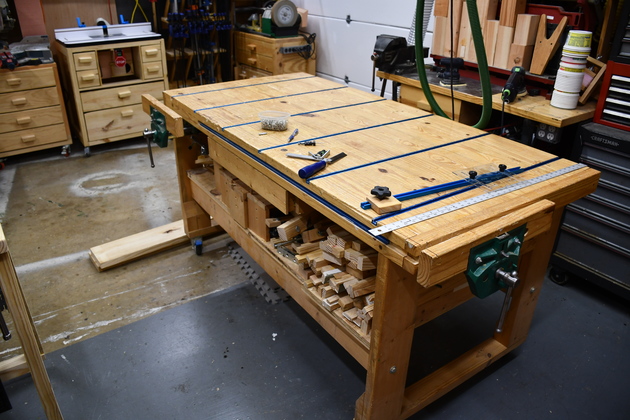
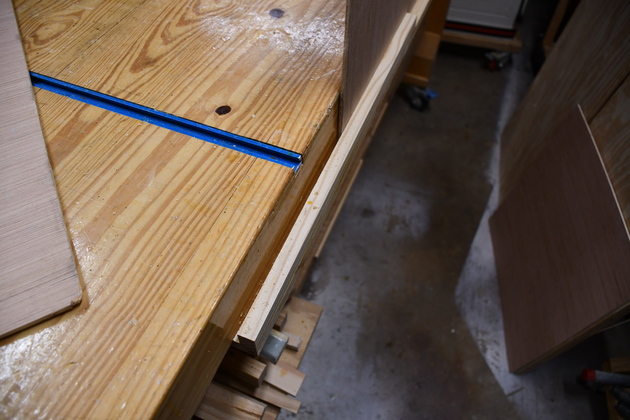
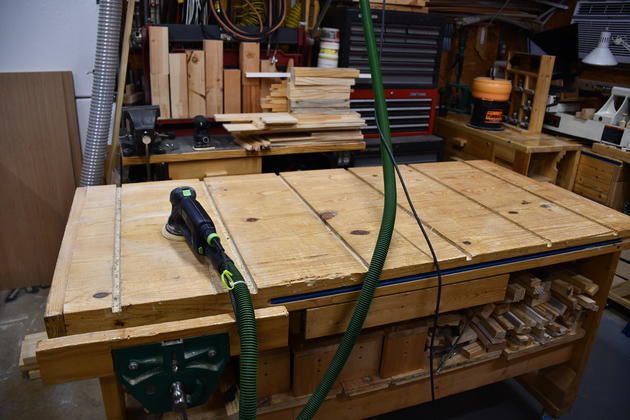
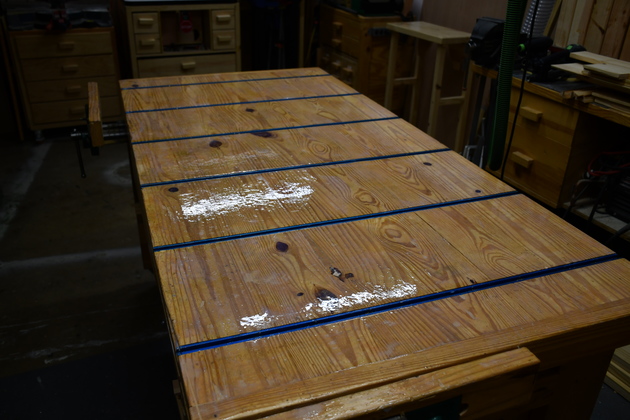
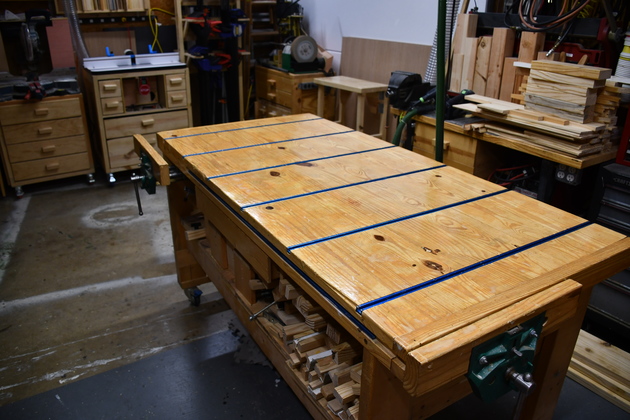
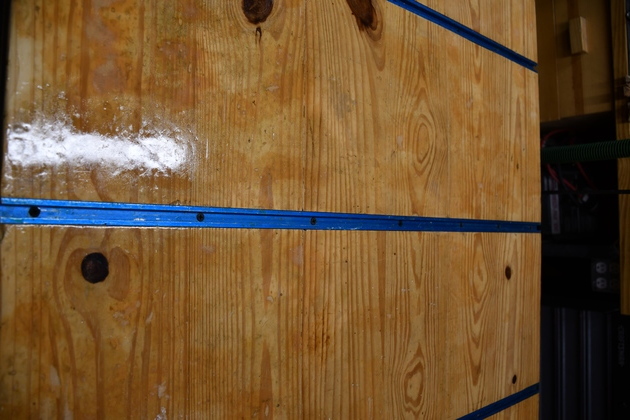
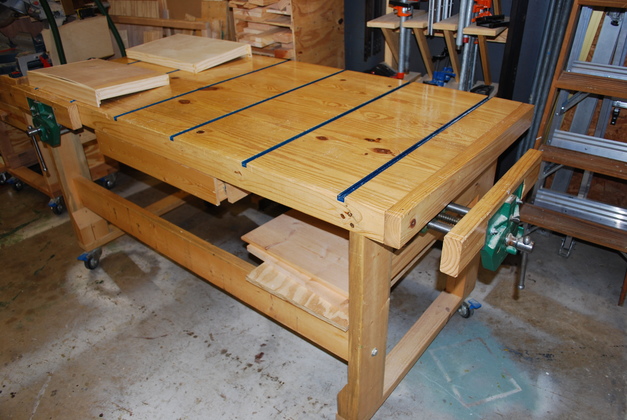
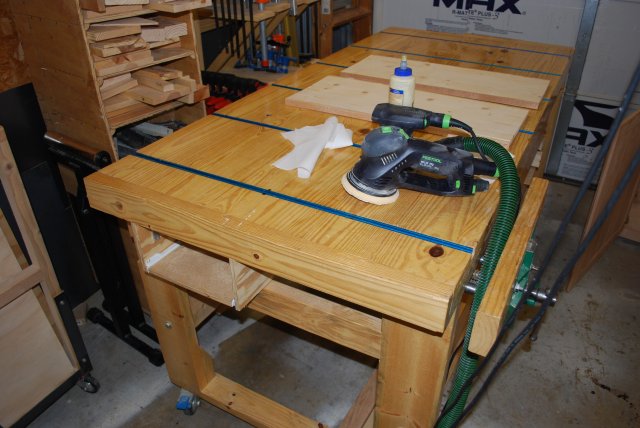
I finished it with many coats of polyeurethane and added a tee track 6" fron each end and every 12" across the table top.
The end tee track has come in very handy for sucuring jigs like the 16" Porter Cable dovetail jig and my handloading press bases, before I built my Mobile Loading Bench.
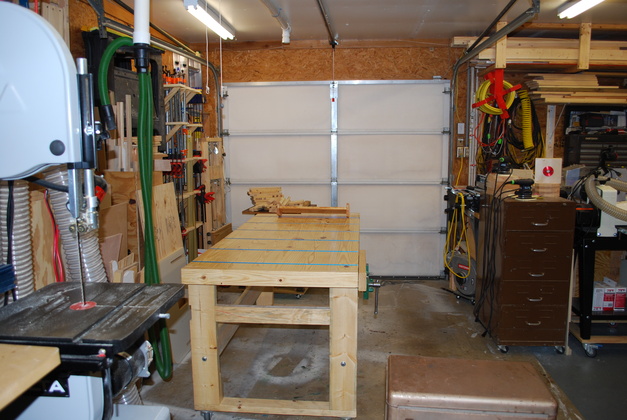
Sorry, I only got a few pics of the construction process but I have a few of the finished bench about 6 years after it went into service.
When I lay out a piece to glue on top of the table I can be sure the surface is flat which helps keep the project planar. Its large enough for most things I build even large picture frames, tables etc.
Over the years, this workbench has been my primary work surface. I have put things like 2 40" lathes at the same time, parts of the Jet DC-1100, and part of the Jet 14DXPRO bandsaw on it.
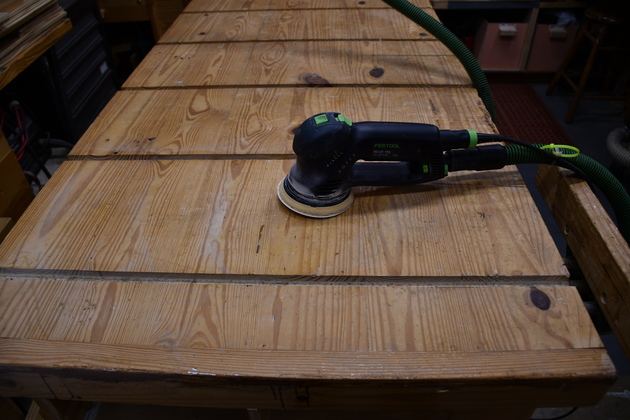
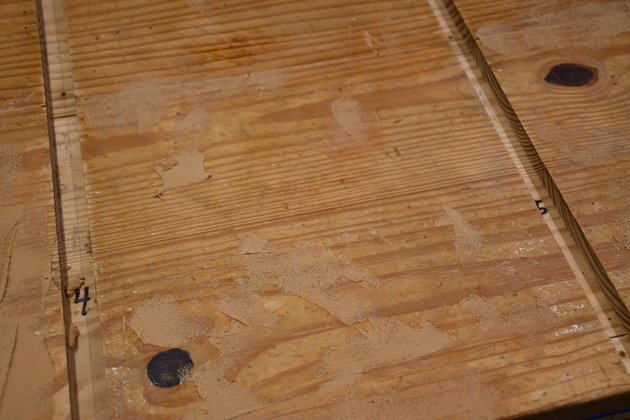
In 2018, the top of the workbench was so rough, I could no longer use a chisel to pop off paint/glue drips.
So, I decided to resurface it, I removed the tee tracks, an added more screw holes.
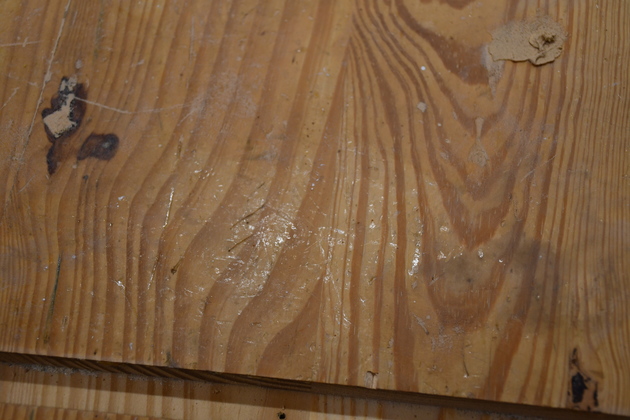
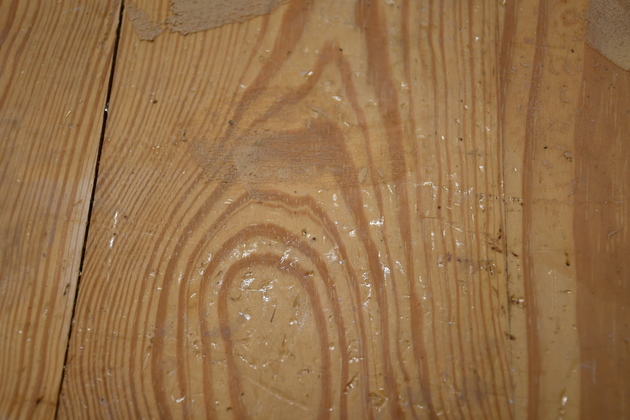
I sanded it to remove as much of the pockmarks as possibl, then filled the larger holes and cracks.
Again sanded off the excess filler and gave it 6 new coats of polyurethane.
Replaced the tee tracks with added screws.
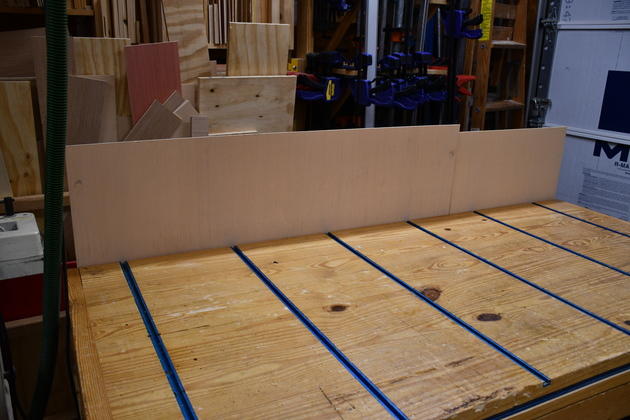
I added a clamp for a backsplash to help control chips when I use a router on the bench top.
After 16 years I finally drew a diagram of the woodworking bench. I had a pencil drawing when I built it, but it go lost over the years. Now, I use Dia and make digital drawings, which you see on these pages.
| Work bench early pic in 2008. |
|
|
|
When I use the router on the bench I put up this backsplash to contain some of the chips, it makes clean up much easier. The backsplash is thin plywood, usulally 3/16 (what ever I have available). |
|
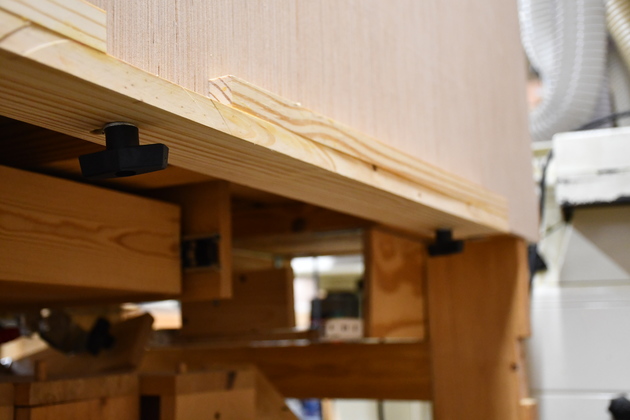
On the back side of the workbench, I added this trough as a sort of clamp to hold the backsplash. It is adjustable for the thickness of plywood available. |
|
A little closer look at the backsplash clamp trough. |
|
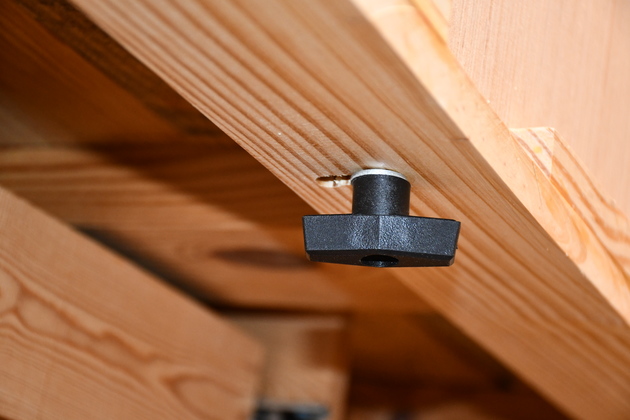
Underneath the trough, are two slots with 1/4-20 hanger bolts and a tee knob. |
|
Both tee knobs under the backsplash trough clamp. |
|
Table during sanding, note tee tracks removed. |
|
I took off all the poly (120 grit) except what was in the deepest pockmarks. |
|
Filler on sanded top. Note I numbered the tee track slots, some of the holes needed to be redrilled. |
|
During filling. You can see some of the pockmarks, gouges, and scratches. |
|
More pockmarks, a crack, etc. |
|
Table top with all the filler drying. When dry I sanded with 320 grit. |
|
First coat of poly. |
|
|
|
You can see the extra screws. You can also see It's not as smooth as new, but its a whole lot better. |
|
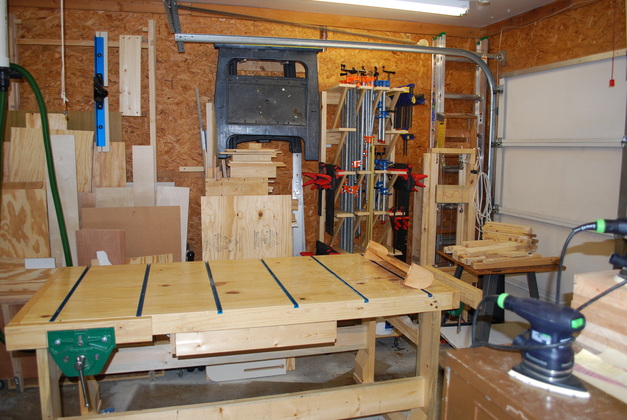
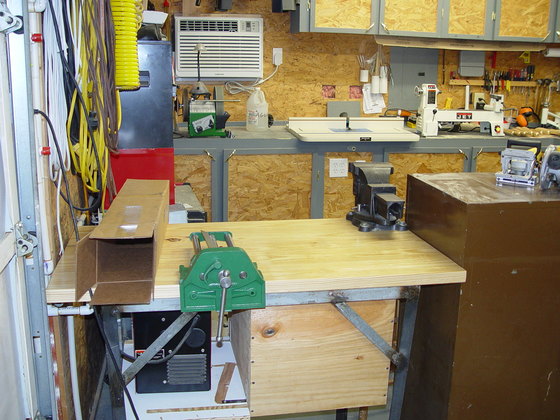
The bench as it looks in 2011. |
|
Since its on casters I can move it around, but the casters lock and the bench is heavy enough so it stays put when you are working. |

|
End frame of the support trestle. Note 2x6 verticals and 2x4 cross braces, the 2x6 stringers are bolted to the end frame verticals. |
|
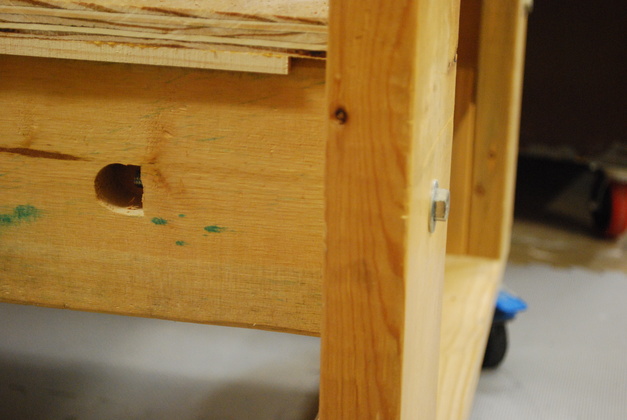
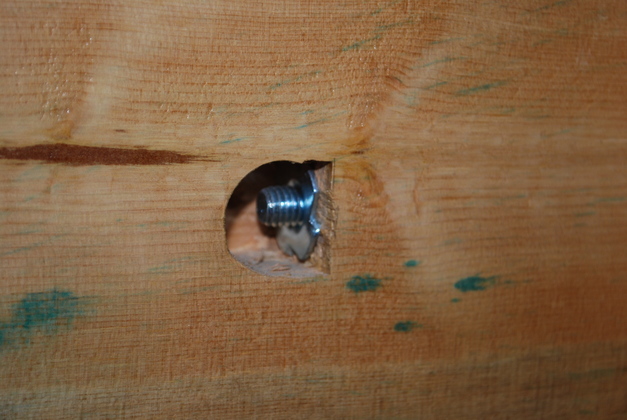
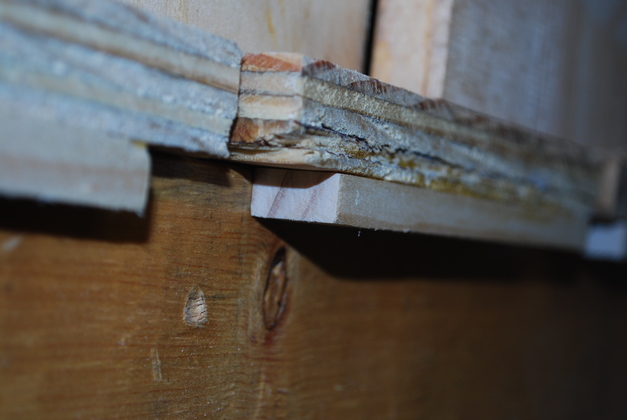
A look at the blind 'D' hole for the 3/8" bolts, its a 'D' hole with a tee nut so I can unbolt the frame if needed (I just never needed to do that). |
|
The 'D' hole and 3/8" tee nut. As I remember I drilled a blind hole about 1" in diameter then used a chisel to square one side. So far I've moved the table hundreds of time and the frame never has any give to it. |
|
A closer look at the endframe construction. Note the 2x6 foot brace at the bottom of the vertical to give a more solid support for the bottom cross brace with it's casters. |
|
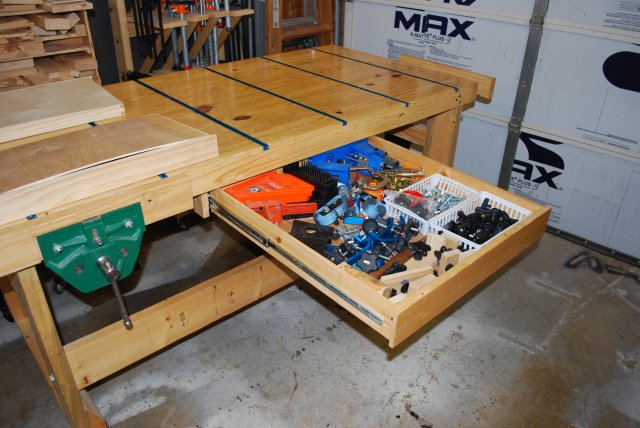
Front vise. Note the small drawer ready to have the bottom glued in on the bench. |
|
The front vise open. |
|
The end vise. |
|
Storage drawer open. |
|
End tee track 6" from end of benchtop. The end of the bench and it's tee track are a good place to mount jigs of all kinds, the dovetail jig and I have used it for one of my handloading presses. |

|
The loading shelf prototype. |
|
More recent pic (08/12/15) I added a platform across the 2x6 stringers and its loaded with tools. The platform is 3/4" plywood laid across the stringers. Also note the tee track along the front edge, it allows me to clamp the end of a vertical piece clamped to the front of the bench. I alos used it to hold my plywood ripper before I got a table saw. |
|
I glued a 3/4" wide bumper strip on the end underside so the platform pieces wouldn't scoot off. |
|
|
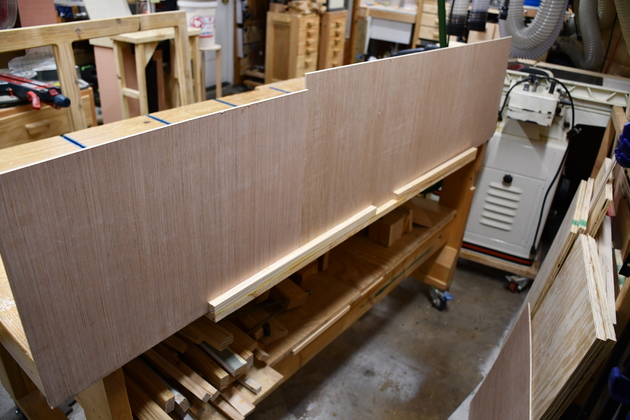
When I use a router on the bench, lots of chips fly off the back which is a little harder to clean up. So I use some thin (3/16") plywood as a back splash to keep the chips on the front side of the bench. I always have some thin plywood around, I use it a lot. Yes I could also put the back splash on each end. |
|
|
From the back of the bench, its just a 1x4 4' long with a strip glued to the back edge which makes a sort of clamp to hold the backsplash on. |
|
|
Heres a pic of the clamp with one of the plywood pieces removed. |
|
|
Underneath the back edge of the work bench, are 3 hanger bolts with knobs. Note the slot in the backsplash clamp so I can move the clamp forward and backward to adjust for different size plywood. This is the center knob. |
|
One of the end knobs, again, you can see the adjustment slot. |
|
|
|

|
Once upon a time I had two lathes on this bench, each one weighs about 300Lbs, so I know it'll hold at least 600Lbs. |
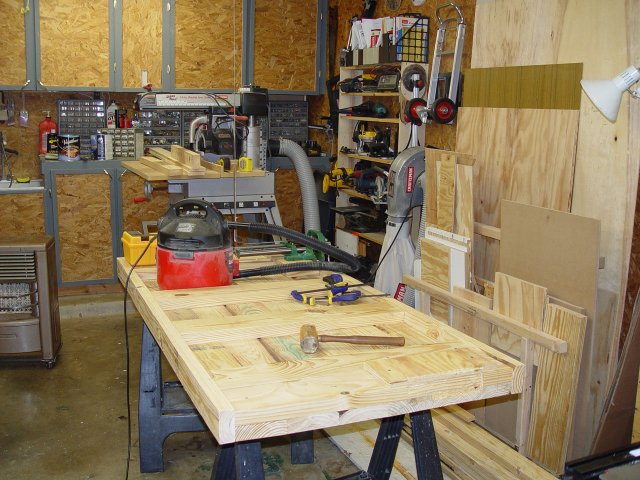
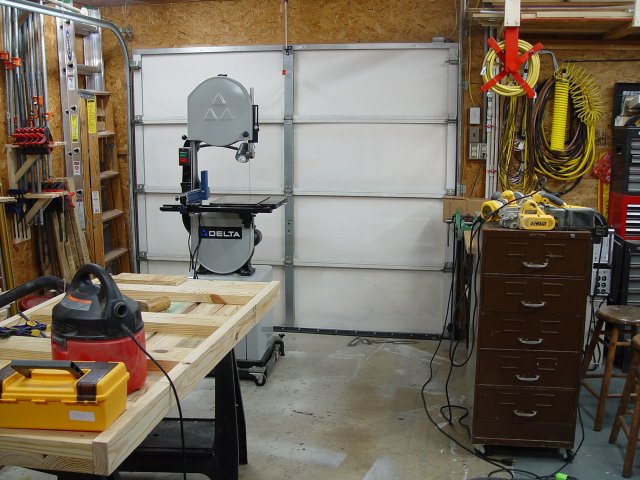
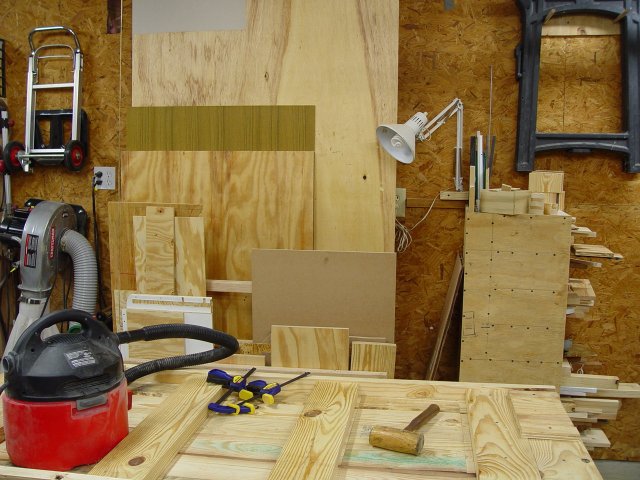
These are pics I made of the shop in 2004, the workbench was under construction when I took these.
|
I didn't take many pics early on, but I happened to run across a few pics of the shop when the workbench was under construction, upside down. You can see the transverse 2x6s in this pic. Note, my old radial arm saw in the background, and my first 4" dust collector on the wall just beyond the plywood trolley. |
|
Another perspective, the bench under construction, upside down across sawhorses. Note my first bandsaw, a Delta, beyond the workbench. |
|
The bench, upside down being used already. You get a better look at the transverse 2x6s here. Note the 3/4" piece of plywood at the bench's upper right corner, it is a shim to make the vise the right height. |
|
The metal working bench was actually made before the woodworking bench. Here is a pic of the metalworking bench made while the woodworking bench was under construcion, you can see one of the bench vises on the metal working bench. |

|