09/14/21: Page Origin
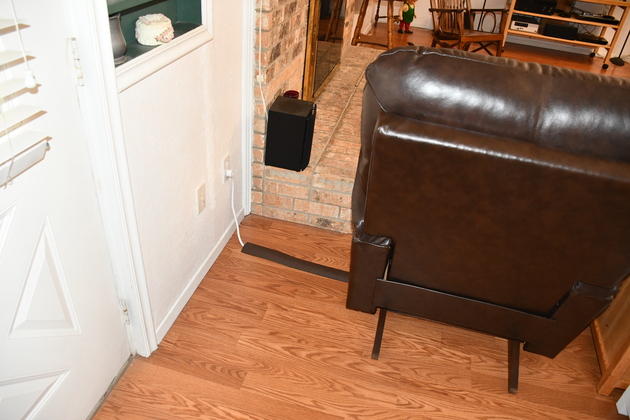
After replacing the La-Z-Boy recliners and console, and moving the original end table between the new recliners, we had a hole at the left end of the hearth and no good place for the left surround speaker.
So I decided to build a Den Storage & Speaker table to fill this hole and provide more out-of-sight (drawer) storage.
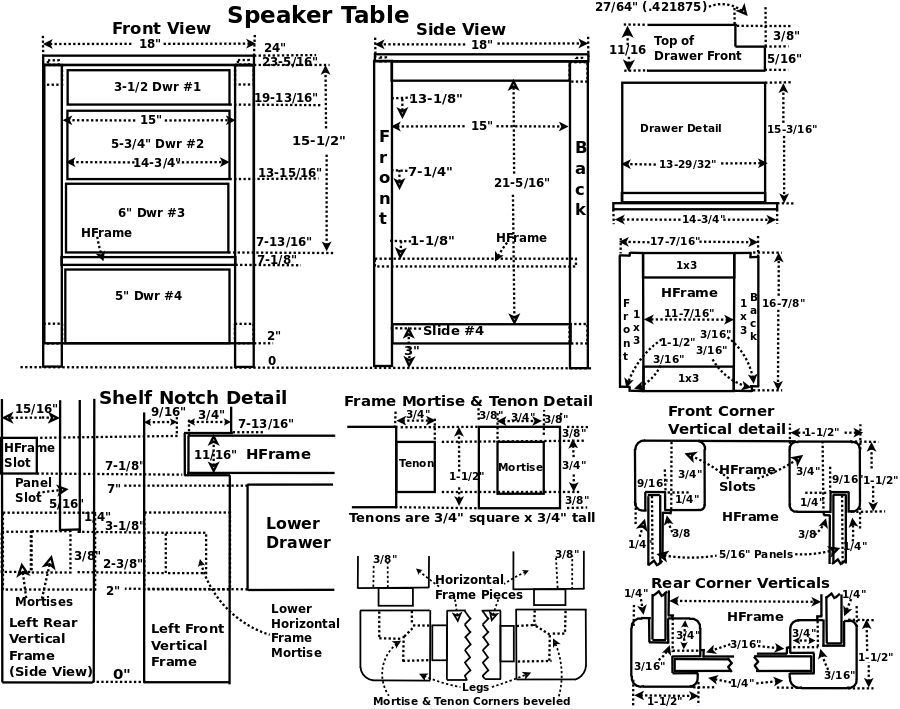
This little table will be 24" high and 18" square with 4 drawers.
After finishing this little table, I have noticed Betty frequently leans back on her chair and retrieves or places something in one of the push-to-open drawers.
So it has become very handy for her.
The frame will be built just like the original End Tables, with mortise & tenons at every joint and inset panels on sides and rear.
Since the end tables don't have drawer pulls, I'll be using ball bearing, full extension, Push-To-Open, Slides.
I've not used push-to-open slides before, but this way I avoid having drawer pulls (handles) visible.
Push-To-Open slides will have to move free, that is with very little friction.
I began this project on 09/14/21 and didn't finish until 11/27/21.
We realized the house was in desperate need of leveling, so we called in Perma-Jack to do the necessary lifting and stabilizing.
|
New recliner, you can see the hole to it's left and the left surround side speaker sitting on the hearth.
Take a peek at the table installed in the "hole".
|
Click for larger Pic
Frame
|
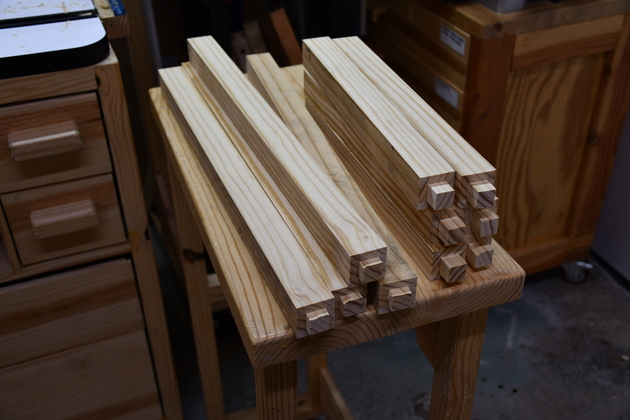
2x10s cut to length, on the miter saw.
|
|
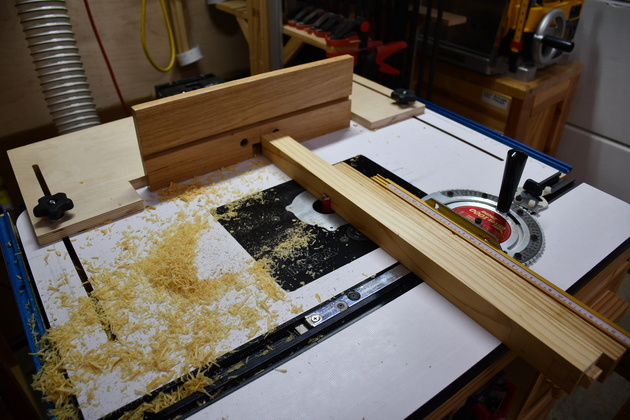
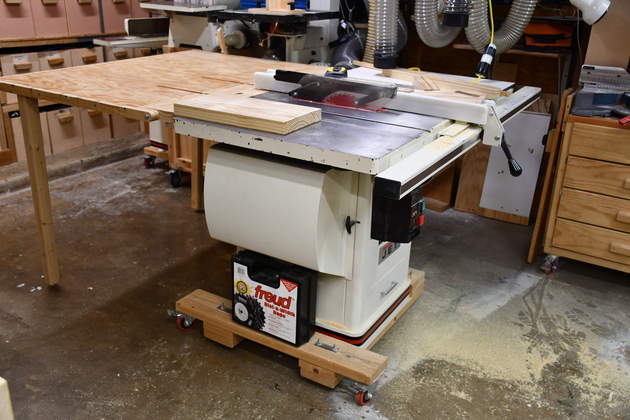
Table saw set up for ripping 2x10s to width for legs (1-1/2 x 1-1/2) and Hframe (1 x 3).
|
|
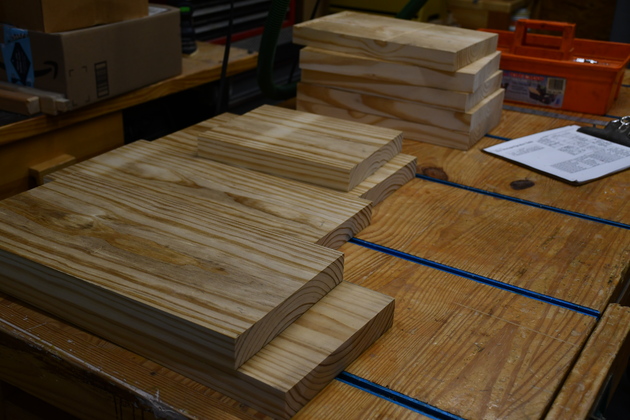
Table legs ripped.
|
|
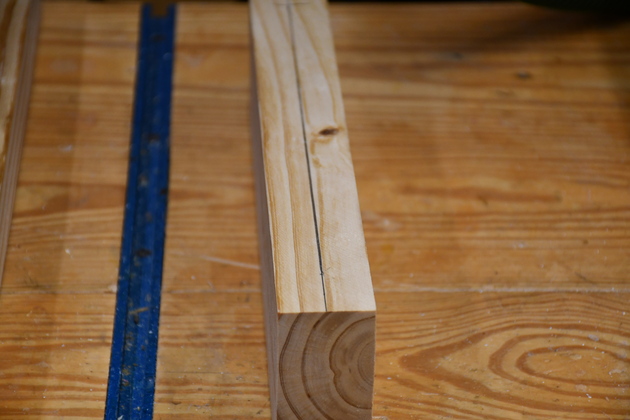
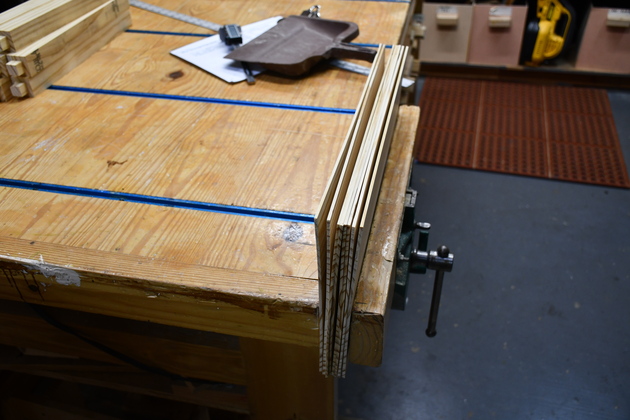
2x10s marked for resawing down their center.
The one on the left will become the table top.
|
|
This piece will become front and back of the HFrame.
|
Top
|
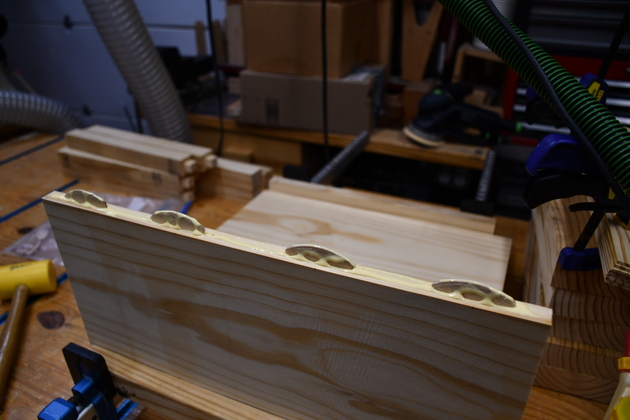
Biscuits being glued on half of the top.
Biscuits are used for a wood joint called "Loose Tenons".
You cut matching slots in each of the two pieces to be joined, put a glue bead on the joint and in the slot, insert the biscuit, mate the two pieces uner pressure.
|
|
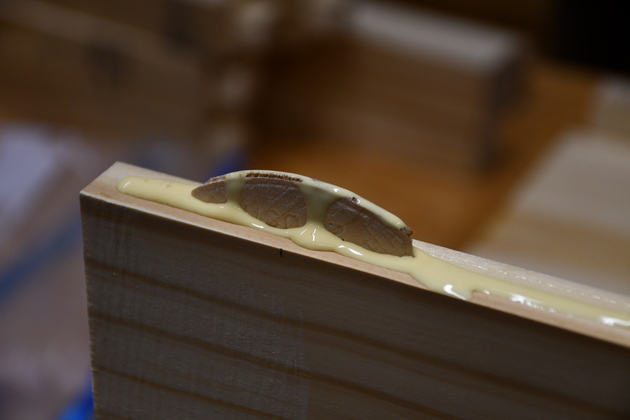
Closer look at one of the biscuits in the top.
These biscuits are made of thin plywood.
|
|
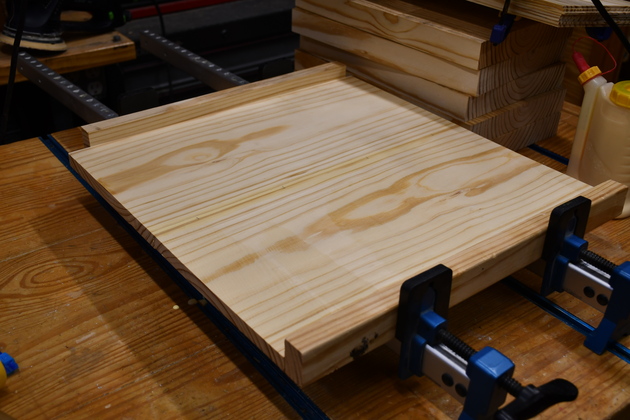
The two halves of the top being edge joined (glued under pressure).
|
HFrame
|
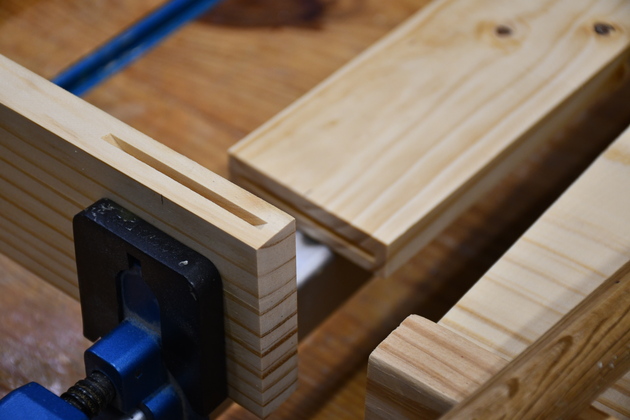
HFrame ready to glue.
You can see the biscuit slots at the corners.
|
|
Closer look at the biscuit slots.
I'll run a glue bead across this joint area, especially in the biscuit slot.
|
|
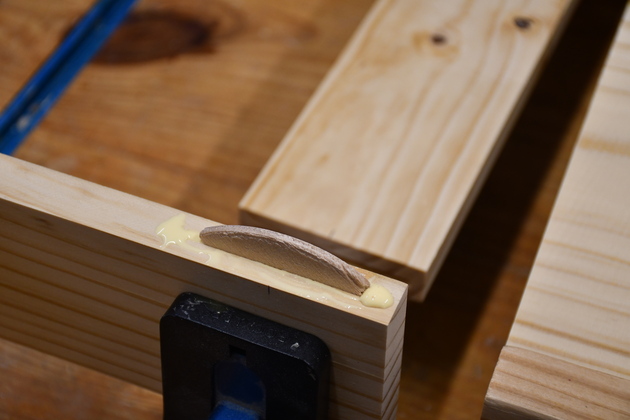
Biscuit, without it's top glue bead, in it's slot in HFrame joint.
You can just barely see the glue.
|
|
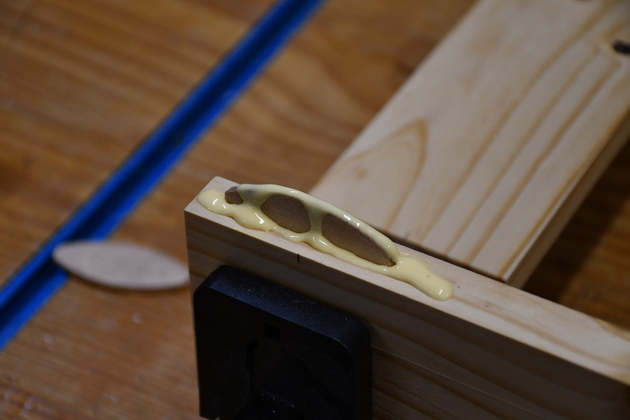
Now it has it's top glue bead.
As I mate the two pieces to be joined, the glue, on top of the biscuit, will be spread down the sides of the biscuit.
|
|
All HFrame joints glued, under clamp pressure.
|
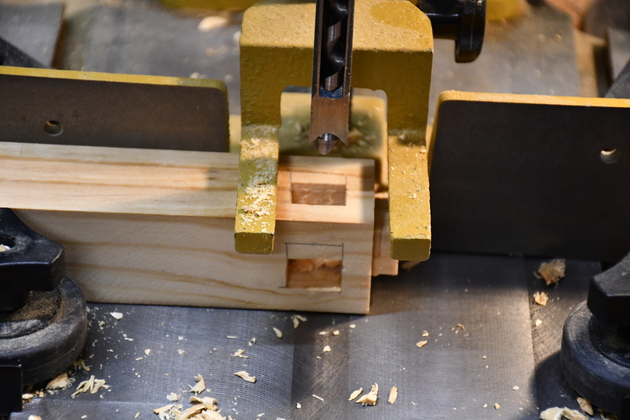
Mortises
|
Overall look at drilling a mortise in a leg.
Note my mortiser dust shroud on the front of the bench.
|
|
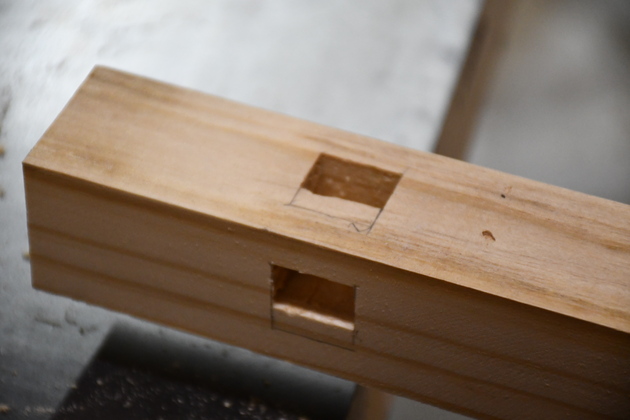
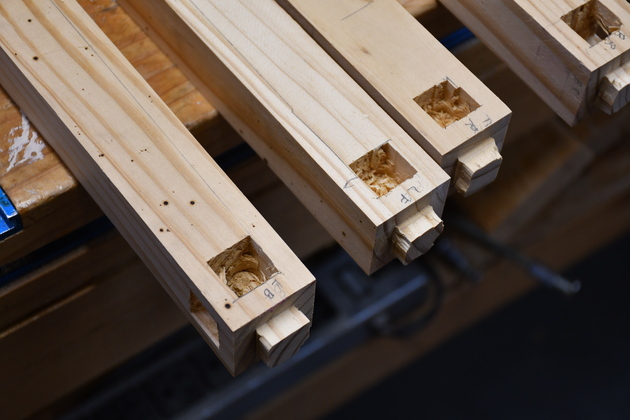
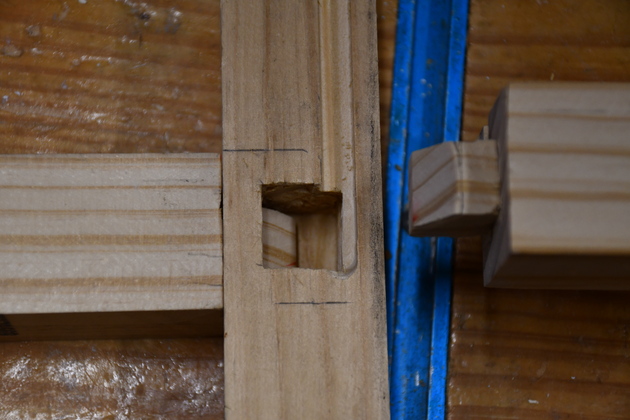
Closer look at mortise drilling, this is one of the top rear corners with two interfering mortises.
The drill is 1/2", and the mortise is 3/4" square, so I have to drill 4 holes.
|
|
One of the lower mortises at the bottom of a back leg.
Drilling is not complete, you can see the lower half of the mortise has not been cut.
Note these two are interfering mortises.
|
|
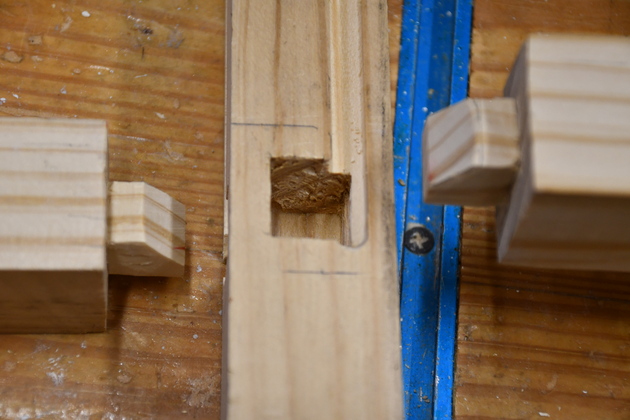
Drilled mortises, they need cleaning out.
|
|
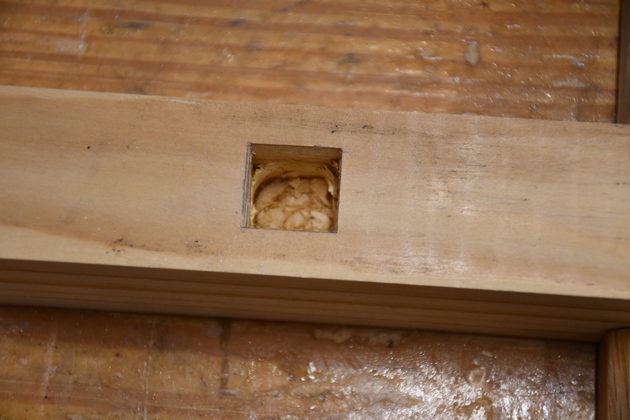
A mortise right after it's drilled.
Note the wood remaining in the bottom of the mortise.
This has to be cleaned out with a chisel.
|
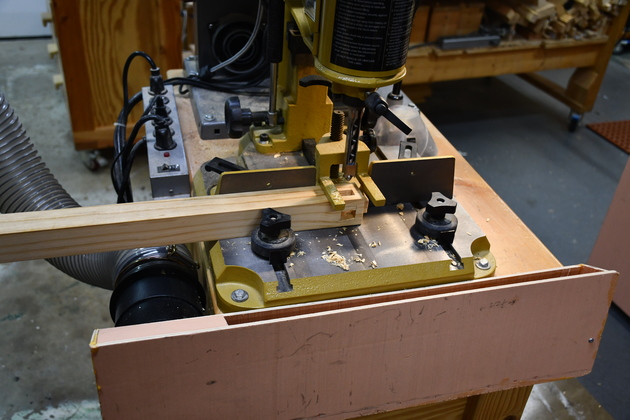
Tenons
|
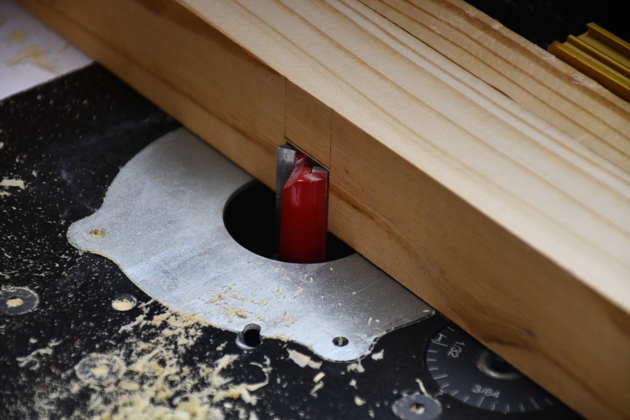
Close up of 11/16 straight cutter attacking the wood.
|

|
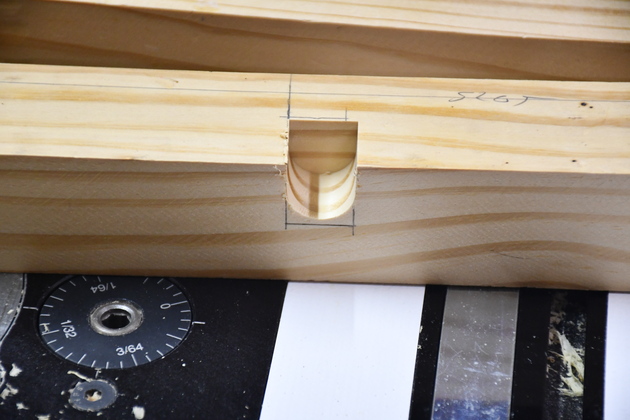
With slot turned up.
These are the thru-slots for the front legs.
|
|
Here is how I cut the 1/2 slots for the back legs.
|
|
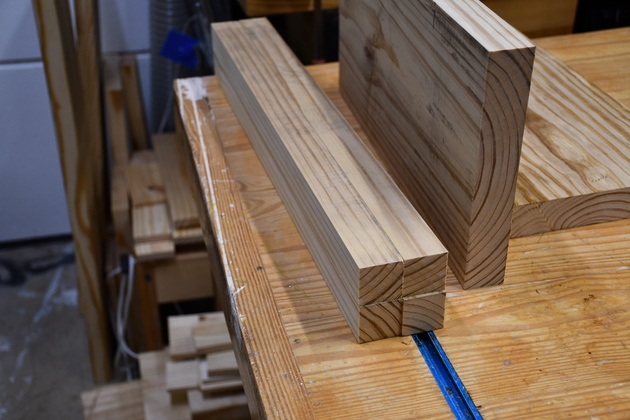
Here are the frame pieces with tenons cut on my tenoning jig.
|
|
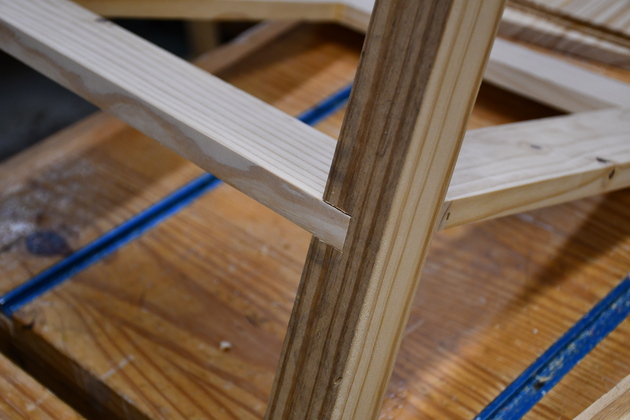
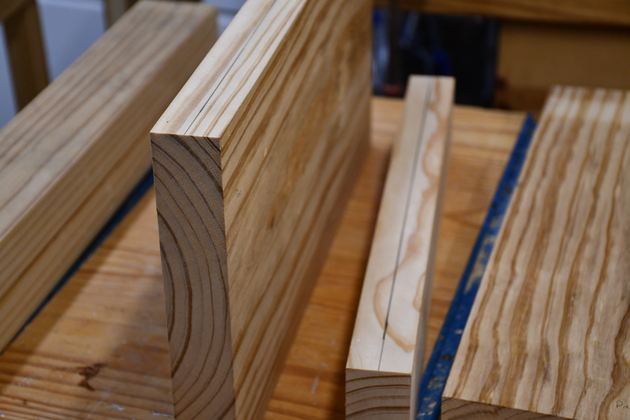
Corner of the frame with interfering tenons, note the angle sawed on the tenon.
Note, I've already routed the slot for the inset panel.
|
|
You can see both tenons are beveled.
|
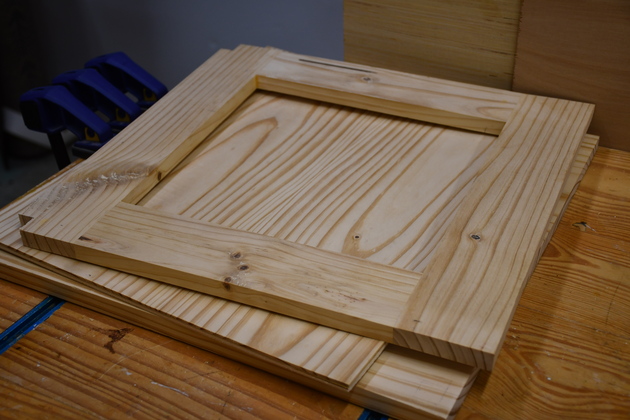
Inset Panels
Years ago I started building pine faced inset panels for our furniture
Originally, I just resawed and planed pine panels to 5/16" thick, edge joined for the right width, and glued it in, but some of these cracked.
Now I resaw and plane 1/8 " SYP panels, edge join for width, and laminate it to a 3/16" plywood panel then glue in the laminated panel.
This has proven much stronger and, so far, none have cracked.
More info on inset panels.
|
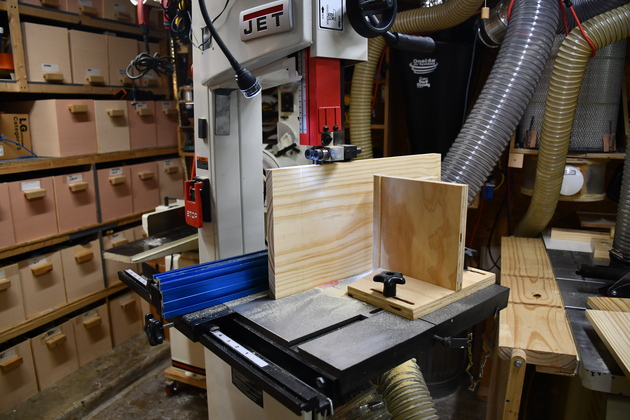
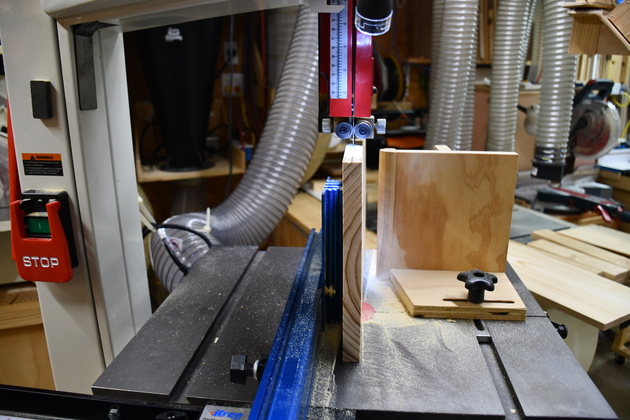
Resawing a 9" wide pine board for an inset panel face.
Note the Jet JWBS-14SFX bandsaw can handle 13" tall resawing and I'm using a Timberwolf 116", 1" X 2/3 VPC blade.
This was a 2x10 (actually about 9-1/4" wide), I ripped off 1/8" off each side to make sure the corners were nice and square.
|
|
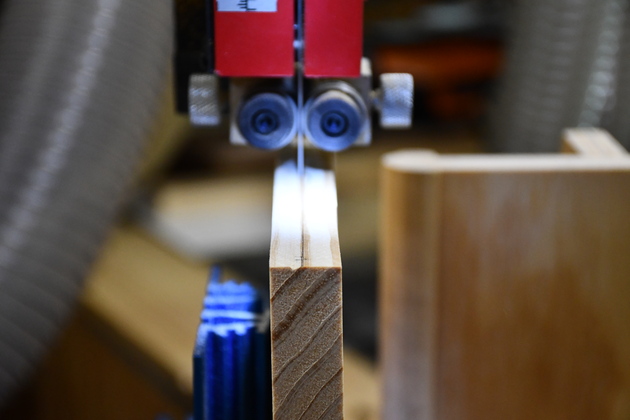
Different perspective of the resaw operation.
This started out as a 2x10, these are the last 2 slabs.
|
|
Resawing the inset panel faces.
These will end up 1/8" thick pine panels.
Next these will be planed for uniform thickness, edge joined to get the proper width, then laminated to 3/16" plywood to make inset panels.
|
|
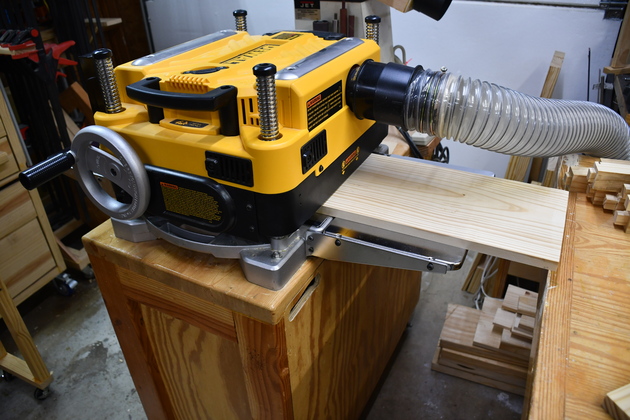
My planer cleaning up after one of the resaws.
I resaw a thin panel from a 2x piece, then plane the piece and resaw again.
|
|
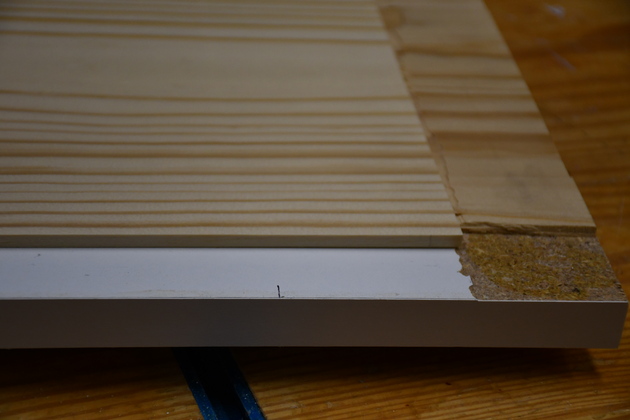
One of the panel faces being planed.
The Dewalt Dw735 will not plane to 1/8" so I use this planer sled to bring the planed piece up to the cutter blade.
The planer sled is a melamine covereed shelf with a little pine stop glued on the right end.
The planer pushes the piece being planed which pushes the sled.
|
|
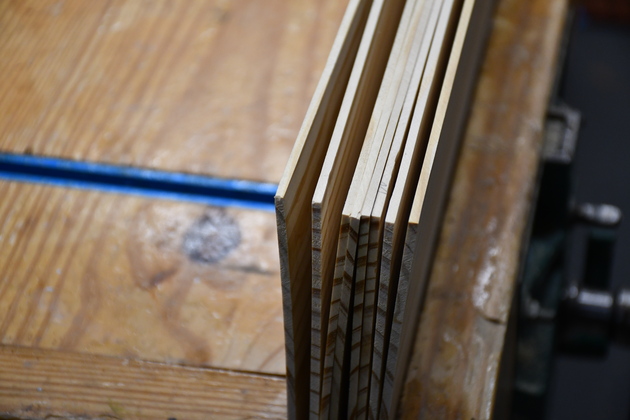
All the panel faces for this project.
I keep the clamped together until I laminate them to the plywood backing, so they don't cup.
|
|
Closer look at the 1/8" thick panel faces.
When laminated to a 3/16" piece of plywood, the resultant panel will be 5/16" thick.
I've been doing this for a number of years and so far none of these laminated panels have cracked.
|
|
Edge of a 1/8&uot; panel piece, about to be joined to another to make an inset panel face.
|
|
Joining edges of 1/8" thick inset panels.
Note the two small wooden pieces clamped onto the top of the panel, they hold it flat while being edge glued.
It doesn't take much pressure to glue these, but I clamp them flat anyway.
|
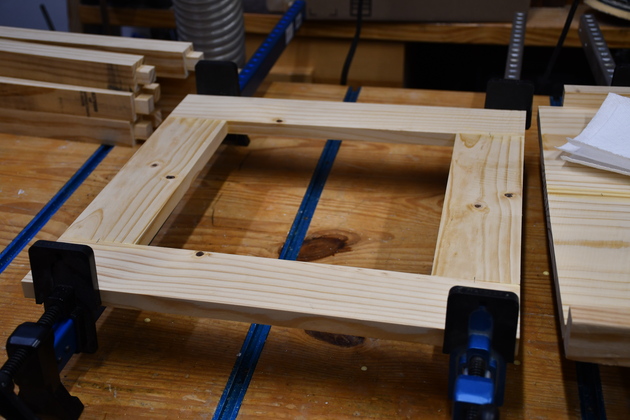
Frame Test Fit
|
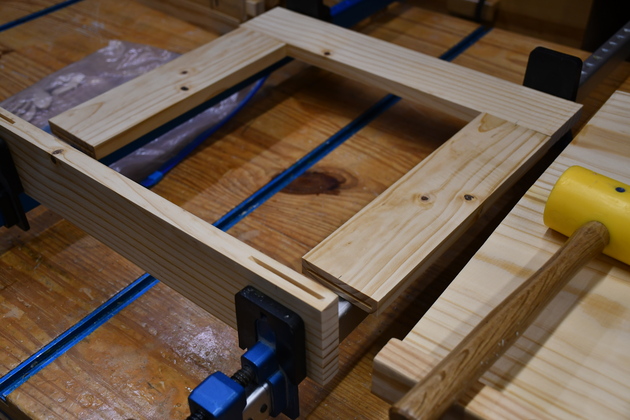
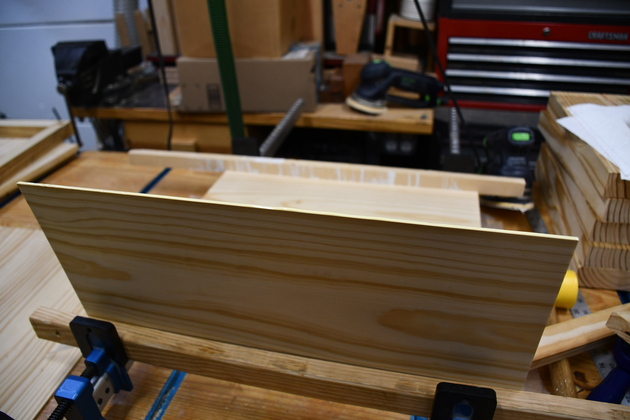
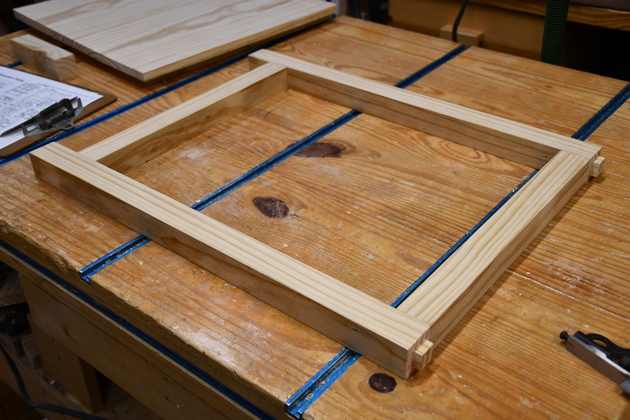
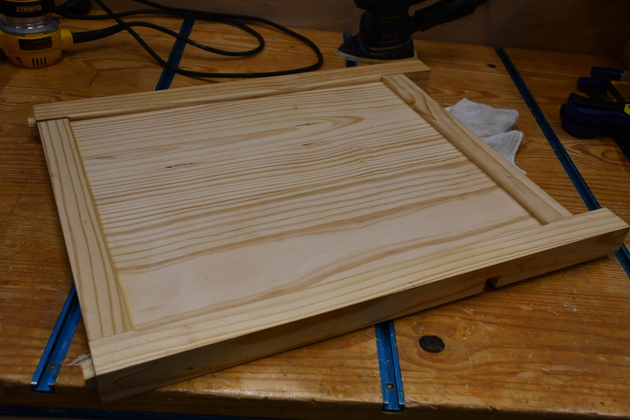
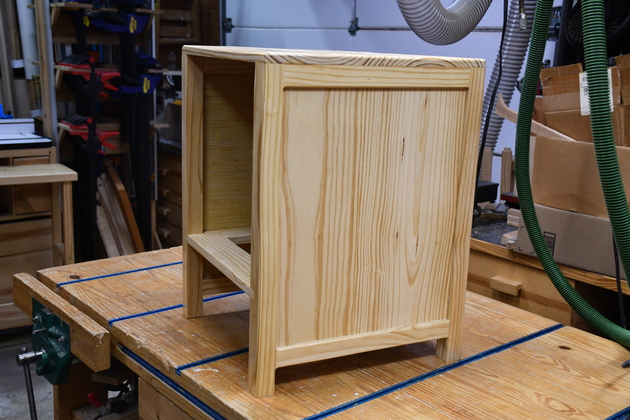
Test fit of a side frame.
I haven't cut the grooves for the inset panels.
|
|
Frame side to back test fit.
|

|
Closer look at frame test fit.
This is one of the interfering mortise joints.
|
|
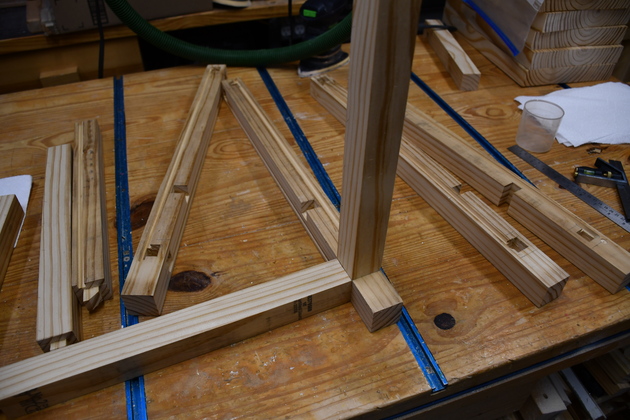
Front angle of HFrame fitted into it's slot in front legs.
|
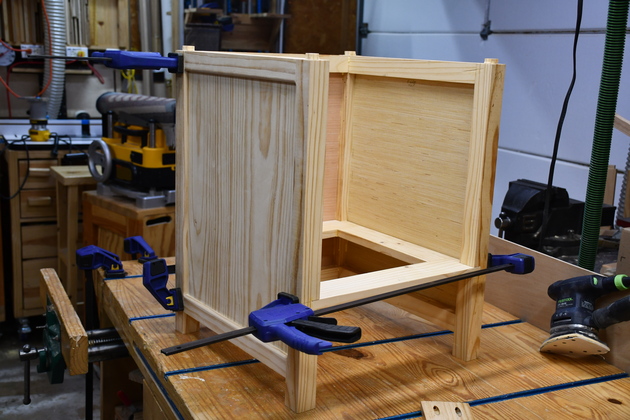
Assembly
|
Left side glued.
|
|
Right side being test fit.
|
|
Right side being glued.
|

|
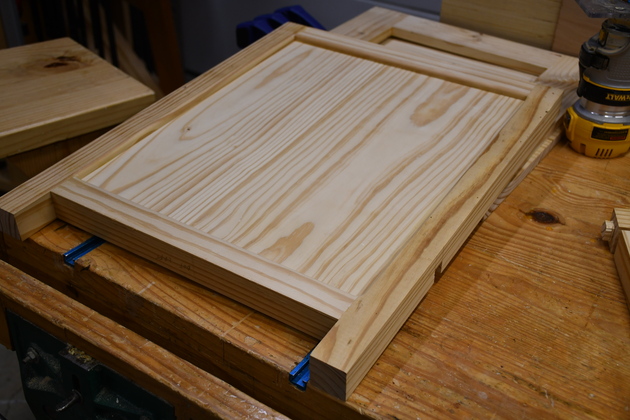
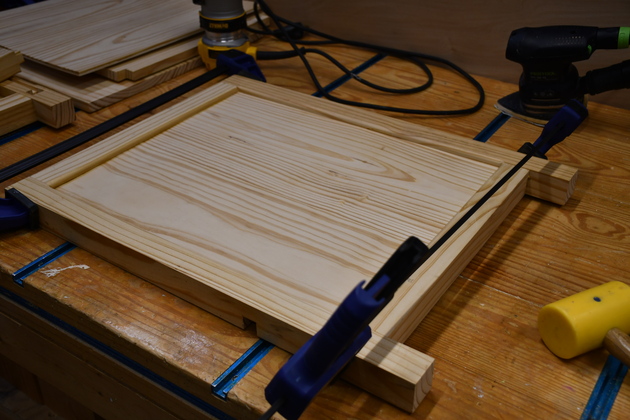
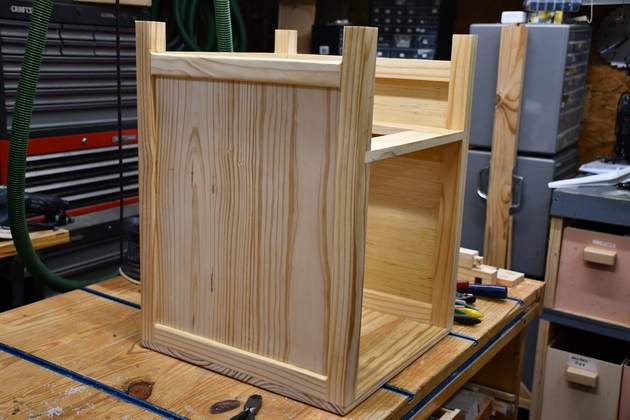
Top of left side showing tenons for the top.
I'll also use at least 3 #20 biscuits on each joint.
|
|
Inside of right side, still in the glue clamps.
|
|
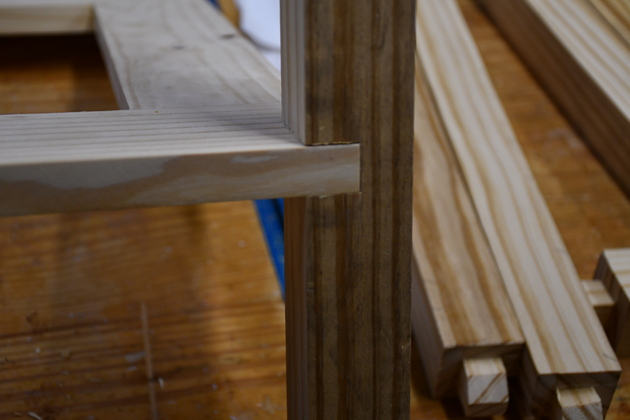
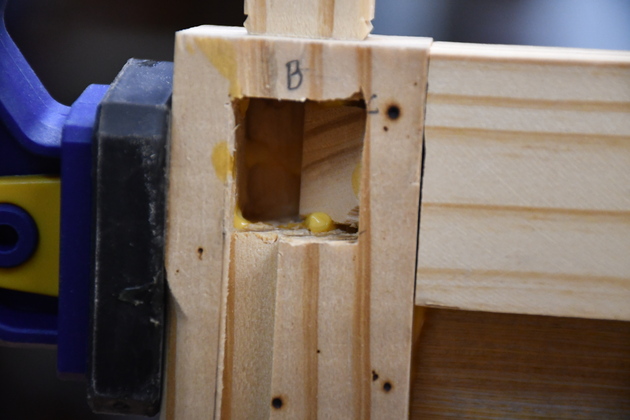
Closer look at the right side rear top interference mortis with one tenon already glued in.
You can see the bevel on the tenon to accomodate the 90° tenon from the uppre rear horizontal.
|

|
The rear horizontals, tenons showing the bevel for the interference.
You can also see the inset panel slot in both.
|
|
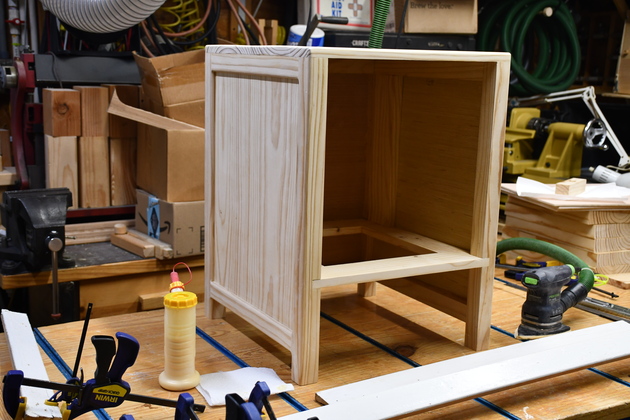
The HFrame, ready to glue in.
Note under the HFrame is the rear inset panel and below that is the top.
|
|
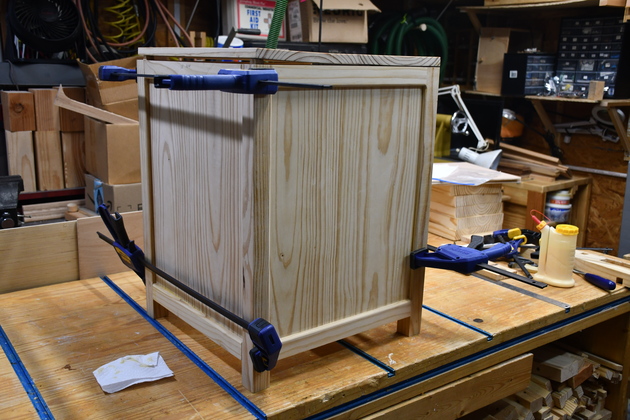
Rear panel and horizontals being glued with HFrame to connect right and left sides.
|
|
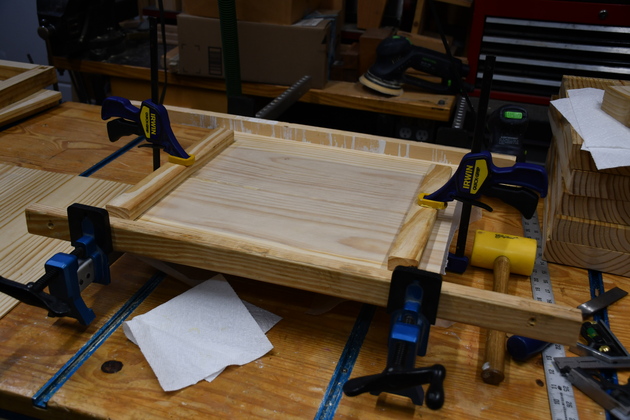
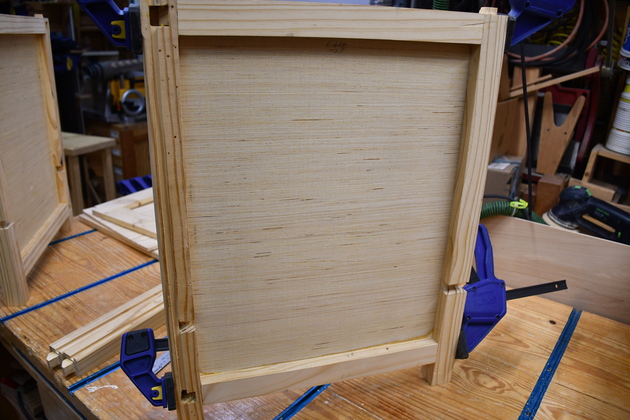
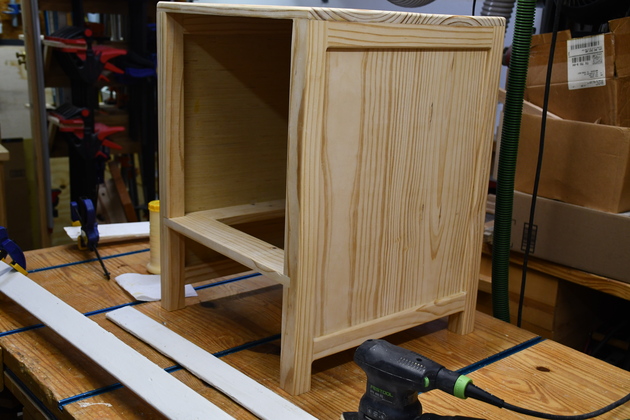
Here you can see the rear inset panel with it's horizontals, being glued between right and left sides.
Note I set the top on to make sure the frame is square.
|
|
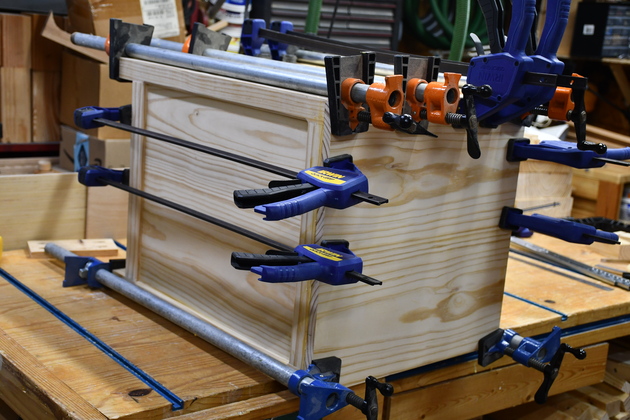
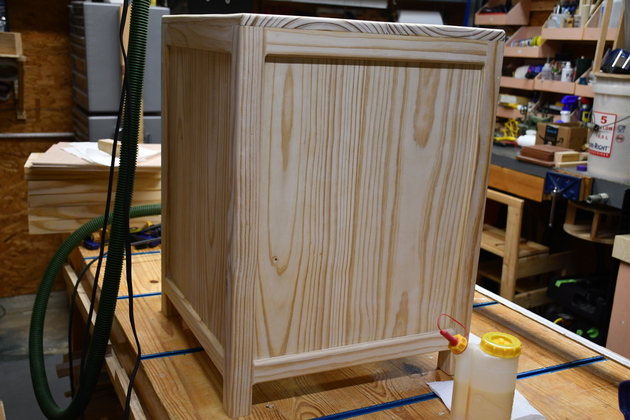
Gluing the top to the frame (side and back frames.
|

|
Sanding, back of the table.
|
|
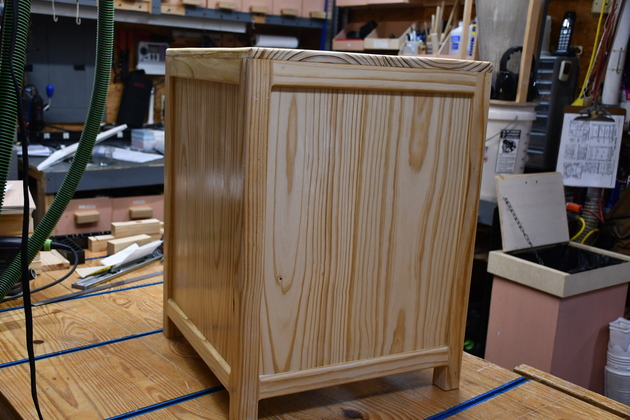
Sanding complete, ready to paint.
|
|
Right side ready to paint.
|
|
Left side ready to paint.
|
Painting
|
Painting the bottom and inside of the table.
|
|
Painting top of HFrame and sides.
|
|
Starting to see a little sheen.
|
Finish
|
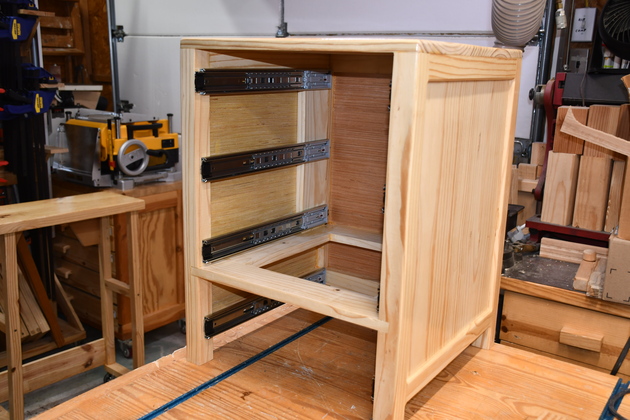
Push to open drawer slides mounted in the cabinet.
|
|
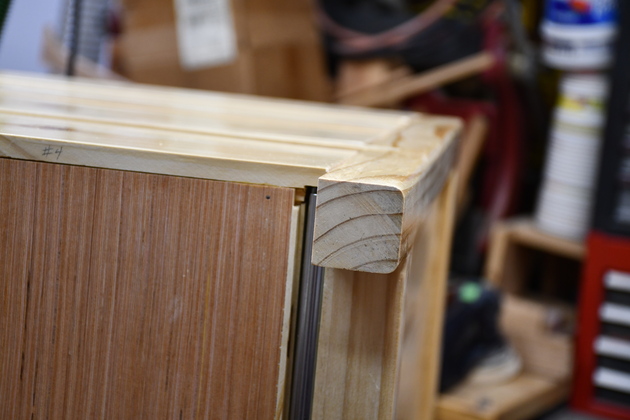
Bottom of legs, no pad.
|
|
Closer look at foot with no pad.
|
|
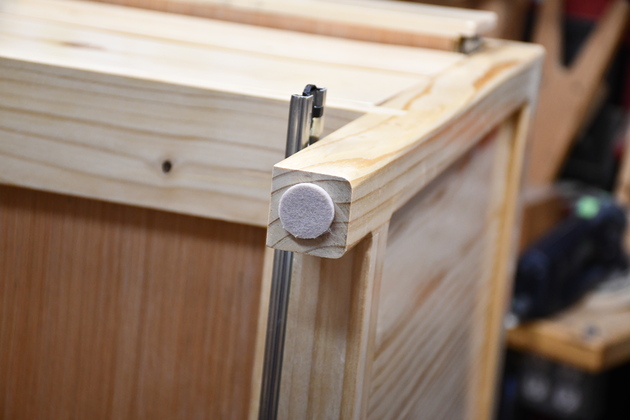
Felt pad on table foot, to prevent scratching laminate flooring.
|
|
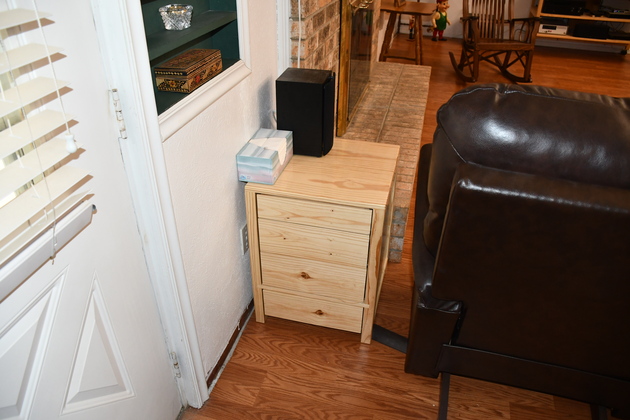
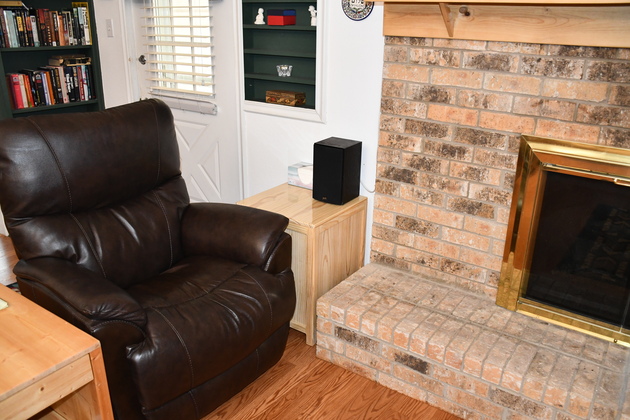
Speaker table installed.
Not Surround side speaker on the table.
Note the original "hole".
|
|
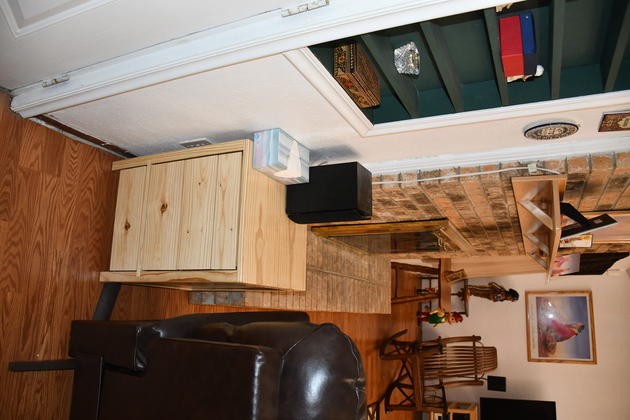
A little bit more encompasing shot.
|
|
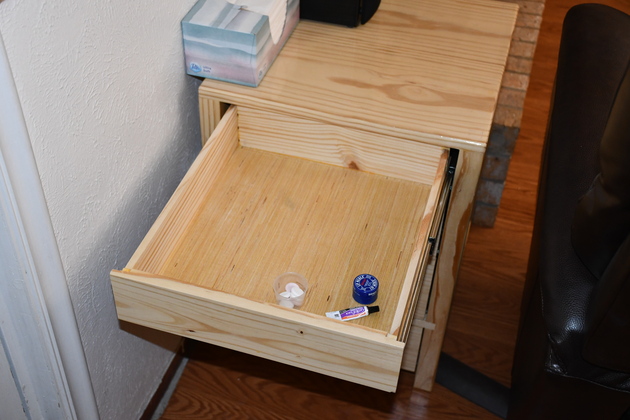
With #1 drawer open, push-to-open works great.
|
|
View from left rear quadrant.
You can see the corner of the original end table, note they match.
|

|
Closer look at the installed speaker table.
|

|
Wider shot of the West end of the den, note speaker table at far end of the hearth
|