|
Speaker Table Drawers
| ||
| Drawer Samples | Building Drawers | Dovetailing | Gluing Drawers |
| Mounting Slides | Finished |
I love drawers, I put them in almost everything I build.
I just did a quick count in my shop and found 57 drawers, mostly in roll around cabinets.
Drawer types I build:
There are several ways drawers can be made, I usually make a 'slab' drawer front and sometime a 'raised panel'.
The raised panel drawer fronts usually have a flat panel in their center, this is frequently called a "Shaker" front.
Sometime my drawer front is an integral part of the drawer frame, and sometime I make a complete drawer frame or box and attach a seperate front.
The two types of drawer fronts I use are inset (flush fit), and overlay.
The overlay drawer front overlaps the cabinet frame so that most of what you see are the drawer fronts and possibly some of the frame.
The inset drawer front's outside front surface is flush with the cabinet frame.
| The way my woodworking projects start out, 2x10s cut to length. |
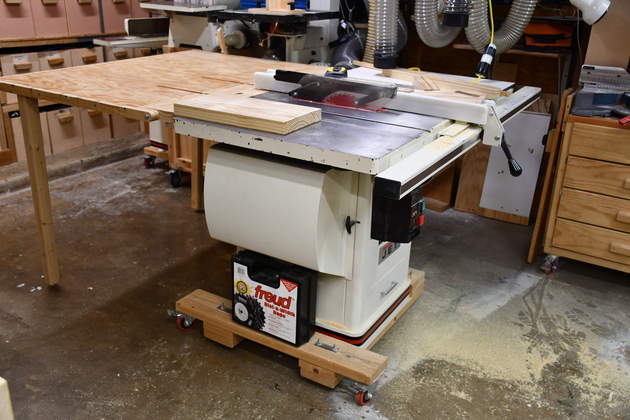
| Ripping 2x10s to the right width. |
| Resawing to the correct thickness. |
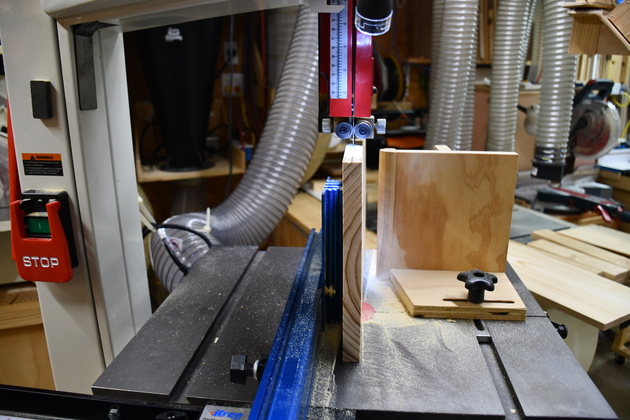
| Closer look at the resawing. I plane these boards to get rid of cupping before resawing. |
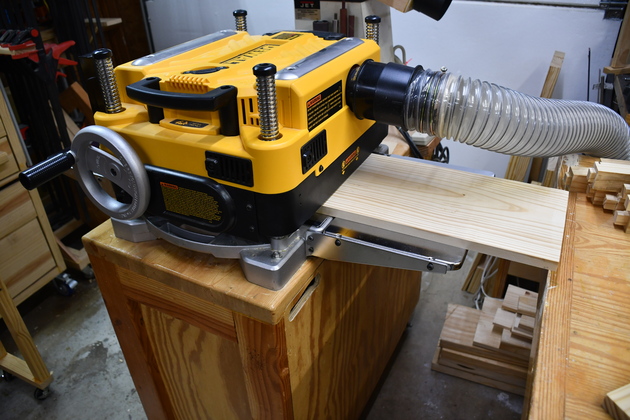
| Planing to get set the correct thickness and get rid of the bandsaw marks. |
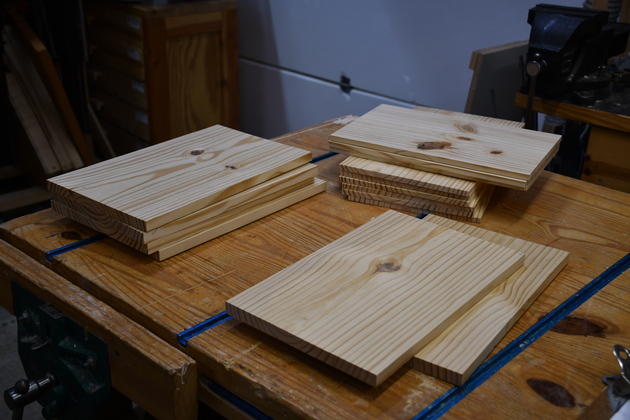
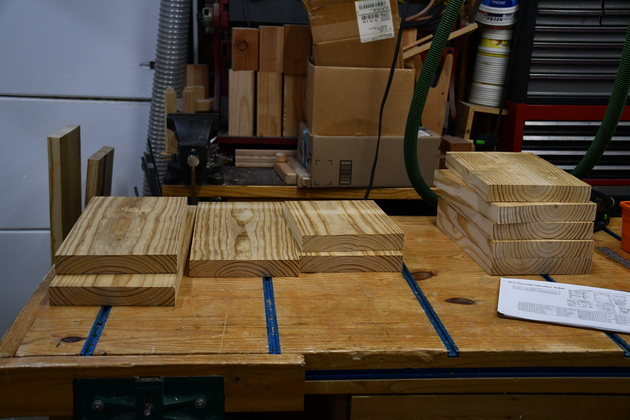
| After planing, drawer fronts, backs and sides. The drawer fronts are 11/16" thick and the sides/backs are 3/8" thick. |

| A little closer look at the drawer fronts (foreground) and sides/backs (background). These still need to be ripped to the correct width. |
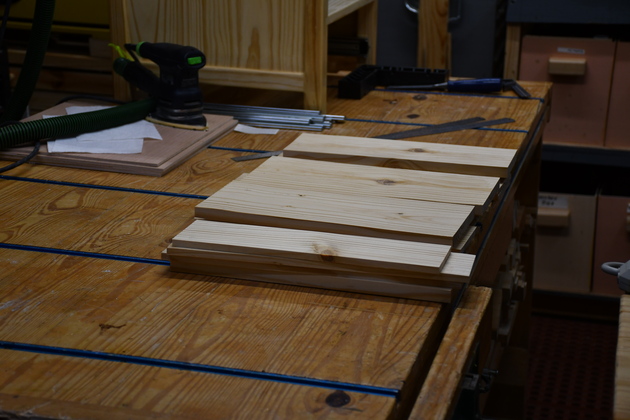
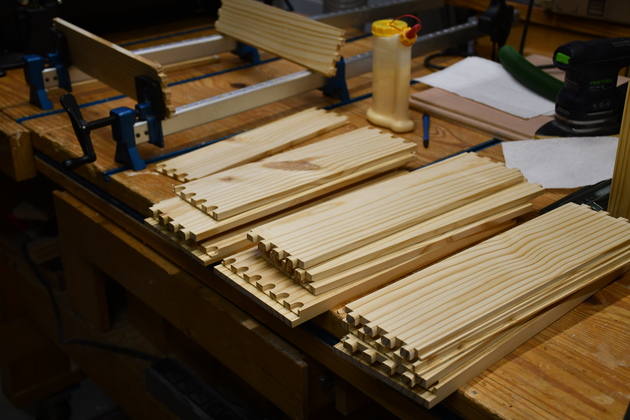
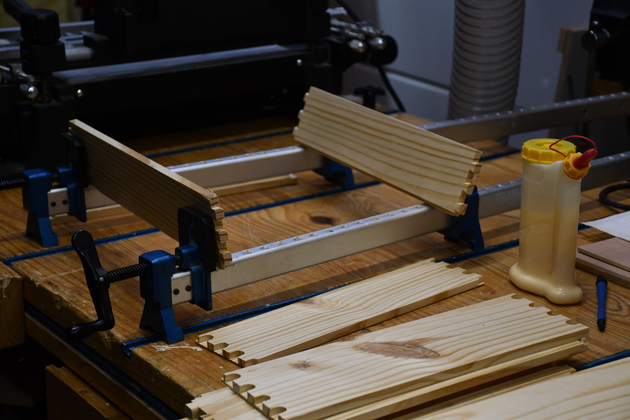
| After ripping, I have arranged the fronts, sides, and backs into drawer sets. |
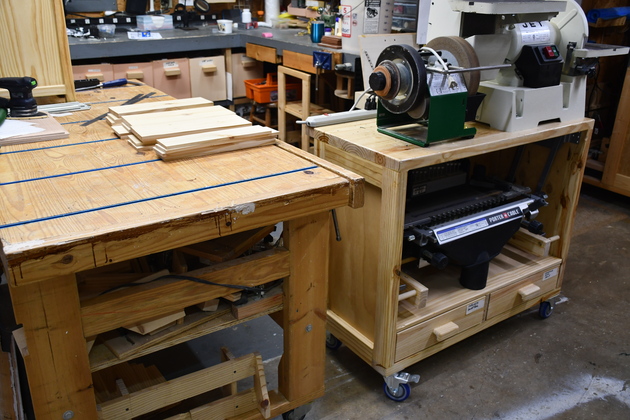
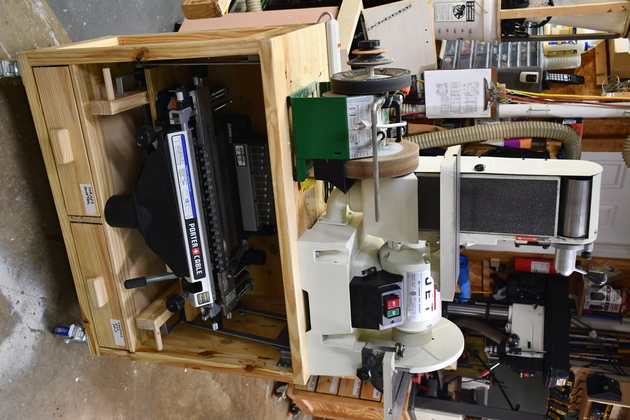
| The dovetail jig storage (under sander) up close to the end of the workbench where I'll use it. See more info on the dovetail storage in the sander bench. |
| Dovetail jig raised for moving to the work bench. |
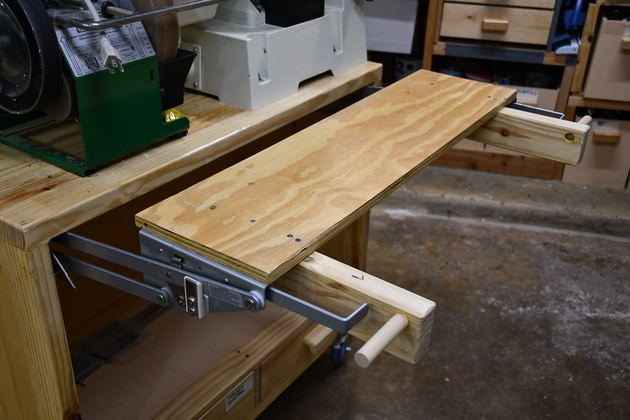
| What the lift looks like with dovetail jig removed. |
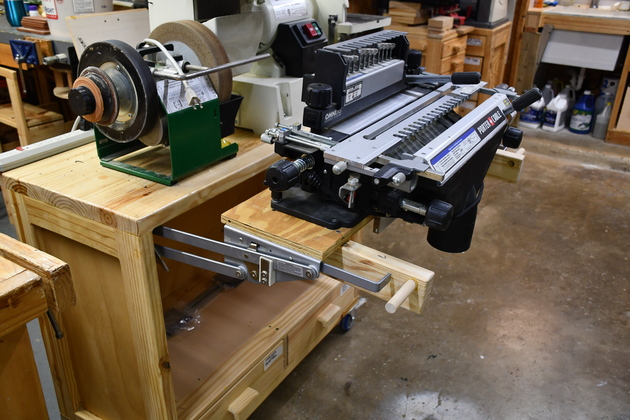
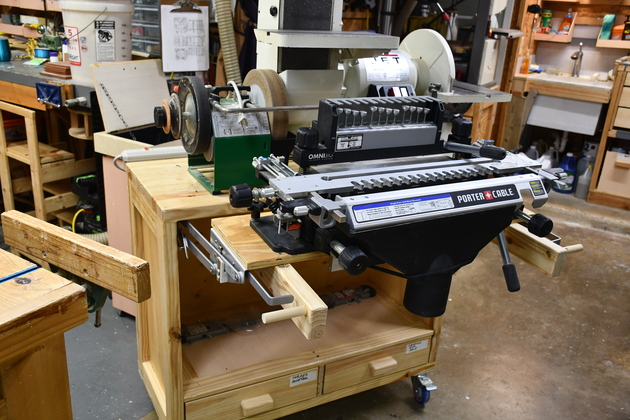
| The dovetail jig moved to the workbench. |
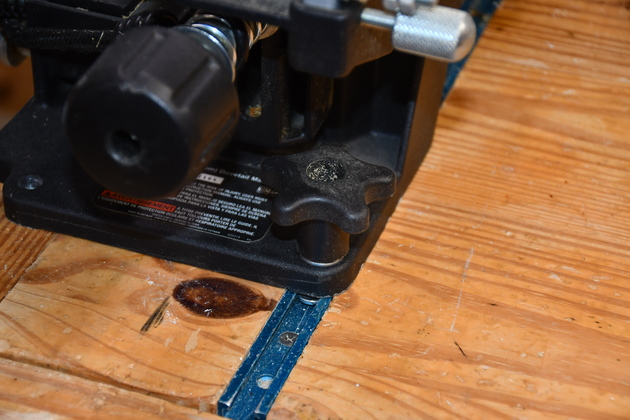
| Close look at one of the tee bolts and knob that secure the dovetail jig. |

| The dovetail jig small parts in their drawer in the bottom of the sander bench. |
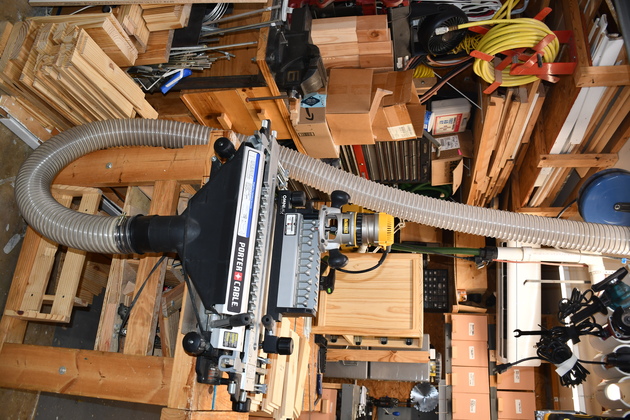
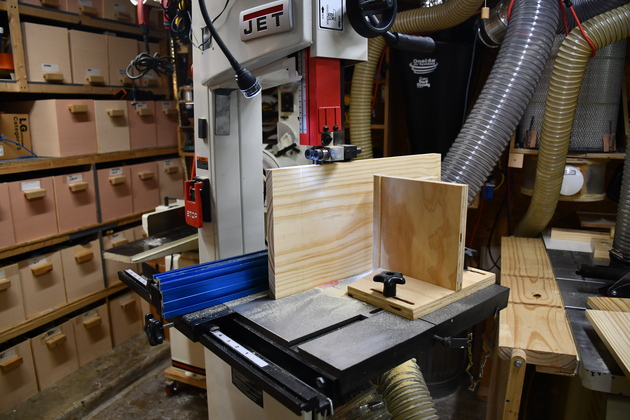
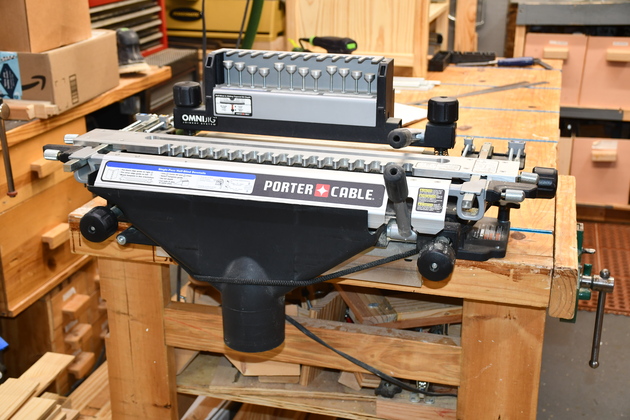
| Dovetail jig set up on the work bench with dust hose attached. You can see the router on top of the set-up part of the jig. |
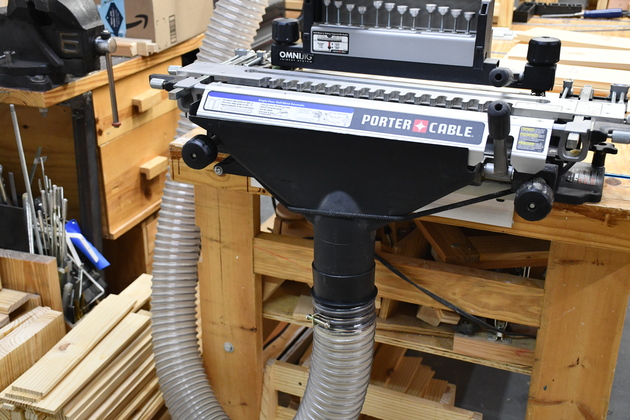
| Closer look at the dovetail jig's dust hood and the 4" hose attached.. |
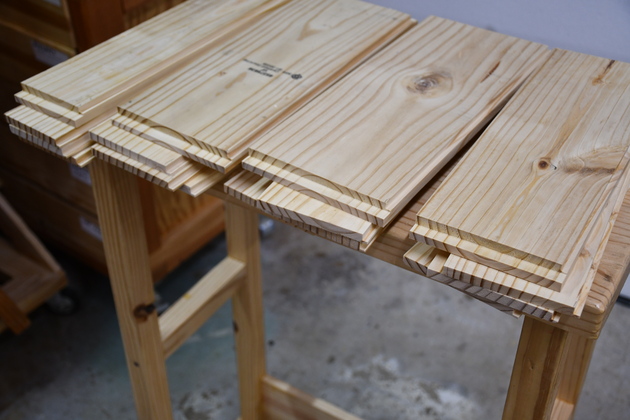
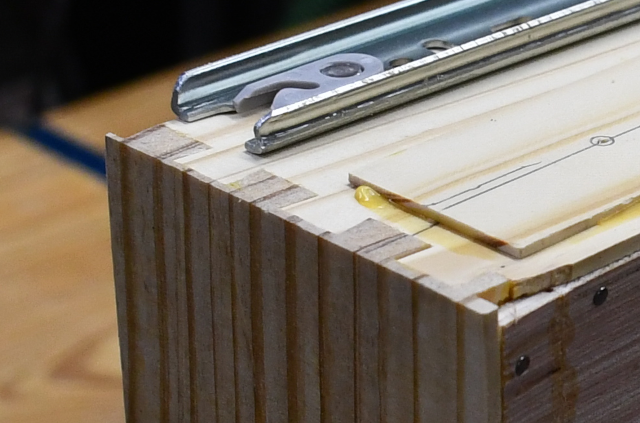
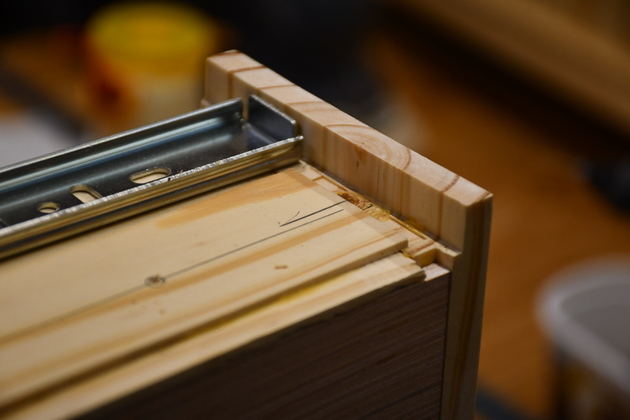
| Drawer sets arranged on the roll-around work table, in front of the router bench. You can see the bottom rabbets and the front's side rabbets (hide the slides). |
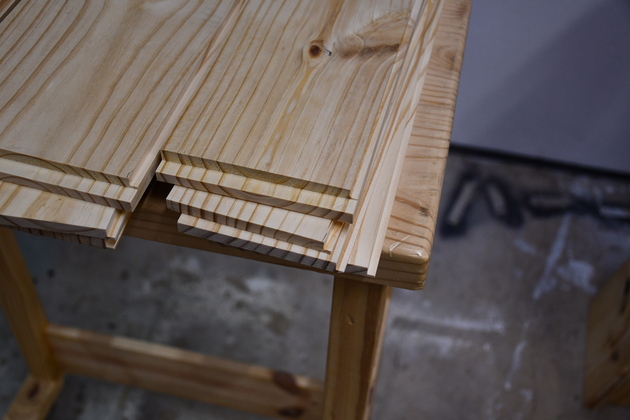
| Closer look at bottom rabbets and front edge rabbets (to hide slides). |
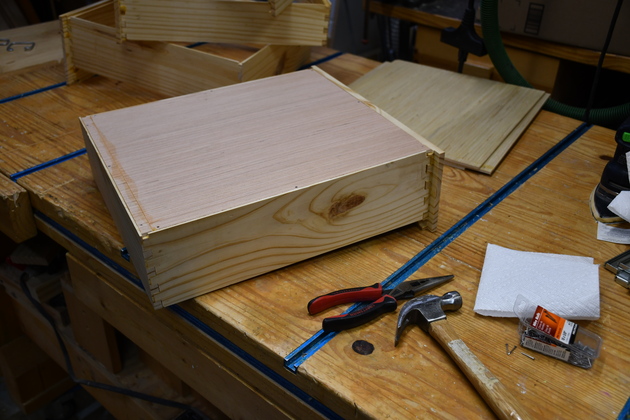
| Drawer sets on the work bench, and one set of clamps, ready to glue drawer frames. |
| Dovetail jig back on it's storage shelf. |
| And lowered into storage position. |
| I lay the drawer frame set pieces out in their correct position before gluing. |

| The tail piece, I put a small blob of glue on each section. Then I use a small round glue brush to spread the glue inside each tail. Please see my Test Bench Drawers page, for lots more info. |
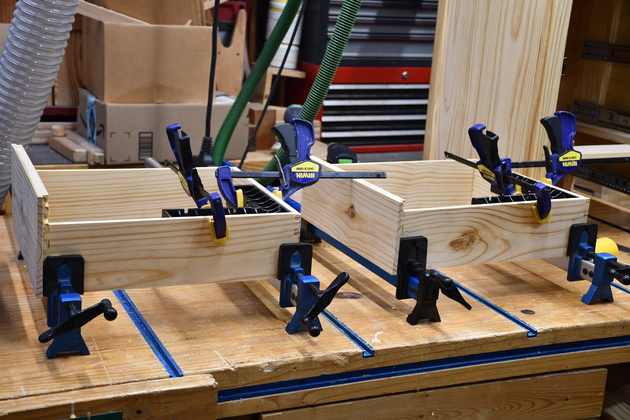
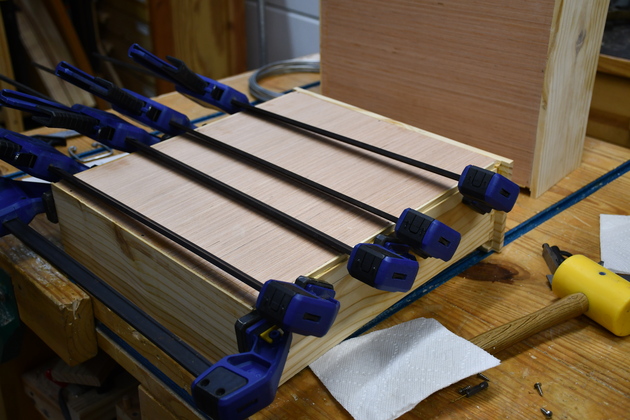
| Drawer frames being glued. |
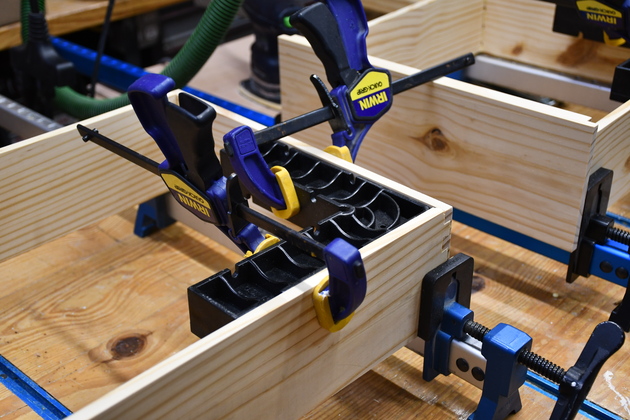
| Note the Rockler ClampIt keeping the frame square while the glue sets. |
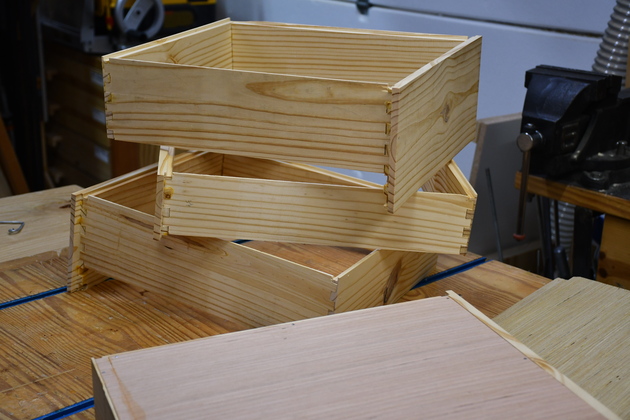
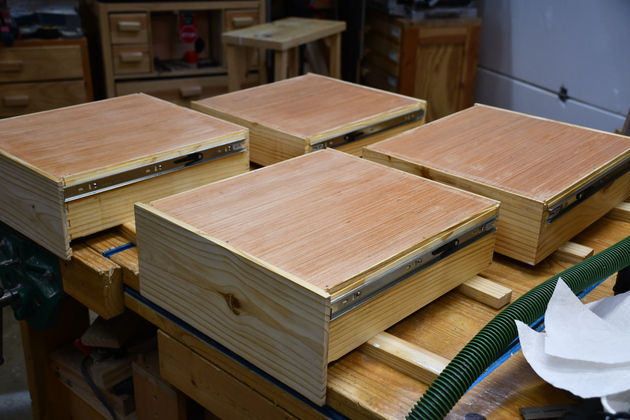
| Some of the glued drawer frames, ready to have bottoms glued in. |
| Gluing in the drawer bottoms. I put a bead of glue all the way around the bottom rabbet, then use wire nails to hold the bottom down until the glue sets. |
|
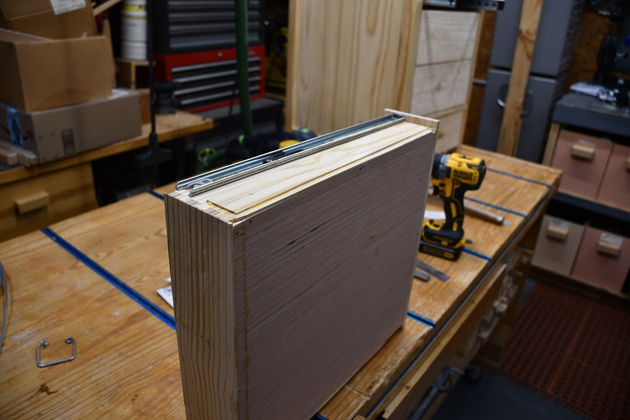
Drawer slide shims.
Since this is my first experience with push-to-open drawer slides, and I didn't want any problems with adjusting for a smooth ride in and out, I cheated and made the drawers 1/18" narrower than the cabinet.
So I'm going to glue these 1/16" shims to the sides of each drawer, under the slides to make the drawers come out even.
If I do need to adjust the drawer width, I'll sand off a little of the shim, at the appropriate place.
Plus, this gives me just a little more "meat" to hold the mounting screws. |
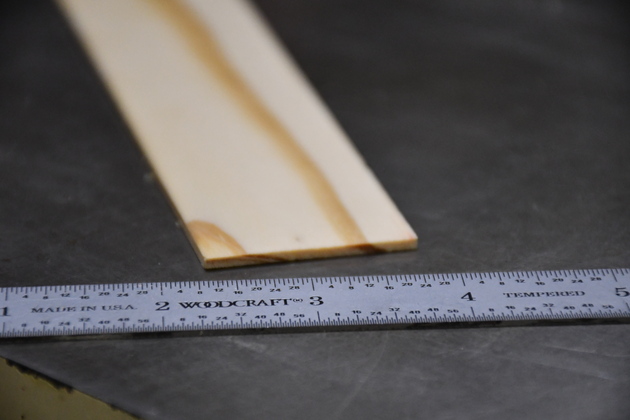
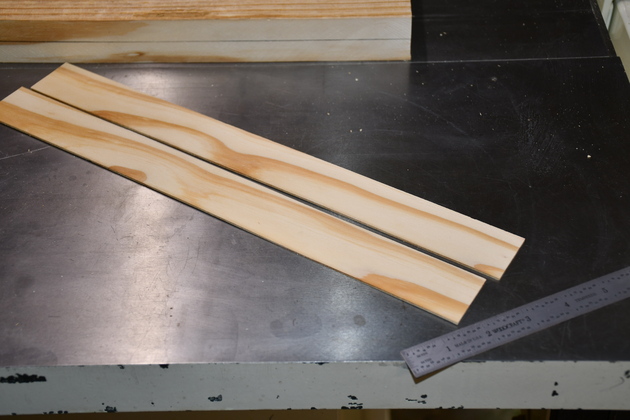
| To give you and idea of a 1/16" thick shim. I sawed these from a 2x10 on my table saw. |
| Here I'm gluing the shims to the side of the drawer. |
|
|
| Other end of the Shim. |

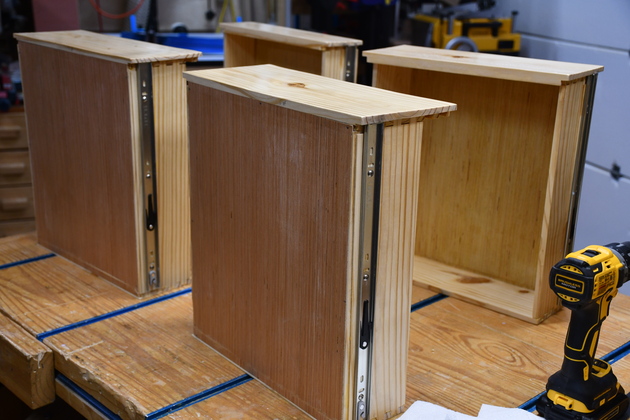
| Mounting the slides on the drawer. |
| Drawer bottoms being painted. |
| Inside already painted, here I'm painting the drawer fronts. |

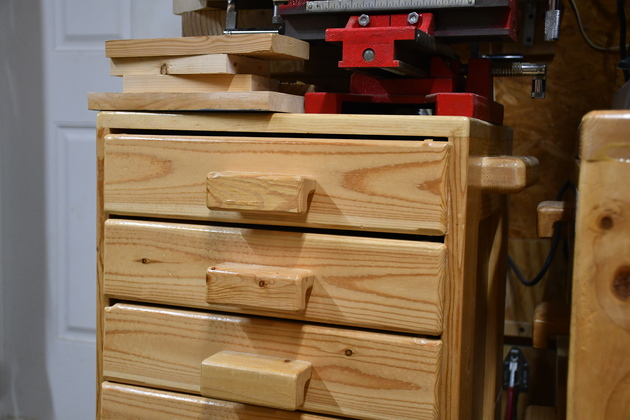
| Drawers in Betty's office, inset with our home made handles. |
| Overlay drawers in the cabinet under the drill press. |
| Closer look at a couple of overlay drawers in the drill press cabinet. |
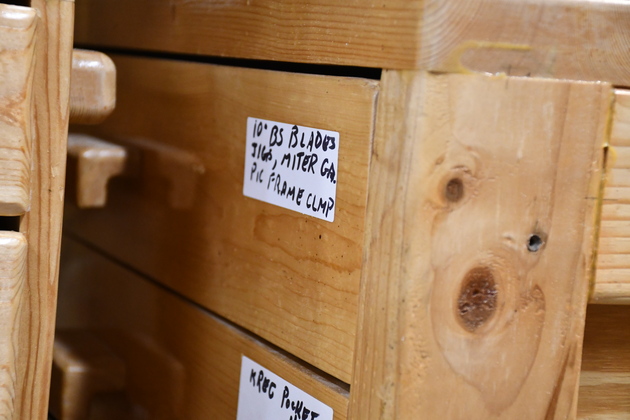
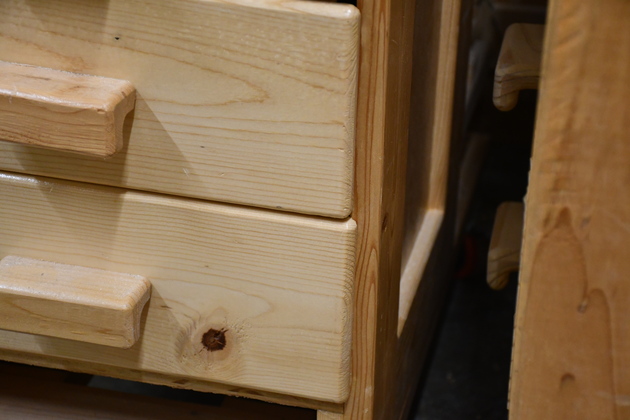
| Inset drawers in the cabinet for the 10" bandsaw and mortiser. Note: all the drawers here have our home-made pulls (handles). |
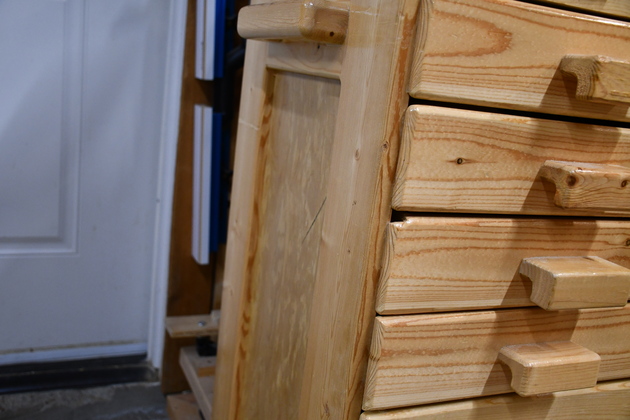
| Note the side of the drill press cabinet, has a shaker style side (flat inset panel). The cabinet side handle is home made and a modificatino of our drawer pulls. |
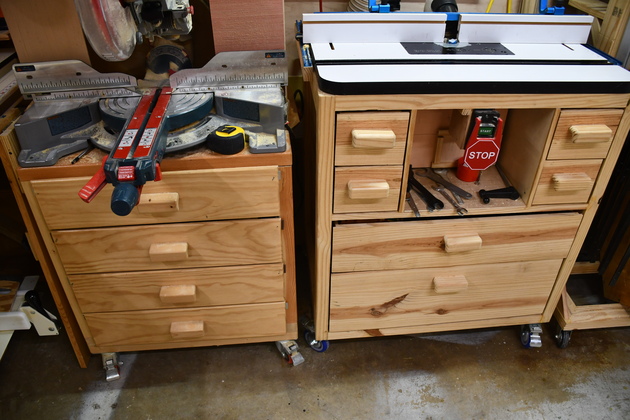
| Miter saw cabinet with overlay drawers on the left and router cabinet with inset drawers on the right. |
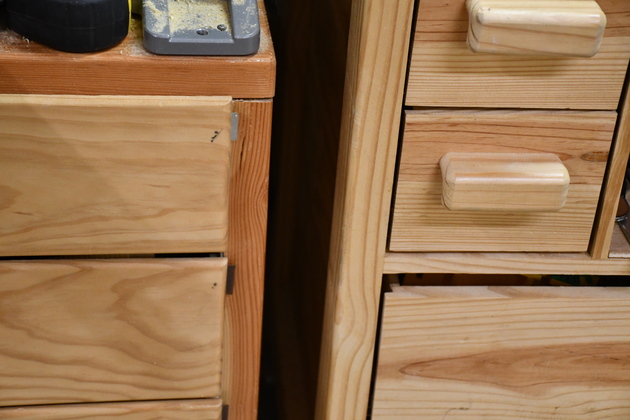
| Closer look at the miter saw cabinet (overlay drawer fronts) and router table (inset fronts). |

|