|
|
|
|
|

|

|
|
|
Cindy's Projects
| |||
|
|
|
|
|
|
|
|
|
|
|
Cindy's Projects
| |||
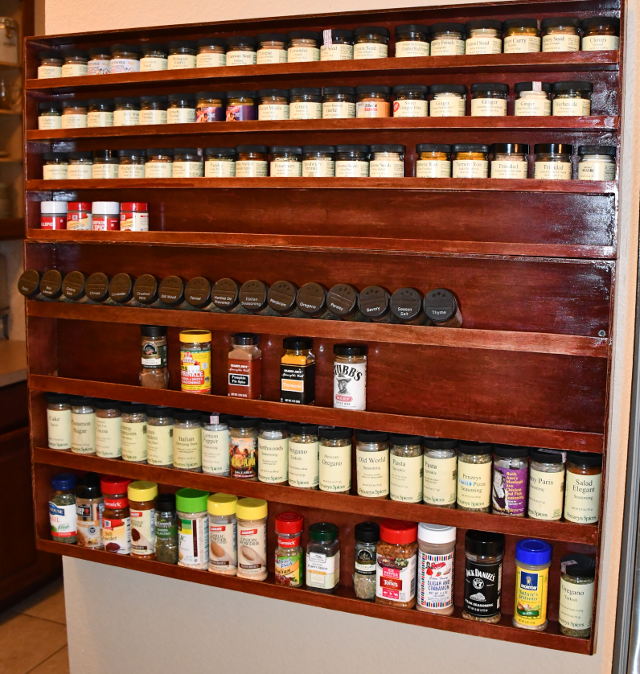
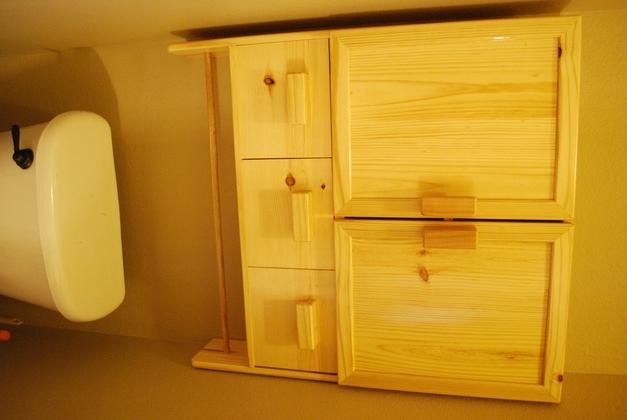
Cindy has been the guinea pig for a lot of my wood projects.
She already has bathroom cabinets,
and a wine rack.
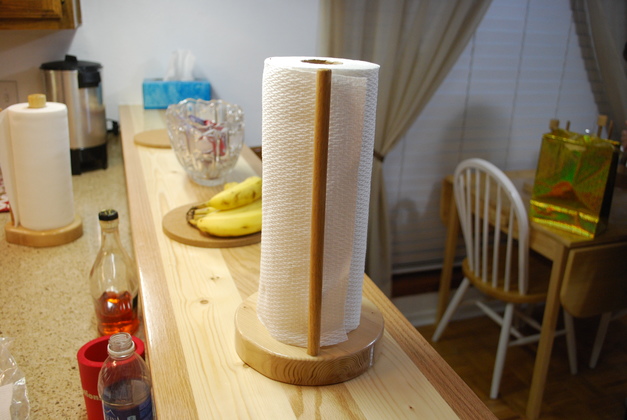
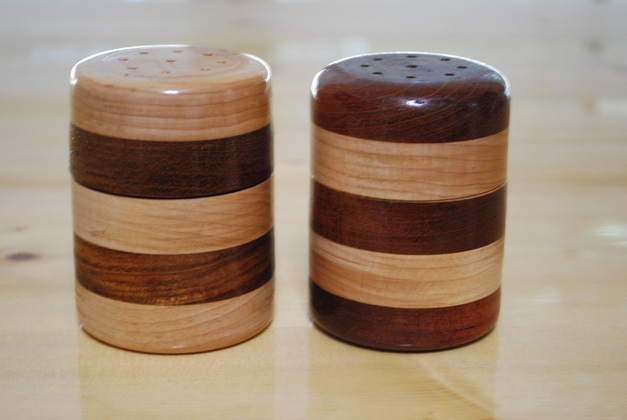
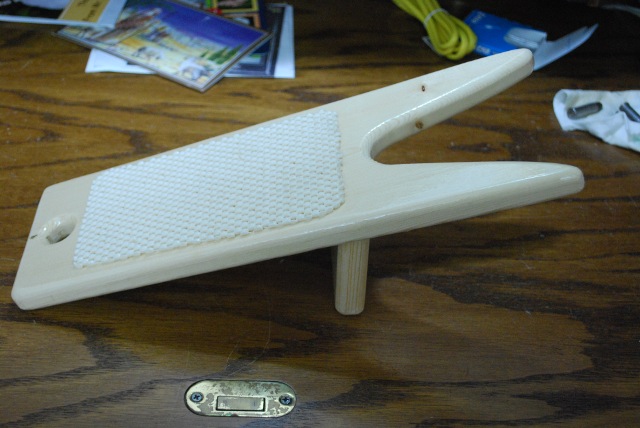
She also has: paper towel holder, boot jack,step stool, salt & pepper shakers, and Oma's Stool.
I also got the idea for our trash bin from one she purchased.
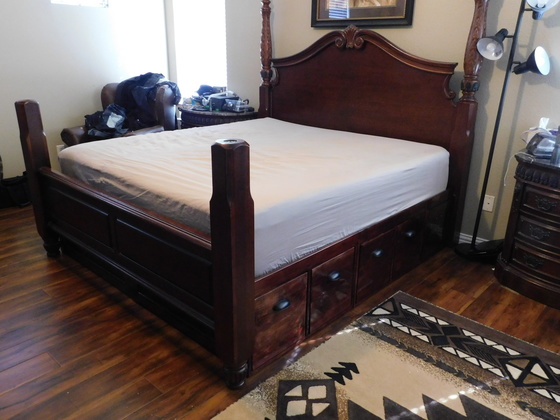
I also built Cindy a King size platform bed earlier this year (2018).
I replaced some hinges in her kitchen last summer.
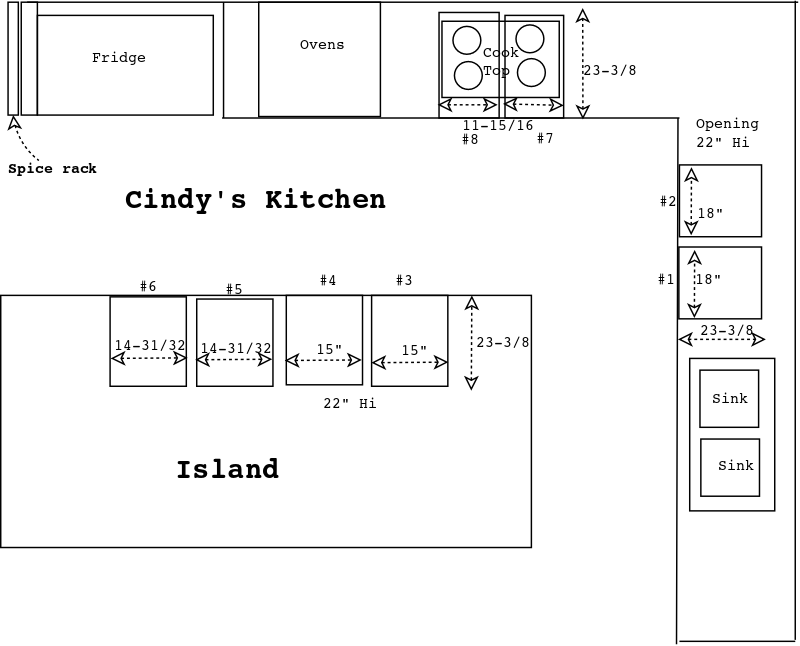
11/03/2018: Measured Cindy's cabinets and heres the info see Diagram
The sliders will be built Betty's kitchen sliders only with higher sides.
.
Lately, I make everything, from 2x8x8' Southern Yellow Pine: cut to length, rip, resaw, and plane.
The quantities in the cut list show C>P [2x8 cuts > resultant pieces].
I cut the 2x8 to length of the final pieces, then rip, resaw, and plane to get the final lumber pieces.
For instance I get 3 pieces 3/8" thick from a single 2x8 cut.
I can cut 6 pieces of 2x8, then rip to 5" wide, resaw into 18 3/8" thick pieces.
I only need 16 pieces 3/8 X 5 for sides, so I'll use the other two as spares or shorten them to some fronts / backs.
I'll get 3 - 5" X 3/8" thick pieces from one piece of 2x8.
Please see my 2x to 1x page.
| Dimensions | ||||
| Door # | Width | Length | Height | Cabinet Depth |
|---|---|---|---|---|
| Dwr #1-2 | W = 17 | L = 22" | DL = 12" | DH = 8-1/2" |
| Dwr #7-8 | W = 10-15/16 | L = 22" | DL = 12" | DH = 8-1/2" |
| Dwr #3-6 | W = 14-31/32 | L = 22" | DL = 12" | DH = 8-1/2" |
|
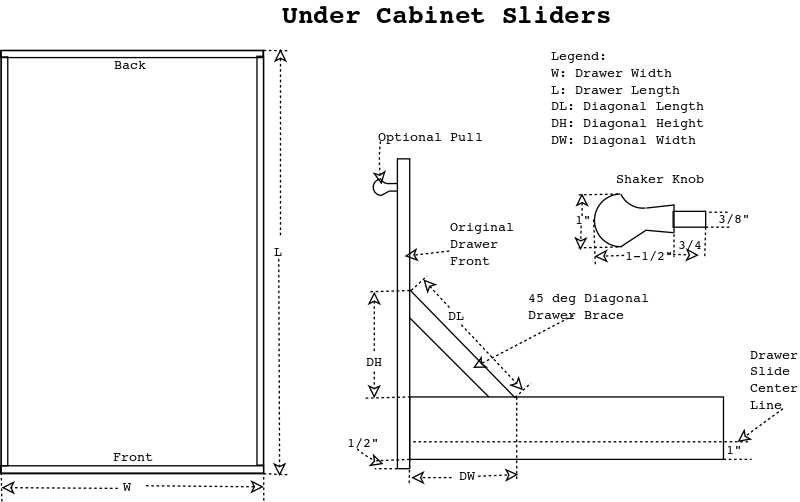
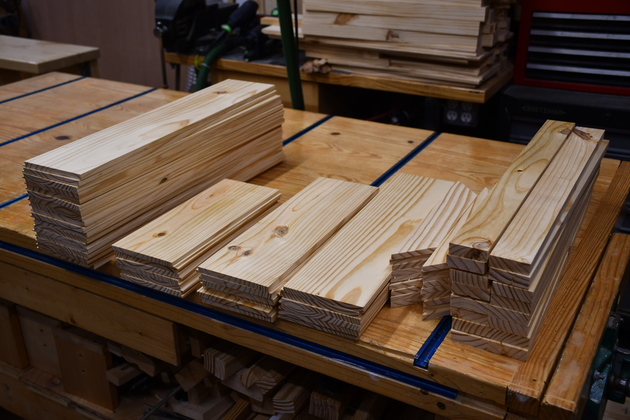
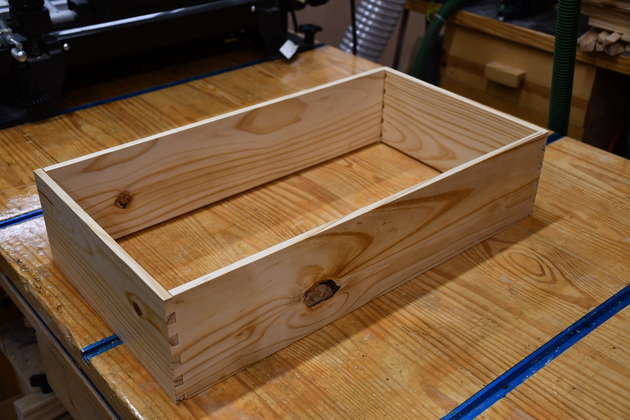
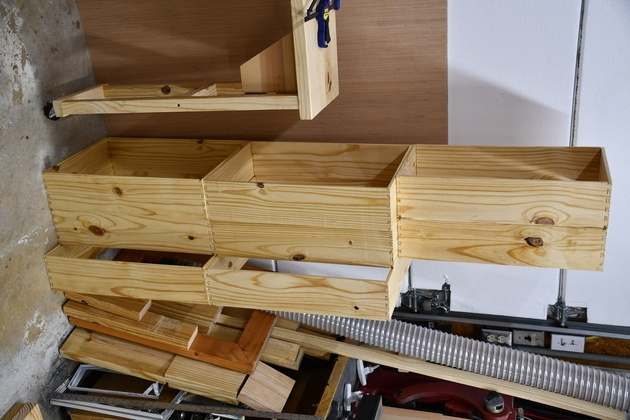
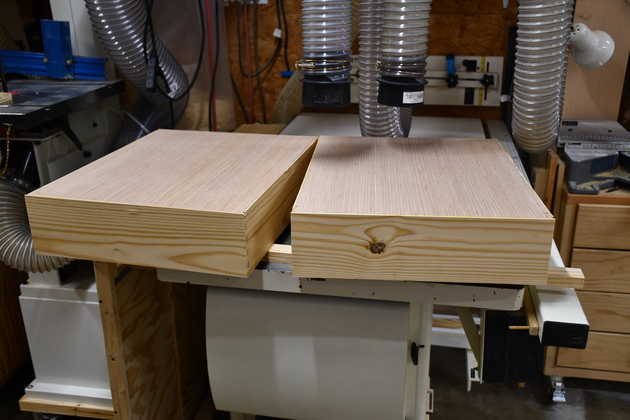
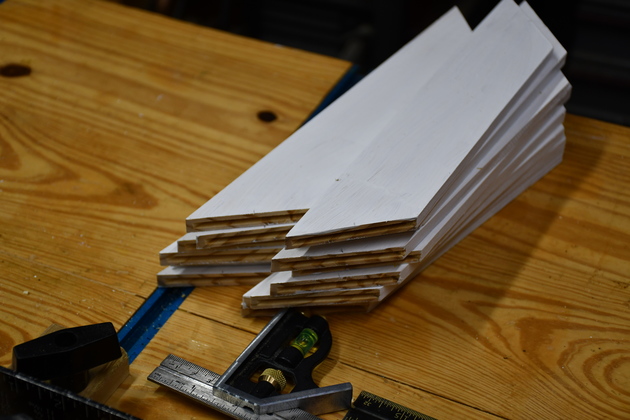
Here are all the parts of Cindy's sliders, cut to length, ripped to width, resawn to thickness, and planed. These will be simple drawer boxes, glued to the back of the existing front with diagonal braces to keep the front exactly vertical in relation to the slides. The drawer frame parts are all 3/8" thick (on some drawers the fronts are thicker and wider). There are 3 different widths of drawers, but all are 22" deep. Oh yes, and I cut the miters on the ends of the diagonals. Check out how I size lumber. |
|
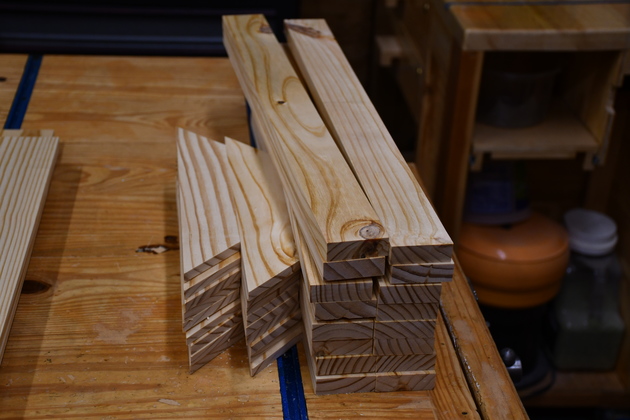
These are the diagonal supports and the slide mounts. |
|
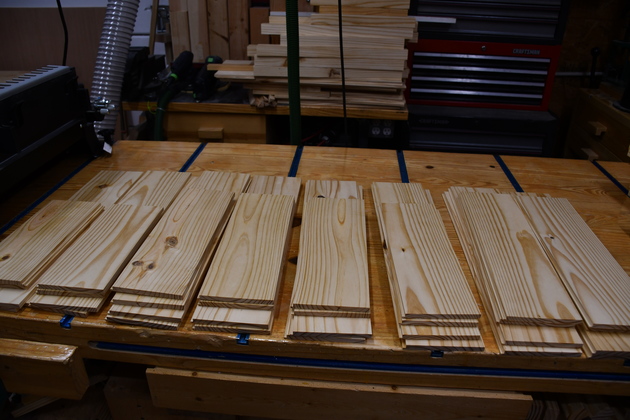
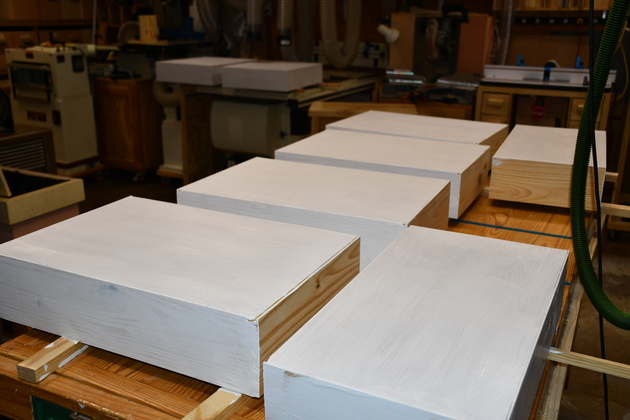
All 8 drawer sets (front, back, sides) laid out on the workbench. You can just barely see the rabbet (for the drawer bottoms) on the left of each piece. |

|
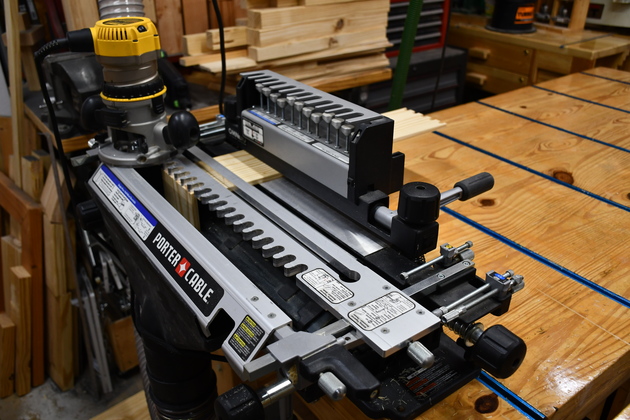
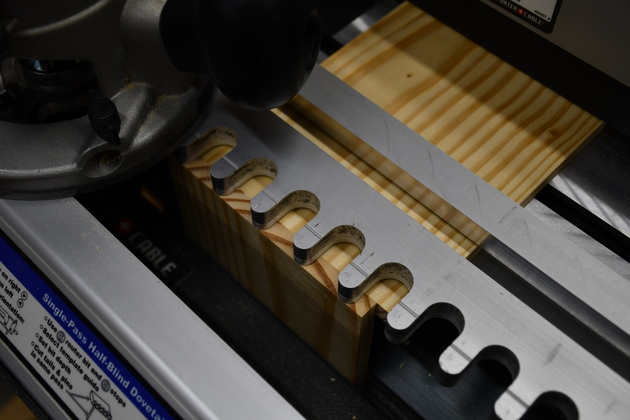
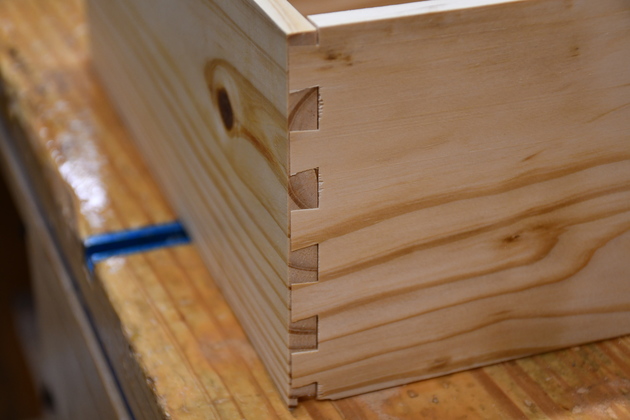
Dovetailing drawer box corners. |
|
Closer look at cutting dovetails. Thats the drawer front or back laying horizontally, and one of the sides vertically. |
|
Two drawer parts lined up, clamped, and ready to cut the dovetals. |
|
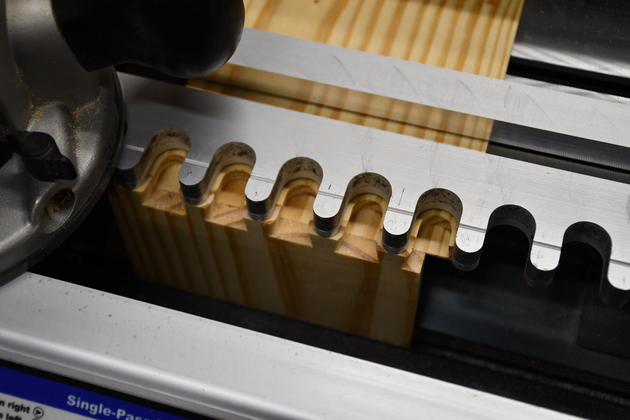
And after the dovetails are cut. |
|
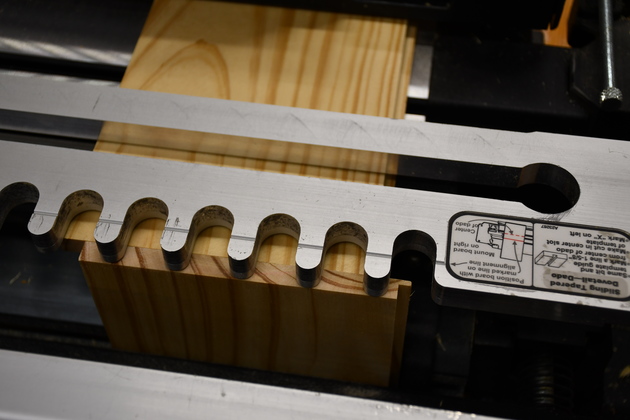
I have to cut half the dovetails on the left of the jig and the other half on the right side. |
|
I move the router out of the way soe you can see. Note the rabbet is against the stops on the right side. Then when I do the other end of the pieces the rabbets are against the left stops. |
|
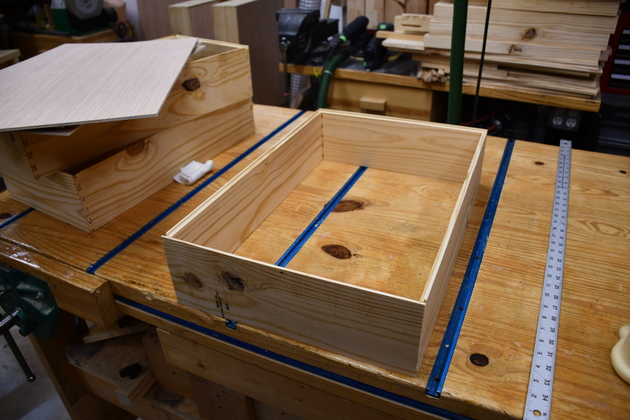
When I cut the first set, I do a test fit. |
|
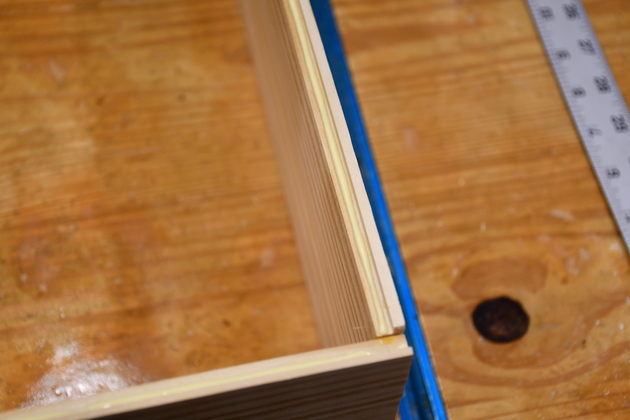
Closer look at the dovetails fit. |
|
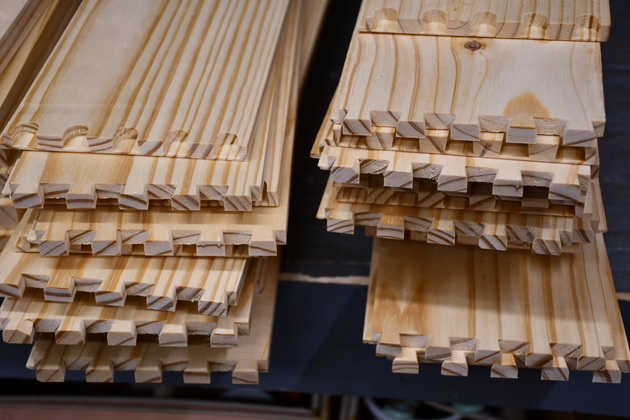
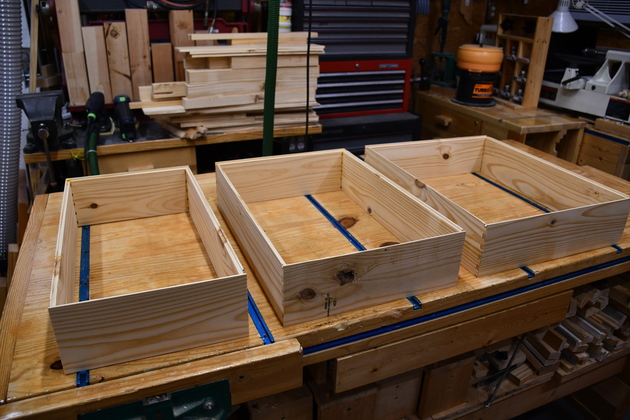
All the drawer sets, dovetailed. |
|
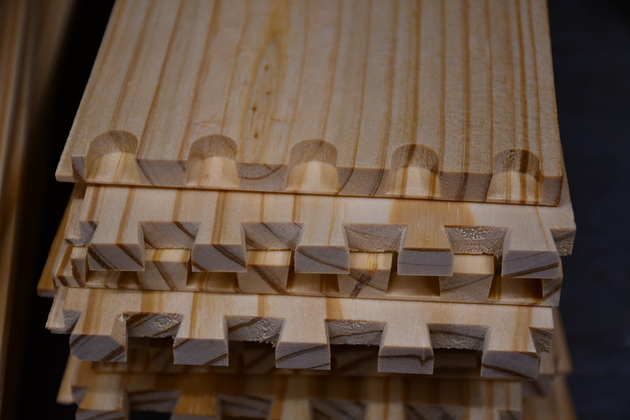
Closer look, the part on top is a front or back, the one below it is a side. The sides slide into the backs/fronts. |
|
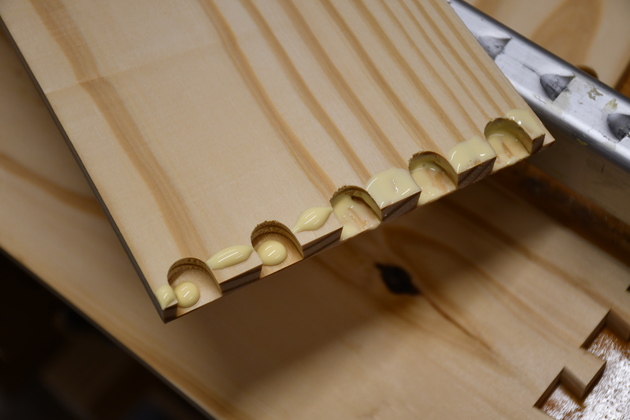
I put a glue dab on each dovetail spot.
|
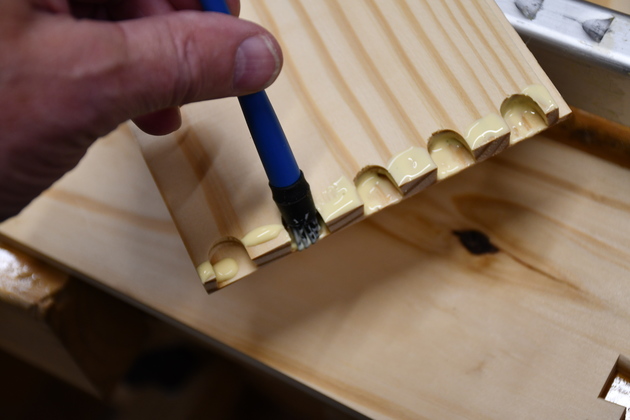
|
Then I use this little round glue brush, and spread the glue on top and swirl it into the corners of the slots. |
|
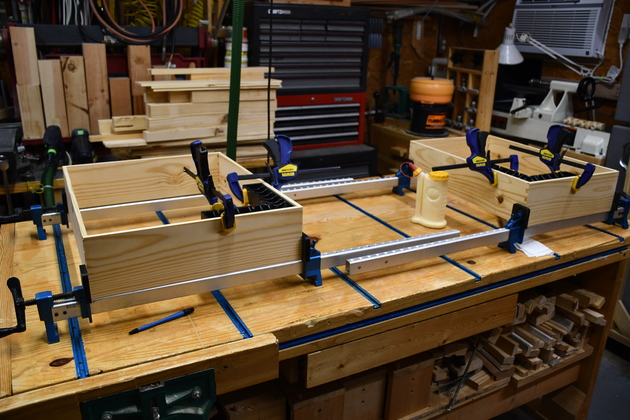
The first two drawer frames in the glue clamps. |
|
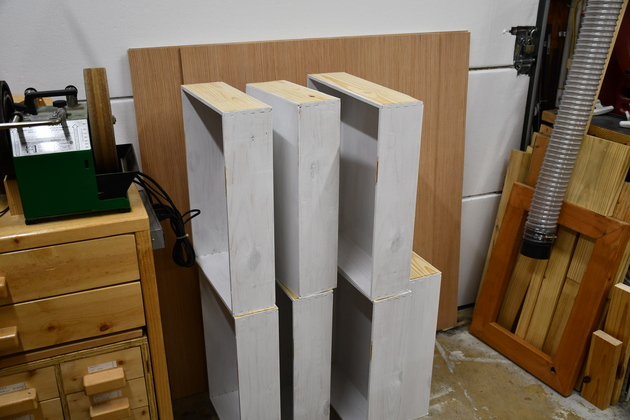
All drawer frames glued. |
|
Preparing to cut out and glue bottoms. |
|
Gluing in the drawer bottoms. |
|
You can see the rabbets for the bottoms. |
|
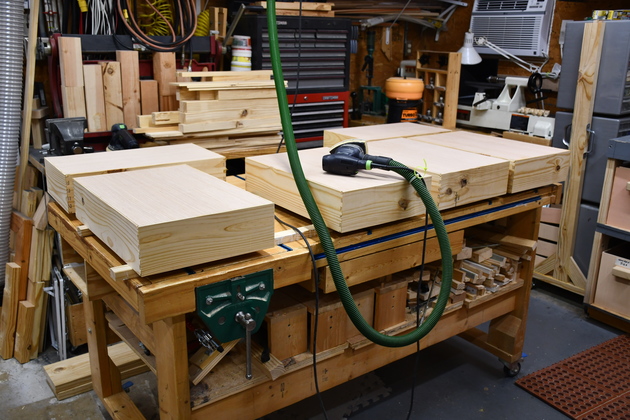
All bottoms glued, sanding before paint. |
|
The two largest drawers sanded, waiting paint. |
|
Painting (primary coat), notice the fronts aren't painted, thats where the original door will be glued. |
|
Almost all painted. |
|
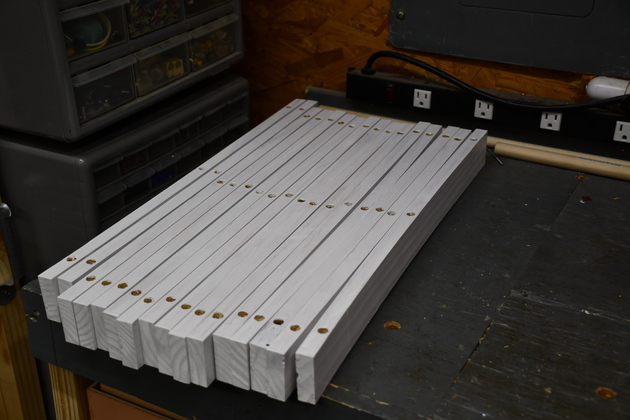
Drawer guide mounts, 2" high, 22" long. I bored 3 holes, then counter bored 38" wide and 5/8" deep for the Kreg screw. |
|
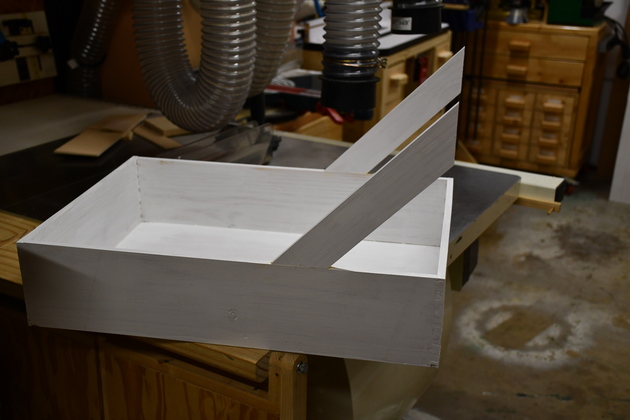
Diagonals, mitered, 1st coat of paint, and slotted for biscuits. |
|
First drawer with diagonals glued. |
|
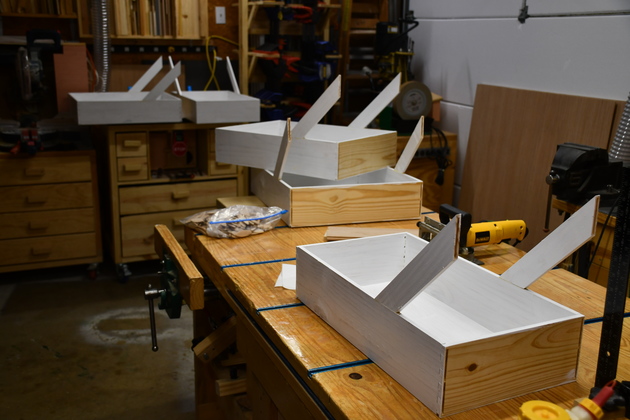
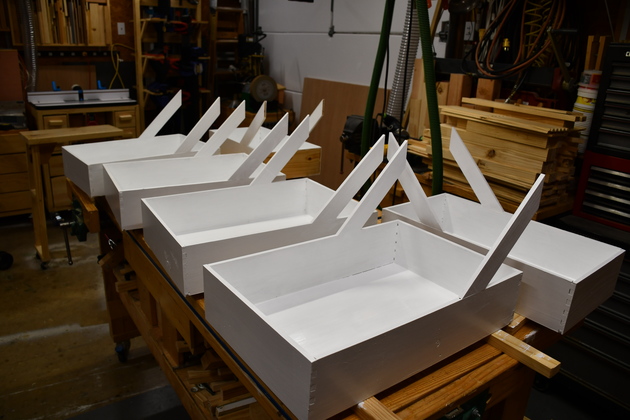
Drawers with diagonals. Ready for next paint coat. |
|
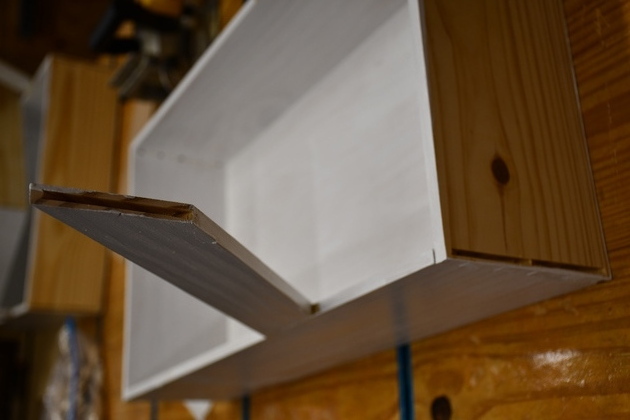
You can see the biscuit slots in the diagonal and front of drawer frame. I'll have to measure and cut 6 slots in the back of the door then glue each one. |
|
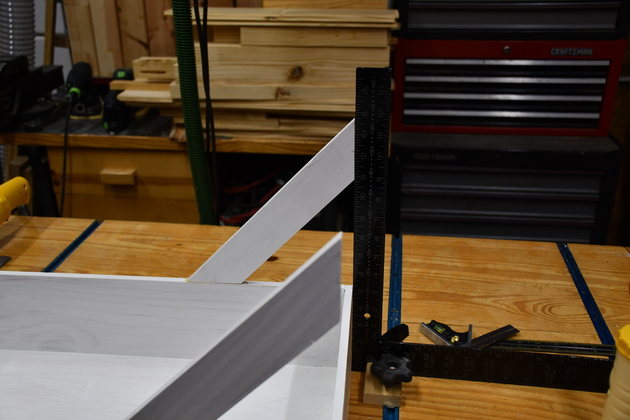
Using a framing square to make sure the diagonal end is in the same plane as the drawer front. So the door will be flat against the cabinet. The drawer frame is raised 1/2" and the front is sitting on the table top, this guarantees a 1/4" lip of the door overhangs the opening. |
|
After final paint. I found a water based enamel which will give a hard surface for the banging these take. |
|
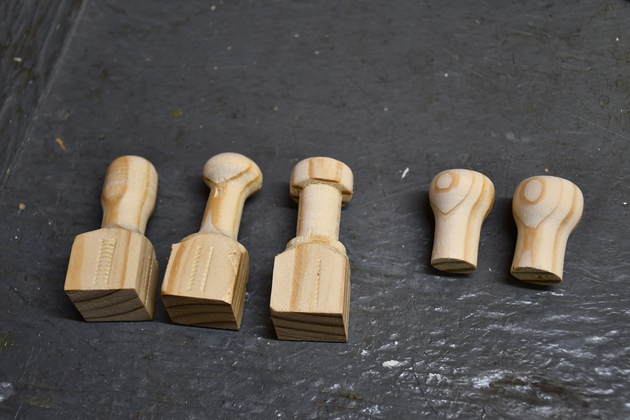
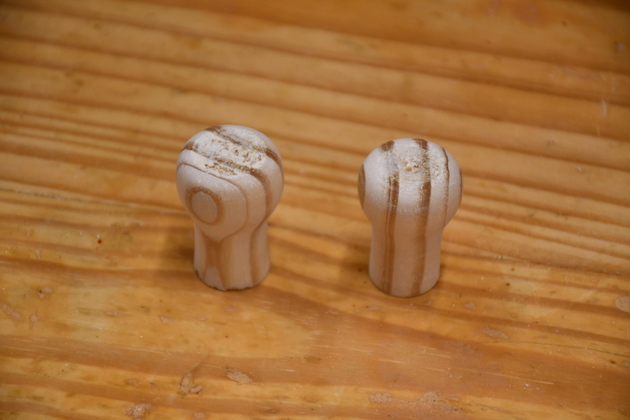
These are some pulls I turned, I'll let Cindy decide if she wants pulls like these or something different. For more info on how I made these please see the pull link on SusansSliders. |
|
These are for Susan's sliders. |

|