|
|
|
|
| |
| Cindy's Spice Rack | ||
|
|
|
|
|
|
| |
| Cindy's Spice Rack | ||
| Const Info | 2nd Spice Rack |
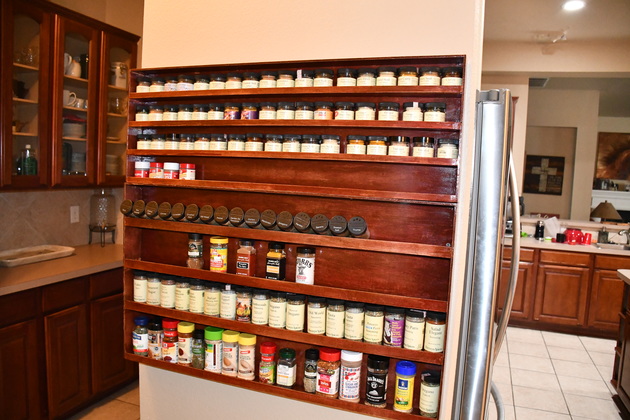
Cindy is trying to get her kitchen organized so she asked me to make a spice rack for her. We found 113 bottles of spices in 3 diiferent locations.
Choosing a wood:
I didn't want this to be bulky.
I normally make things out of Southern Yellow Pine, I have SYP color chips and a matching combination of stain colors for Cindy's cabinets.
But, SYP resawn to 3/16" or 1/4" thick and 36" long, with no plywood backing, is bad to warp and cup, not good.
I must use a plywood I can stain to match her kitchen cabinets.
I'm limited to Lauan, Maple, or Oak (the only thin ones available in sheets).
I already have a stain match on SYP for her cabinets, Minwax Sedona Red followed by Early American, but I don't have thin SYP plywood.
The Oak and Lauan is too dark when stained, so I'll try Maple, since it is light and available is 4x8 sheets.
After considering, I need to make this out of 3/16" Maple plywood, for strength and durability.
I'll build this in two sections, which will give her more flexibility.
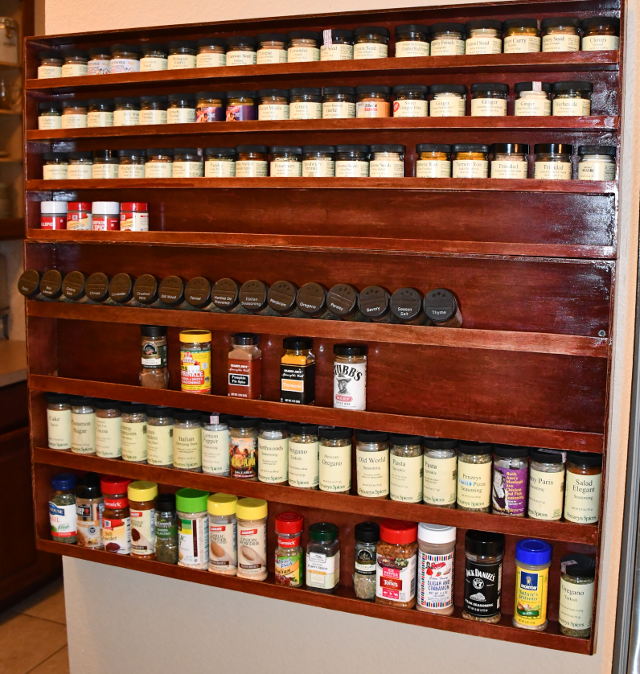
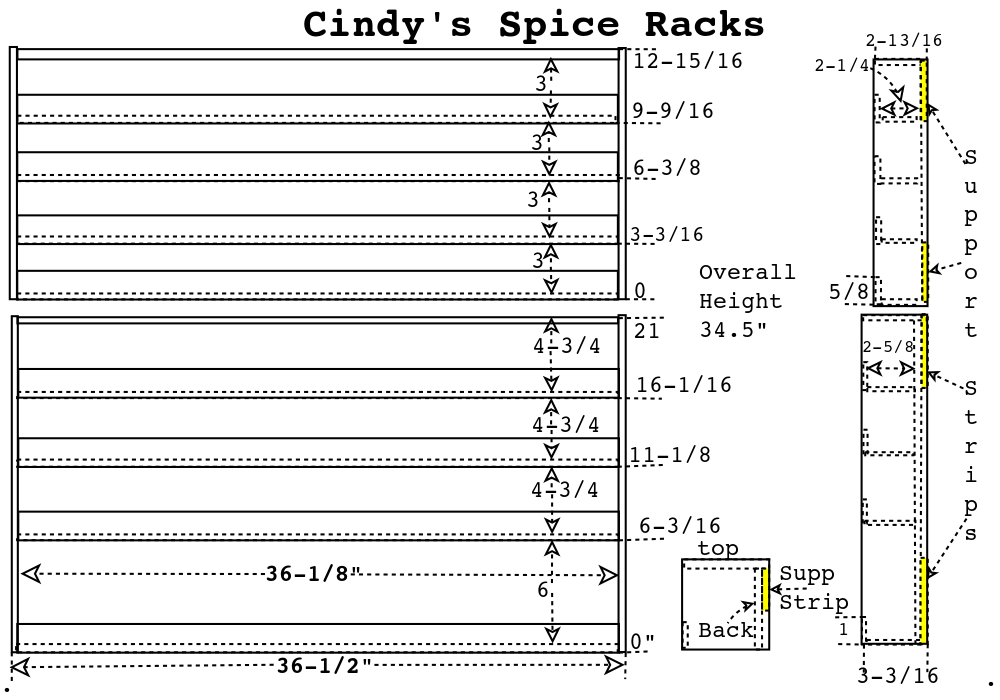
The top section section will have 4 shelves 2-1/4" deep, 3" high, and 36-1/2" wide.
The lower section will have 3 shelves 4-3/4" high and 2-5/8" deep with one extra (lower) shelf 6" high, 2-5/8" deep, and 36-1/2" wide.
I'm NOT going to miter these corners, the fronts don't intersect anything and will show anyway, unless I make 3/16" cap strips and I don't have any solid maple to make strips from.
The two sections may be hung one above the other or in different locations.
After making some color chips and comparing to Cindy's cabinets, It looks as if Early American stain followed by Sedona Red on Maple, will come close to matching.
|
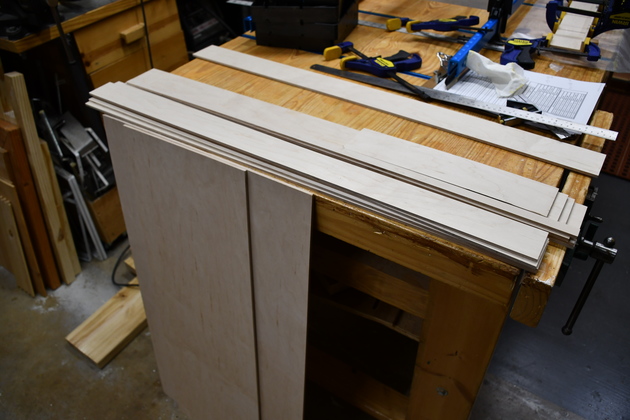
3/16" maple plywood cut out for both racks. |
|
Gluing rack frame top to sides. Also note the bottom shelf, lower part of pic, is having it's front glued to it. |
|
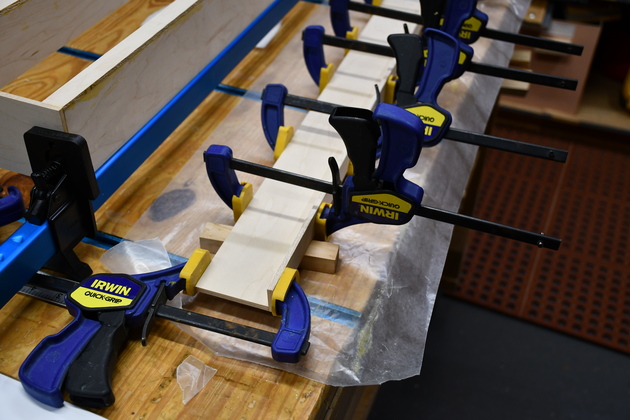
Gluing shelf front to shelf. |
|
Gluing one of the shelves into the frame. Note another shelf and front being glued on bench to right. |
|
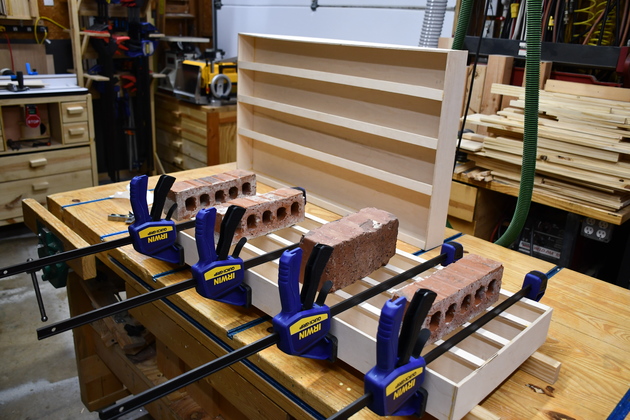
Gluing horizontal support strips to back. |
|
Gluing vertical support strips to back. |

|
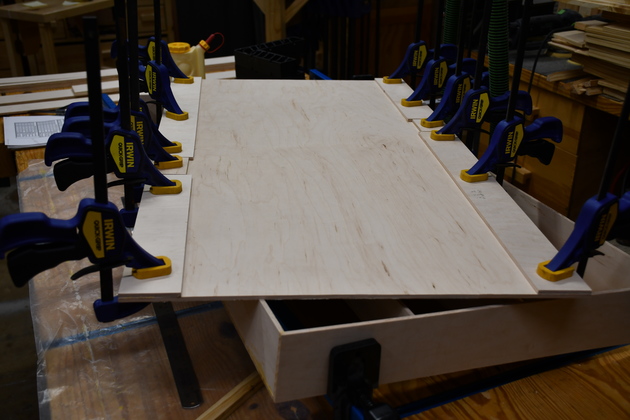
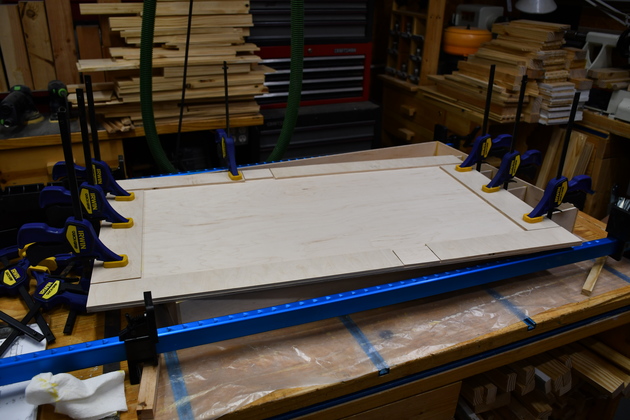
Gluing back to rack. |
|
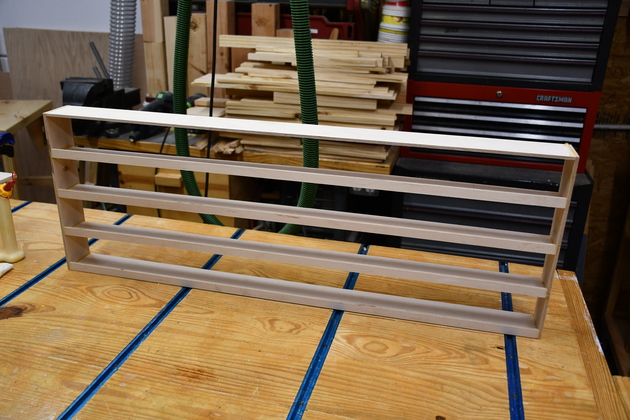
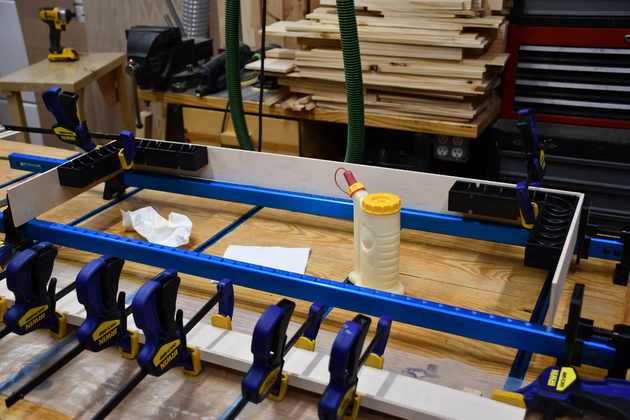
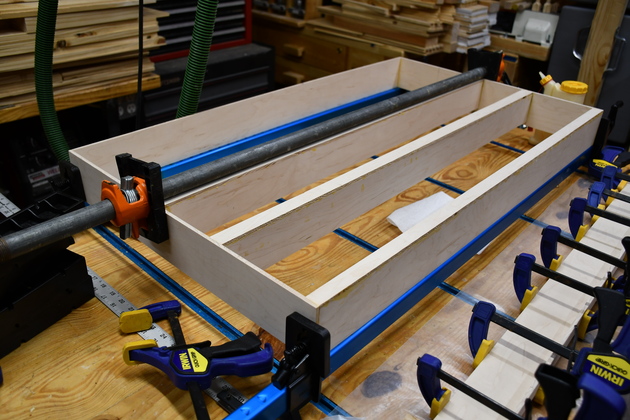
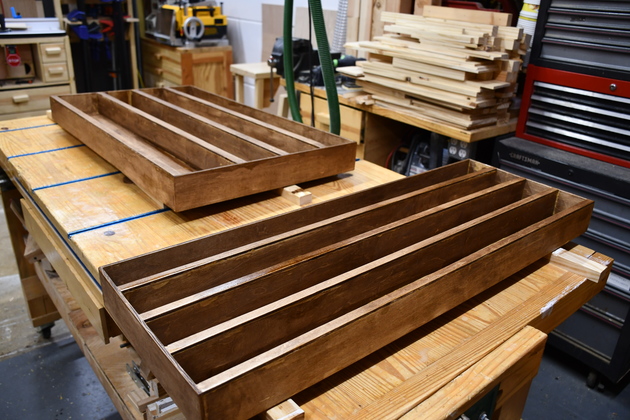
The bottom section all glued on the table saw. |
|
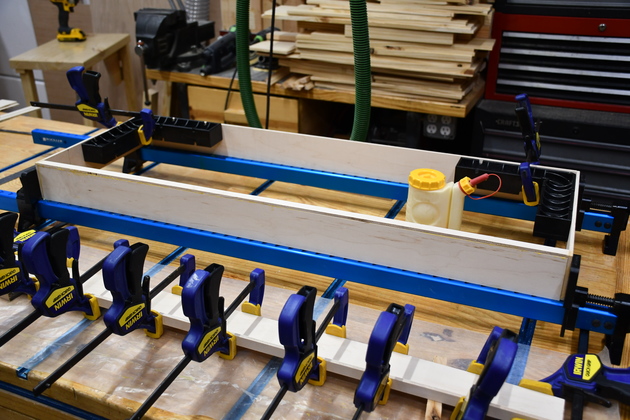
Top section frame in the glue. Please notice the ClampIts in the upper corners, keeping the frame square. Note at bottom of pic, a shelf having it's front glued on. These top shelves have a smaller front than the bottom so its easier to read the spice labels. |
|
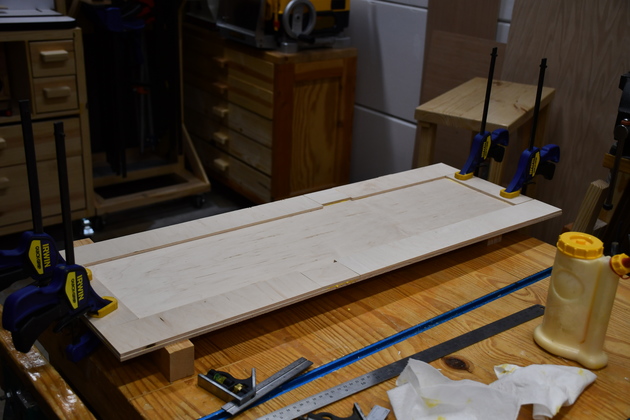
Top section back having reinforcing strips glued to it. |
|
|
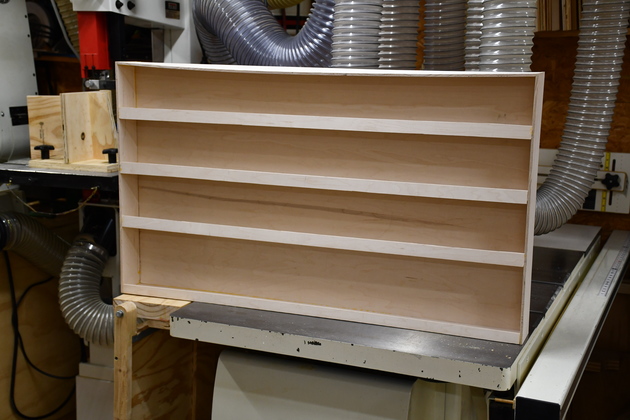
Top section, all shelfes glued to frame. |
|
Top section, back being glued to frame and shelves. Note bottom section in the background. |
|
|
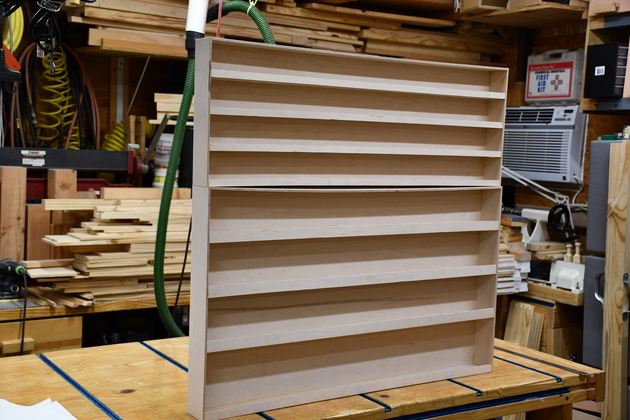
Both sections, as they'll be when finished. |
|
First coat of stain (Early American). Next coat will be Sedona Red. |
|
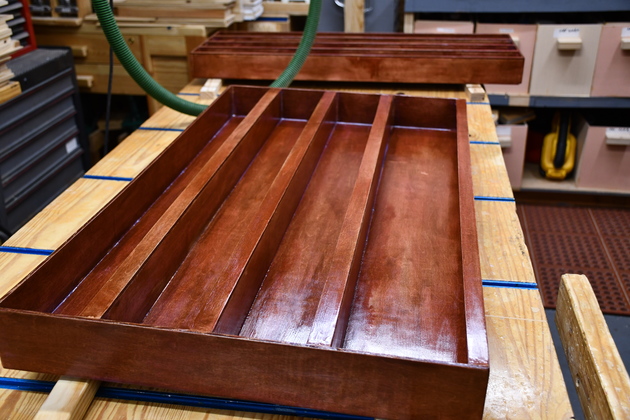
First coat of polyuerthane on the bottom section. You can see how the Sedona Red changed the color (reddened it). |
|
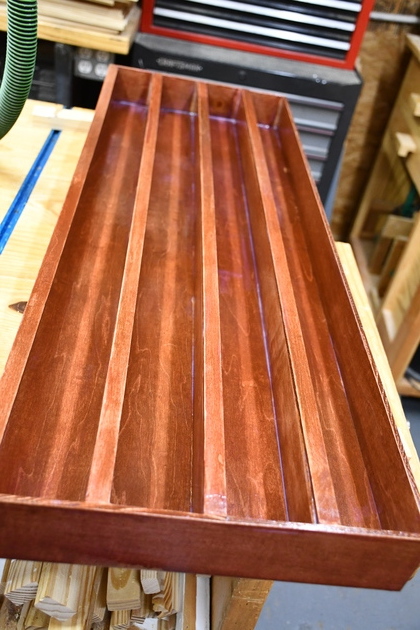
Ditto the top section. |
|
|
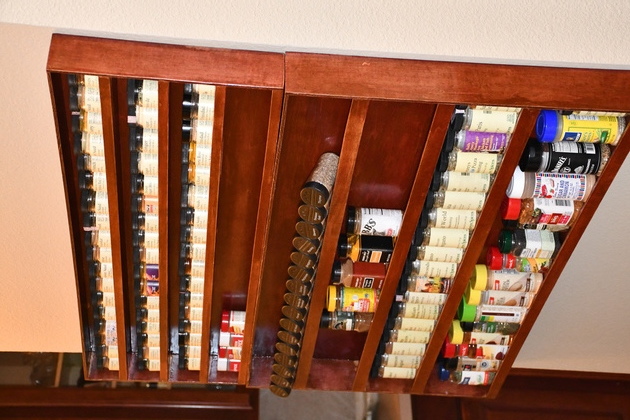
Installed and loaded. Note the kitchen cabinets color and the spice rack's color. |
|
|
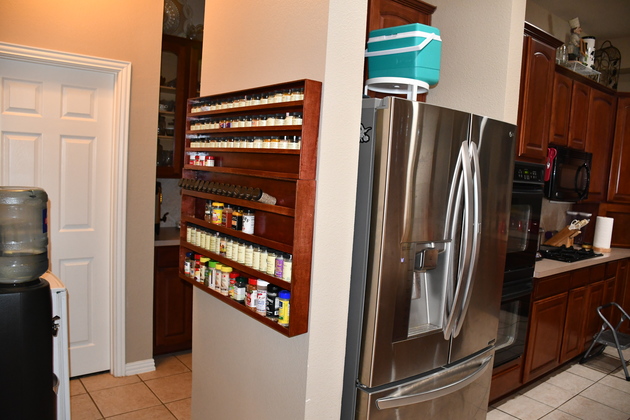
You can see the color is close, compared to the butler's pantry (left) and the kitchen cabinets (right).
A little better look at the colors.
|
|
You can see the divider line but it is hard to feel, on the side, since the lower section is thicker than the upper. |

|
|