| 
| 
|
|
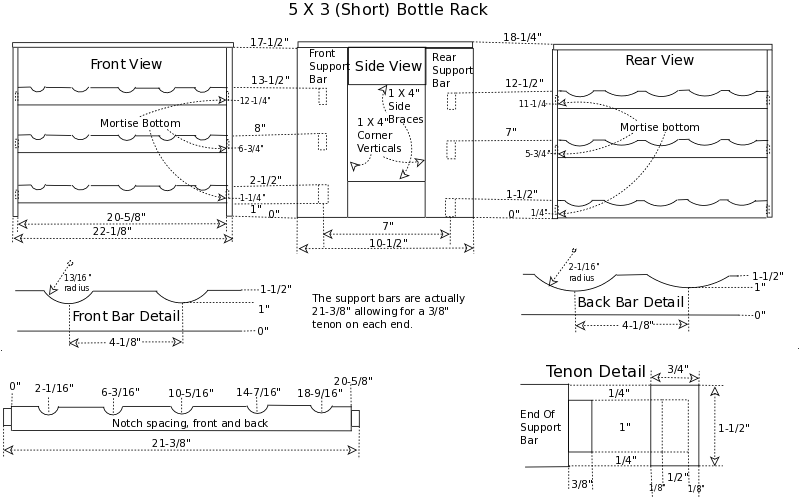
Short Bottle Racks
| ||
|
|
|
|
|
Short Bottle Racks
| ||
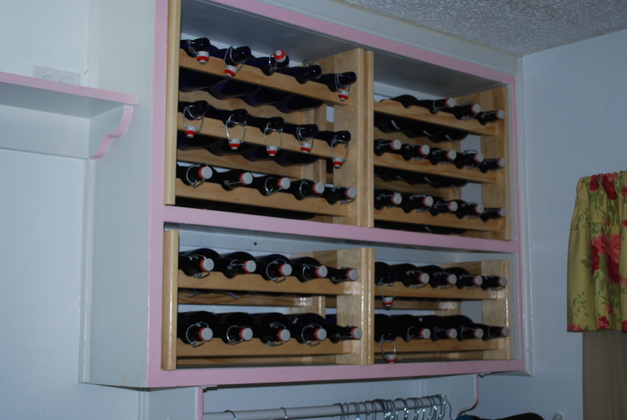
I built these racks for storing bottles in a wall shelf we had in a bedroom. We didn't need the glass storage, although it could be added easily by making the rack a little taller, then it would be great for a counter top wine rack. The diagram is for a 3 row rack, I am also building some 2 row racks. Each row is two bars, one front (small notches) and one back (large notches) and holds five 1 Liter (or 750ml) bottles. We bottle our mead in 1 Liter bottles so our racks can accomodate them. A 1 Liter bottle is 4" in diameter, a 750ml bottle is 3" in diameter.
The shorter rack's vertical supports would normally be 12" high, but I have a clearance problem in the shelf so mine will be 11"with no top. I also didn't put tops on the 3 row racks.
| 750ml Rack |
|---|
|
If you want to build some 750ml only racks, just use 3-1/8" for each bottle. horizonally and 3" vertically.
I am including a diagram for short glass storage slides.
This will hold 4 rows of 3 glasses (12 total).
If anyone wants me to draw a diagram for a short rack with glass slides please email me at 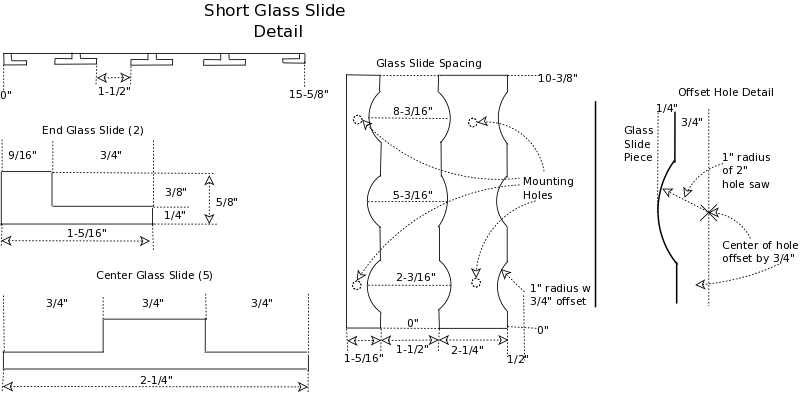
|
The construction for these is exactly the same as the larger racks, so I'll just reference the larger racks:
I did use the hole saw jig I built for these.
Original Bottle Storage Rack .
Glass and Bottle Storage Rack.
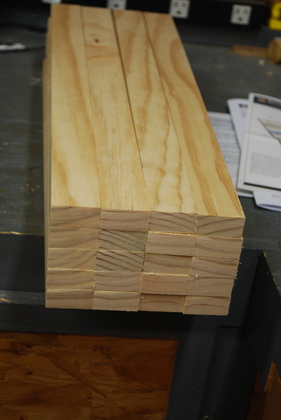
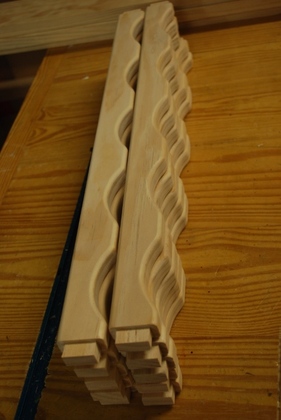
| Bottle support bars cut to length (21-5/8"). |
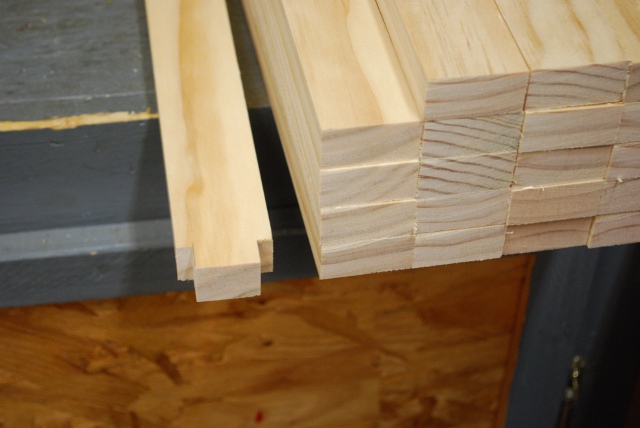
| One shoulder of the tenon on a bottle support bar cut. Here is a link to my mortise and tenon page. |
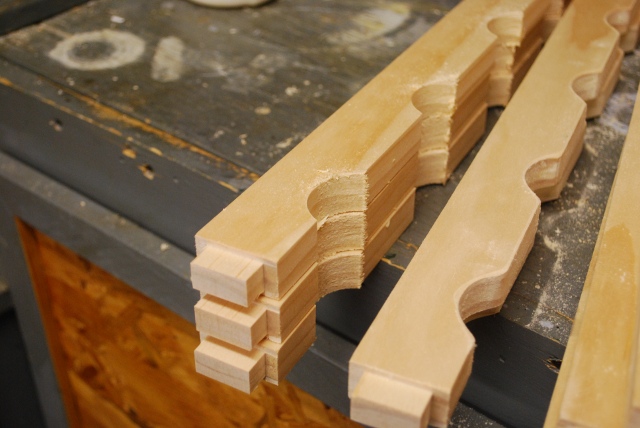
| Tenons cut, front bar notches sawed. |
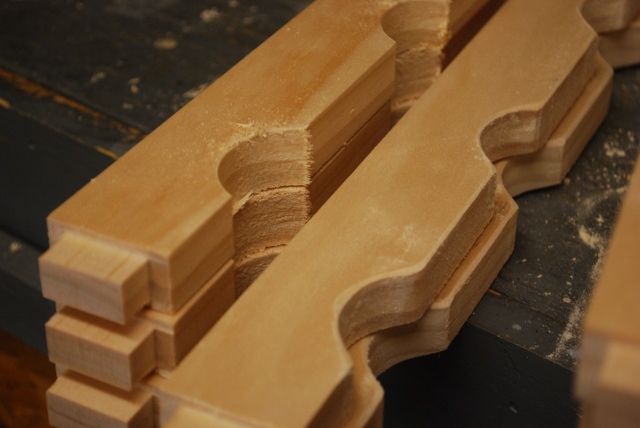
| The bars on the left after sawing, the bars on the right after rough sanding. |
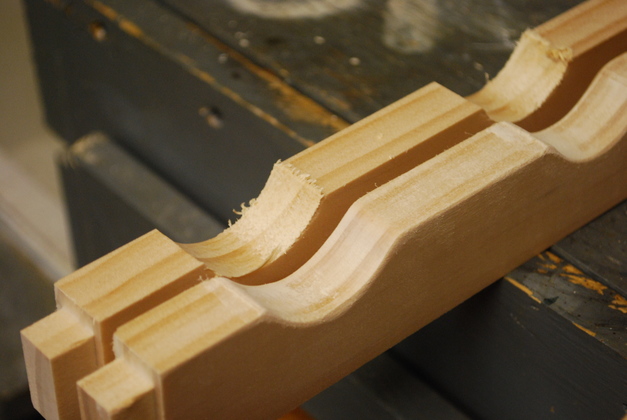
| A side by side comparison of rough versus sanded. |
| Bar on left has been rough sanded, bar on right has had it's edges rounded and then sanded. You don't have to round the edges, I just like the way it looks in the finished rack. |
|
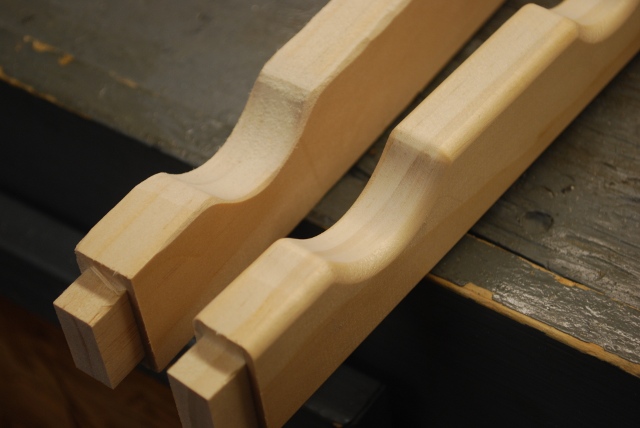
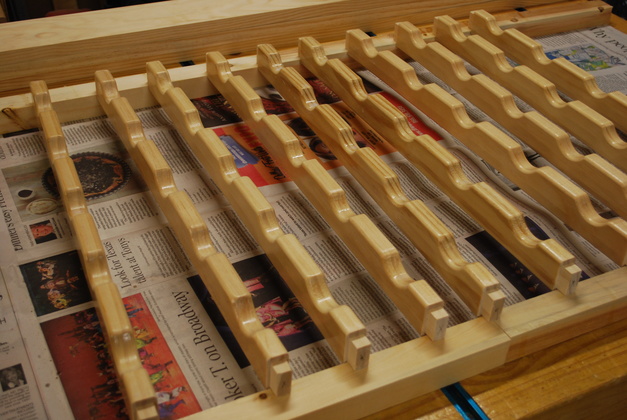
Back bars after edge rounding and sanding.
Painting and sanding the bars is probably the most difficult part of this. The hole sawing tears the grain so when you paint (especially withwater based poly) a lot of grain stands up and has to be sanded back down. I paint the bars before gluing into the side frame pieces, its lots easier then, just don't paint the tenons, you'll need to glue to raw wood not painted. The time I save using my hole saw and my jig, I probably use up painting and sanding. |
| Support bars after sanding and first coat of poly. I am doing this differently than in the past, here I'm painting the bars (except for the tenon on each end) before gluing into the verticals. Gettting a decent paint job and sanding once the frame is glued together is a problem. |

| Its a little hard to tell but the tenons on the back bars aren't painted, only the notched bar. The water based poly only adds a very slight color, you can just see in this pic. |

| Close look at front bars painted. |
| After another sanding and coat of poly you can begin to see a little sheen. |
|
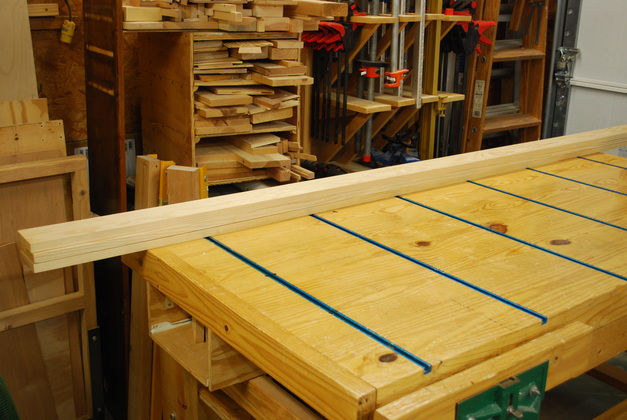
The lumber for the verticals and side braces, ready to cut.
I'll cut 4 verticals for each rack then 4 horizontal braces.
I could have used 2x2s but I chose 1x4s to give me a little deeper frame, front to back. |
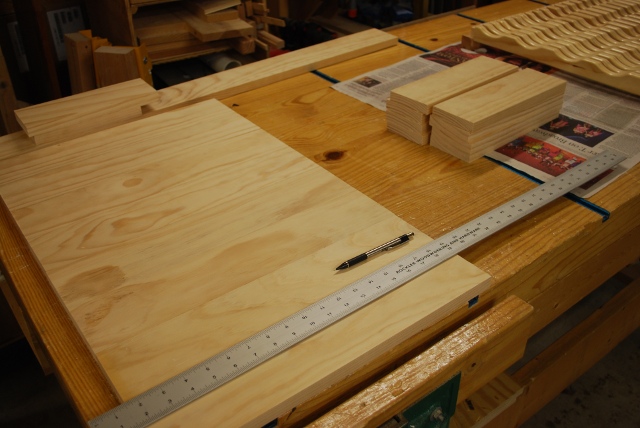
| Frame pieces cut out for 4 small wine racks. I'm about to mark where the mortises will be drilled in the 3 row frames. The 2 row frame pieces are stacked on the right. Here a link to the mortise section of my mortise and tenon page. |

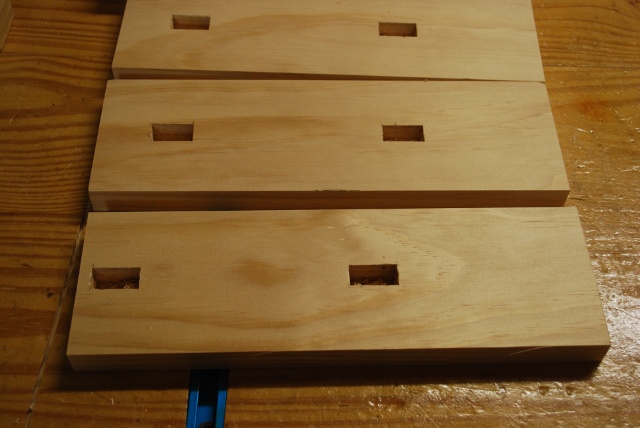
| Here the mortises are drilled. The two row racks on the left and three row racks on the right. |
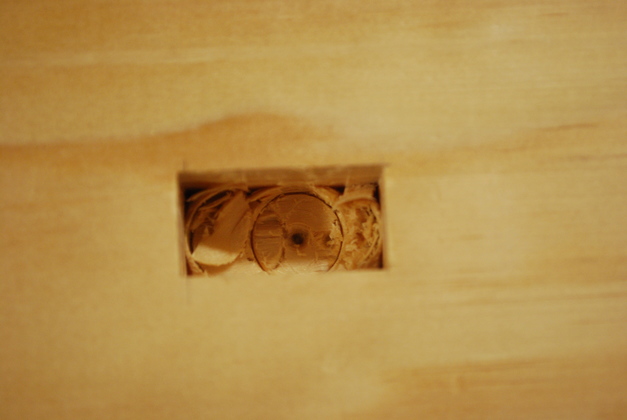
| Here is a mortise after drilling. You'll note, I drilled the center as well as the ends, it helps to clean out the mortise. |
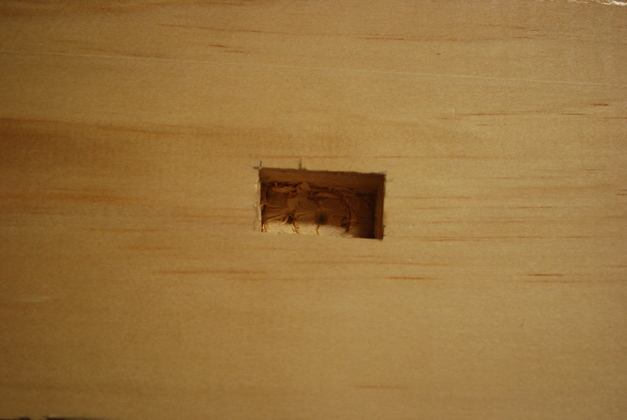
| After clean out. The tenons are 1/2" long and I drilled the mortise 5/8" deep, just 1/8" from the other side of the vertical support board which is 3/4" thick. |
| The two closest to us are a two row pair, with the back corner support in the foreground. |
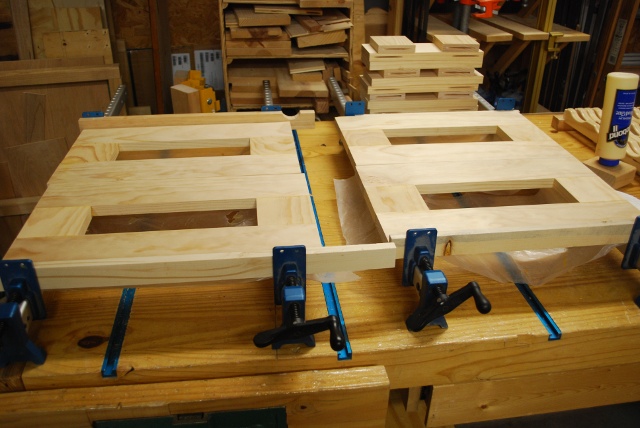
| Side frames for both three row racks in the glue clamps. |
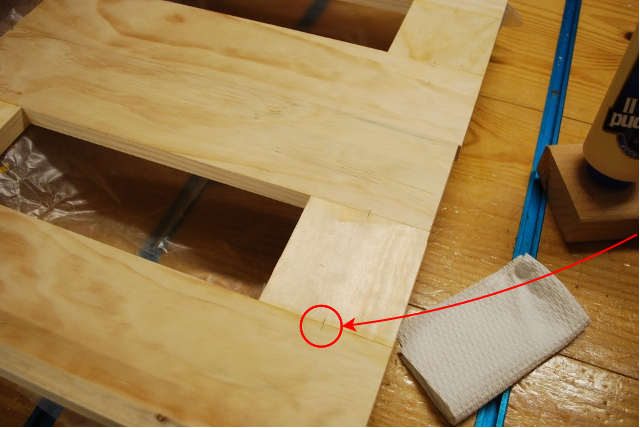
| A little closer look at a side frame. You can see the little tick marks where I lined up the biscuit cutter (red circle). |
| Side frame pieces for both two row racks, slotted and ready to glue. I join these frames with biscuits, a loose tenon, the slots are the mortises. Please click here to see my biscuit gluing page. |
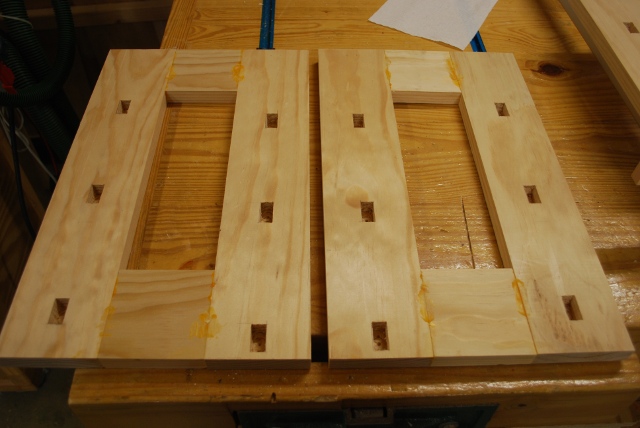
| A pair of three row frame pieces, ready to sand off the excess glue. Note the location of the mortises, these would fold up on each side, the back of the final rack is in the center of this pic. |
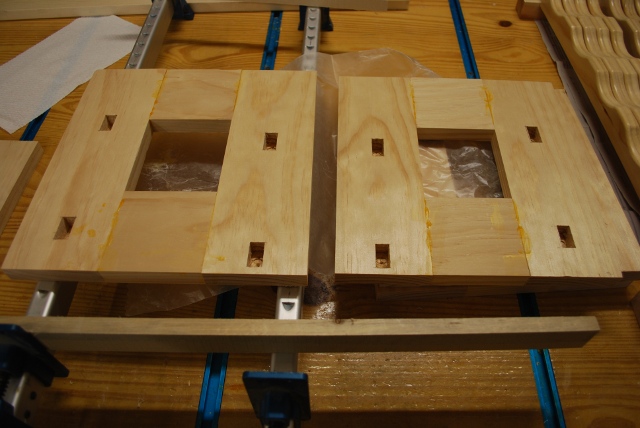
| A pair of two row rack frame pieces, ready to sand. Again note the lower mortises at the back (center of pic). |
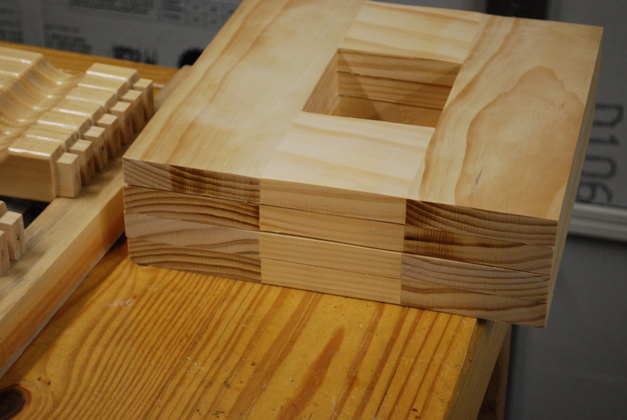
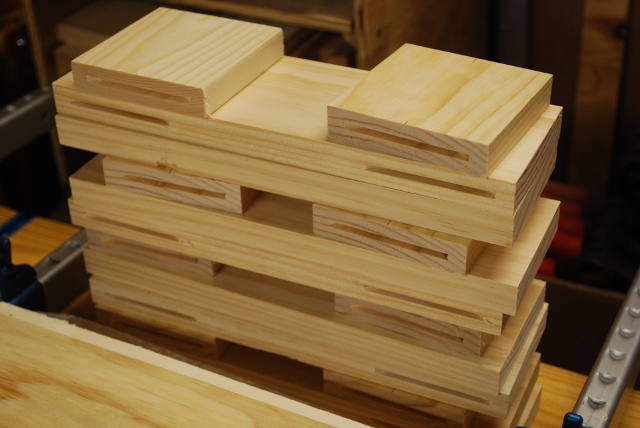
| Stack of 2 row frames ready to glue. |
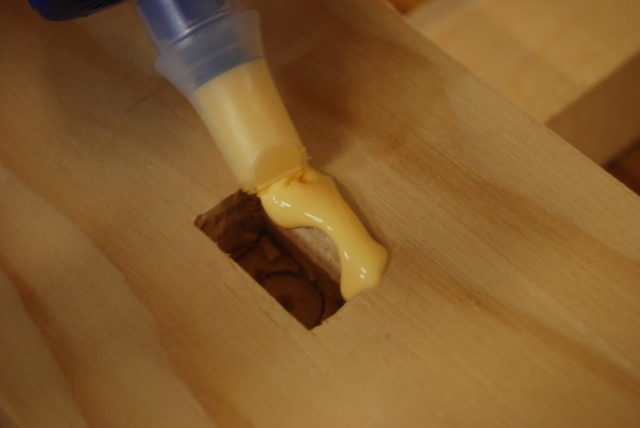
| Note how the mouth of the glue spreader straddles the edge of the mortise so some goes on the upper lip and the rest goes down the inside of the mortise. |
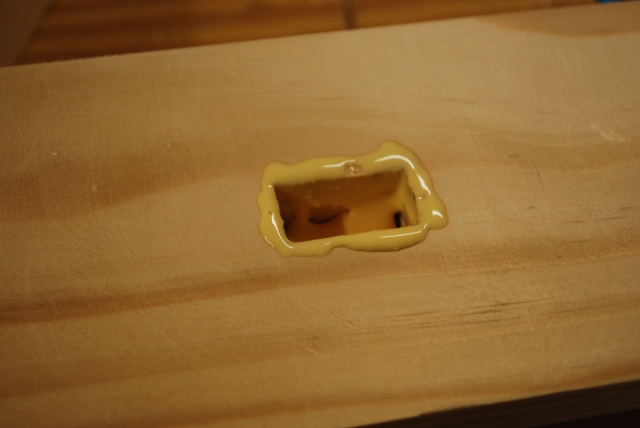
| You can see how the glue has run down the sides of the mortise and is puddling on the bottom. When the tenon is inserted, it will wipe a smooth layer of glue down the side of the mortise and fill the bottom. You must be careful not to get too much glue in the bottom of the mortise so that the tenon won't go all the way down. |
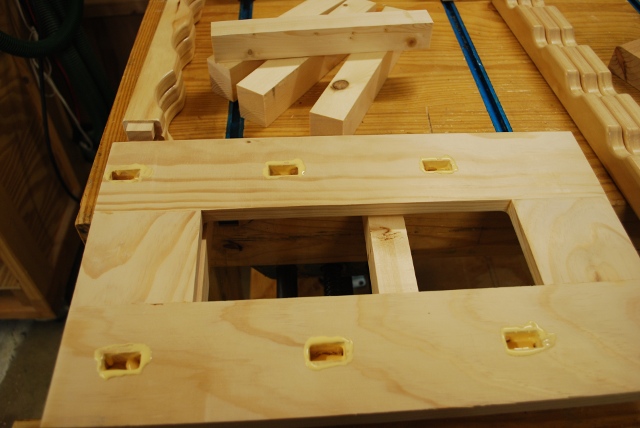
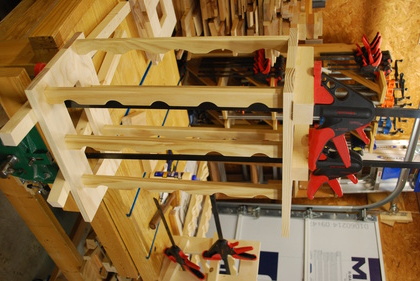
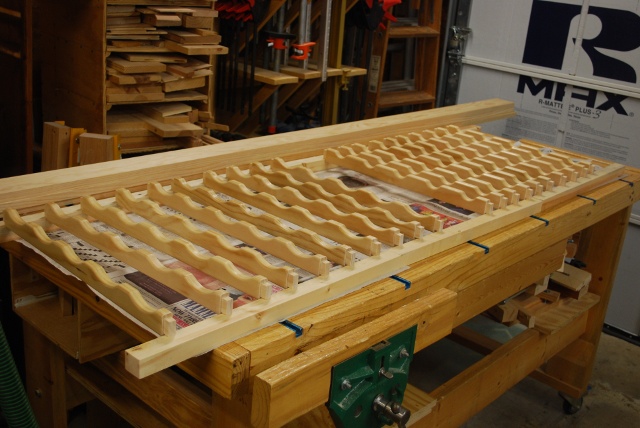
| All 6 of the mortises ready for the tenons. You can see the front and back bottle support bars laid out on the bench ready to insert. I insert the lower tenon end of each bottle support bar into it's mortise then, using a wooden mallet and a block, tap the upper end until the tenons's shoulders are flat against the frame piece. When all tenons are snug, I put the other frame piece on top and align all the upper tenons into their mortises, tapping the frame piece down, then apply the clamps. After this end has set, I will turn it over and glue the opposite end of all tenons. |
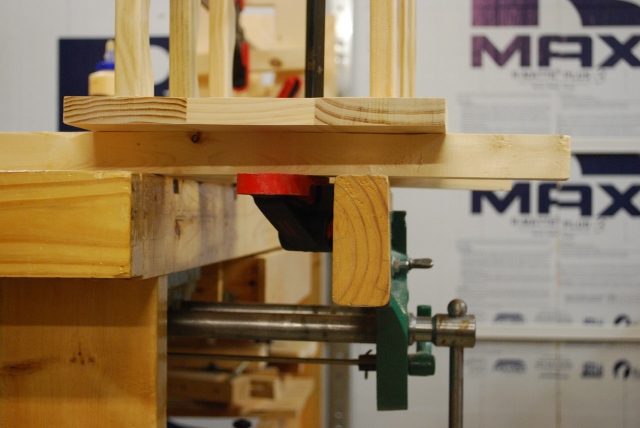
| Note how I have the frame on top of my bench vise so I can adjust the clamps. |
| The bars under (and on the top, not visible here) spread the pressure on both sides evenly so the frame doesn't get glued with a warp. |
|
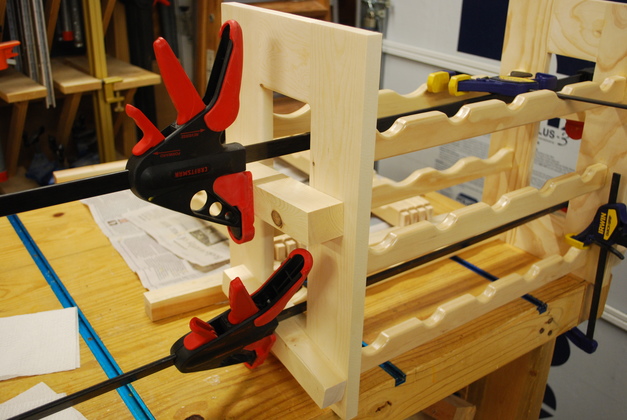
| Clamps tight. You can see a little difference in the color since the bottle support bars are already painted with clear, water based, polyurethane. |
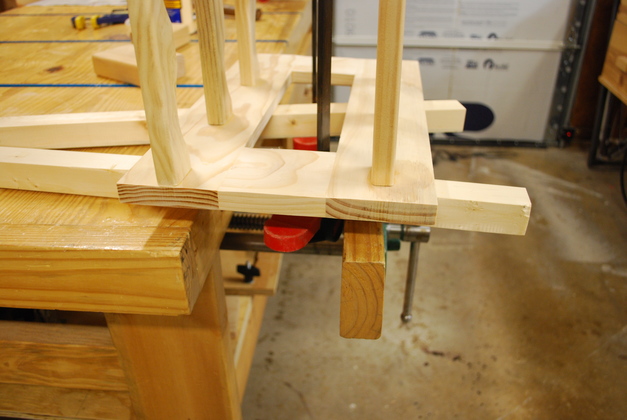
| One end of all tenons in the clamps. After I get the clamps tight and the excess glue wiped off, I set it up on a flat surface to make sure the frame will sit flat (both side frame pieces are exactly parallel). The small Irwin clamp on the right and a tee track clamp on the opposite corner (not visible) is holding the frame flat on the table until the glue sets. |

| A look at the other end clamps. |
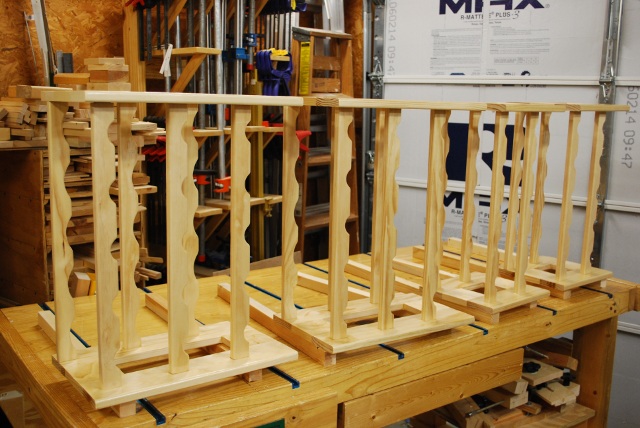
| All 4 racks being painted, the tall (3 row) racks are nearest. |

| The short racks (2 row) being painted. |
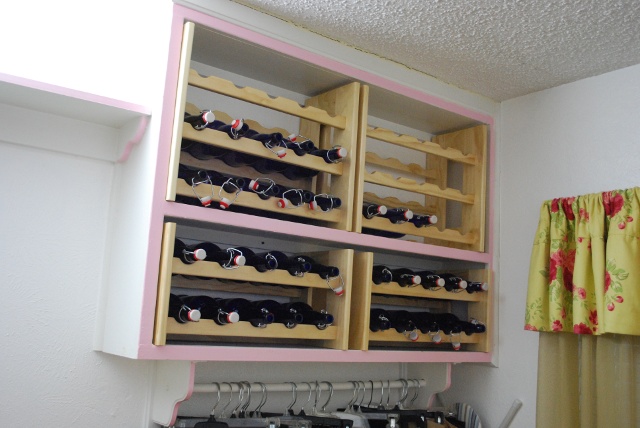
| Here they are in the wall shelves. I reinforced the supports for the two load bearing shelves, so we could store full bottles (these are empty). |
|
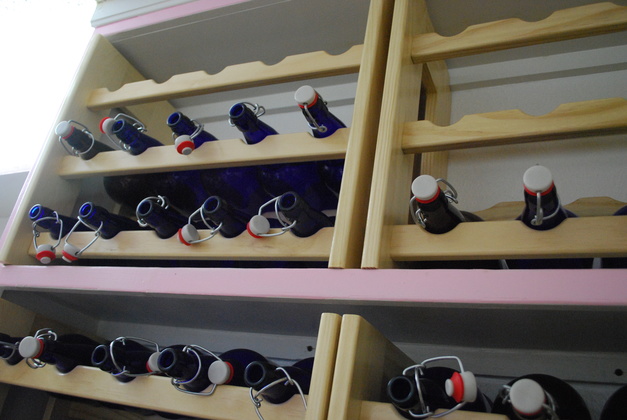
| A little closer shot of the upper (3 row) racks with empty one liter bottles. |
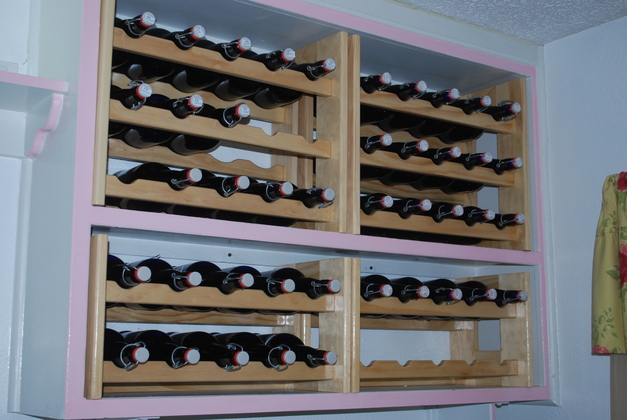
| Another look at a later time, this is after we started making Apple Mead (Cyser), this time with 42 Liters of mead aging (about two batches). |
 , tell me what you need and I'll do my best to do it.