11/02/14: Fix a few numbers.
10/30/14: Glass Slide Start
10/05/14: Page Origin.
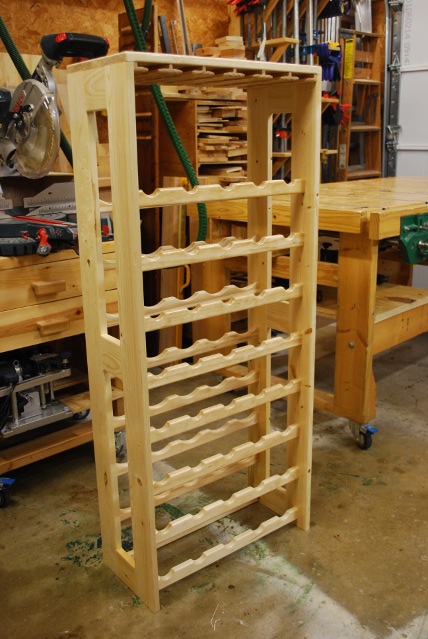
After seeing our other bottle rack, Cindy wanted one and Betty suggested that it also have glass storage, so.....
I decided to only put in 8 support bars and put glass storage under the top, kind of like under the wine shelf .
This limits the rack to 40 bottles but thats enough for most folks.
Dimensions and Spacing
At 48-3/4" tall the rack should clear light switches, even on carpet, but you can not use the top rack for bottles and store glasses.
We needed the bottle storage so we use all 8 rows of bottles, folks who want to use the glass storage area will not use the top bar for bottle storage.
If you want to use all 8 bottle rows and have glass storage, add 4" to the vertical support height, making them 52-3/4" tall, but the top will cover the bottom of switch plates (not the actual switch).
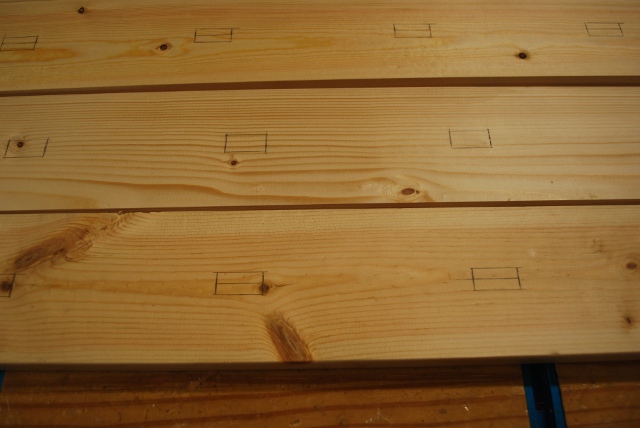
The space between bottle support bars is 4" (the front notch allows a 1liter bottle to clear), the spacing between bottles on a support bar is 4-1/8"
Support Bar Notch Positions
From the left tenon shoulder to the center of each notch:
2-1/16", 6-3/16", 10-1/2", 14-9/16", 18-3/4", 18-9/16"
Tenon construction, please see my Mortise and Tenon Construction page for more info on how I make these cut tenons.
I also built a 5 X 3 (short) version without the glass storage to fit on shelves, click here for the diagrams.
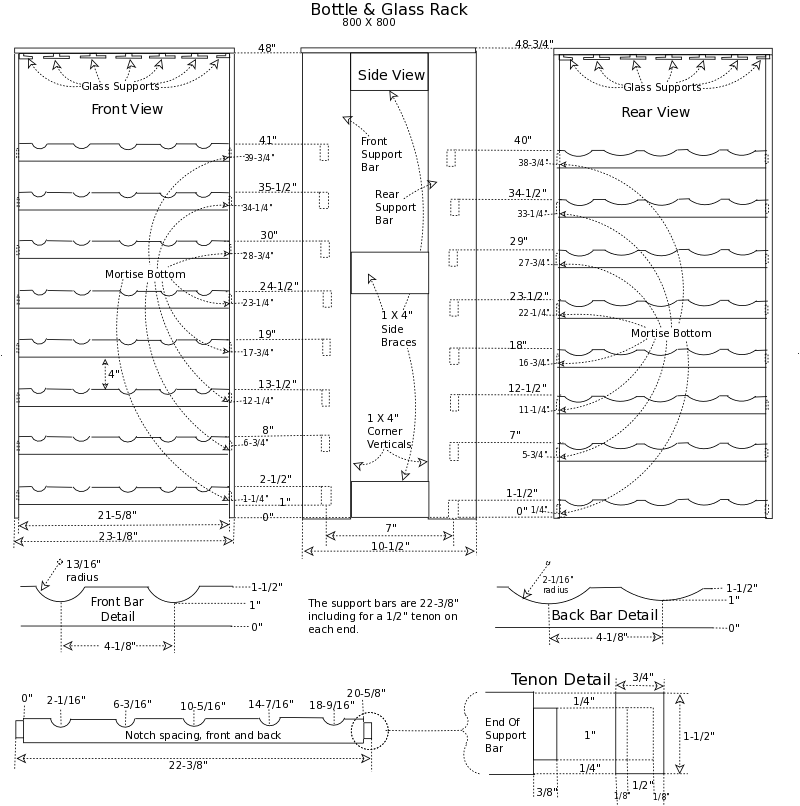
Click on the image to get a printable copy.
Click on the image to get a printable copy.
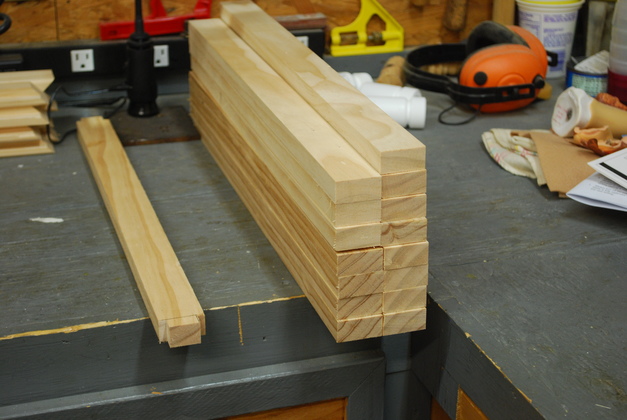
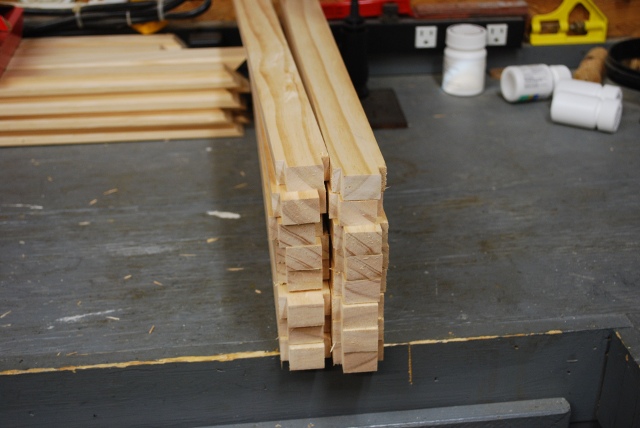
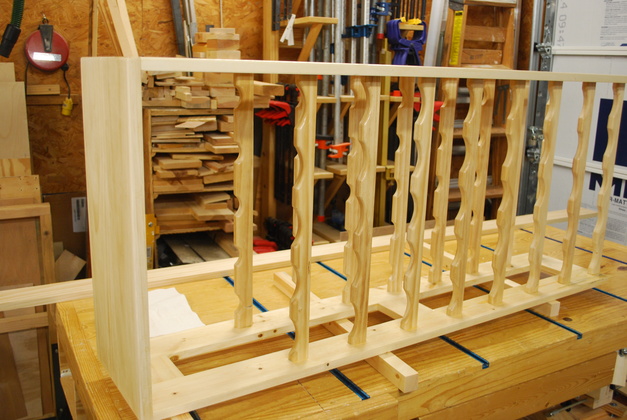
Bottle Supports
|
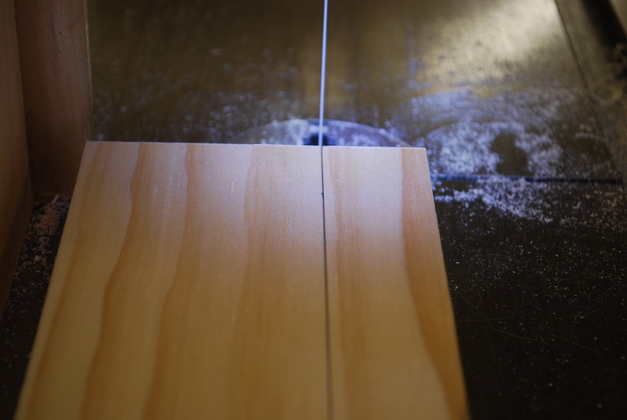
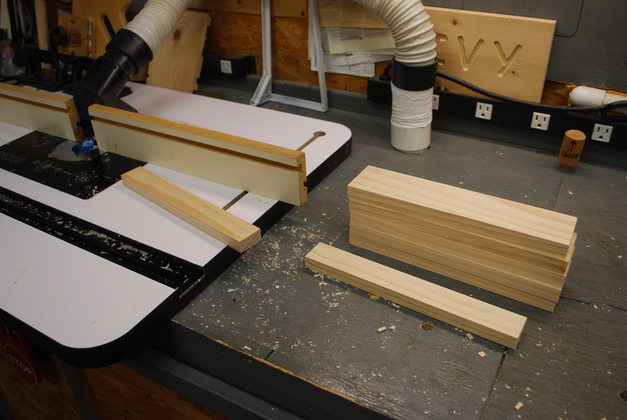
Bottle support bars cut to length and the first pair of tenon shoulder cuts made on one.
|
|
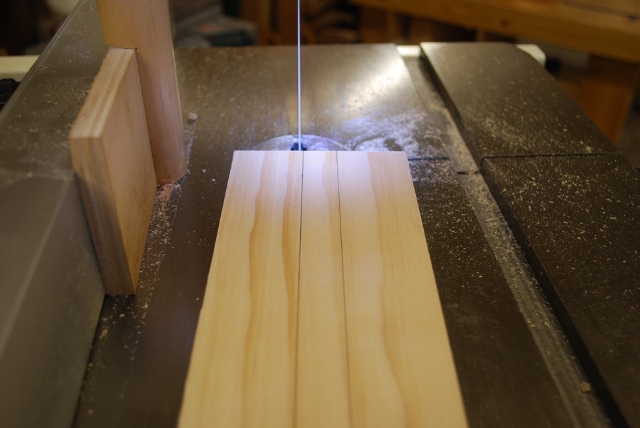
First shoulder cut on all bottle support bars.
This is the 1/4" cut off the short side of the 1x2 bottle support bar.
|
|
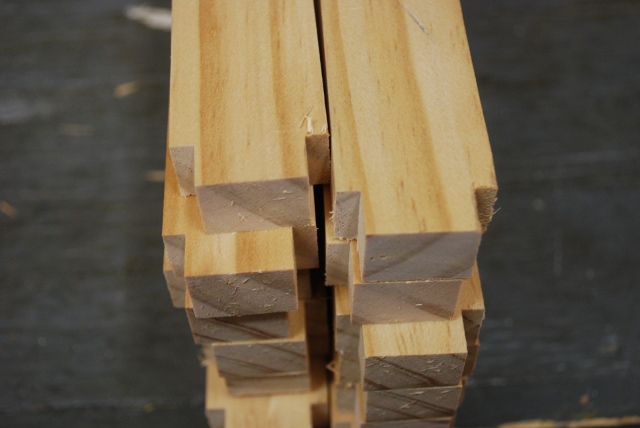
Closer view of bottle support bars with only one pair of tenon shoulder cuts.
|
|
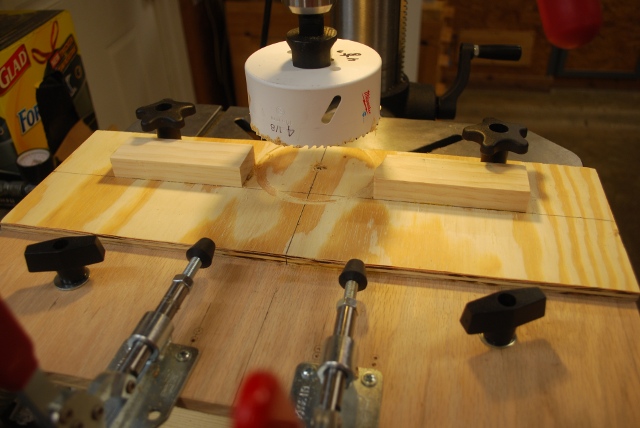
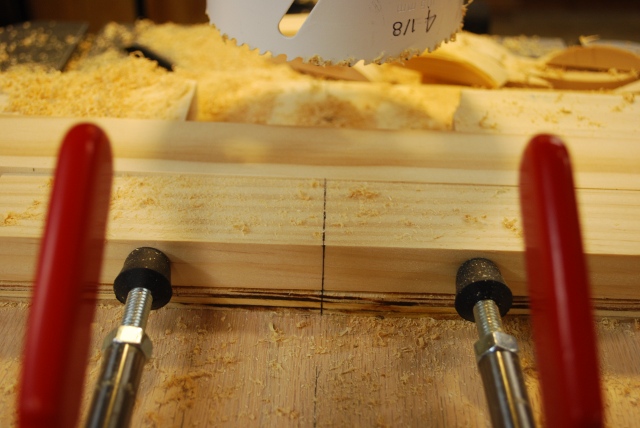
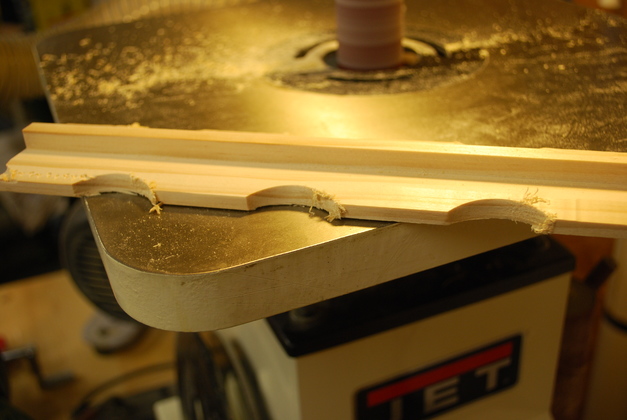
The jig is ready to saw back bottle support bars.
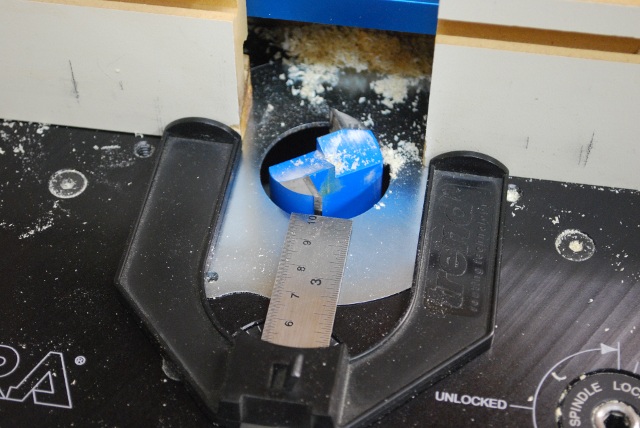
For more info please see my Hole Saw Jig Page.
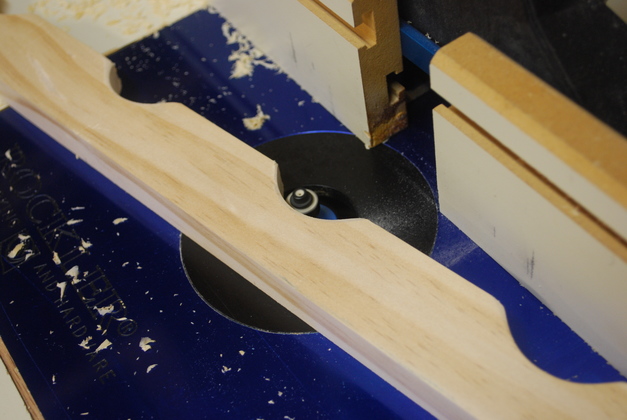
As you can see I use a 4-1/8" hole saw for the back bars and a 1-3/4" hole saw for the front notch.
I also use the hole saw jig to cut the detents in the glass slides.
|
|
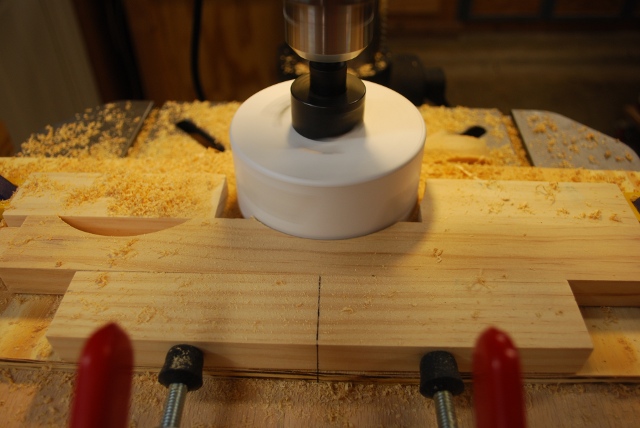
Lining up a back support bar for the 4-1/8" notch cut.
The clamps are loose so you can see the tick mark on the bottom of the bottle support bar aligned with the mark around the push block and it aligned with the center line of the jig.
|
|
Clamps tight, ready to saw.
|
|
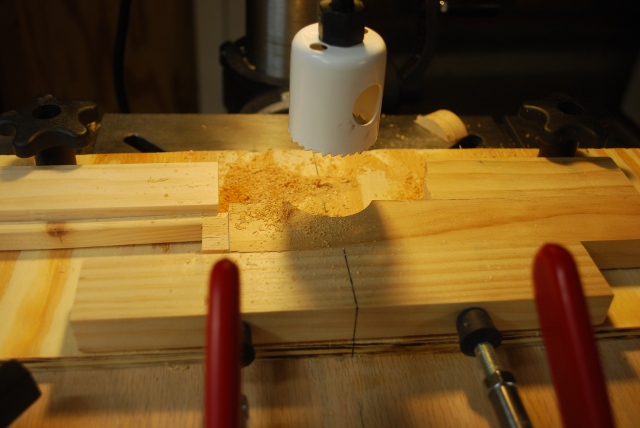
Sawing the notch in a back bar.
Sawing like this creates a lot of torque on the work piece so you must clamp it securely, that what the hole saw jig does for me.
|
|
Here I'm drilling a front bar with the 2" hole saw.
|
|
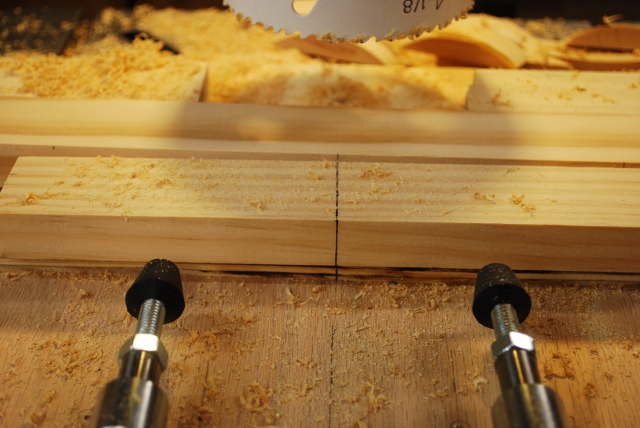
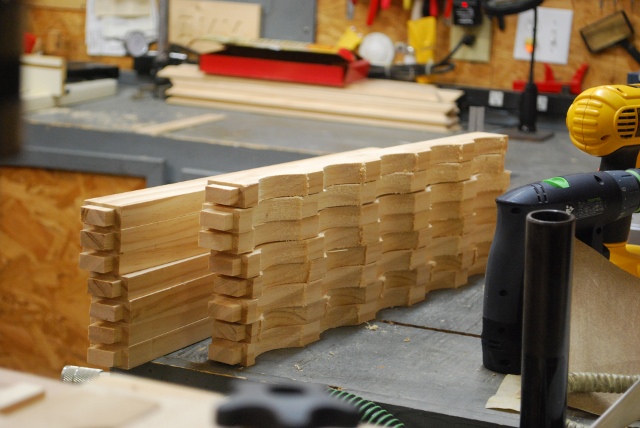
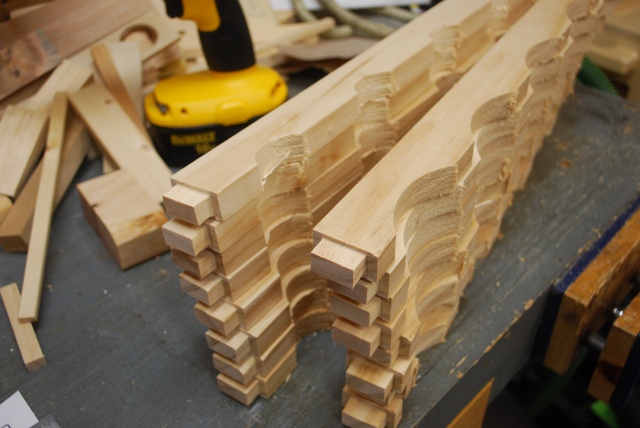
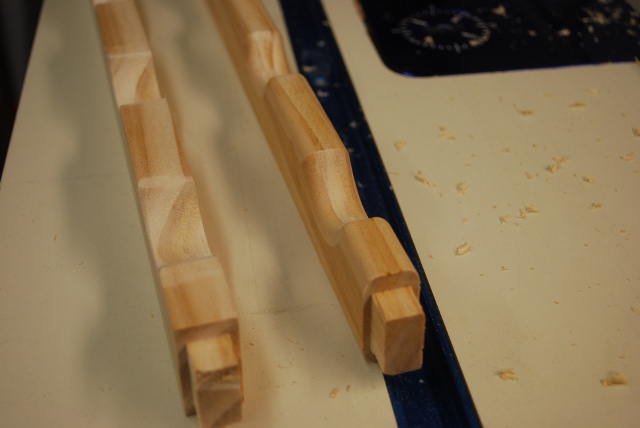
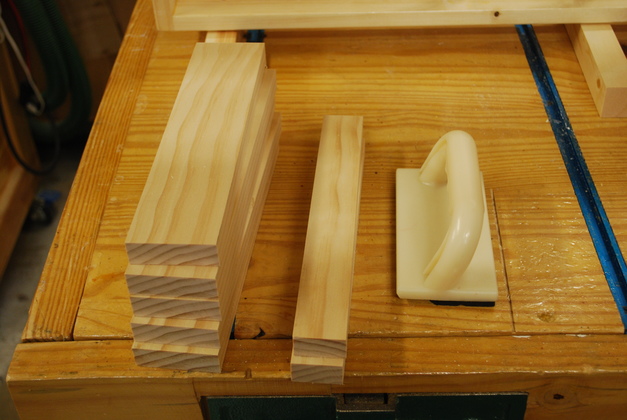
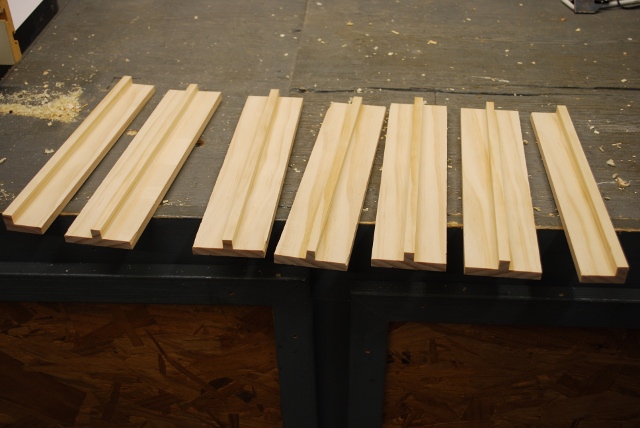
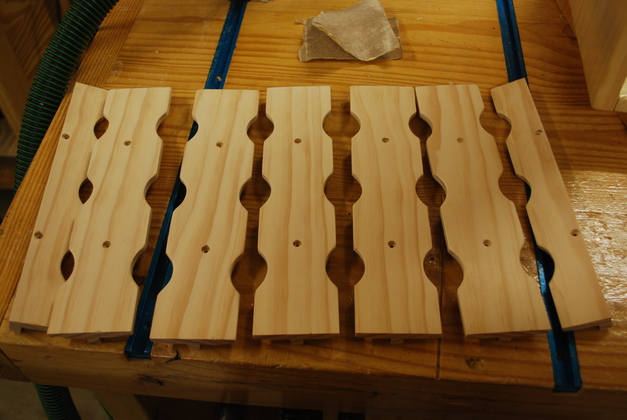
Stack of bottle support bars, the back bars are sawed, 7 of the fronts await the saw.
|
|
Both bar types sawed.
You can see how rough the hole saw leaves the notch.
|
|
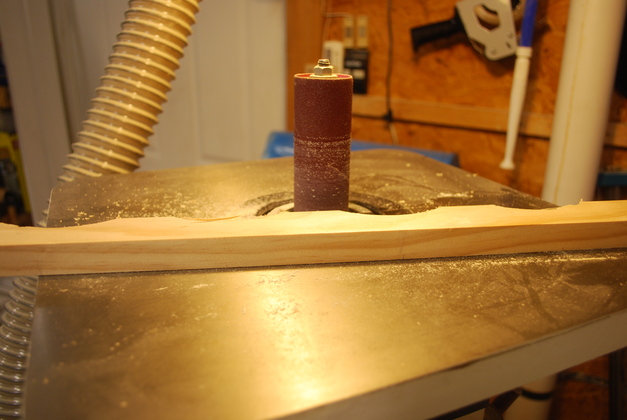
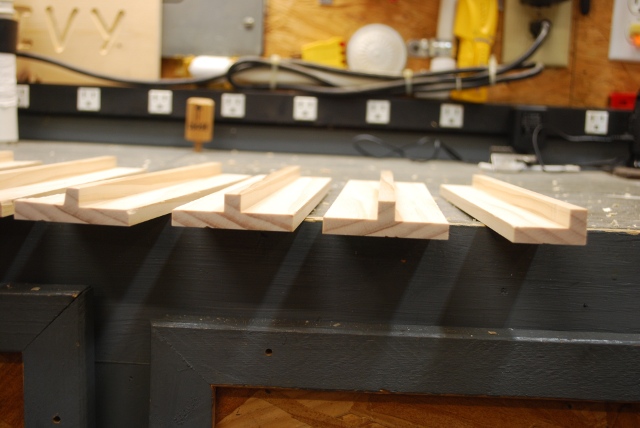
Sanding the notches on the spindle sander.
|
|
See the difference when they are sanded on the spindle sander.
|
|
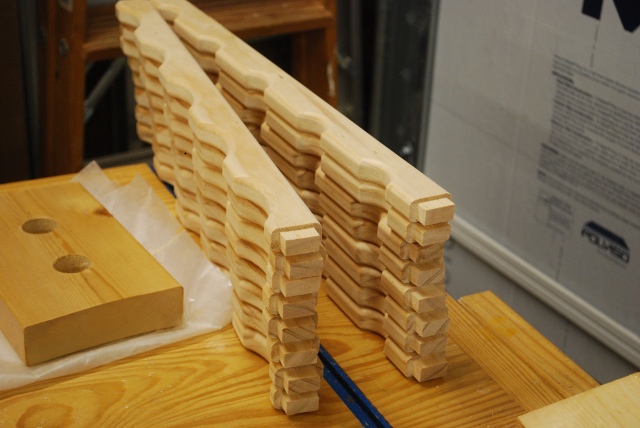
The whole bunch sanded.
|
|
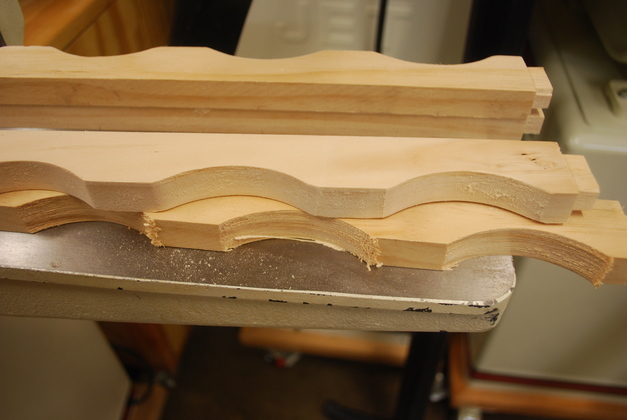
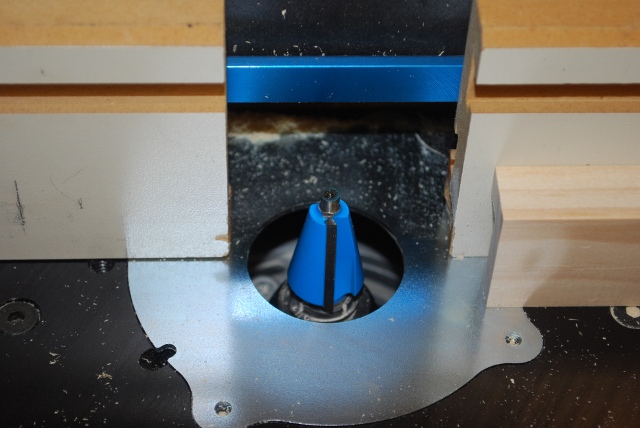
Rounding on the router table, the bit is a 1/4" roundover bit.
|
|
See the difference between rounded on the right and just sanded on the left.
|

|
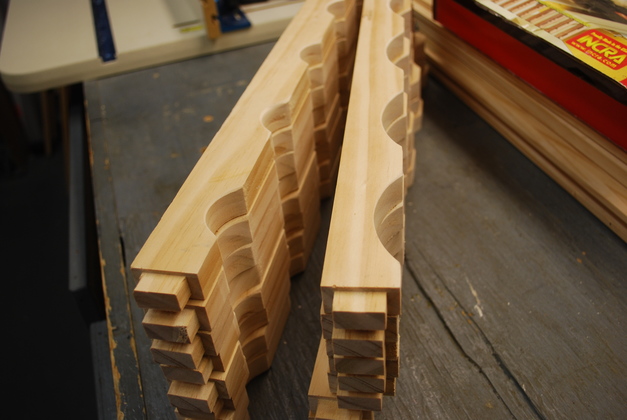
The whole stack rounded.
|
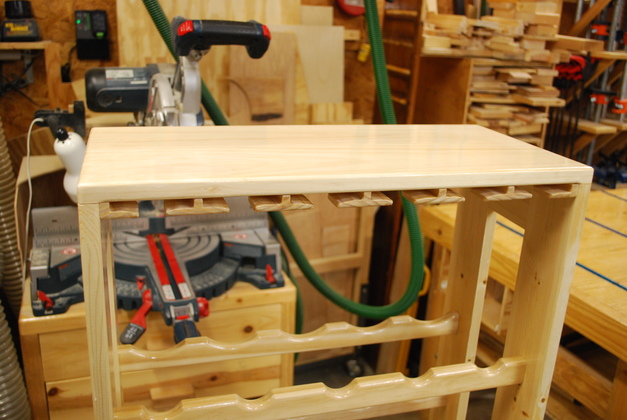
Frame
|
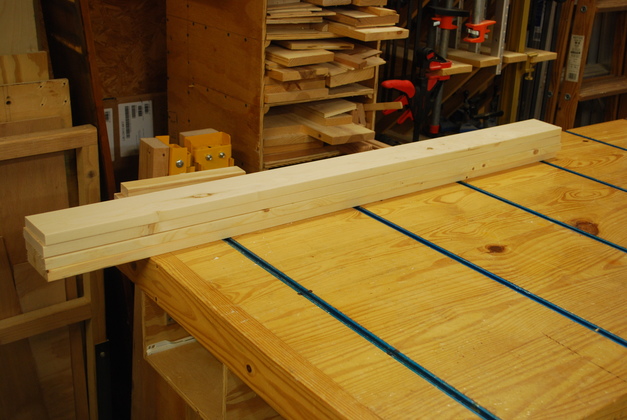
Vertical frame pieces cut to length (51" in this case).
|
|
Now they're mortised.
|

|
Mortises being cleaned out after drilling.
For more info please see my Mortise and Tenon Page.
Note on Gluing:
While the mortise is laying with it's opening facing upward, as you see them here, I put a bead of glue all around the top edge of the mortise.
This allows the glue to run down into the mortise, coating it's inside walls pretty evenly and puddling on the bottom, ready for the tenon.
Gravity can be your friend.
BTW: The bars have tenons on each end but I only glue one end of all bars at a time.
I insert the other end in their mortises, for alignment, but don't glue them on the first pass.
|
|
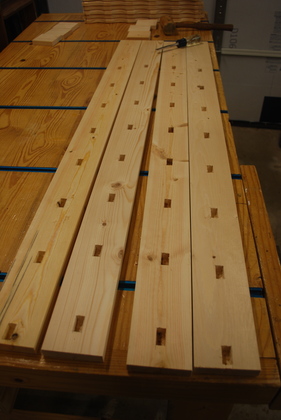
Frame pieces layed out, outside up, the mortises are on bottom here.
I will use loose tenons (biscuits) to glue the horizontal braces between the verticals.
Link to more Biscuit Slotting Info and Biscuit Gluing Page.
|
|
First frame piece being glued.
|
|
Notice ClampIts on the corner to keep it square.
|

|
Bottom inside of both side frame, note the mortises are mirror images as far as the height from the bottom.
Ready to sand.
|
|
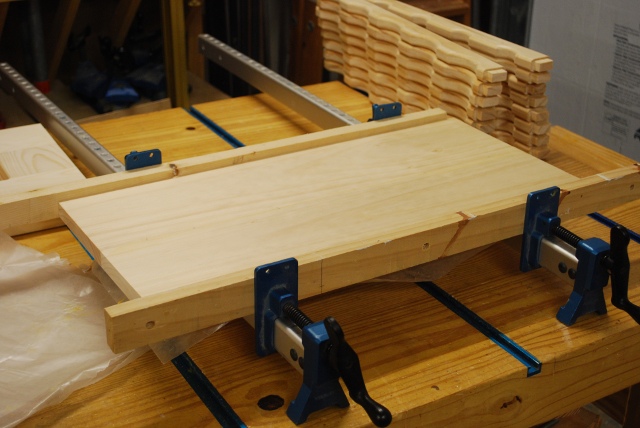
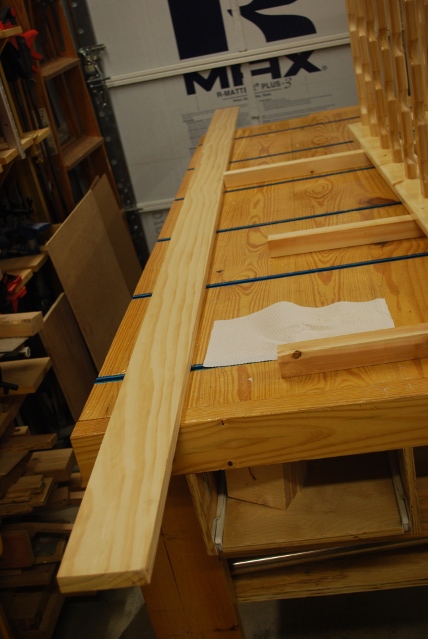
After rough sanding, note the 1x6 at the far side of the bench, that'll be the top of this rack.
|
|
The top is made from two pieces of 1x6, edge laminated, with biscuits between.
Here the two pieces of 1x6 are in the clamps while the glue sets.
|
|
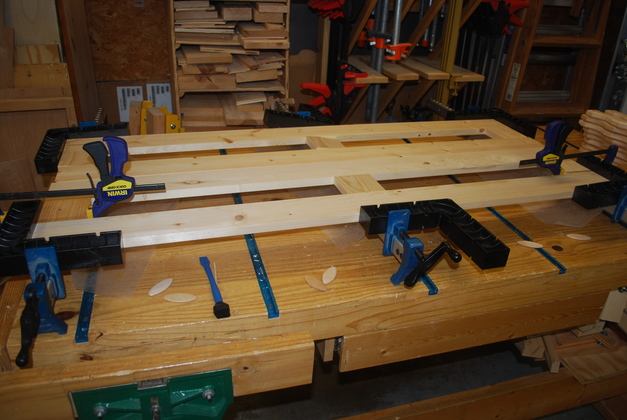
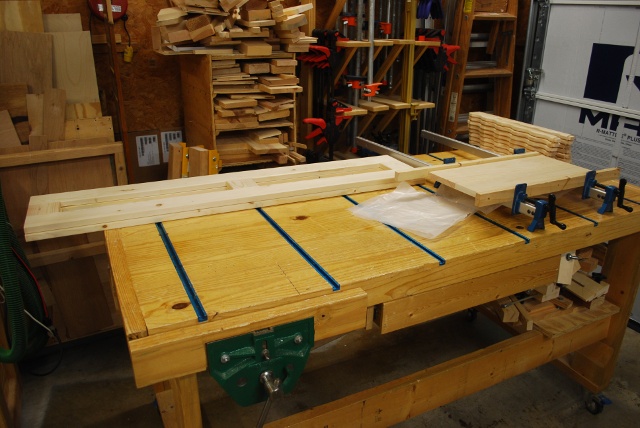
The top in glue clamps with the two glued side frame pieces and support bars on the work bench.
|
|
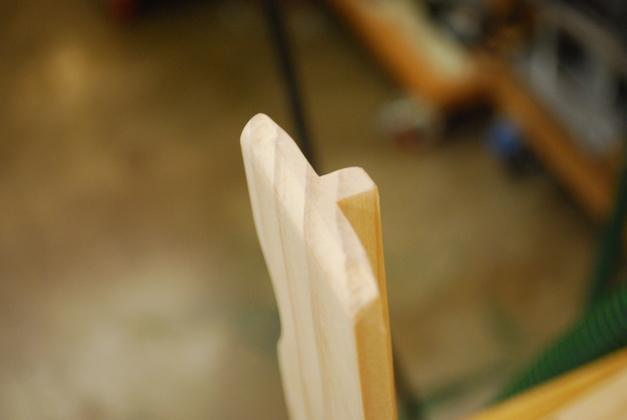
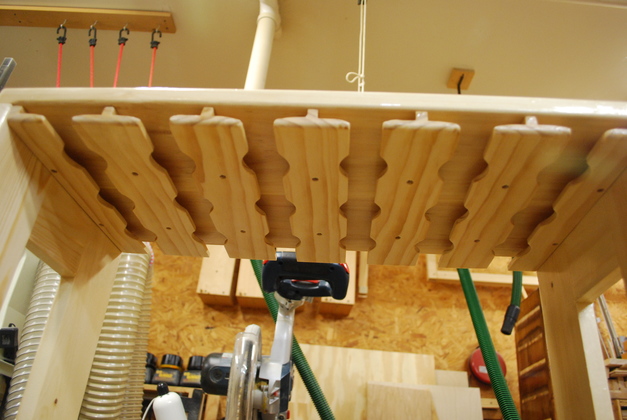
Bottle support bars, note the small bottle dryer at the left, just a 2x6 with a couple of 7/8" holes.
The rear bottle support bars are on the left, note the larger notches.
|
|
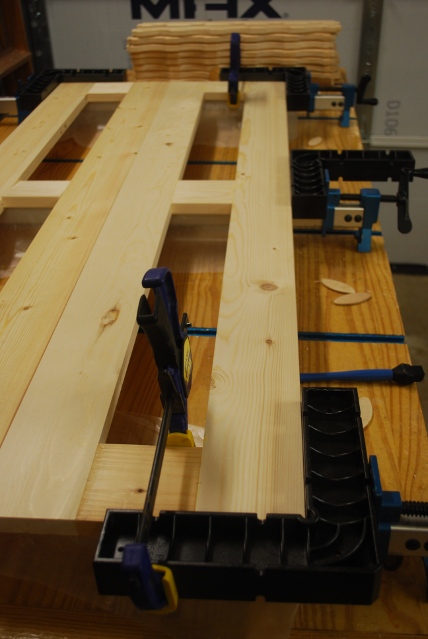
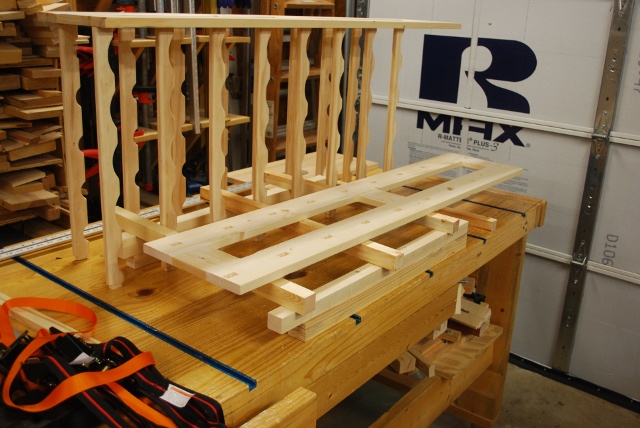
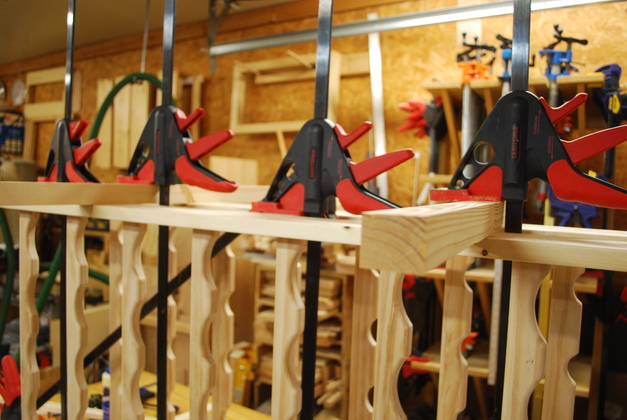
Frame laid out for gluing bottle support bars to side frames, I've already glued the other side in.
Note I raised the right side frame off the table so I could get clamps underneath, the crossbars are to distribute the load across the entire side.
Note: along the far left side of the work bench you can just see a long aluminum square (larger than a framing square) I use to get the two sides square with each other.
When you glue the two frame pieces together is the time to get them square so the final rack will sit straight up and down.
|

|
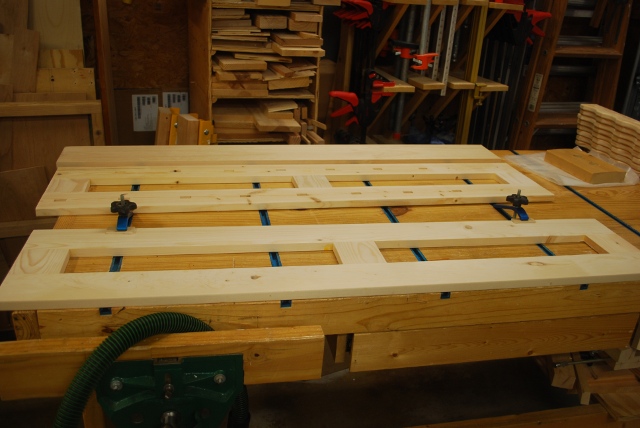
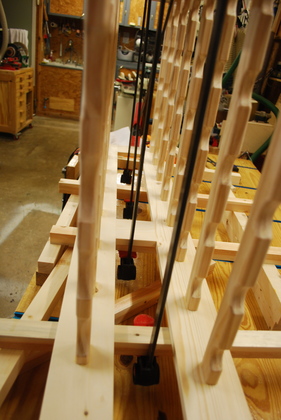
Heres what it looks like in the clamps.
Note the diagonal clamp is to keep the frame square.
|
|
Closer look at clamps on top.
|
|
And a closer look at the clamps and cross braces on the bottom (left side of the rack).
|
|
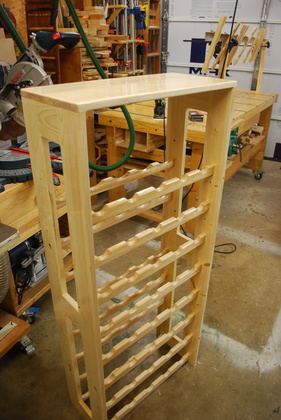
Top glued.
Need to round the edges, sand, and paint.
|
|
Upside down.
All the edges are rounded, and all sanded, here I'm painting the under side of the top and bottle support bars.
|
|
Painting the horizontal surfaces.
|
|
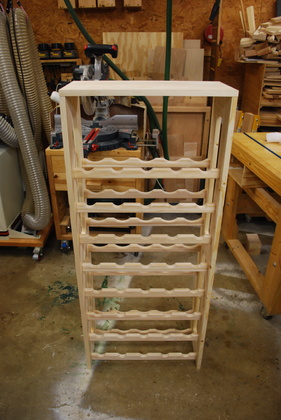
All painted, waiting for the glass slides to be finished.
|
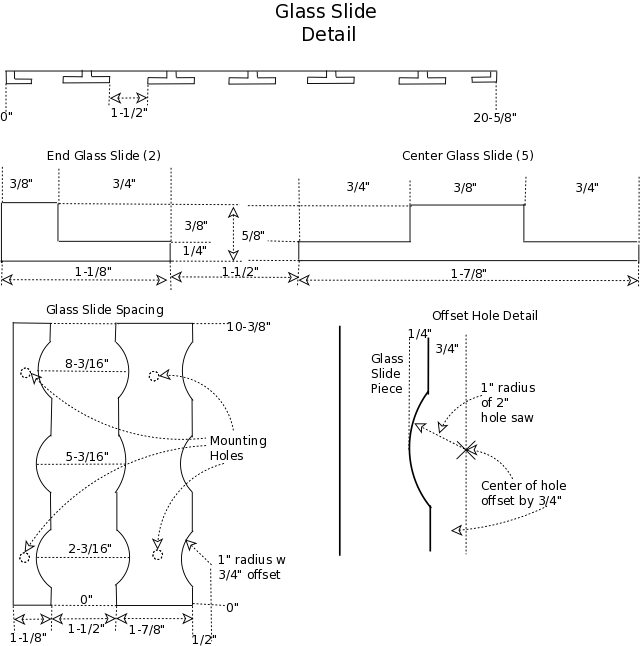
Glass Slides
|
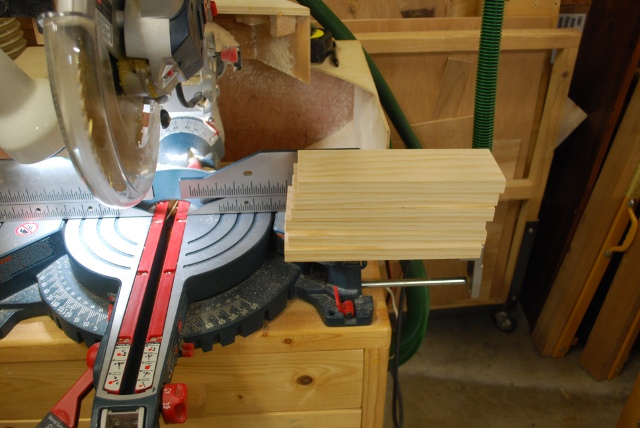
A 1x4 for the glass slides.
|
|
Cut into 10-3/8" lengths.
|
|
Bandsawing to the correct width.
I marked 5 of them for 1-7/8" and 1 for 2 at 1-1/8".
|
|
This one will become the two end pieces, they are marked at 1-1/8"
Remember, when I bandsaw lumber I always leave an extra 1/32" so I can run it across the jointer to remove the bandsaw marks.
|
|
Here are all 7 pieces that will become wine glass slides.
Note the push block for size comparison.
|
|
Here I'm seting up to cut a 3/4" rabbet for the edge of the wine glass bottom.
Lots of folks who make wine glass slides don't make these rabbets wide enough and sometime have problems with smaller wine glasses slipping out.
Most wine glasses have from from about 2" to 3" wide bases, so I allow for 3" and make the rabbets wide enough that the smaller glasses don't fall out.
|
|
And cutting the rabbets.
|
|
Centers and ends after rabbeting.
|
|
Note the rabbets are cut square, now I'm going to bevel them.
This isn't required but I like to do it.
|
|
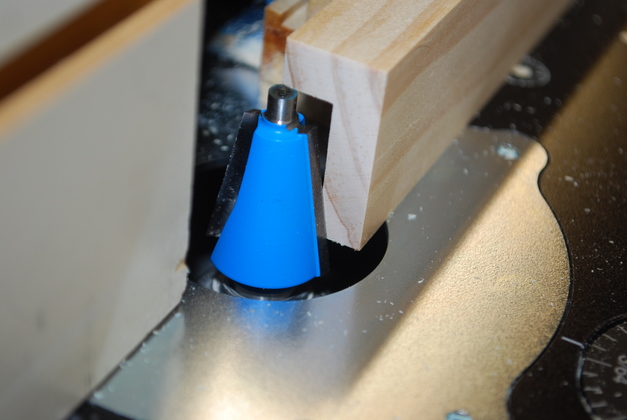
Setting up the router table with a 11.5° bevel bit.
As I said somewhere else, the bevel on the glass slides is optional, I tried it and noticed that the detents don't work as well so its probably better not to bevel the slides.
|
|
This bevel is optional.
I can't bevel the whole rabbet, but I can take off about 1/16" near the edge.
I had to remove the bearing from the top of the bevel bit, and adjust it down so it's top cleared the base of the slide.
|
|
A center piece after the bevel.
|
|
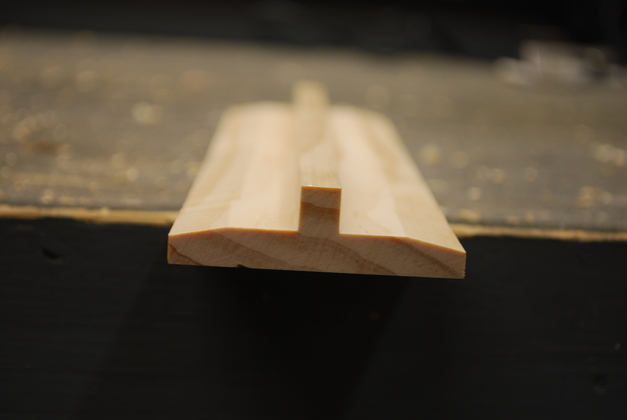
Now I've hole sawed a 1-3/4" diameter hole but only 1/4" deep, this will be a detent for the glasses to rest in.
Please see my hole saw jig page, I have to have a way to securely hold the piece being sawed.
I use the hole saw jig for sawing the bottle support bars and the glass slides.
Next I'll sand out the detent.
|

|
After sanding the detents, everything is a lot smoother.
|
|
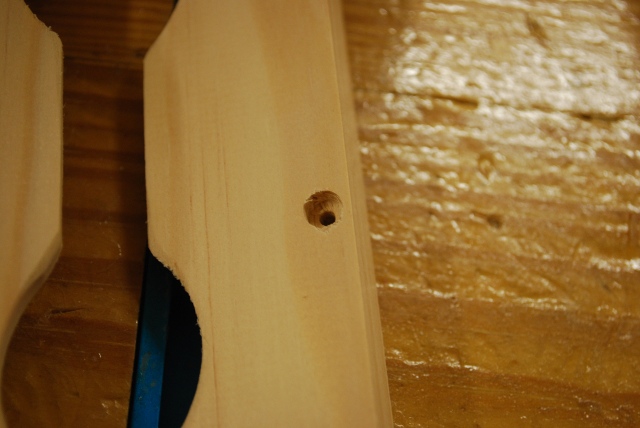
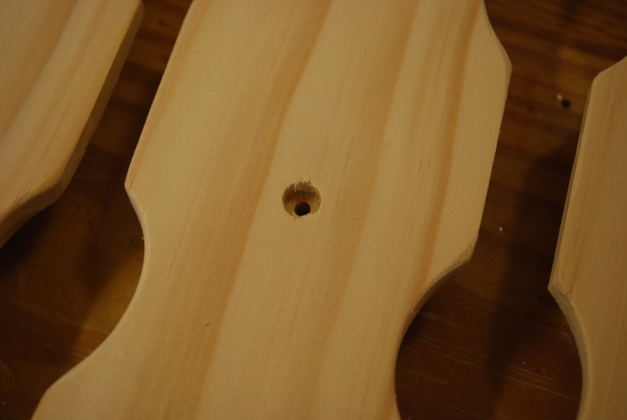
All the glass slide pieces sanded, and with a counter bored mounting hole.
|
|
Here you can see the counter bore, this will mostly hide the head of the mounting screw.
|
|
The mounting holes are 3" from each end.
|
|
I also rounded the underside of the out-facing end of each slide piece.
|
|
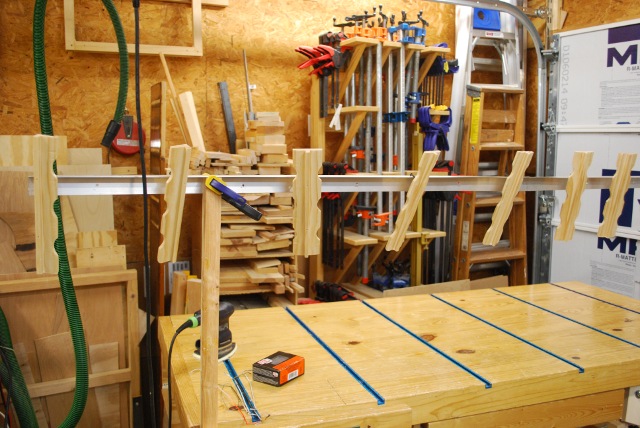
Here they are hanging to dry after their first coat of poly.
I ran a 1-5/8" wall board screw (box on the bench) a very short distance into the back mounting hole and use that as a handle while painting and drying.
|
|
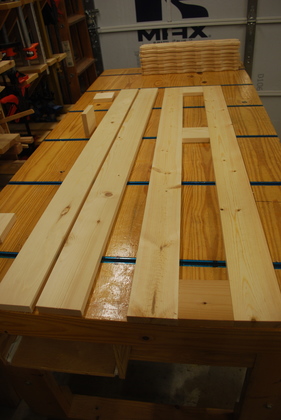
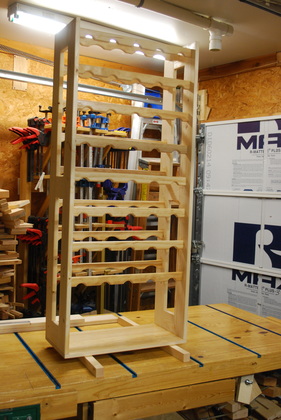
Finished rack, painted with glass slides in place.
|
|
Glass slides under top.
To install these, I use a wood block spacer, 1-1/2" wide to set the spacing between them.
|
|
Glass slides installed, you can see how the detent holes match up.
|