| 
| 
| 
|
| 
| 
| |
|
Roll Around Router Table
| |||
|
|
|
|
|
|
|
|
| |
|
Roll Around Router Table
| |||
| Router Page | Build Info | Diagram | Router Box |
| Drawers | Finished | Router Fence Adjuster |
In an effort to provide a little bit more flexibility and possible some wall space, I decided to remove part of one of the wall-attached benches with storage underneath.
The router table is mounted to part of this bench, so I needed to make a roll-around router table.
I decided to use 4" dust collection for this new table.
A 4" line to my DC splits off to a 2-1/2" line to the router fence with the main 4" line going directly to the dust box enclosing the router.
I need to provide air flow into the dust box so I built a sliding door to regulate the amount of air entering the dust box and control the pressure on the router fence dust port.
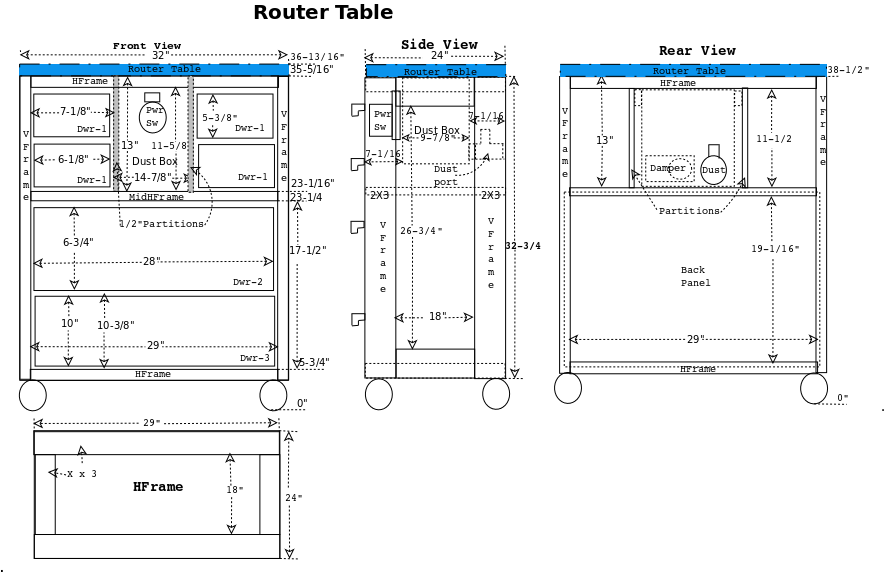
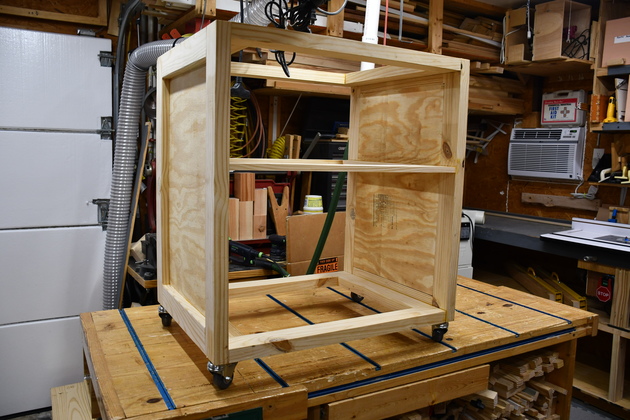
The new router table will be built like the other machine benches: 2x4 frame 1/2" plywood panels, and as many drawers as I can fit in. Twists to this one no solid top and a dust bucket under the table. The dust bucket will capture the chips and dust from the router's operation. Inetead of the solid top, I added another HFrame of 2x3s. Two partitions provide support for the drawer slides. I also added a 1x3 HFrame below the dust box to keep the partitions spaced correctly.
|
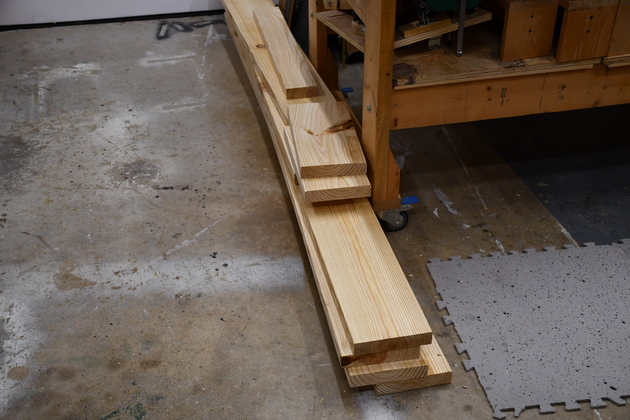
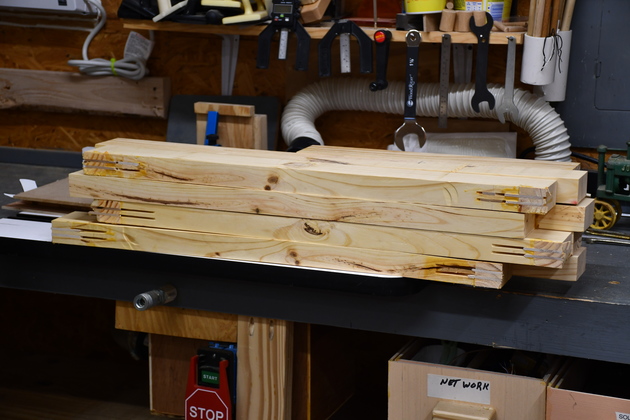
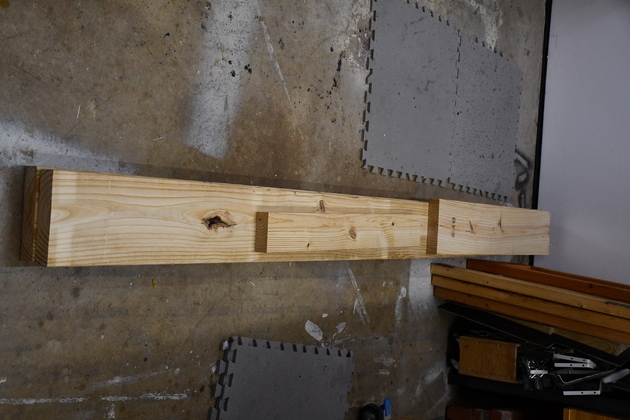
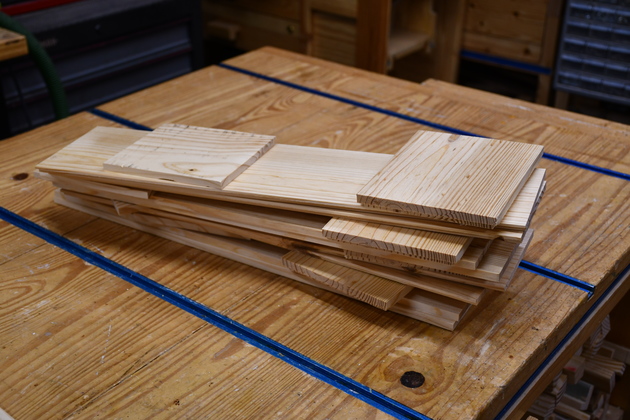
Standard beginning for all projects, a stack of 2x8s on the floor. |
|
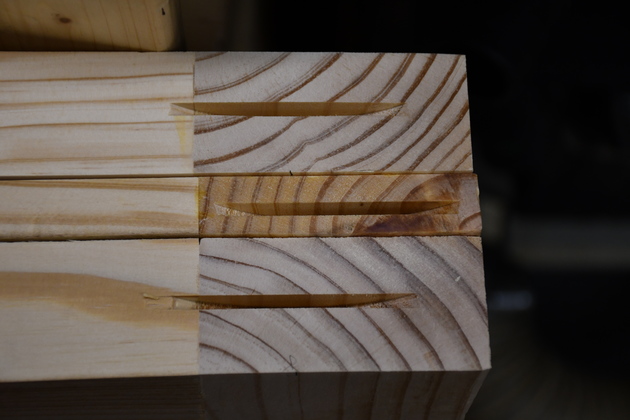
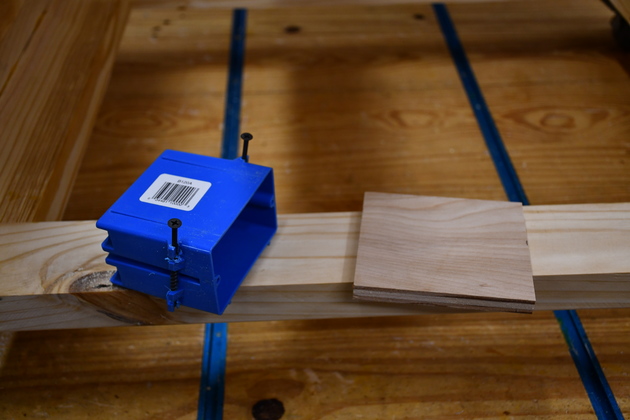
Example of double slotted 2x3s for frames. I didn't use these but they are slotted correctly. |
|
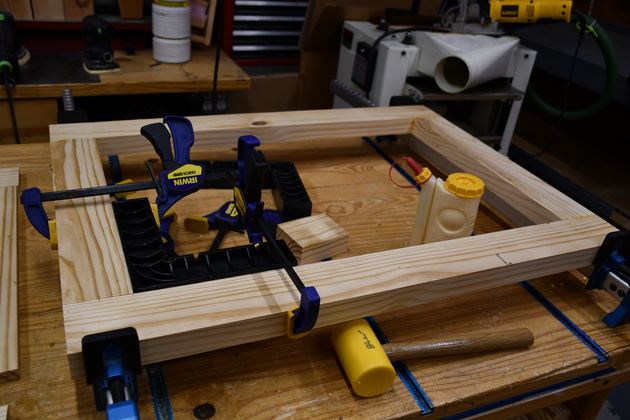
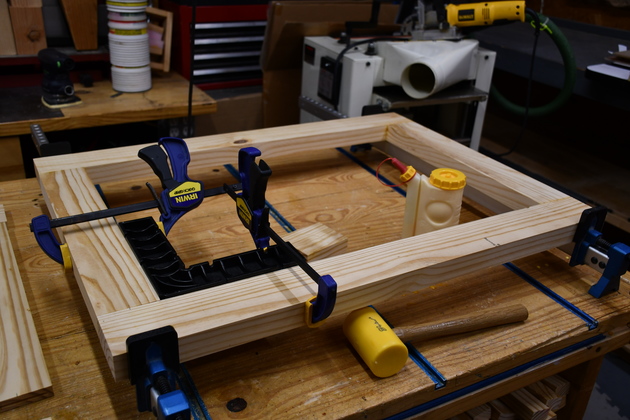
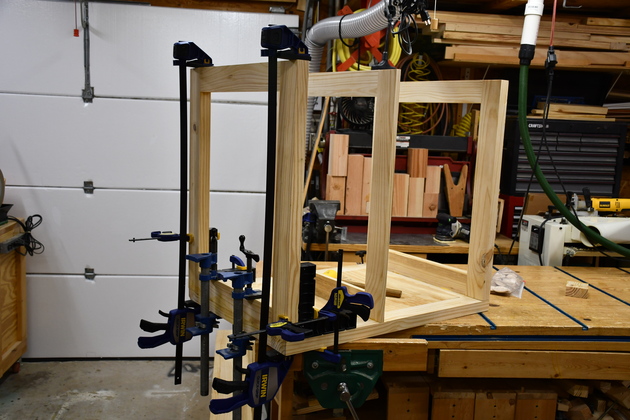
One of the HFrames in the glue clamps. |
|
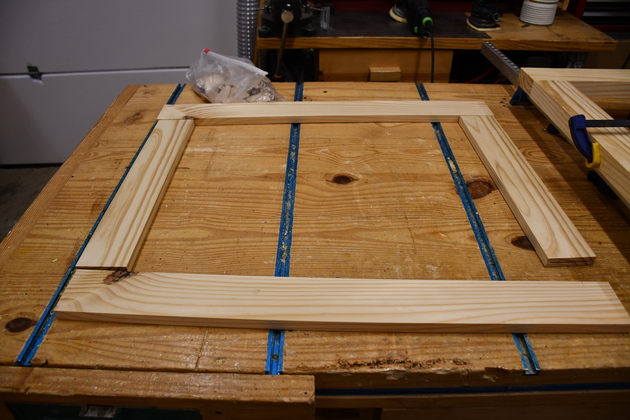
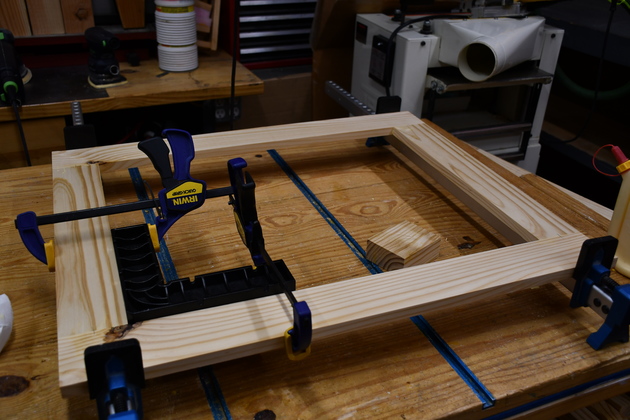
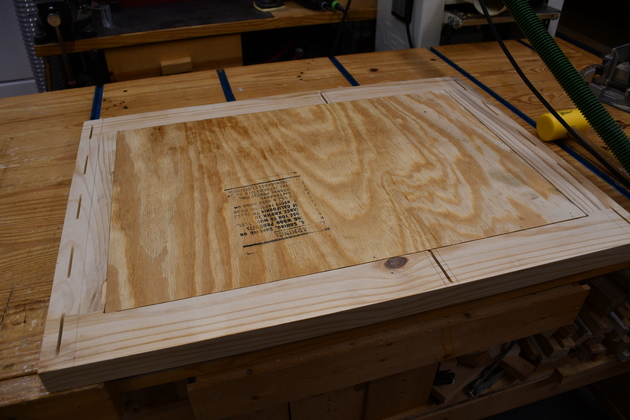
After the two HFrames and one side frame are glued. |
|
The mid-HFrame being marked for biscuit slots. |
|
The last side frame being glued. |
|
The mid-HFrame being glued. |
|
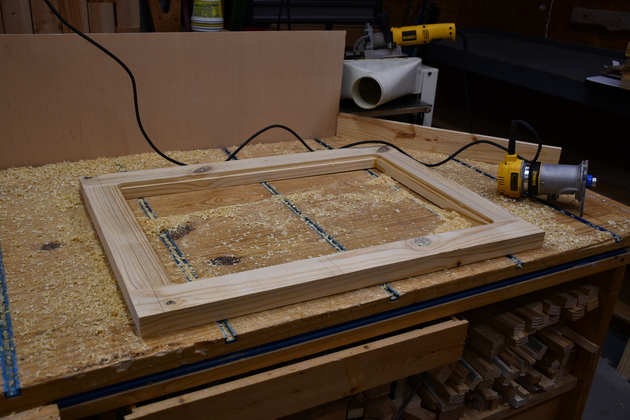
Cutting inset panel rabbet into one of the side frames. |
|
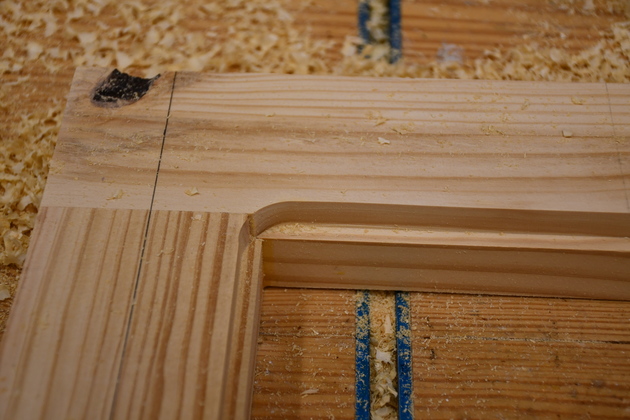
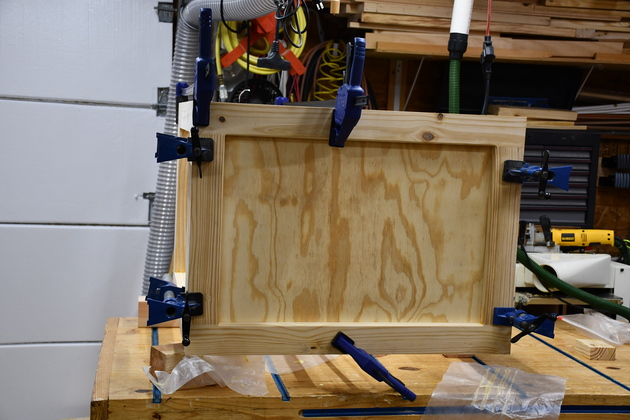
Closer look at inset panel rabbet in side frame, you can aslo see where I marked the postion of the lower HFrame. |
|
Inset panel glued into one of the side frames. |
|
Biscuit slots cut into edges of HFrames, note the mid-HFrame slot is closer to the edge (center of 1x3). |

|
A look at the inside of a side frame ready to glue to the HFrames, note the biscuit slots for the HFrames. |

|
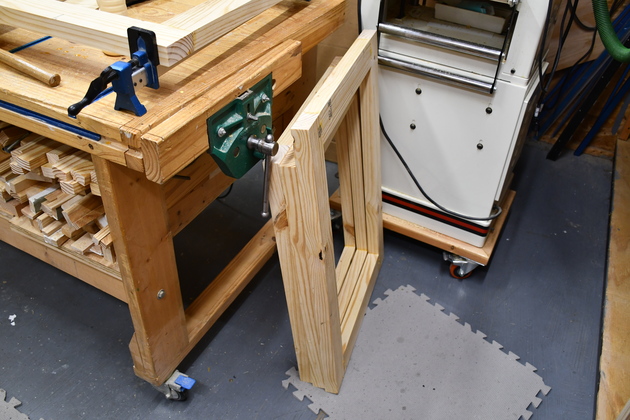
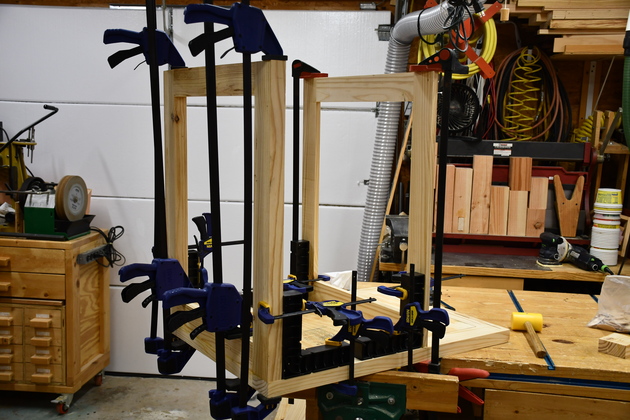
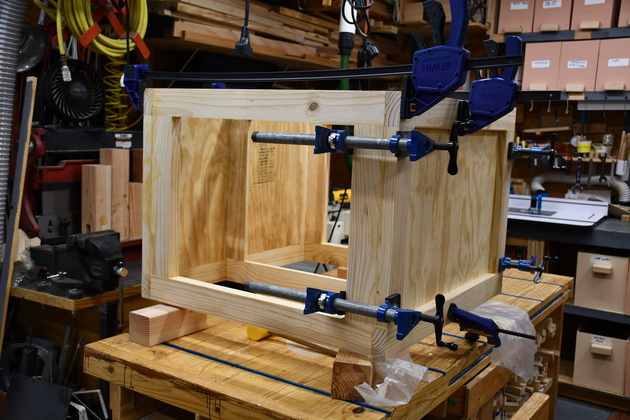
Gluing bottom HFrame to a side frame. The side frame is vertical in the pic. |
|
Gluing mid HFrame to a side frame. Again the HFrames are vertical. |
|
Note, I have to clamp the top end of the side frame to the table, too much weight hanging off the corner of the bench. Also note the ClampIts keeping the joints square. |
|
The other HFrame being glued. |
|
Again note the ClampIts. |
|
The other side frame (side) being glued. |
|
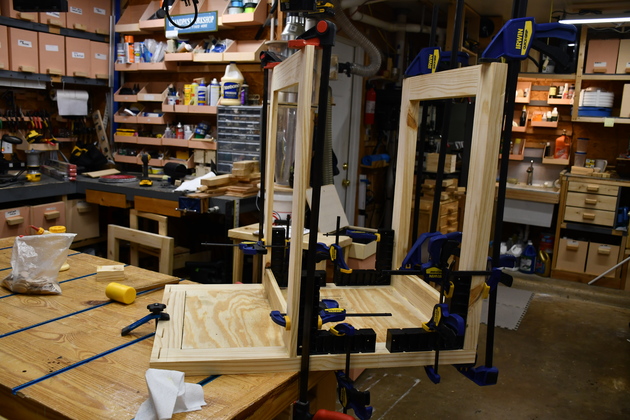
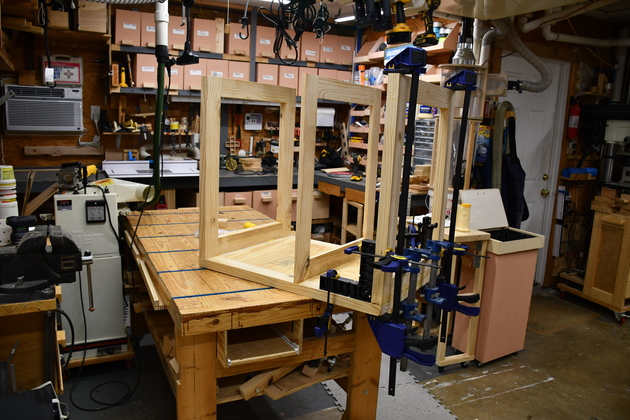
All 3 HFrames must be glued to the side frame at the same time. The open end on the left is the top where the actual router table will be attached. You can see the router table, on the bench, in the background. |
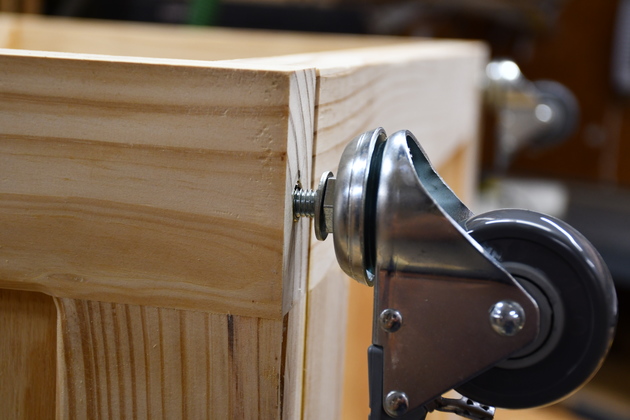
I first mounted the casters as is shown here but after a short time the inserts wallowed out, I'm supposing the SYP just wasn't hard enough. I ultimately replaced the stem casters with plate casters and all problems went away.
|
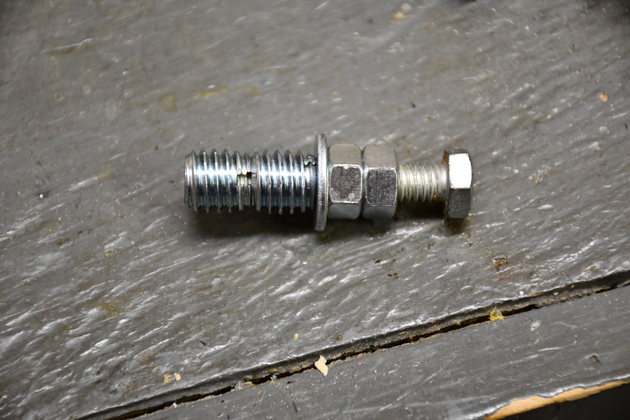
My double insert insertion tool. Just a bolt, jam nuts, and a washer with both inserts threadded on. These are 5/16" where the ones in the router table are 3/8". Makes sure the threads in both inserts line up and a bolt will thread all the way in. |
|
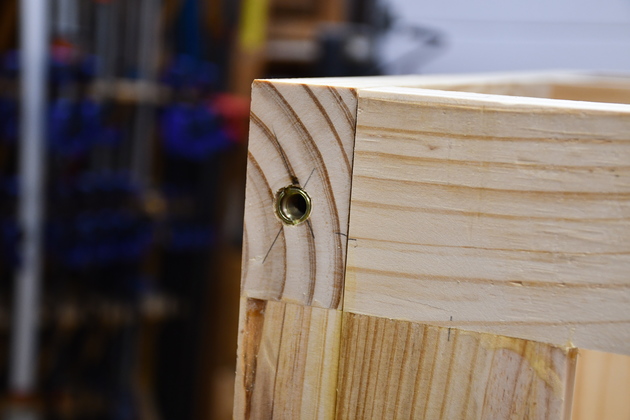
Double 3/8" insert in bottom corner of router table. |
|
The inserts are flush with the bottom surface. |
|
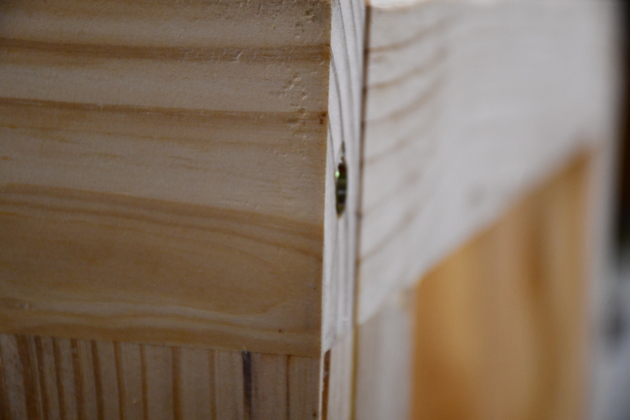
Threading 3/8" stem into double inserts. |
|
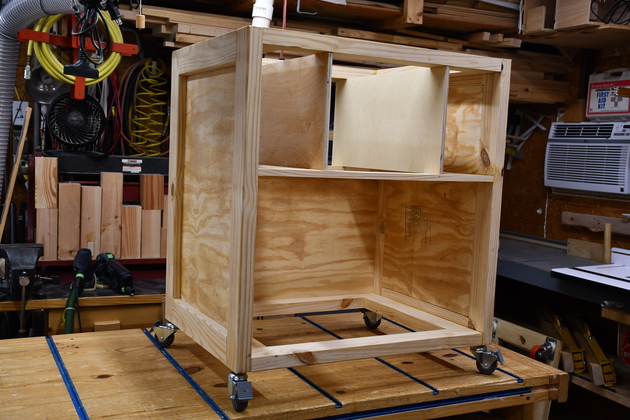
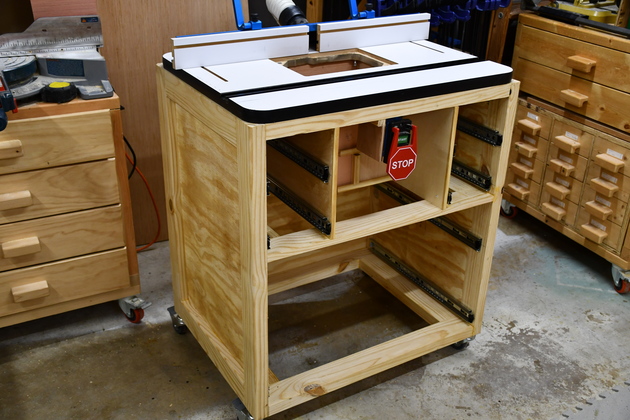
Finally the new router table is right side up, on it's casters. Now I must get to work installing partitions and the dust box, then the drawers. |
|
Partitions glued in. |
|
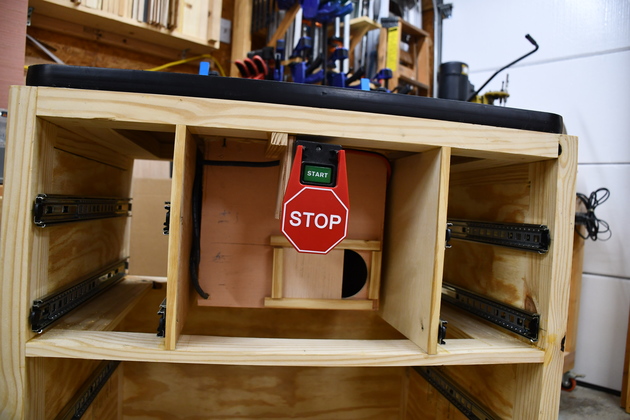
Single box for power switch and baffle to support it. |
|
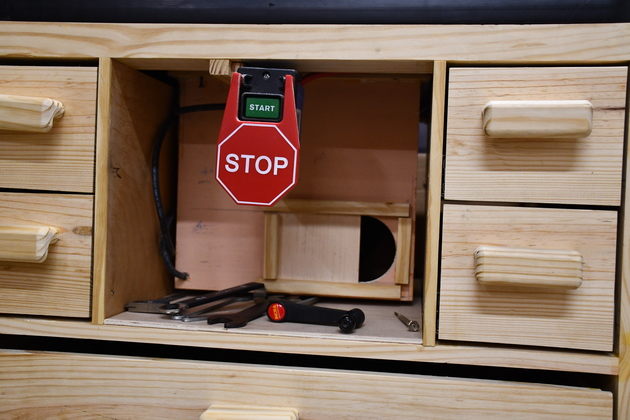
Power switch box installed. |
|
With Rockler router table and dust box installed. |
|
|
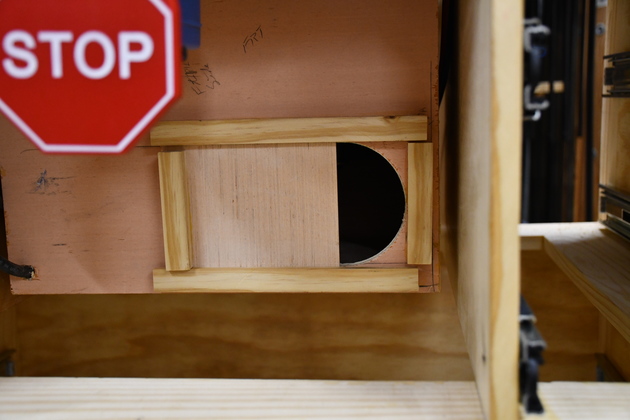
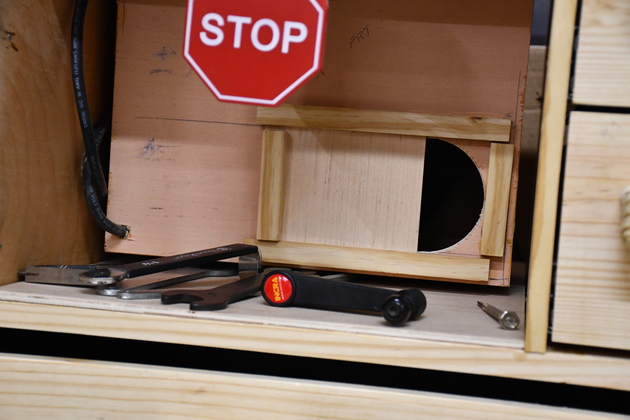
The dust box installed into the router table. You can see the air gate (damper) on the front of the dust box. |
|
Closer look at the air gate (damper). |

|
|
|
As usual the project starts with 2x8s on the shop floor. |
|
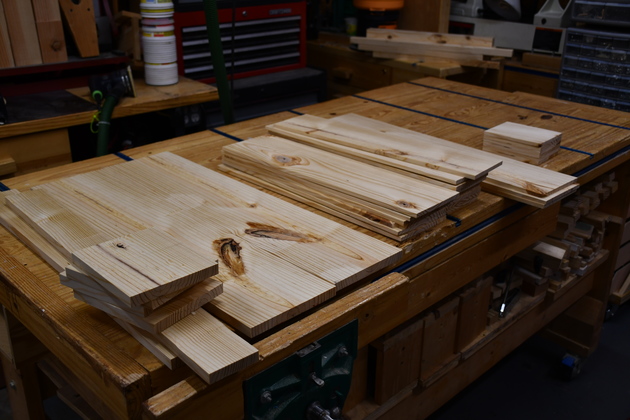
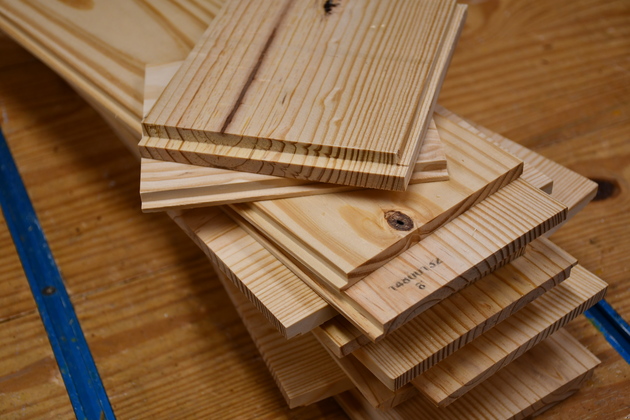
All drawer pieces cut to length, resawn and planed, ready to dovetail. I cut the Dwr-2, Dwr-3 fronts the same length width, I need to rip Dwr-2 front narrower. |
|
Drawer sets, you can see the back, front and sides below. |
|
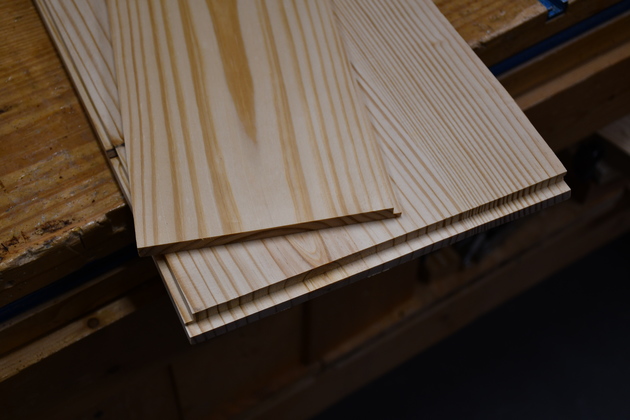
These sets have already been rabbeted, the drawer front, on top, has a side rabbet and all have a rabbet for the bottom, which I'll glue in. |
|
The side and front of Dwr-3, the tallest. The front of this drawer needed to be taller (10") than I could get out of a 2x8 so I edge joined two pieces to make the 10". |
|
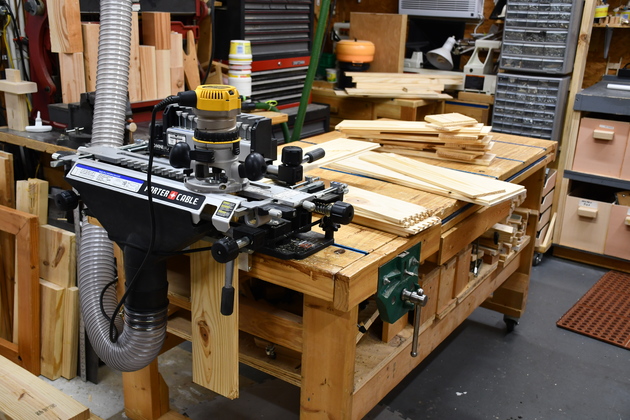
The dovetailing operation. You can see the stacked sets on the workbench beyond the dovetail jig. |
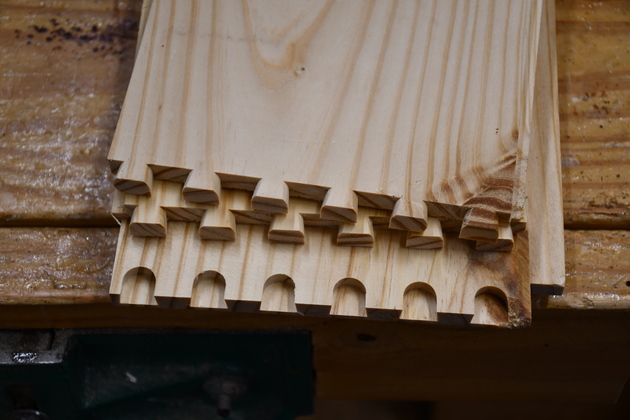
|
Here is a set of dovetailed sides, on top, and the back and front. |
|
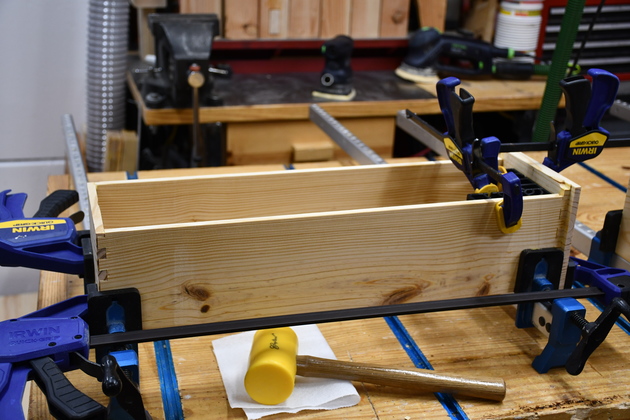
One of the small drawers in the glue clamps. |
|
|
Several drawer sets, dovetailed. |
|
|
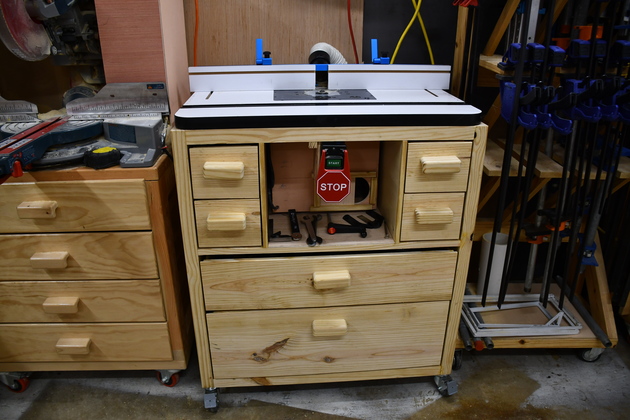
The finished router table. I still have to make bit racks for two of the small drawers (Dwr-1). |
|
|
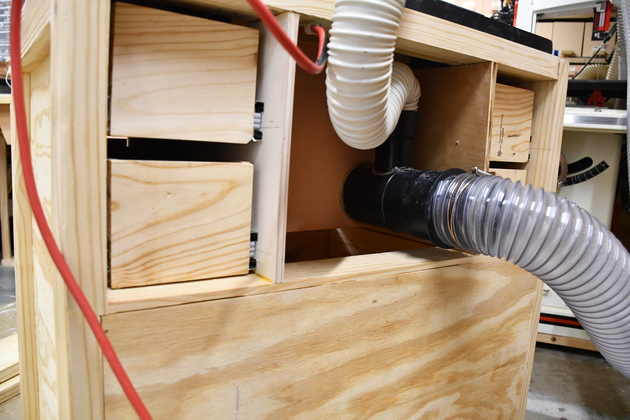
The back (with the home-made splitter) hoses (4" and 2") and power connected. The 4" goes directly into the dust box, the 2" hose goes up to the dust port in the router fence. Adjustment of the front damper also determines how much air will be drawn from the dust port in the router fence. |
|
|
Front with tools and air gate (damper) half open. By controlling the air entering from the front of the dust box, I also control the vacuum at the top 2" dust port. You try different settings until you get good chip collection at the top 2" port and the dust box stays clean. |
|
Closer look at the air gate (damper).
I believe this is the key to 4" dust collection, provide an air inlet so there is cross draft.
|
|
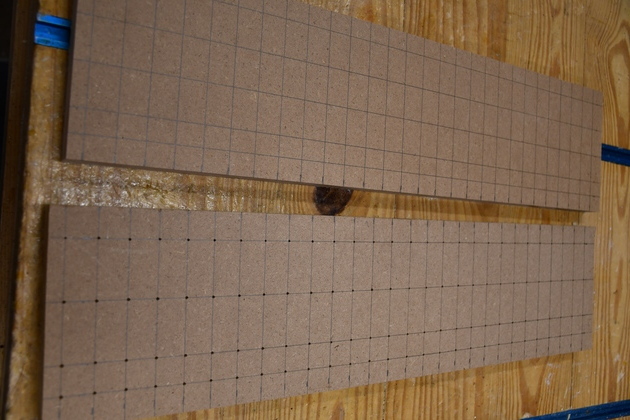
The bit racks, 3/4" MDF marked for drilling. The one on the right is for 1/2" shank bits, it is already center punched. |
|
|
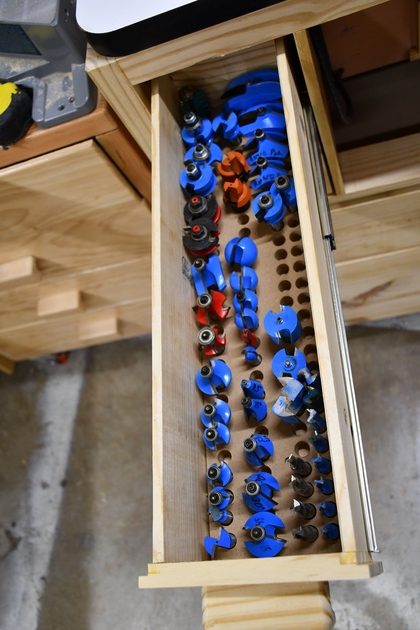
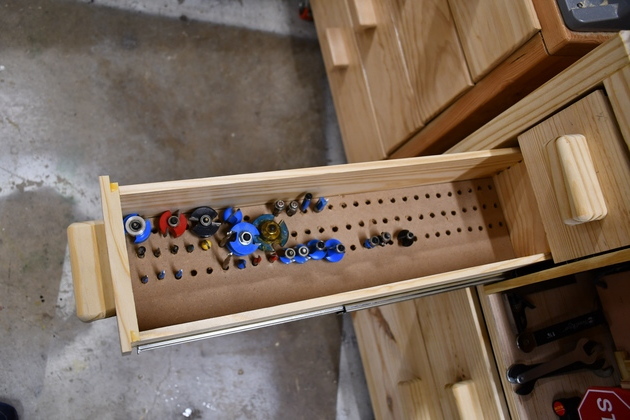
The 1/2" shank drawer, with bit rack and bits. |
|
The 1/4" shank bit drawer. |
|
|
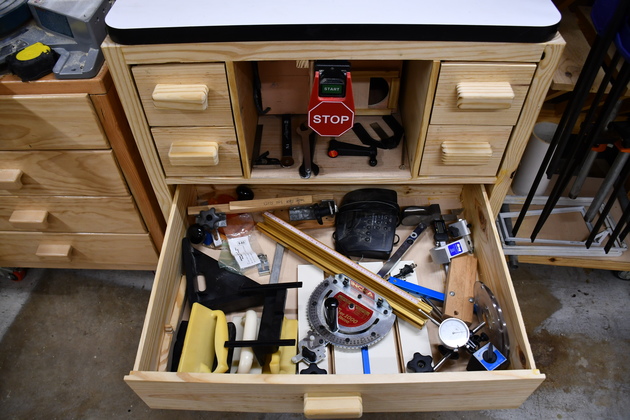
The top wide drawer. Push blocks, Kreg miter, numerous other tools. |
|
|
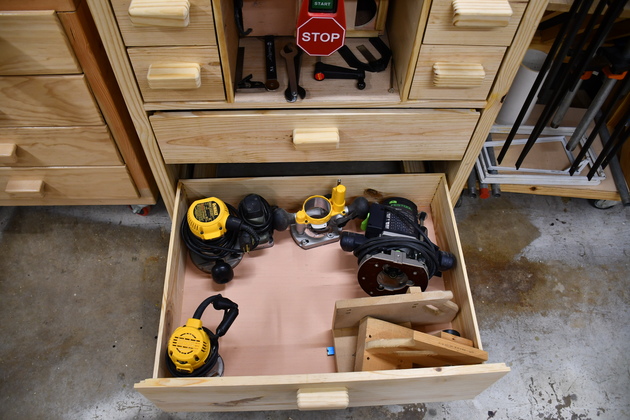
Large (lower) drawer, routers, router bases, and wooden jigs. |

|
|