| |
|
| 
|
|
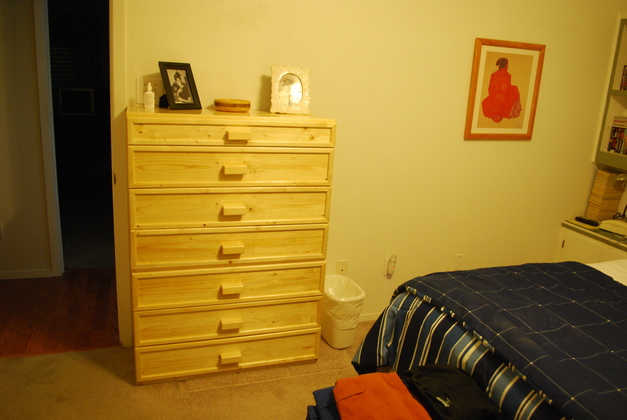
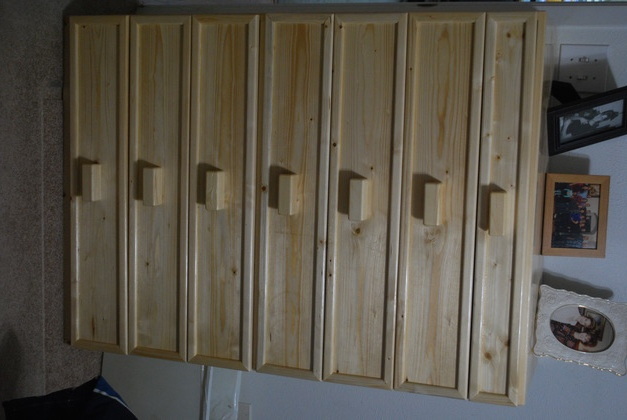
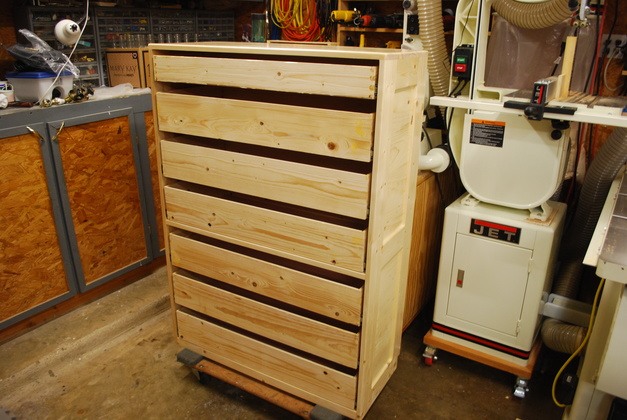
Chest Of Drawers
|
10/02/16: Page Origin

Click For Larger Pic
Drawer Sizing Info:
Drawers are 33-1/2" wide.
Top drawer: H1 =4-1/2", H2 = 3-1/2"
Lower drawers: H1 = 7" and H2 = 5-1/2"
All inset panels have a 1/4" wide rabbet on all 4 sides.
Making the panel 1/2" wider and higher than the opening.
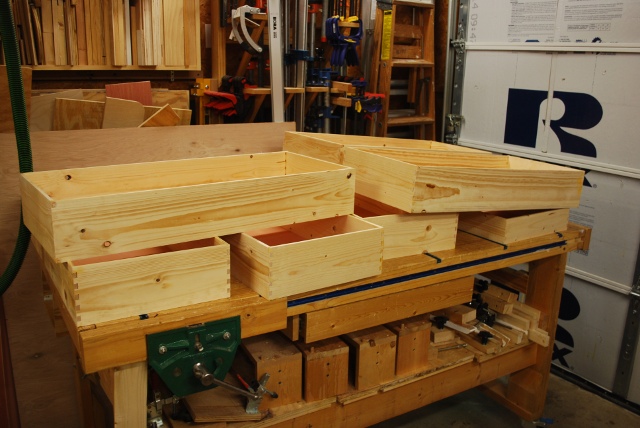
Drawer Frames
|
You can see the bottom rabbets cut into the lower inside edge of each side and back.
|
|
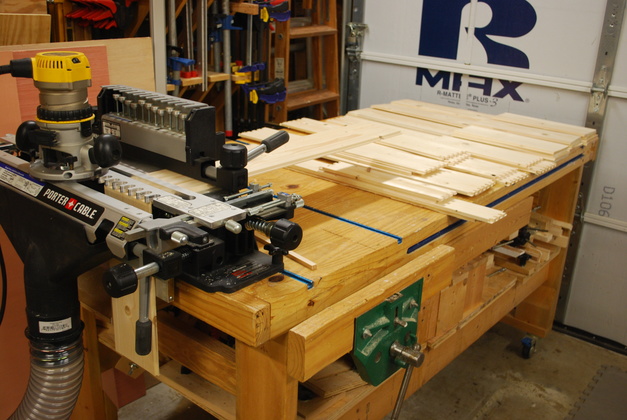
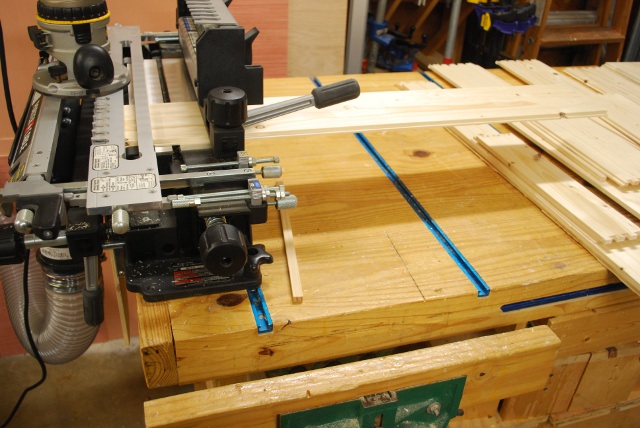
Dovetail jig setup on the woodworking bench.
|
|
Close look at a front and side set up in the dovetail jig, ready to cut.
|
|
Front/back pieces sticking out from the top of the jig.
Side pieces always in the front of the jig.
You can barely see the bottom rabbets.
I always use the bottom rabbets for orientation in the dovetail jig.
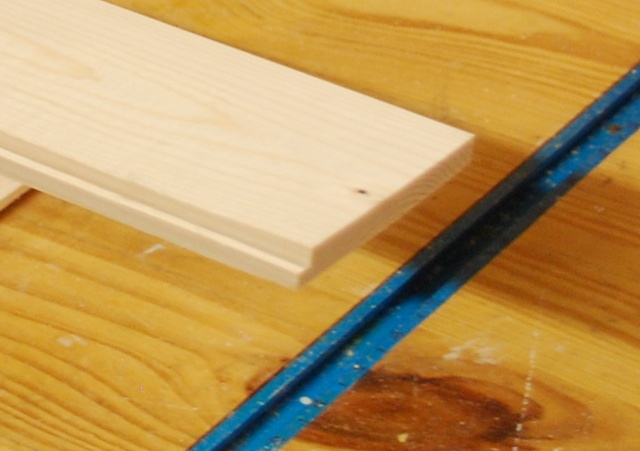
Better look at detail of bottom rabbet.
|
|
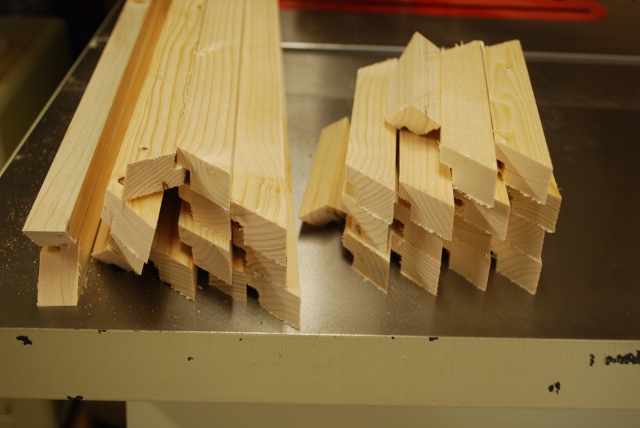
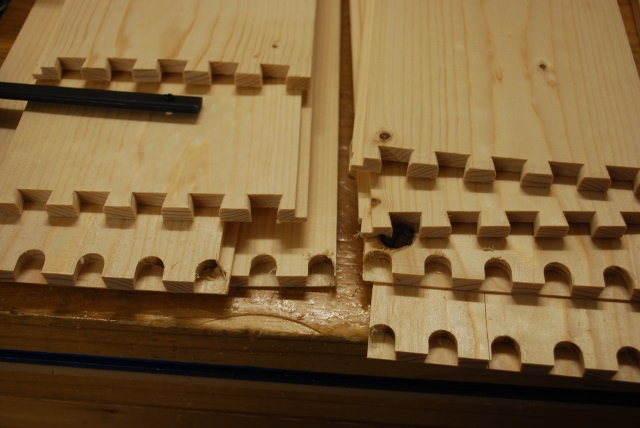
Drawer sets dovetailed.
Two sets, front/back on the bottom, sides on top.
|
|
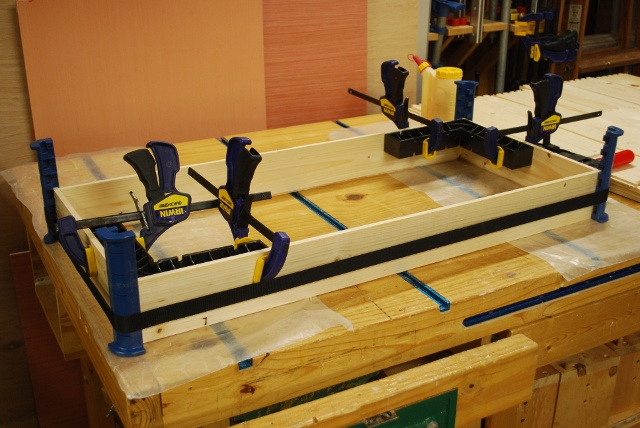
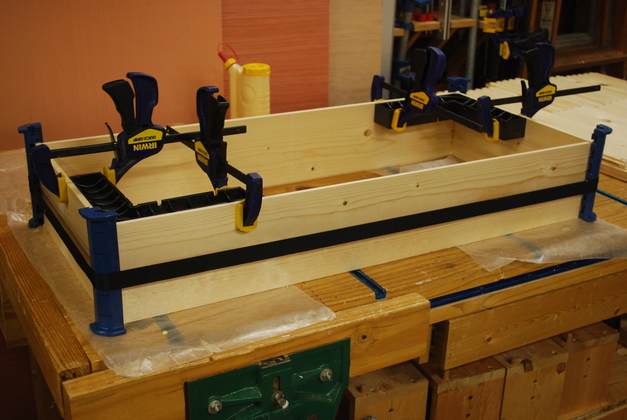
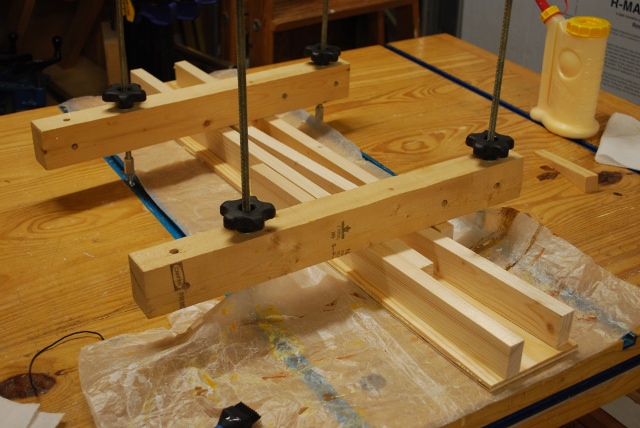
Top drawer frame in glue clamps.
The Rockler "ClampIts" hold the frame square while the glue sets.
|

|
One of the "ClampIts" clamped in the corner, making sure the frame is square.
|
|
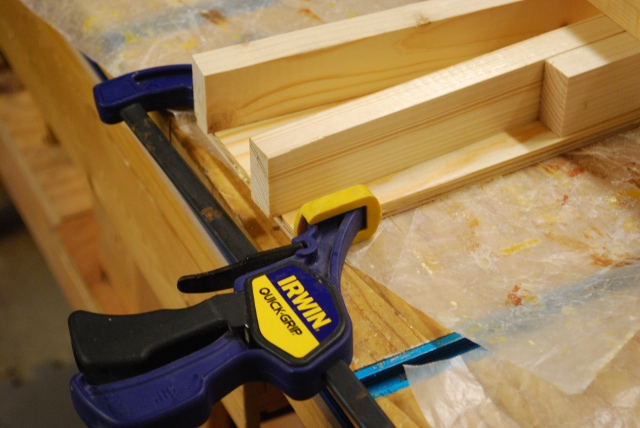
One of the lower drawers in the clamps.
I say clamps, I'm actually using a clamp strap, with Rockler cawls on the corners.
|
|
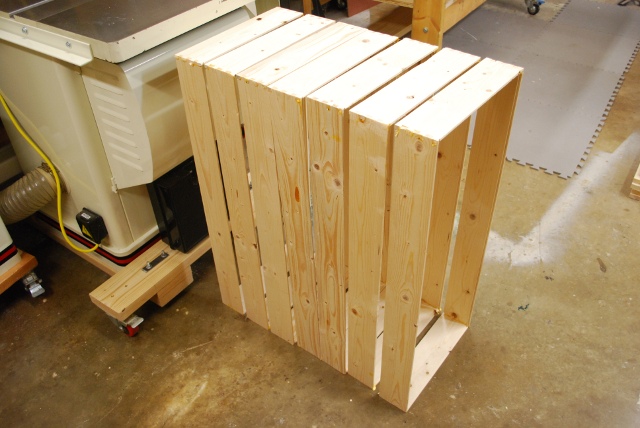
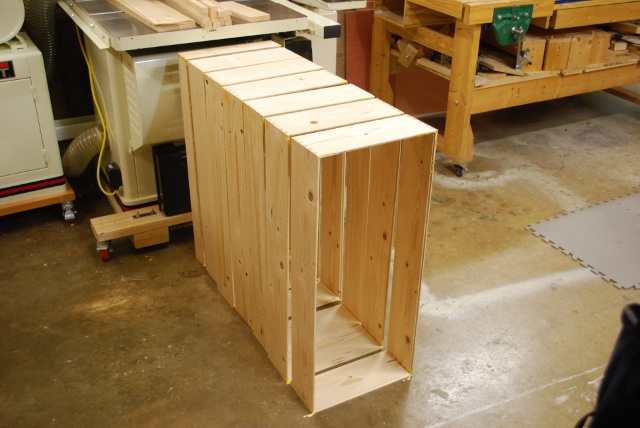
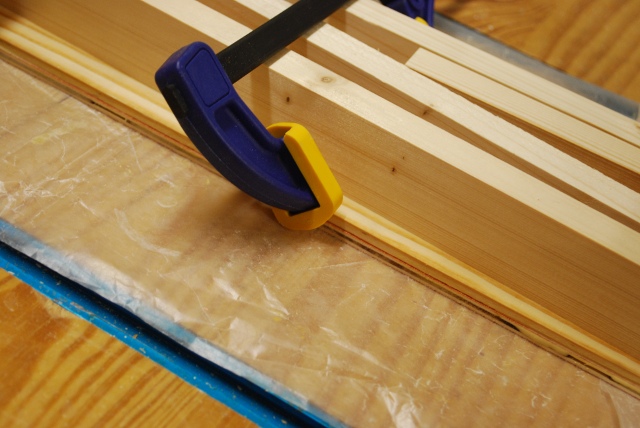
Line of 7 drawer frames, glued, ready to sand and glue in bottoms.
| |
Build 2.
|
|

|
Drawer bottoms cut out.
|
|
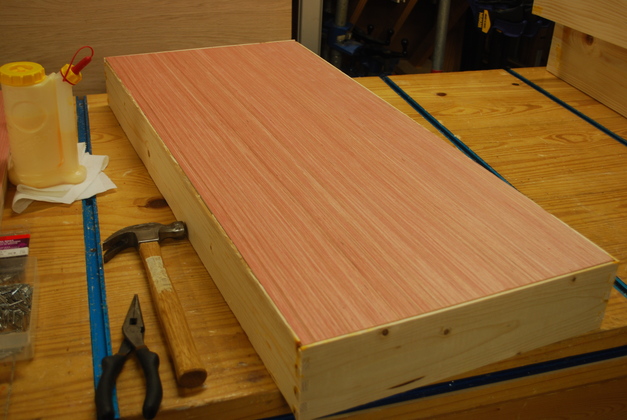
Drawer bottom being glued in, note the hammer, pliers, and wire nail drawer, I use wire nails to hold the bottom in place while the glue sets.
|
|
Drawers being painted.
|
|
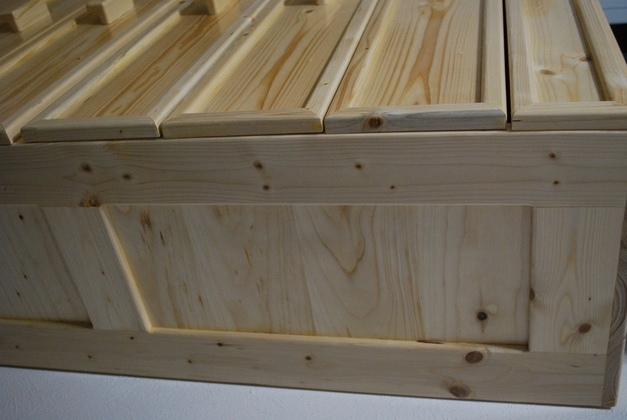
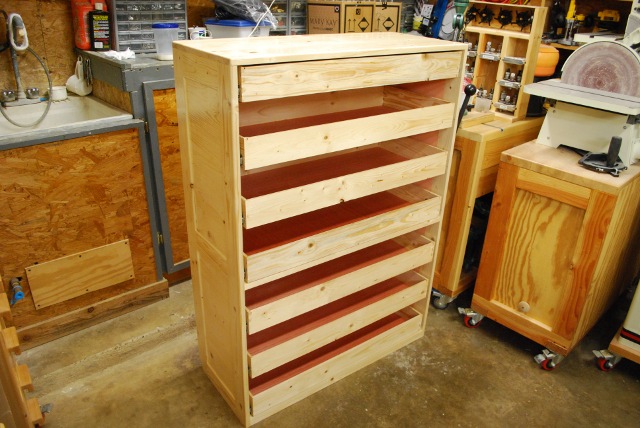
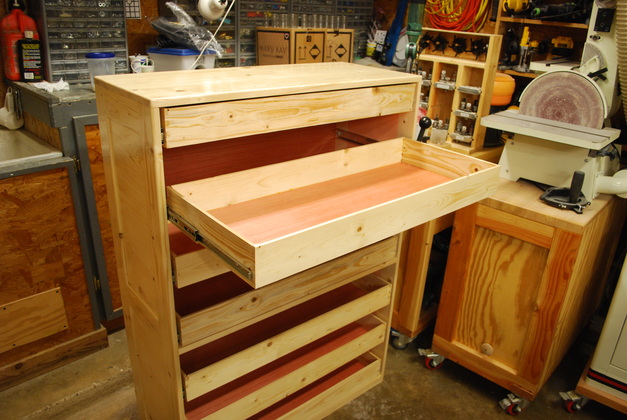
Drawer frames mounted in cabinet.
|
|
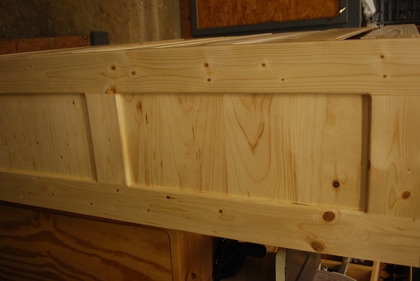
Note the inset panels in the side of the cabinet.
|
|
Drawers, on slides, mounted in the frame.
No fronts yet.
All the drawers are identical, the difference is the fronts.
|
|
Drawer extended.
|
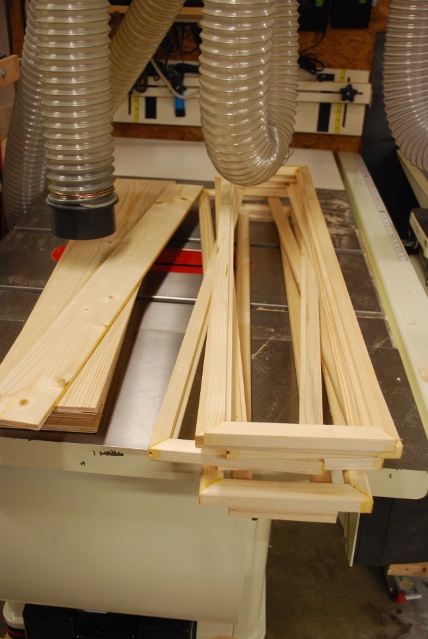
Drawer Fronts
The drawer fronts will be made with resawn pine fronts and plywood backs, laminated together for form an inset panel in a 1" x 3/4" pine frame.
|
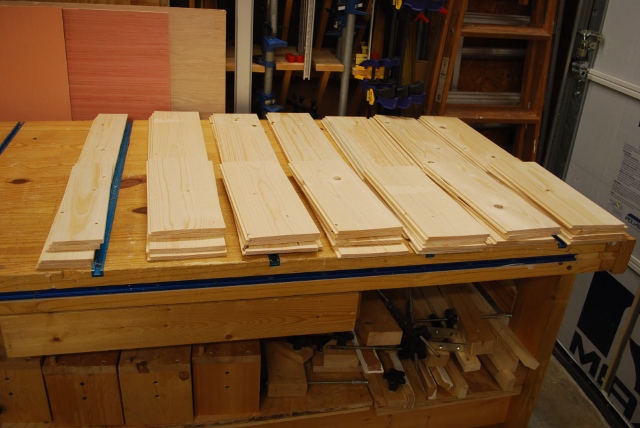
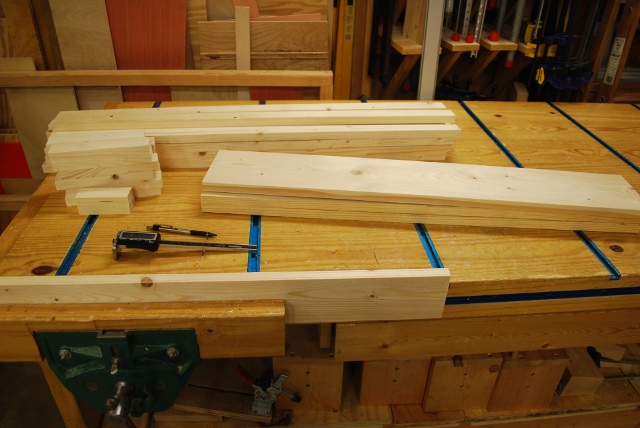
Lumber sawed to length for drawer fronts.
|
|
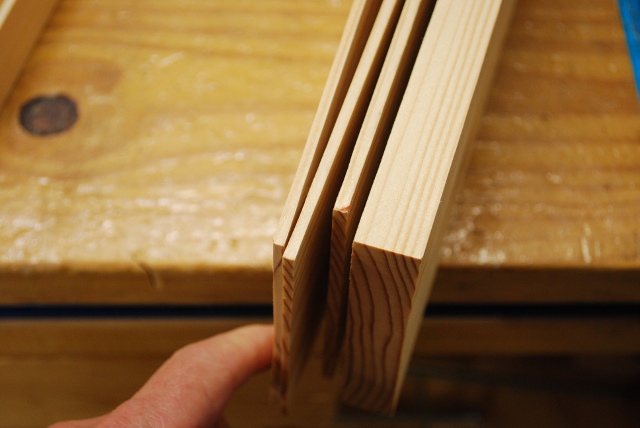
Pine marked for resawing at 1/8" thick panels.
|
|
Pine facing sawed for the top drawer.
|

|
Two outer resaw cuts marked on a 1x6 for pine facings.
|
|
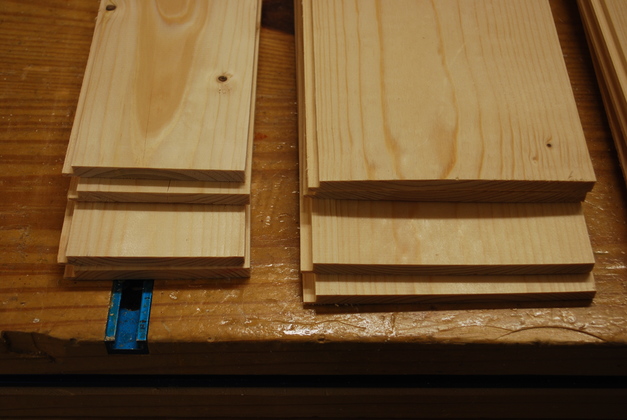
Pine facings for 3 lower dawers resawed to 1/8" next to an unresawed 1x6.
|
|
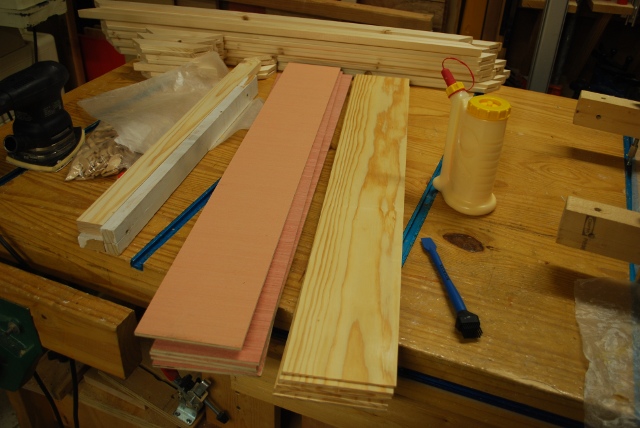
Plywood backs cut out on the left, pine resawed panels on the right.
|
|
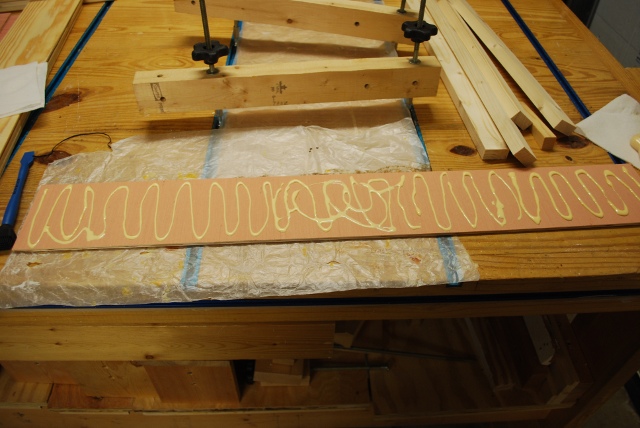
Glue applied to top of plywood backing.
|
|
Glue spread on a plywood backing.
|
|
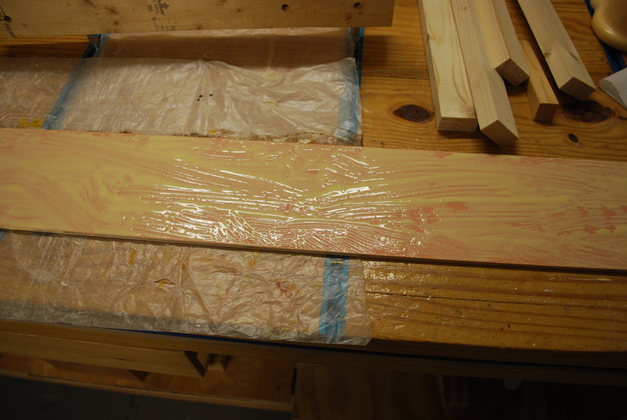
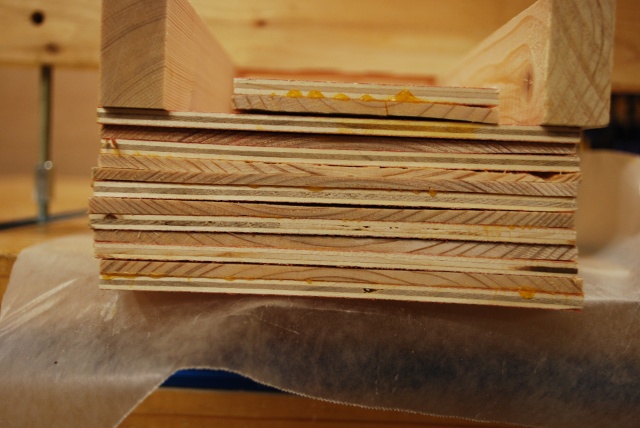
Pine panel, under pressure, being laminated to it's plywood backing.
|
|
I have begun using clamps to keep the panel and backing aligned while I apply the pressure.
|
|
Clamp in the center, keeping panel and backing aligned.
|
|
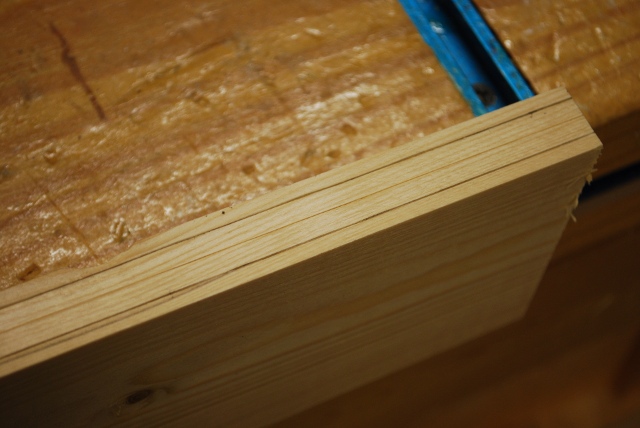
Stack of laminated inset panels (plywood with pine face).
|

|
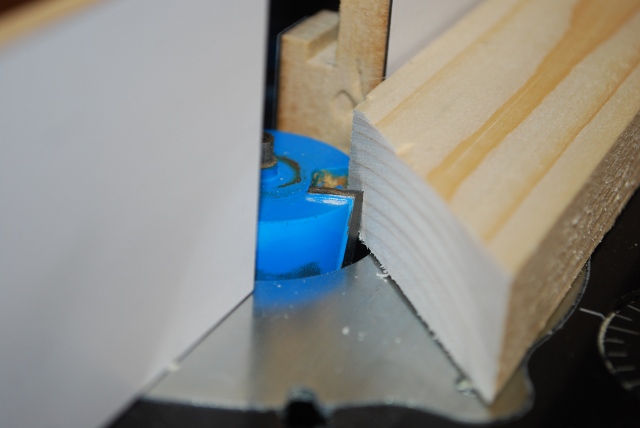
Setup for cutting rabbets in the frame for inset panels.
I use my miter sled on the table saw to cut these 45° mitered ends, for a large number of cuts, its faster than using the miter saw.
|
|
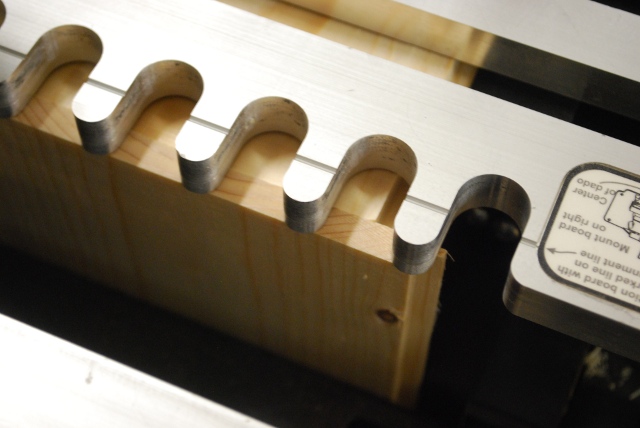
Setup for cutting rabbets, you can see just how much the bit will take.
|
|
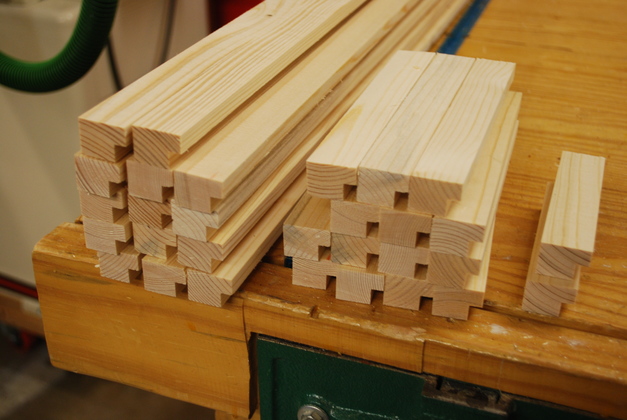
Drawer front frame pieces cut to length, ripped to 1" wide, then rabbeted.
I'll be using my miter sled to cut the miters on these.
|

|
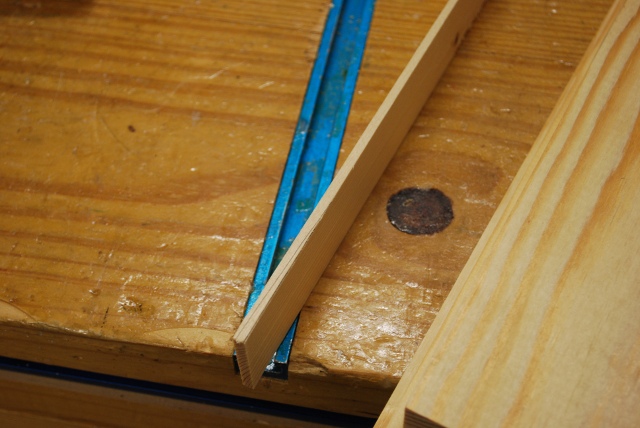
Corners rounded.
The two small pieces are the side of the top drawer's front.
|
|
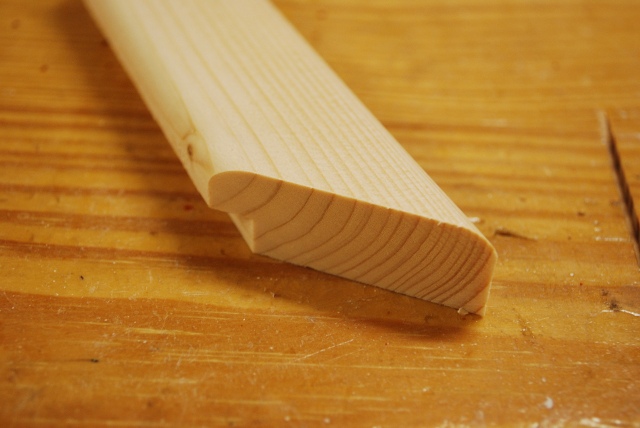
Corner miter with panel rabbet and corner rounding.
|
|
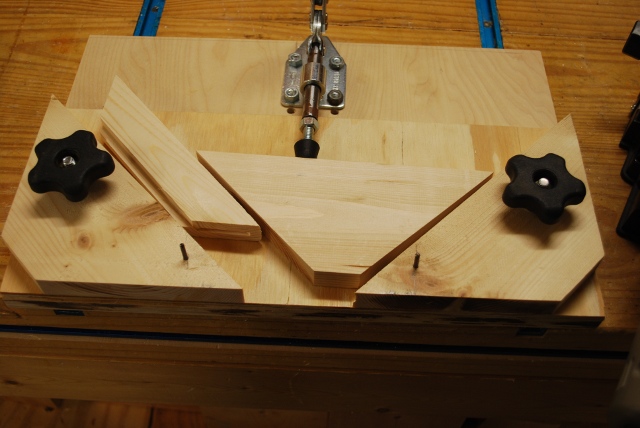
Here is my Miter Slot Clamp Jig.
I make a lot of mitered frames out of 1x2 (and smaller) with type FF biscuits, so I built this jig to cut the biscuit slots in the mitered ends.
It allows me to accurately cut biscuit slots in the end of 45° mitered pieces without measuring and marking every time.
|

|
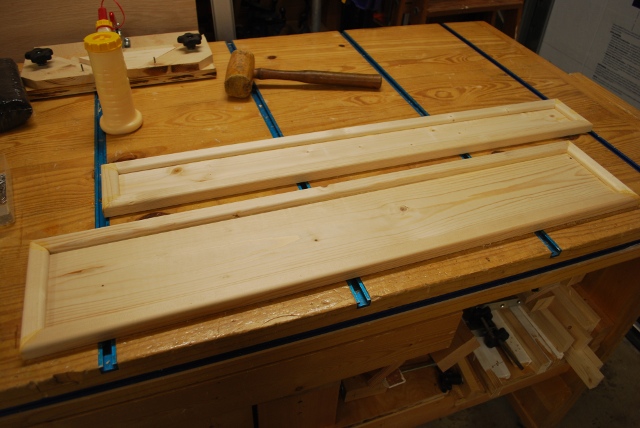
Gluing a drawer front frame.
|
|
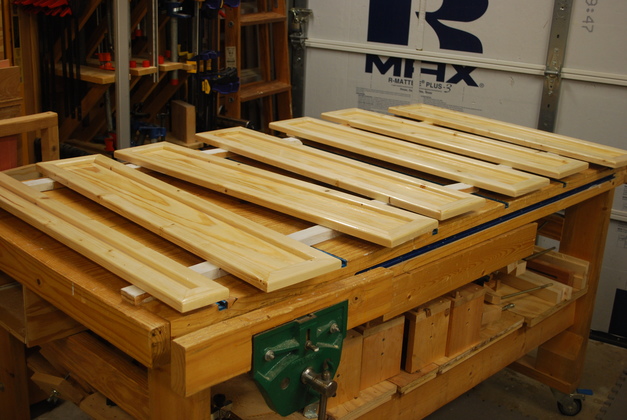
Stack of all drawer front frames, glued, ready to sand.
Note the stack of inset panels on the left.
|
|
Top drawer and lower drawer with inset panel glued in ready to sand and paint.
|
|
Drawer fronts being painted.
|
|
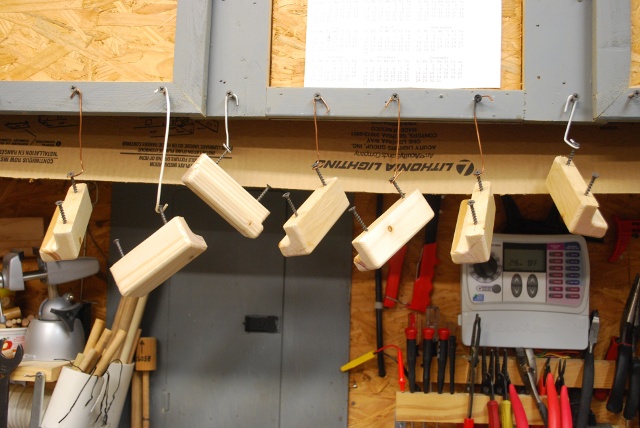
Drawer handles (pulls) being painted.
Link to my Drawer Handle Page.
Notice the two screws, I drilled the mounting holes the run the screws in, just a little, makes them easier to handle while sanding and painting.
|