| 
| 
|
|
|
|
|
| Chest Of Drawers Main | Frame | Laminating Panels | Frame Assembly |
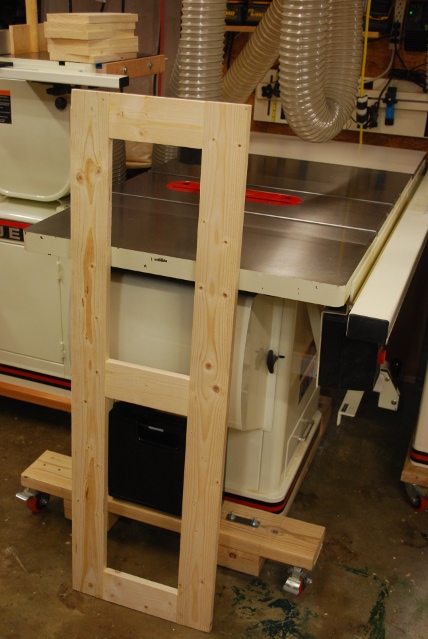
| Tall Tee Clamp |

| Miter saw set up for sizing frame pieces. |
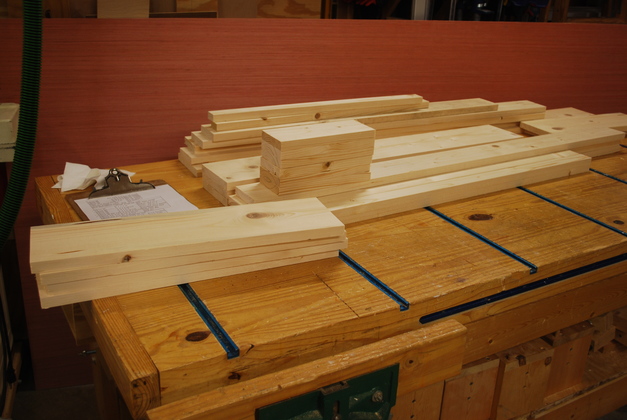
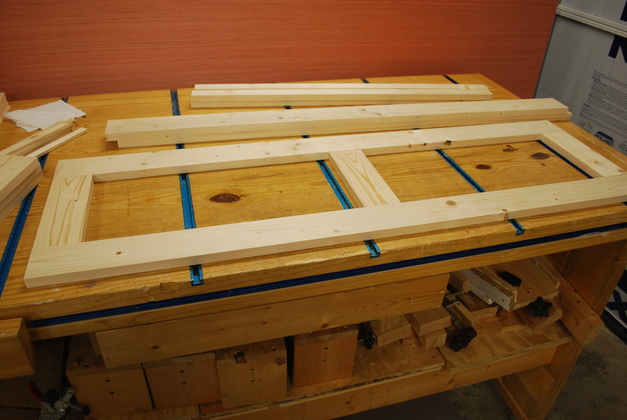
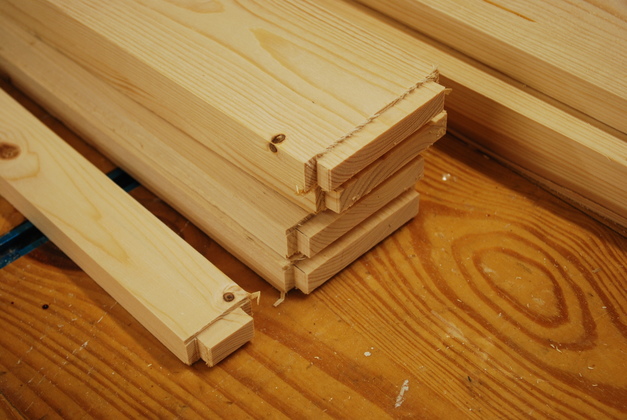
| Frame pieces cut. The reddish piece of plywood leaning up in the rear is for the chest of drawers back, drawer bottoms, and backing for the inset panels side and front. The stack of 4 pieces in front are for the inset panels. |
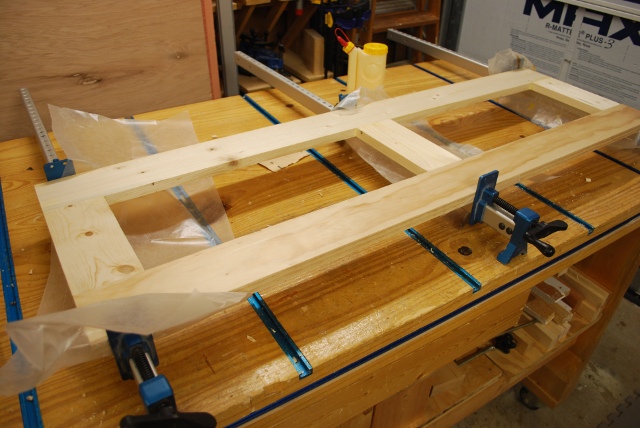
| One of the side frames test fit and mark for biscuit slots. |
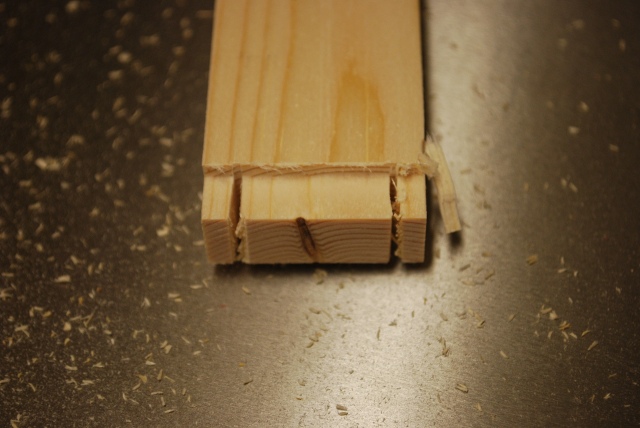
| First tenon shoulder cut on frame cross pieces using the router table. |
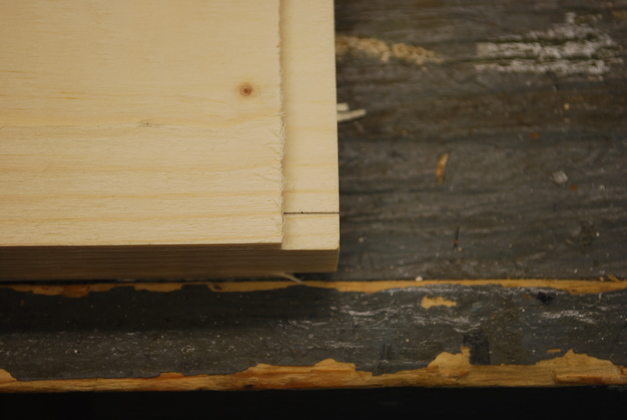
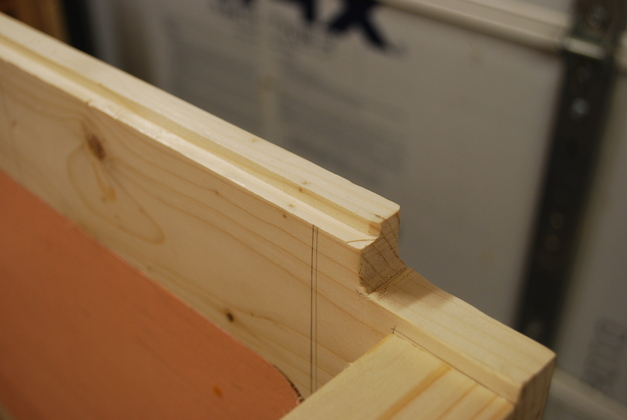
| Tenon marked for end shoulder cut using bandsaw. |
| First end bandsaw cut on lower front frame piece. |
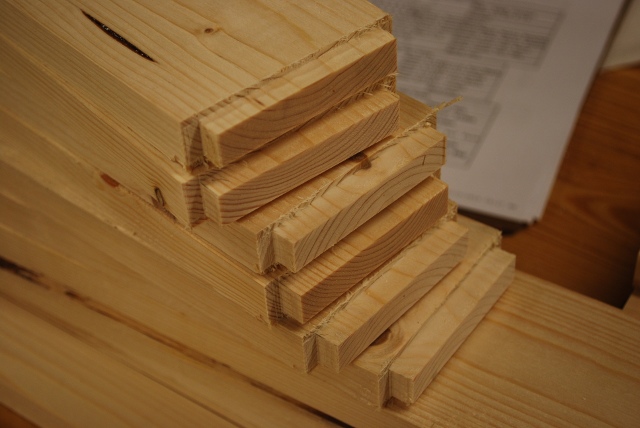
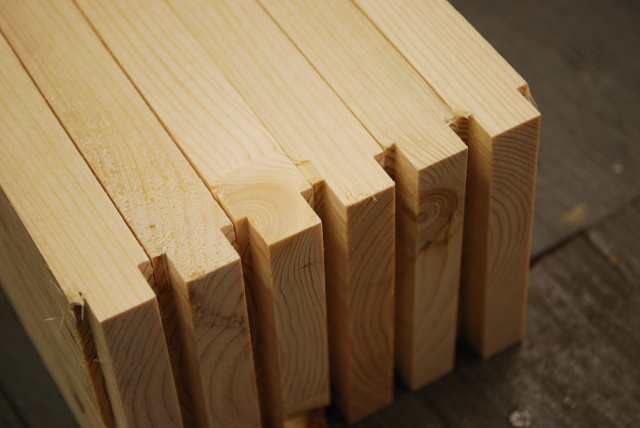
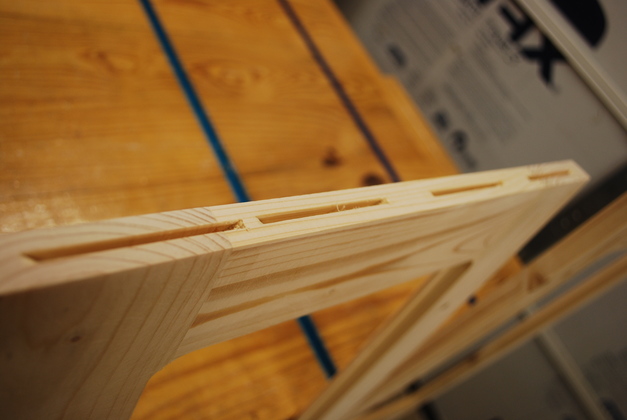
| Tenons cut on 6 frame side horizontal cross pieces, just a little trimming and sanding and they'll be ready. |
| Tenons cut on frame cross pieces, and need a little trimming. |
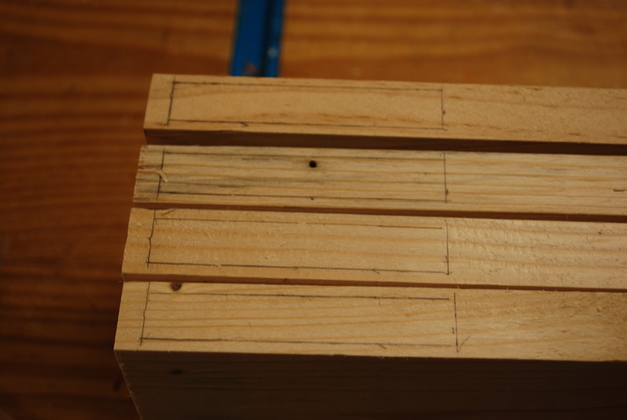
| Mortise holes marked in frame side verticals. |
| Frame side piece in glue clamps. |
| Frame side glue set, ready to sand. |
| Sanding glued frame side. |
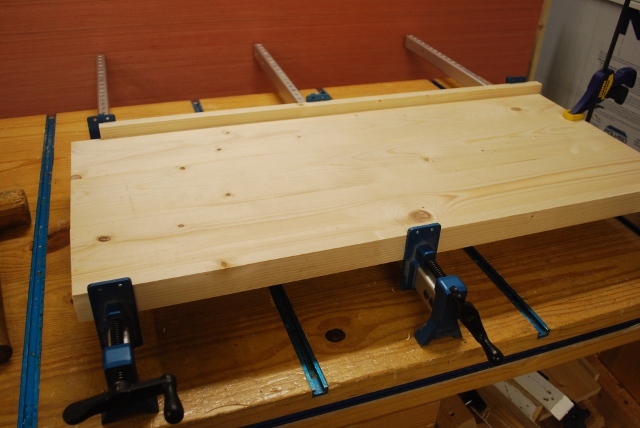
| Top in glue clamps. |

| Notice the little "tic marks" across a joint, for alignment and location of a biscuit. When I join two pieces with biscuits, I put the two together, mark each spot I want a biscuit, then separate, and cut the slots, centered at the marks and referenced to the same side. |
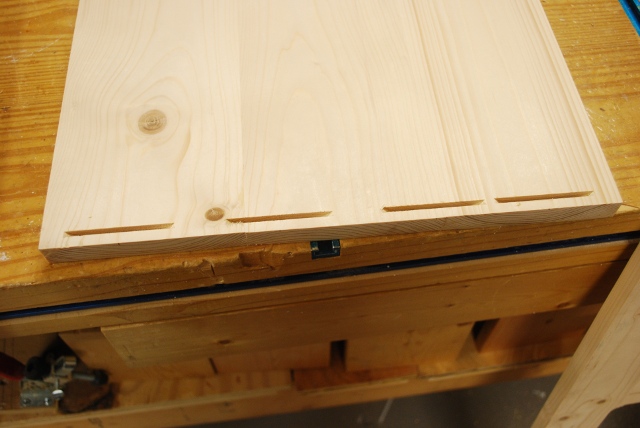
| The biscuit slots cut into the underside of the top. |
| And the matching slots in the top of the side piece. |
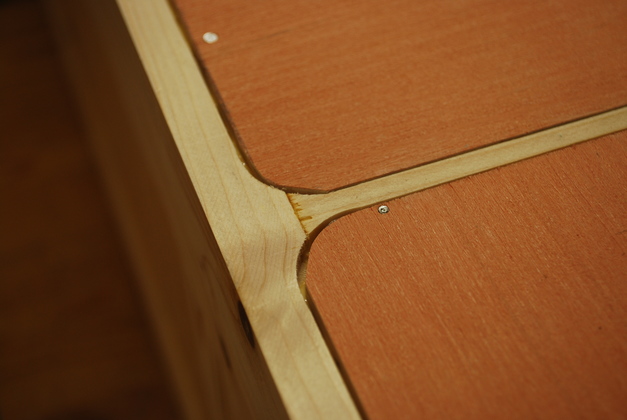
| After the frame side is glued, I rounded the outside corners of the inset panel area. |
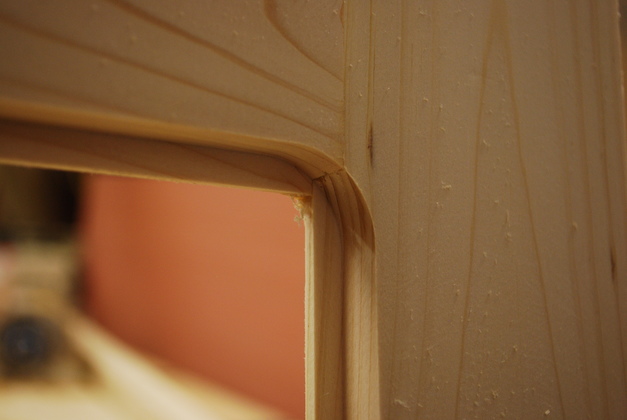
| And rabbeted the inside for the inset panel. |
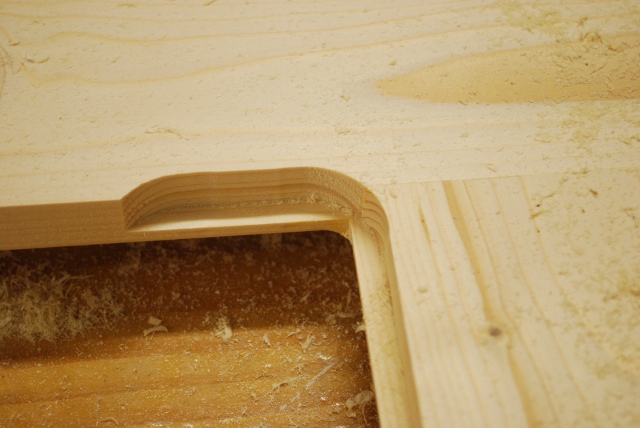
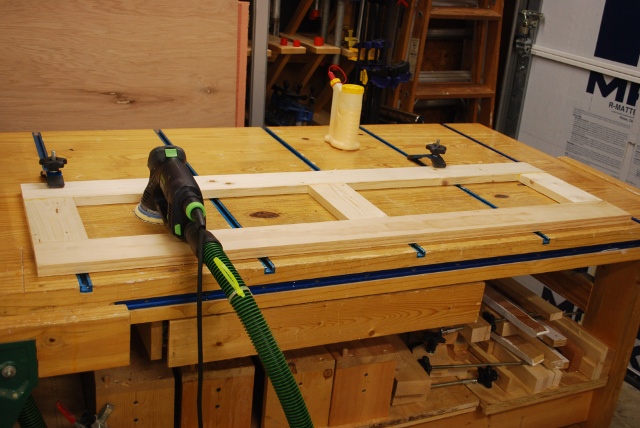
| Pic of the inset panel rabbeting in process. |

| Heres what the workbench looks like while I'm rabbeting, a lot of wood chips. Notice I had to raise the side frame piece up off the workbench to clear the rabbet bit's bearing. |
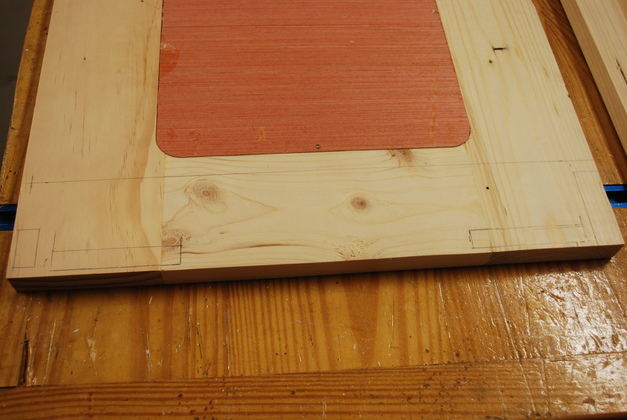
| Inset panels glued in, and mortises marked. |
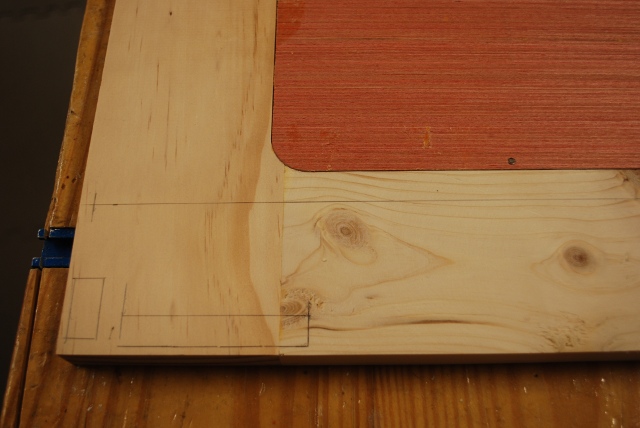
| Closer look at lower front mortise marks, you can also see the lower drawer slide center line, 2-5/8" from the bottom of the frame. |
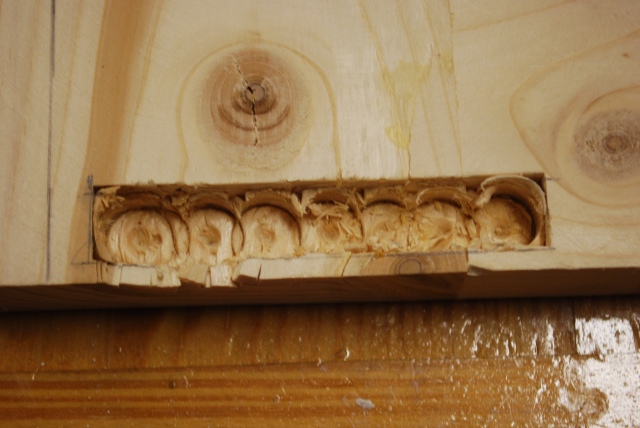
| Mortise after drilling and before cleaning out with a chisel. |
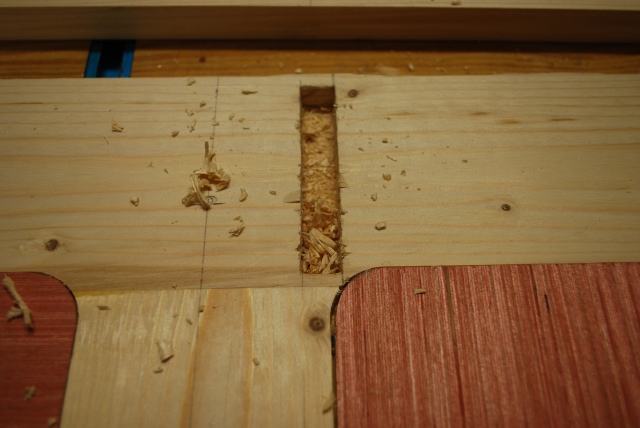
| Mortise being cleaned out after drilling. |
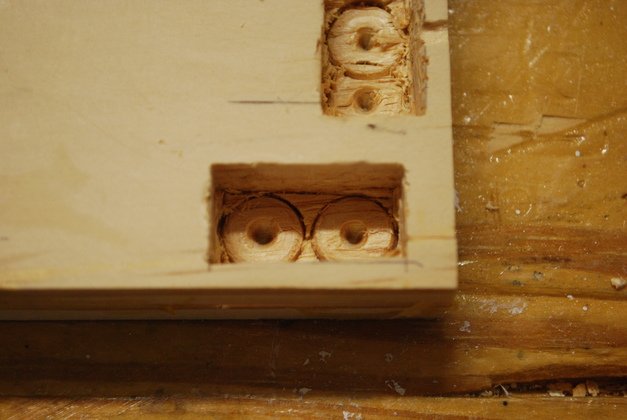
| Lower front mortise after clean out (1" wide X 1/2" high). |
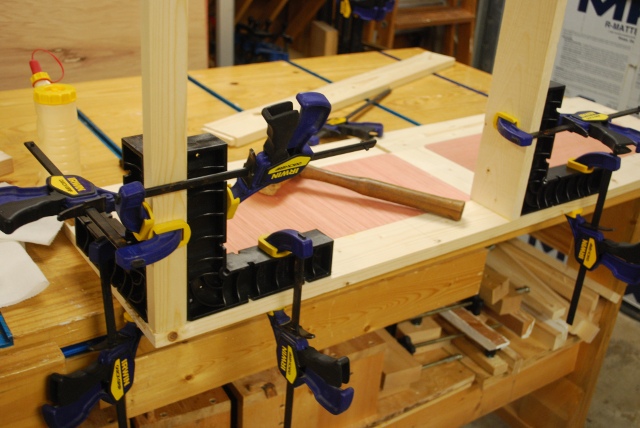
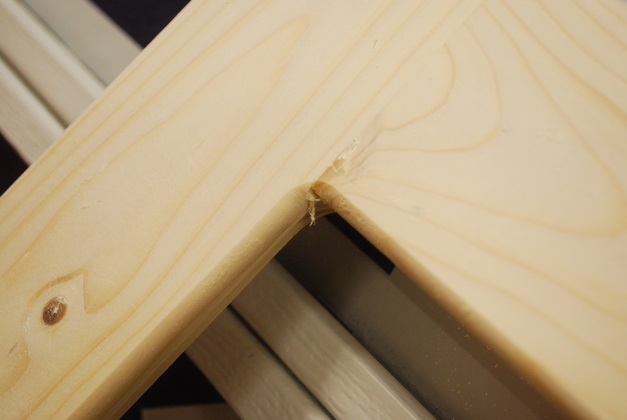
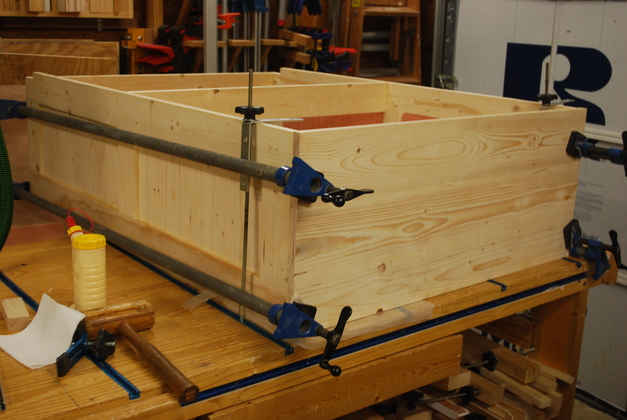
| Gluing horizontal cross brace's tenons into their mortises on the right cabinet frame. Notice all the ClampIt holding everything square. |
| Adding the lower front horizontal cross brace. Again note the squares. |
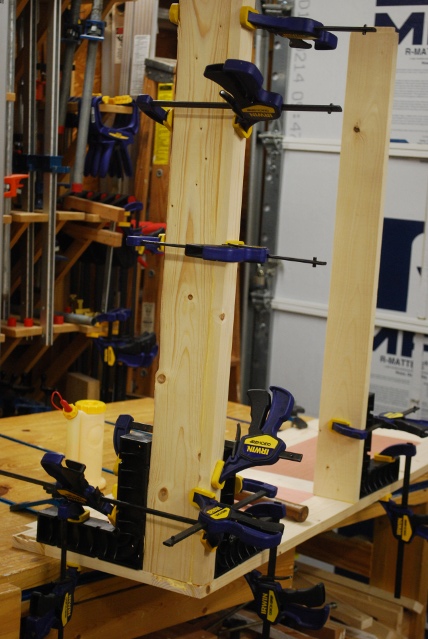
| Rear horizontal coss supports gluing in place. |
| All 5 horizontal supports gluing. |
| Looking from top of cabinet. You can see the biscuit slots for the top in the top ends of the cabinet sides. |
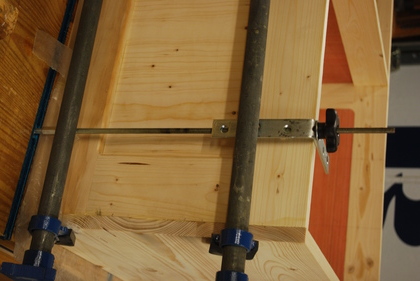
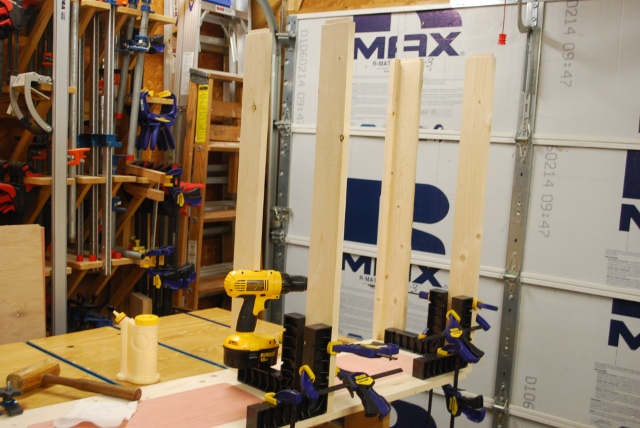
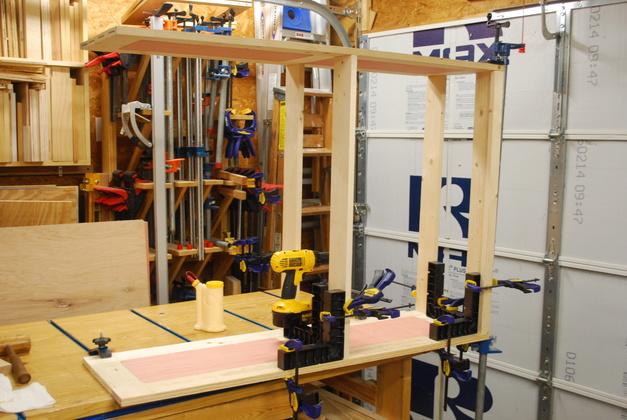
| Gluing on the top. I made these special tall tee track hold-downs to keep the frame flat on the workbench. Simple but they work. |
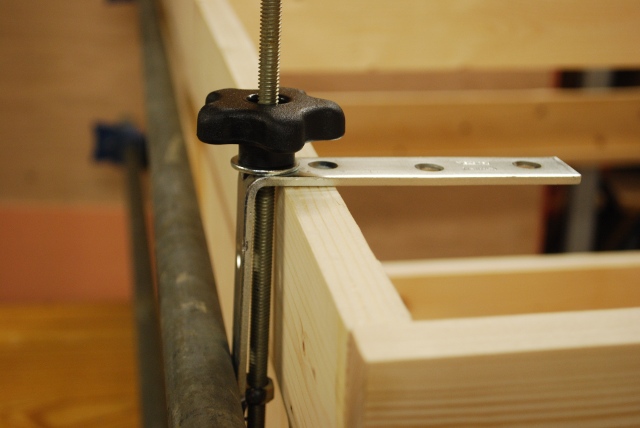
| Just an ell bracket with a 5/16" hole, and a 5/16" nut with the threads drilled out, welded to the bracket, a 5/16" threadded rod, with a coupler and short tee bolt at the bottom. |
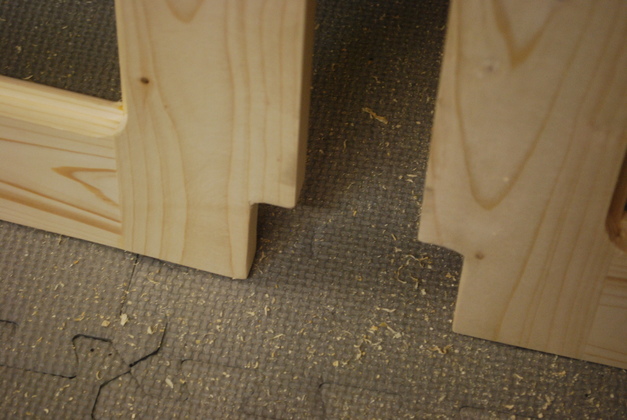
| Notches cut in the bottom rear of the side pieces to accomodate the base moulding. The notches are 3/4" wide and 2-1/4" high. I want this COD flat up against the wall. I sawed these notches with my bandsaw before I glued the side frames together. |

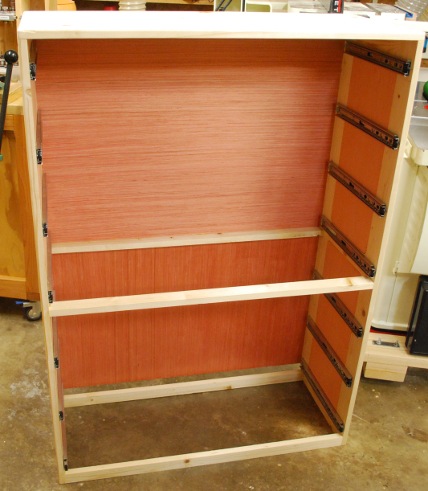
| Inset panels glued in, upper back panel glued in. |
| Cutout for the baseboard. |
| Upper and lower back panels fit into rabbets. You can see the wire nails I use to hold them in while the glue sets. |
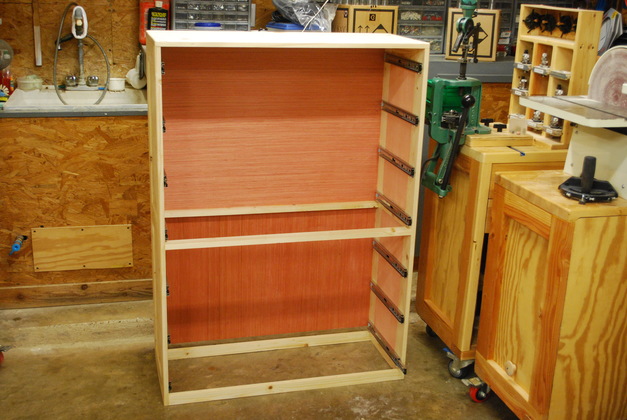
| Front view of assembled cabinet. |
|
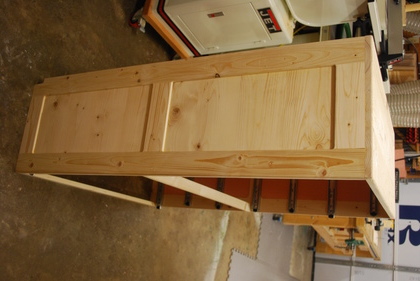
| After rounding the corners, panels glued in slides mounted. Note the panel's grain running horizontaly, the drawer front grain will also be horizontal. |
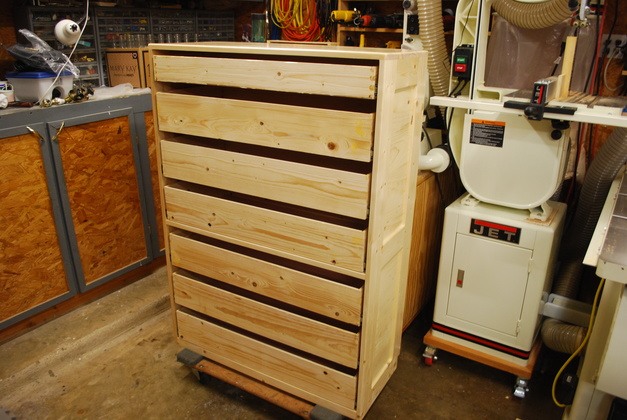
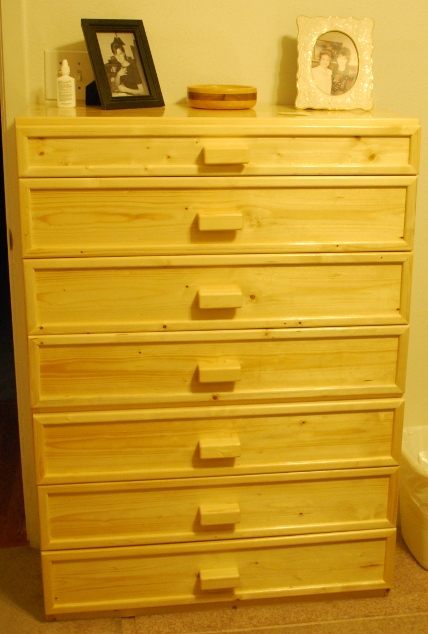
| Build 2 cabinet complete. |
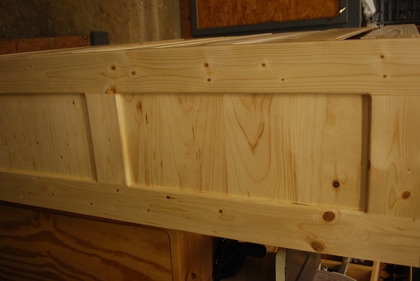
| Notice the inset panels in the build 2 cabinet. |
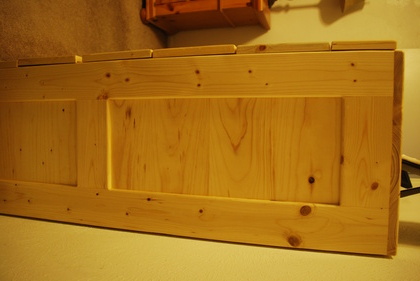
| Installed, not the inset panels and how close to the wall it is sitting. |
|
| Installed in the master bed room. |