| | |
|
|
| 
|
|
Laminated Panels
|
I like natural wood especially pine, with knots, for furniture.
But its difficult to find large panels except plywood for cabinet sides and drawer fronts.
Plywood, made from fir, doesn't take paint & stain same as pine.
So I have been making laminated panels for cabinet sides and drawer fronts by laminating SYP to plywood.
In the past I resawed pine (to about 5/16" thick) and edge joined them to get a wide panel, but pine this thin tends to crack as it drys.
Now, I resaw thin (usually 1/8") pine panels from a 1x6, edge join several till I have a suffuciently wide panel then laminate it to a plywood backing.
This keeps it from cracking (so far) and looks good.
|
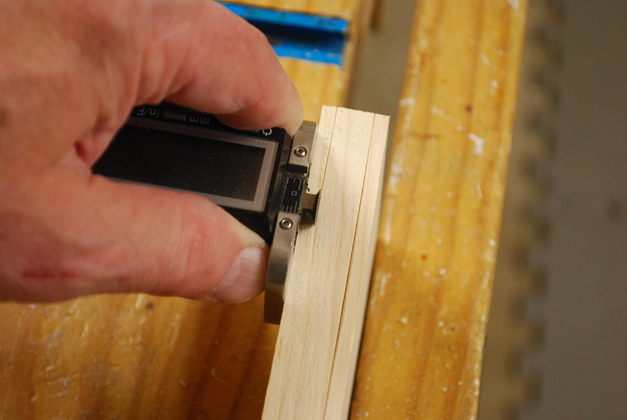
Marking the two outer pieces of an inset panel face piece for resawing.
Remember, allow at least 1/16" (thats 2 passes @ 1/32") for planing after resawing.
After resawing, I'll run the resawed surfaces across the jointer to clean up the bandsaw marks and resaw the center piece again.
Remember, I bought the cheapest lumber Lowes had, I ran the surfaces of the 1x6 across the jointer to get a flat face, before I marked and resawed.
Please take a look at my Drawer Construction Page for more on how and what I'm doing.
|
|
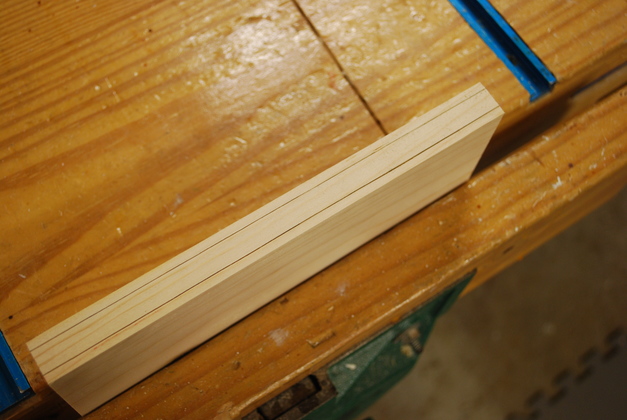
Outer resaw marked.
After running the marking wheel down the edge, I ran a .5 mm pencil down the groove to make it easier to see when sawing.
|
|
Resawing using my resaw guide.
Here I'm actually resawing drawer sides/backs so I'm sawing down the center of the board.
|
|
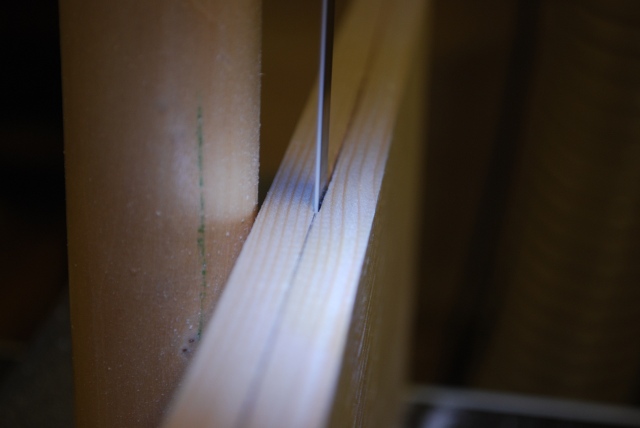
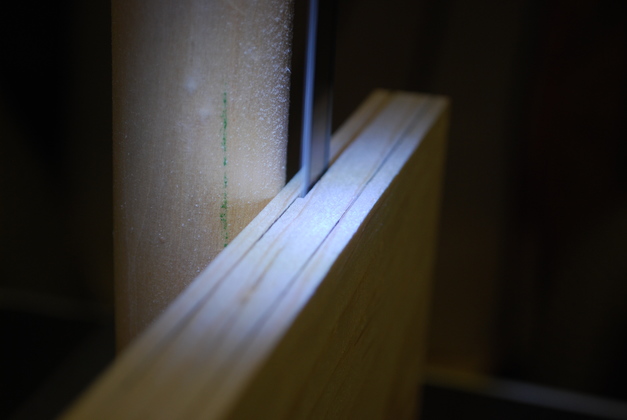
Resawing outer face pieces.
Note, the edge of the kerf is right on the mark, leaving exactly 1/8" plus another 1/32" for clean up on the jointer.
|
|
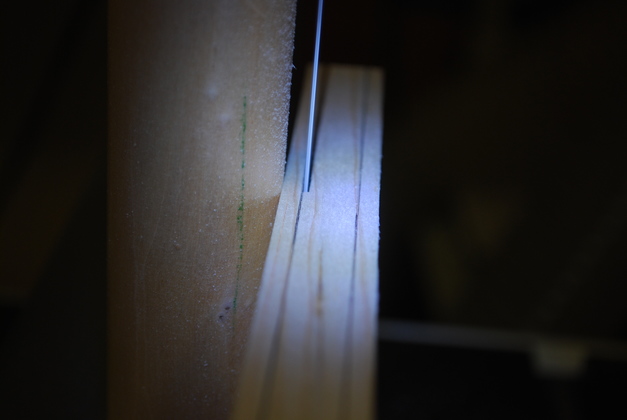
Slightly different view point of the resaw.
The bandsaw blade is a 3/4" wide 3 TPI Timber Wolf.
|
|
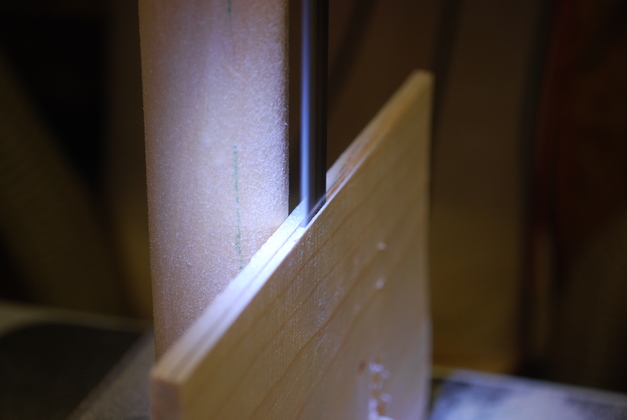
After resawing the two outer pine faces, I'm marking the remaining center piece of the 1x6 for the inner panel face resaw.
So I get three 1/8" faces from a single 1x6.
|
|
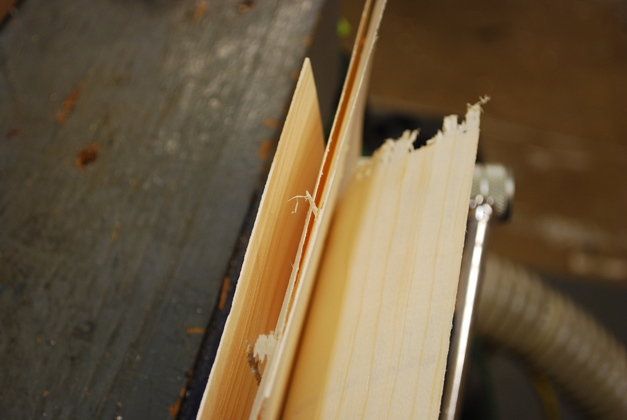
Resawing the inner panel piece.
Notice the face of the pine next to us is still rough from the first resaw, I only ran the oposite side across the jointer before this resaw.
I really like this 3/4" wide Timberwolf blade, it makes resawing easy.
|
|
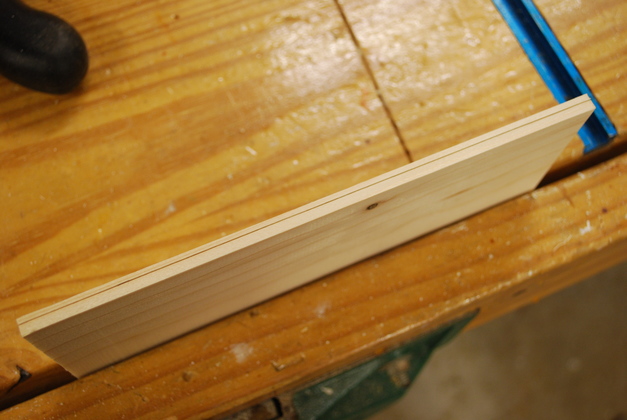
This came off the outside of the second resaw.
The 3/4" wide Timber Wolf blade and my resaw guide make this pretty easy.
I have since started using a 1" x 2/3 VPC Timber Wolf blade, it cuts fast and smooth.
|

|
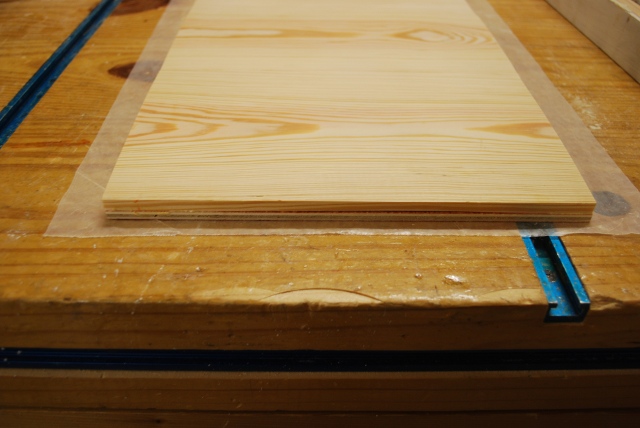
Stack of 1/8" thick pine panel faces, resawed from 1x6s.
Ready to be edge joined to make pine panel faces.
|
|
Panel faces being edge joined.
I had previously run the 1x6s edge across the jointer to make this step fit better.
|
Laminating Panels
|
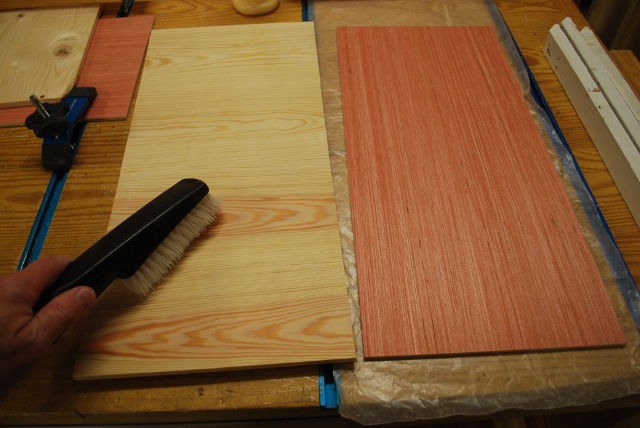
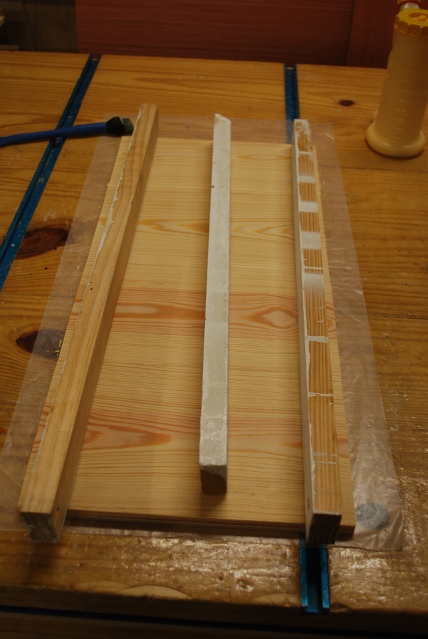
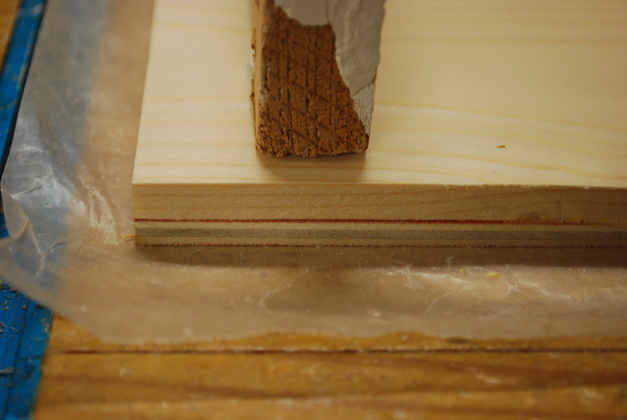
Lay down a piece of the backing plywood on wax paper (right).
I am making the orientation of the plywood top grain opposite the grain of the pine panel.
Thin pine panels frequently crack along the grain.
Plywood commonly has an odd number of layers so the top and bottom layers run the same direction.
So orienting the plywood's top grain the opposite direction of the pine should help prevent cracking, I think!
I'll know in a few years!
Then vacuum the dust off the surfaces that will be laminated.
I think this plywood is some kind of 5mm common birch according to Lowes.
|

|
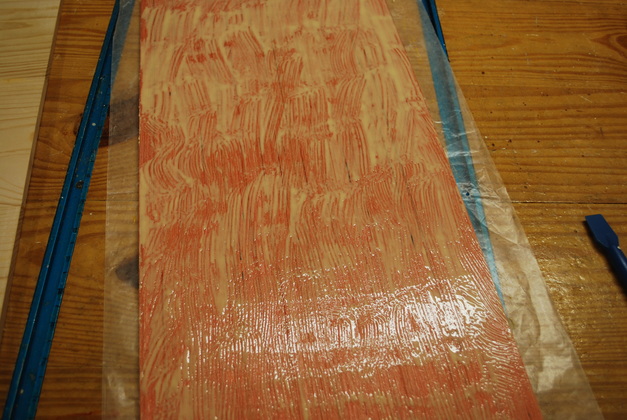
Apply a generous amount of glue over the entire surface to be laminated.
|
|
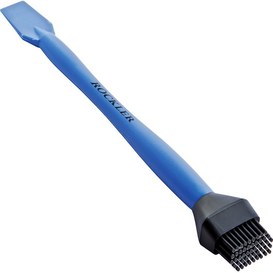
Spread the glue evenly over the surface, I use a Rockler Glue Brush.
|

|
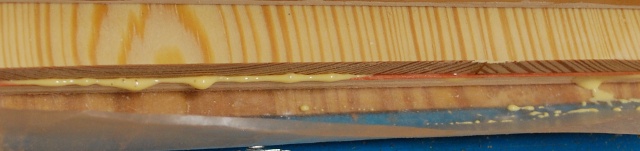
Lay the pine panel on top, you can see a little squeez out already.
|
|
Even up the sides, wipe off the squeez out.
|
|
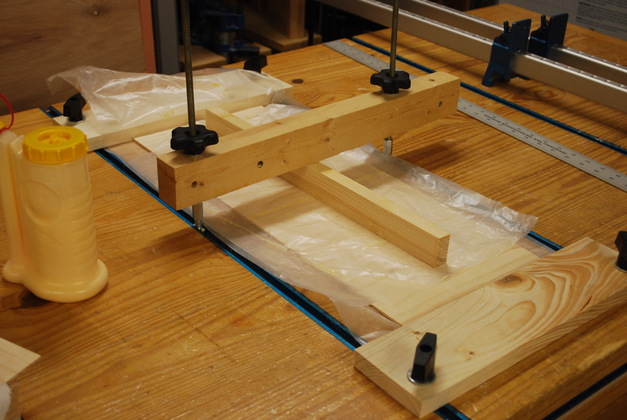
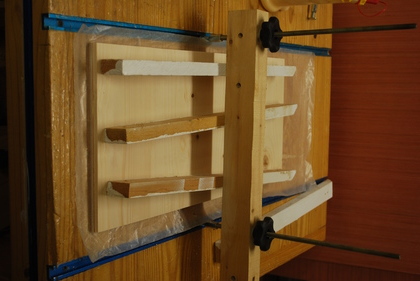
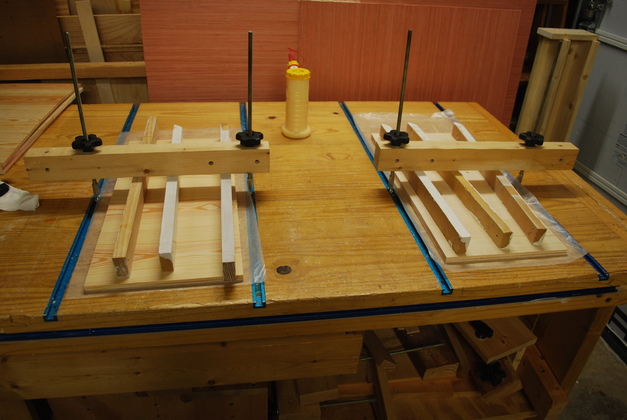
Lay down some straight stiff-legs that are all the same thickness.
|
|
Put on the pressure bar and gently tighten the knobs checking the alignment frequently.
Be sure all the stiff-legs are under pressure.
If the pine panel was thinner you could use a J roller.
BTW, I made these pressure bars with ripped 2x4, 5/16 threadded rod, threadded rod couplers, and a 5/16" by 1" tee bolt on the end.
Note the round knobs are better for spinning when you have to adjust a long way.
Also, the bars are a little longer than required with an extra hole so I can angle the bars and still maintain pressure.
The threadded rod is 12" long.
|
|
During the process you'll get some squeeze out, and shifting.
Keep wiping off the squeez out and checking alignment as you tighten the knobs.
Realign by loosening pressure then pressing on each side sliding the upper or lower panel into alignment (you don't have to break contact).
Redo it as many times as it takes, until its tight and aligned correctly.
|
|
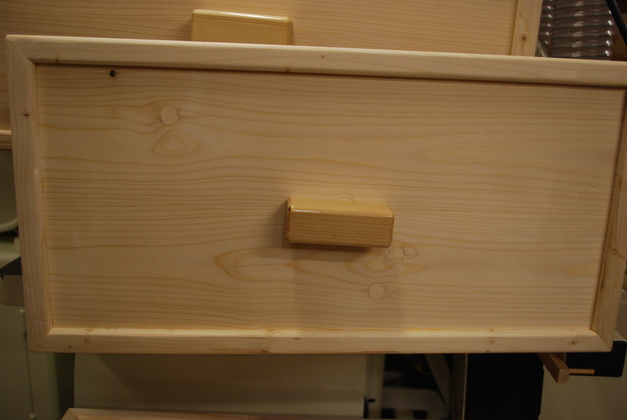
You should be able to get it tight and the pieces aligned like you want them.
One thought, you can make the panels and backing plywood larger than required, then trim after laminating.
|
|
Two panels being laminated.
|