Before | 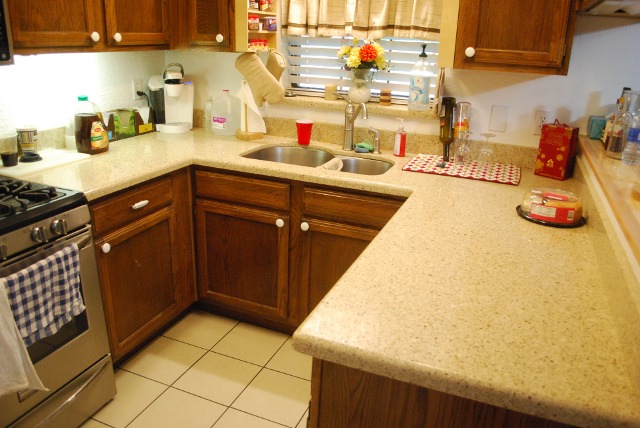
After | 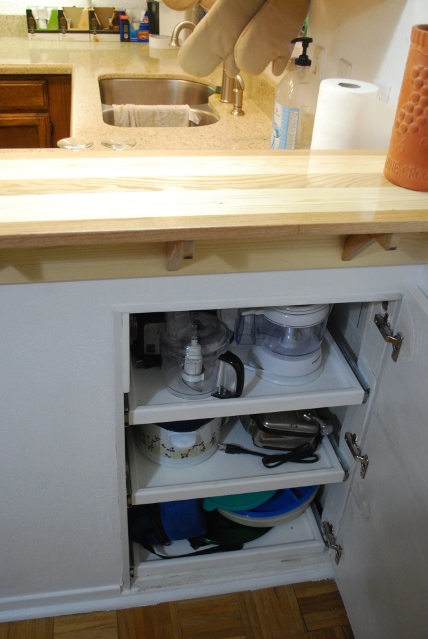
Dining Storage | 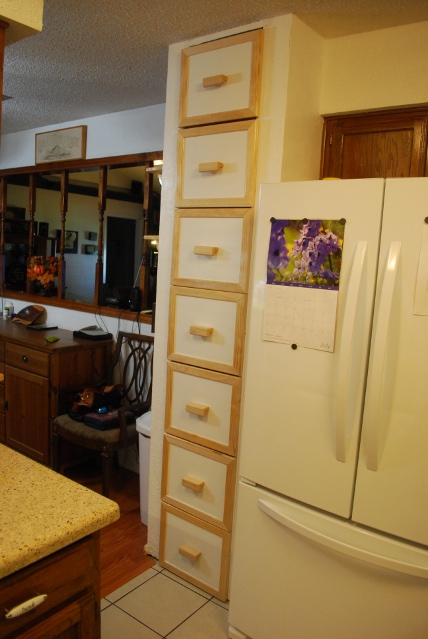
|
|
Kitchen Dining FixUP
| |||
|
Before |
After |
Dining Storage |
|
|
Kitchen Dining FixUP
| |||
| Back to KitDining FixUP | Original | Dining Storage | Pantry |
| Out With The Old | New Stuff | Sliding Shelves |
Our kitchen and dining room are separated by a bar and were both wallpapered and bordered. The wallpaper in the dining room was dark green (like a lot of other things when we bought the house), with a very high chair rail. The counter tops were very dark faux wood formica and not very good quality. The bar between the kitchen and dining room had vertical turned spindles which cluttered up the view and helped separate the two rooms into two very much smaller rooms. All in all the kitchen and dining room were very dark, generally gloomy, and appears small (we don't need any more small).
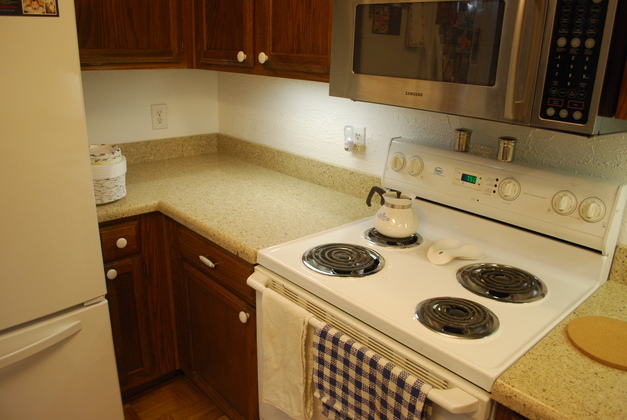
We decided to replace the counter tops with something lighter and better quality and follow up by getting rid of all wall paper and borders (both bathrooms still need this treatment), then a general retexturing and repainting. We chose a quartz top, the color was called bamboo. For the initial paint Betty allowed me to use Ultra Pure White, once the counter tops are in she may choose something better.
We ordered the new counter tops from Home Depot on 04/09/14 (a Wednesday).
Borris from Stone Systems of North Texas called and came out and measured on 04/14/14 (the following Monday), we were told Home Depot would get in touch with us within 48 hours.
After 8 days, I went to Home Depot to find out what happened.
They appologised and gave us a discount on the small difference we owed, which I paid.
Finally, on 05/20/14 the counter tops have been installed.
I also added Sliding Shelves under the counter: under sink, lower pantry, stand mixer storage, in addition to the sliders in the dining room storage. Here is a link to the sliding shelf page.
Here are pictures of the transformation.
|
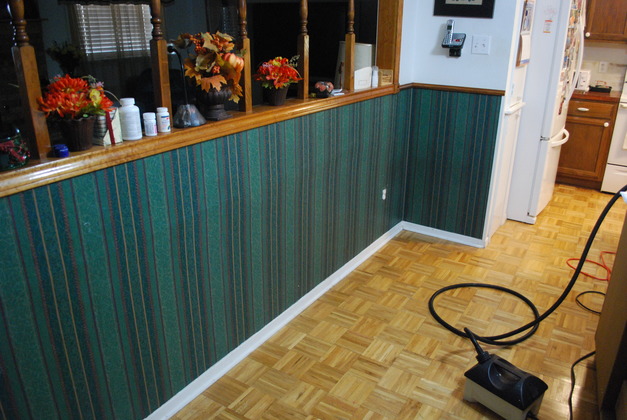
The ugly wallpaper in the dining room.
This wallpaper was put up like a wainscot with a chair rail at the top, but much higher than is normal, I think it was to match the bottom of the bar.
They even raised the height of the opening into the den so it would match the bar!!!
The wall had obviously been modified, I could see it when I removed the wallpaper.
|

|
The storage door that I added surrounded with the green wallpaper. Look at the door without green wallpaper. You can see a little of the high chair rail here too. |

|
Ian, Ivy, and Great Grandmaw having a snack in our dining room. You can see the dark green wallpaper and a little bit of the high chair rail in the background. |
|
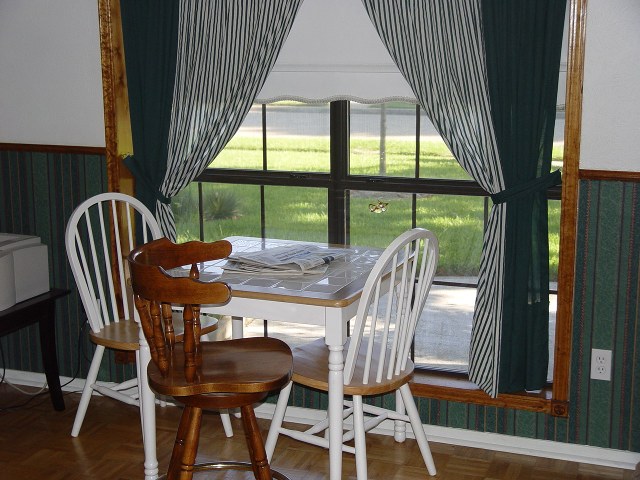
The dining room window, note green wallpaper and green curtains. The new dining room window. |
|
|
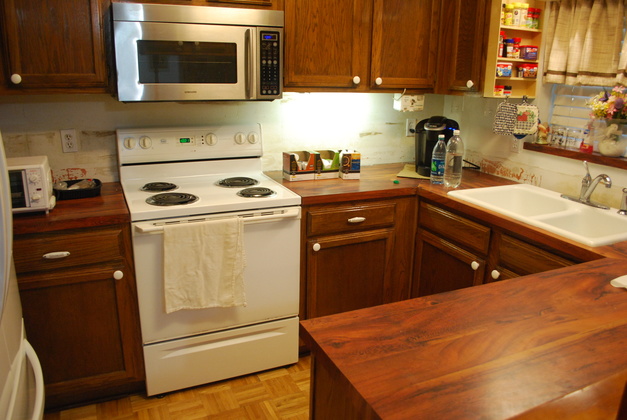
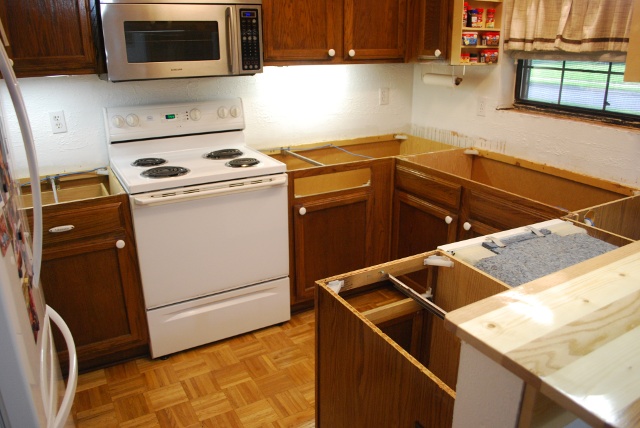
Old ugly kitchen counter tops, note old timey drop in sink (circa 1983). The splash backs are already torn off and the wallpaper removed. Contrast this with how it looks with the new counter top and sink. Next step retexture and paint the walls. |

|
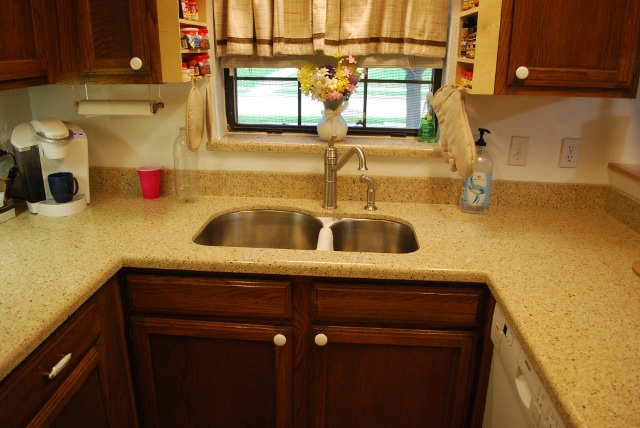
The old timey sink (fiberglass, not cast iron), note the ugly window sill covered with the same dark faux wood formica. Also note the splash back is removed the wall hasn't been retextured and painted. You can see the old phone plug that will be replaced with the new light switch. I had already moved the phone to the side of the pantry. Look at the new sink. |
|
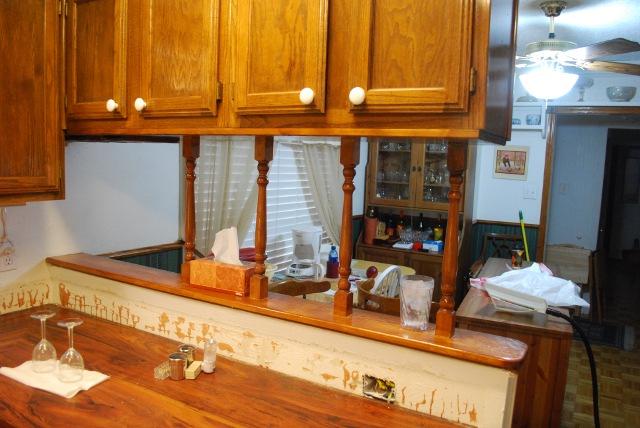
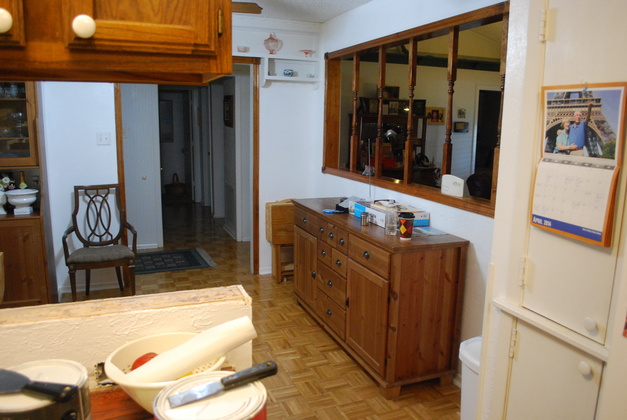
You can see how the turned spindles help to separate the kitchen from the dining room. Note how the dining room looks smaller from this angle because the green wallpaper and chair rail. |

|
Here is the bar without the spindles. The dining room has already had the green wallpaper removed, been retextured and painted. We think it makes the room look a little larger and a lot nicer. |
|
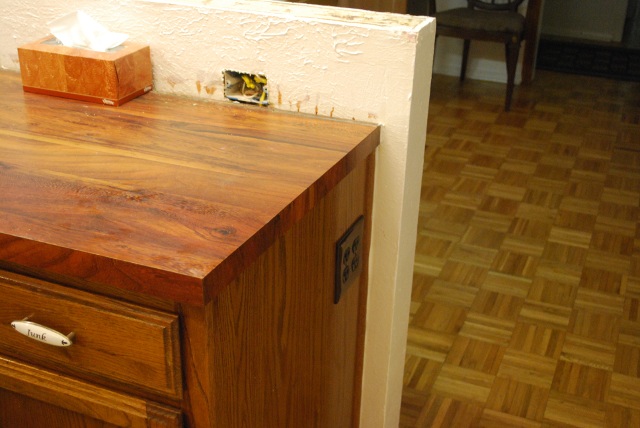
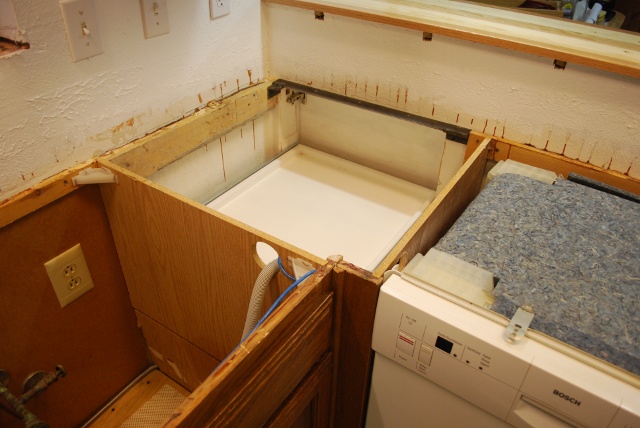
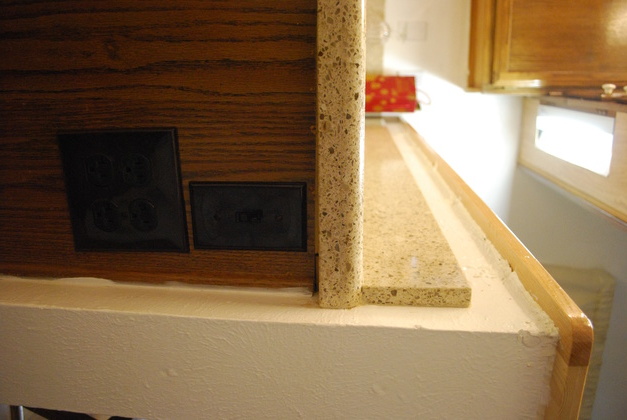
I decided to move the power plug in the splash back down to the side of the cabinet. I figured this would make the counter top guy's job a little easier and it didn't inconvience us. |
|
With the counter top removed, you can see where I moved the plug from the splash back down to the cabinet side. |
|
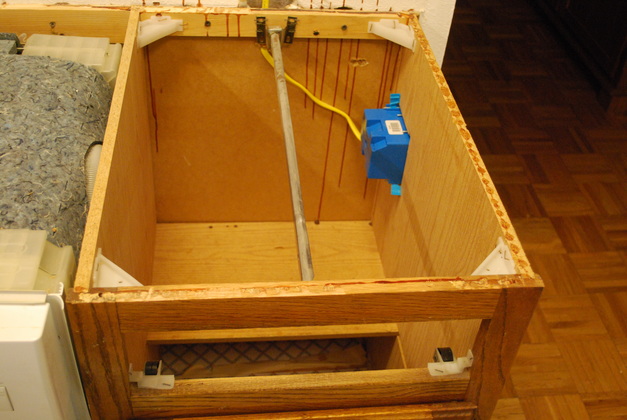
Cabinets with tops removed and old stove. |
|
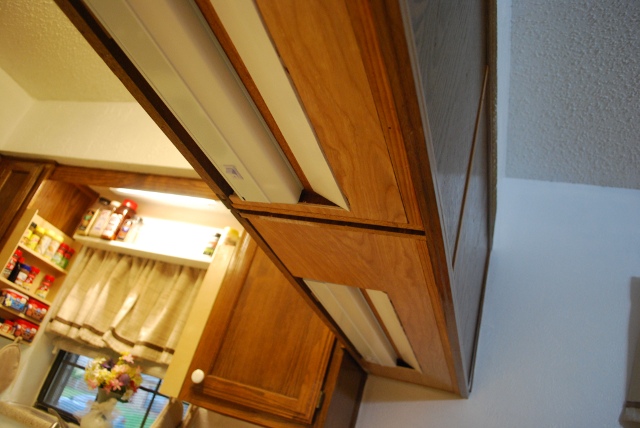
With the top removed you can seee the top sliding shelf and the inside of the door. This area was not accessable until I added the door and sliding shelves. Also note: since I removed some of the support wood to get the door opening higher, I added a 1/4" flat steel bar with welded 1-1/4" angle brackets to support the new quartz cabinet top. Note: Under the new bar top you can see the horizontal oak supports, I haven't hidden them yet. |
|
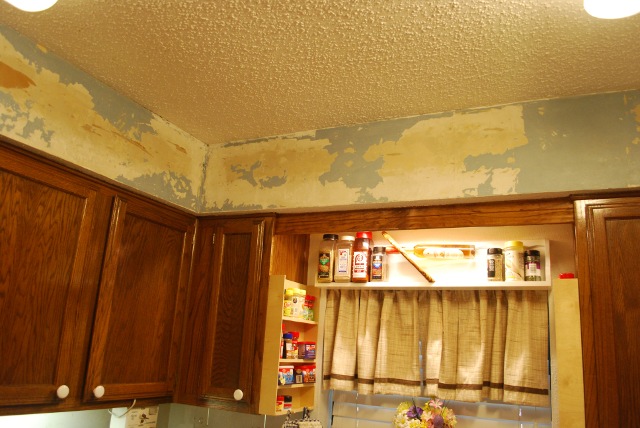
Fir down above the kitchen cabinets showing where I took off the old wallpaper. |
|
Here is a shot from the kitchen into the dining room with the green wallpaper removed, the wall retextured, and painted. |
|
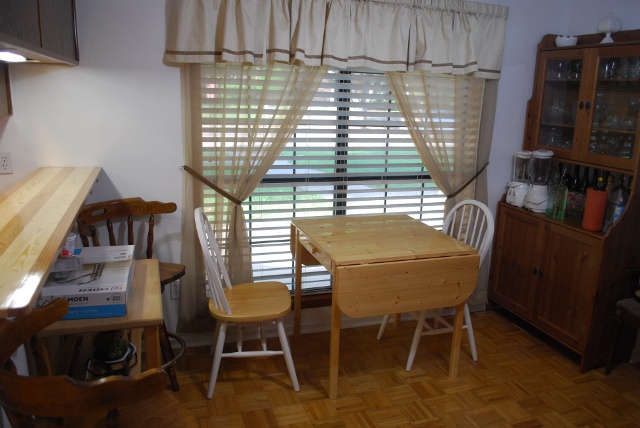
New dining room window. Take a look at the original dining room window. Note the new table, no green anything, about the only thing remaining are the chairs. Link to drop leaf table. |
|
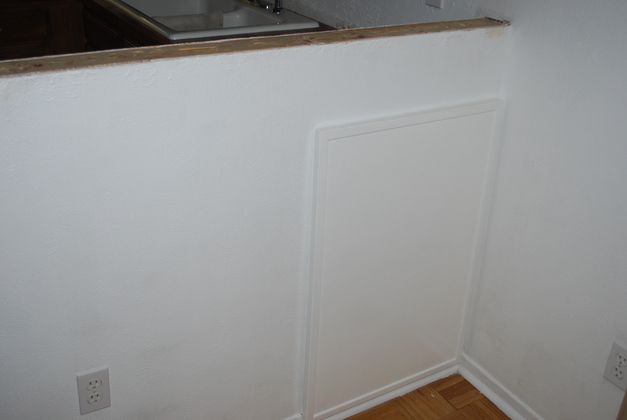
Dining storage door, as it was meant to look, almost invisible, without green wallpaper. Look at the door with the green wallpaper. |
|
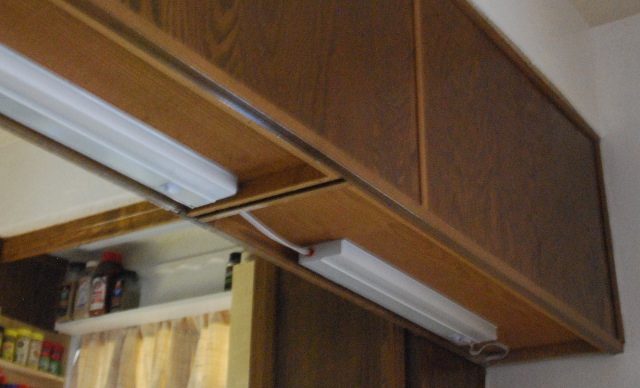
Kitchen with all under counter lights on. |
|
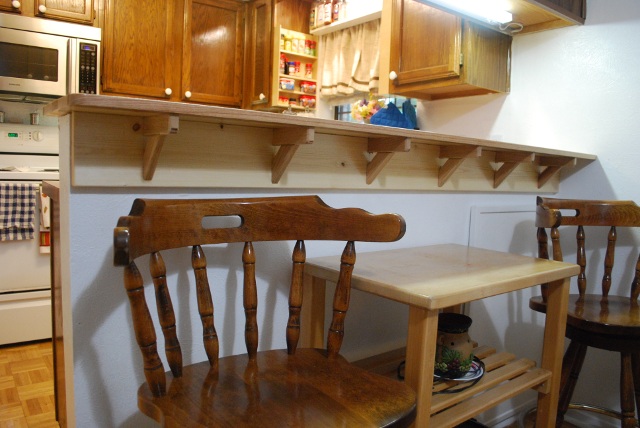
Here is the new bar top with the new lights, you can see how much light is shed on the bar top and cabinet top. |

|
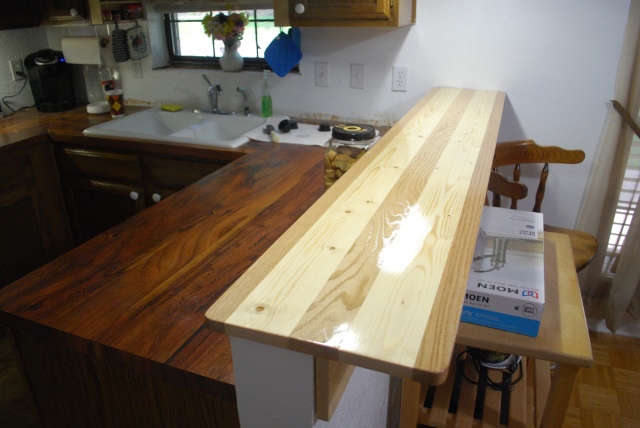
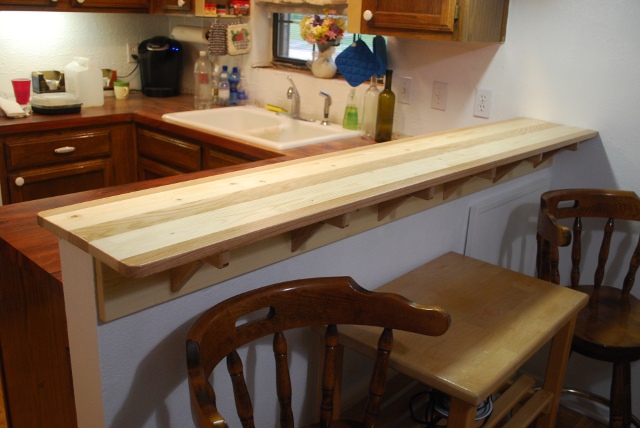
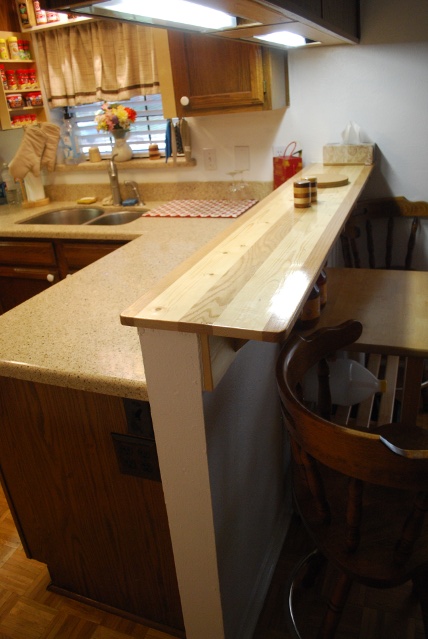
Betty decided she wanted something original for a bar top, so we came up with this alternating wood, edge joined, top. The new bar top being painted. Its made of alternating boards of red oak and white pine, edge joined with biscuits. |
|
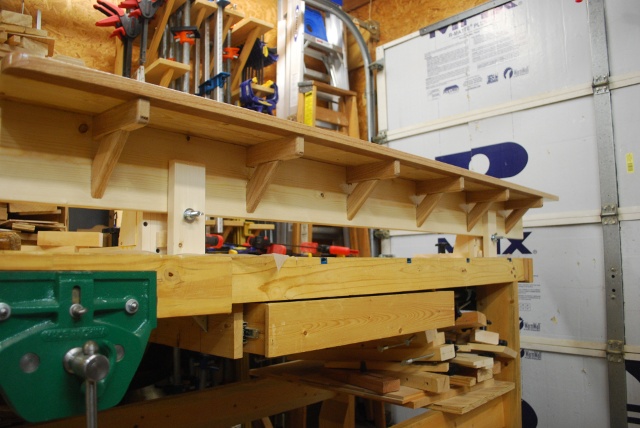
Front under side showing the oak supports. I over dosed on the oak supports, I was a little concerned about the bar top warping or cupping since it is made from 3/4" thick lumber. We thought that if I used 1-1/2" thick lumber the bar top would appear too heavy, like some of the Spanish styled furniture we've seen. |

|
Slots cut into the top of the bar for the bar top oak supports. I had to cut 3/4" X 3/4" slots into the bar top to accept the oak supports under the bar top. The bar only had one 2x4 across the top instead of the normal 2, so I only cut 1/2 way through, gluing the oak supports into these slots will restore the bar wall's strength as well as hold the bar top solidly. |
|
Here is the bar top in place. Note the old counter tops still in place. |
|
This gives you an idea of how much counter area the bar top adds, we can also serve from it when we have company. |
|
The switch for the above bar lights, originally it was on the far wall by the power plug, but that was unhandy so I moved it to here. Ivy was about 3 or 4 at the time and she thought I had done that as a toy for her. During the install I also added the quad power plug, its on a 20A circuit. |
|
New lights above the bar. You can see the open "box" bottom of the cabinet with wiring etc. |
|
Betty didn't like seeing the open "box" bottom of the cabinet, so I enclosed them with flush panels, covering the wires and most of the fixture. I also put small reflector panels to throw more light on the bar top. |
|
Bar with lights on. |
|
|
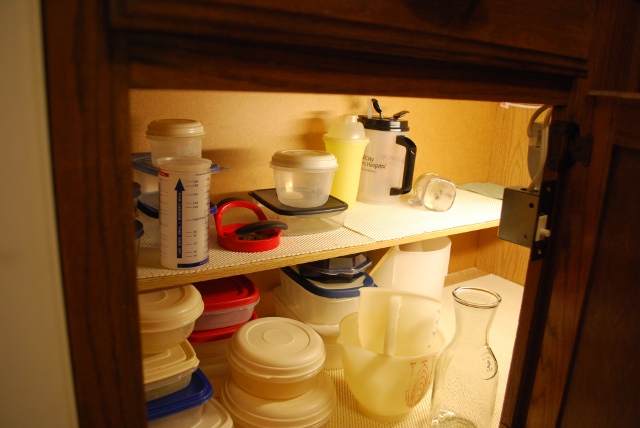
Showing exactly where the under cabinet storage area is, from it's front with the door open. |
|
Front under side shot. |
|
|
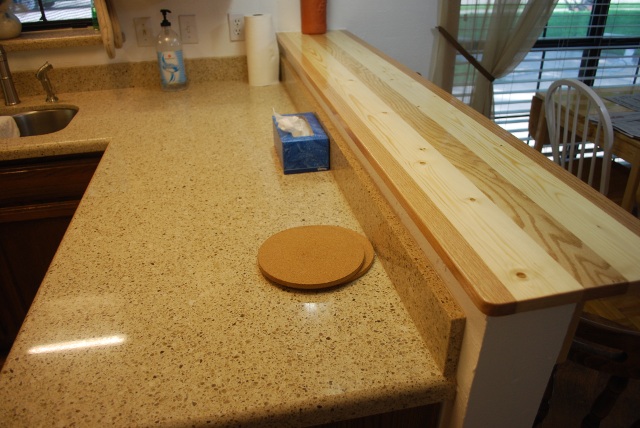
With new counter top installed, new tile floor, sink hooked up, new stove, and the bar top glued in. You can see a little of the sheen on the bar top after numerous coats of clear water based polyurethane. Compare with how it looked originally. |
|
Corner behind fridge with old stove. |
|
The new sink and window sill. Look at the original sink etc.. In this pic you can just see the original bar top light switch to the left of the plug on the far wall right side of the sink. |
|
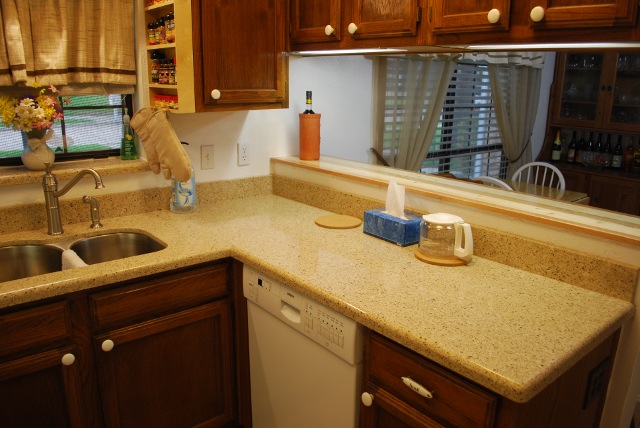
The west end of our new kitchen. The new faucet is installed and the oak supports for the bar top have been hidden (I spackled them and painted them). |
|
You can see the new lights in the cabinets under the counter. The cabinets are very dark and the lights allow you to see everything, even in the very back (note in the pic you can see the back corner). The switch can be seen on the right side of the doorway, its white in a small metal box, when the door is opened the lights come on, and are always off when the door is closed. |
|
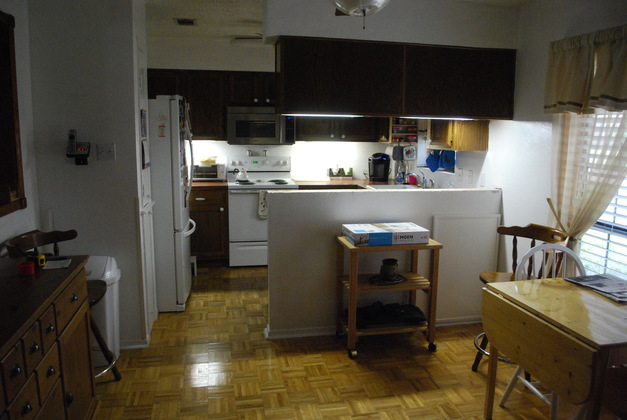
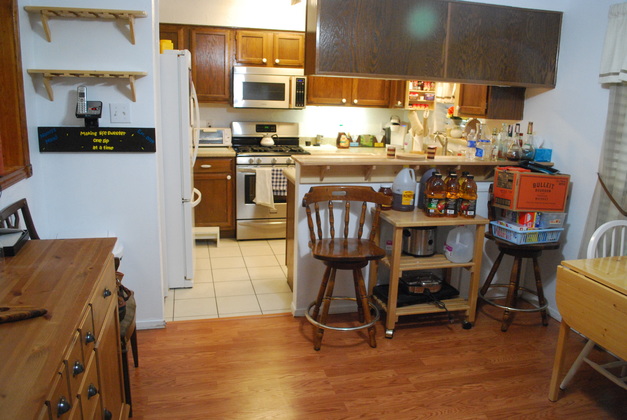
New look of dining and kitchen, its a little junky. |
|
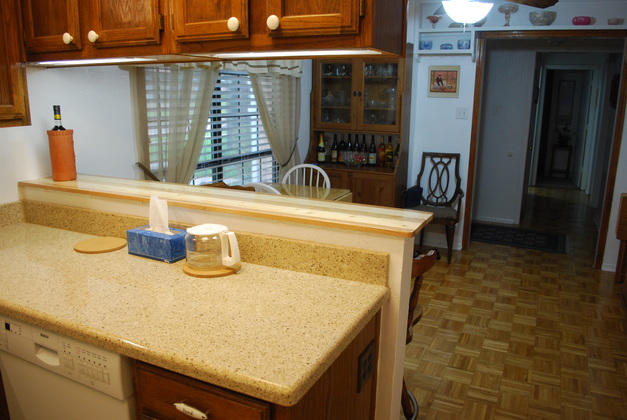
Dining area looking over the bar. |
|
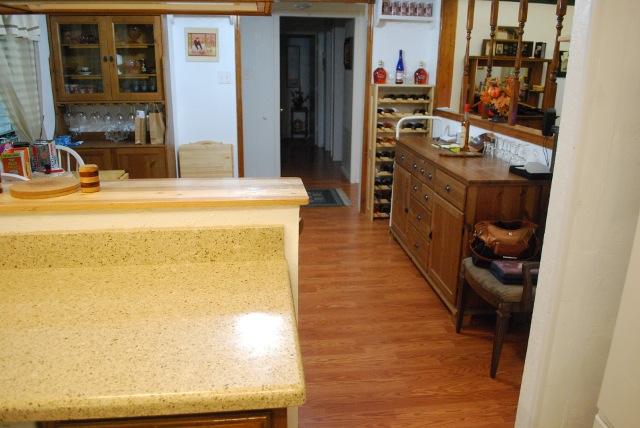
North side of dining area, with new floor. |
|
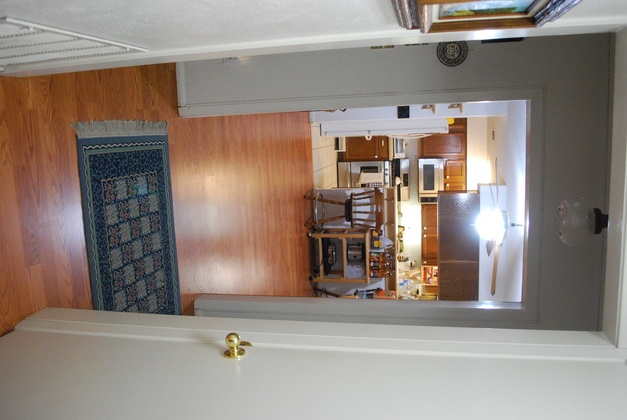
Looking down the hall at dining/kitchen with new floor. |