|
|
| 
|
|
Neclace Book
|
07/23/13: Page Finish.
07/14/13: Page Origin.
Betty asked me to make a box to store her neclaces in.
She has about 10 that she wears often and wants to them keep nice.
She has a limited space to store things (like everything else in our house) so I looked at her storage closet and decided to make a neclace box that stood up like a book on a shelf.
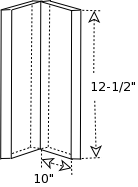
It will consist of two shallow boxes, hinged to open in the middle like a book and each "page" has neclaces hung on a row of pegs.
Each "page" needed to be about 10" wide, 12-1/2" tall, and 1" deep.
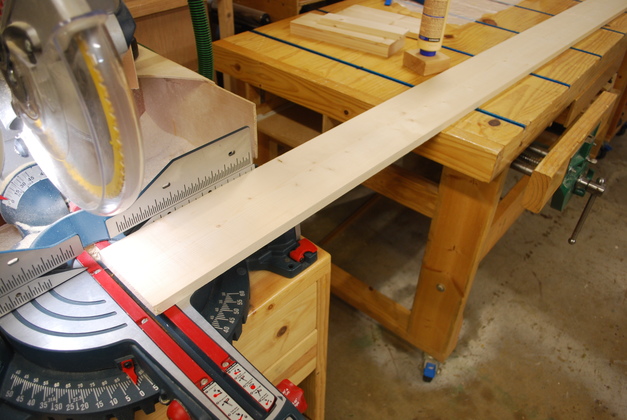
I like to make things like this out of thin wood panels, about 5/16" which I get by resawing 1x boards, in this case a 1x6 which I have to edge join a pair of to make the 10" width.
I looked at box joint corners and then thought about the range box and how I had mitered the corners and decided to try miter joints.
One interesting thing about miter joints the resulting box will have no visible overlaps inside of out.
Like a lot of things I build, this is a prototype.
I'm learning what to do and what NOT to do in building small boxes like this.
After building this box and Betty using it, I am changing the size and adding more pegs for earrings.
It needs 3" more for the length of the neclaces and an additional row of pegs at the top for earrings, also a little more room around the earring pegs.
I have also figured a better way to clamp the box so the sides are squarer (is that a word?), something I had problems with on this box.
When clamping a "page's" sides while gluing it is critical to keep the sides square in all dimensions (orthogonal), the strap clamp and cauls I used on this box didn't do that, so I am looking at a picture frame clamp or making a jig to do it.
|
This box will be made competely from one 1x6 white wood board.
|
|
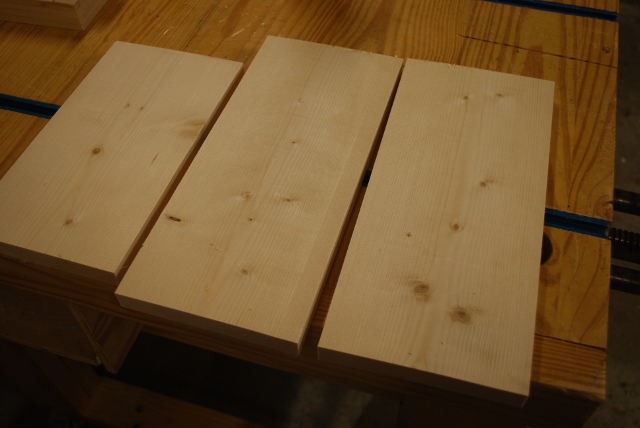
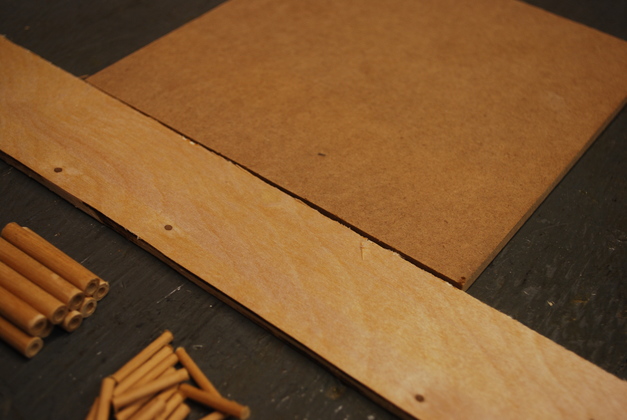
Here are the 1x6 pieces cut out, I needed 10" long for ends and 12-1/2" for top, bottom, and sides.
|
|
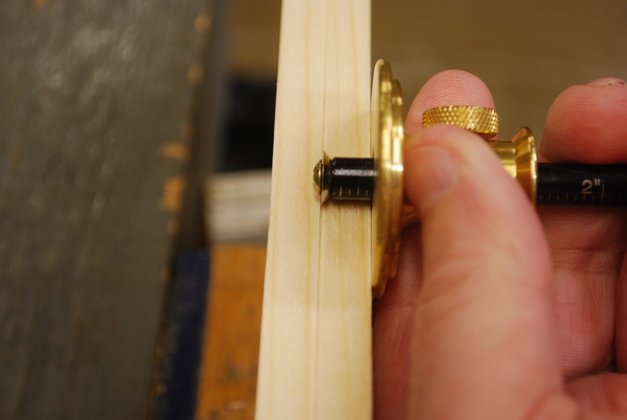
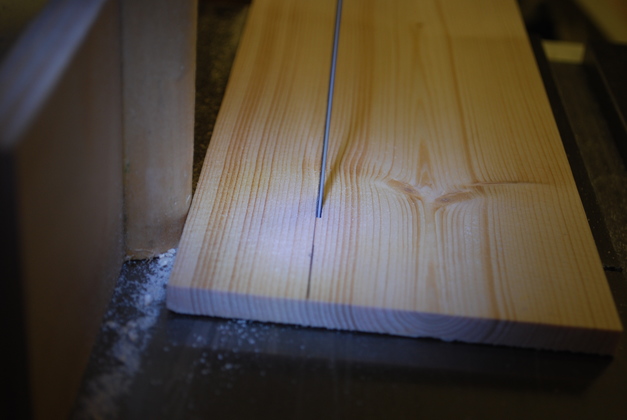
I use this marking wheel to scribe a line in the edge of the boards, exactly 1/2 way through (3/8").
You can scribe the line from one side then the other to be sure its in the center.
|

|
Then I make the line more visible with a .5mm pencil.
This is the edge of a 1x6, actually 3/4" thick.
|
|
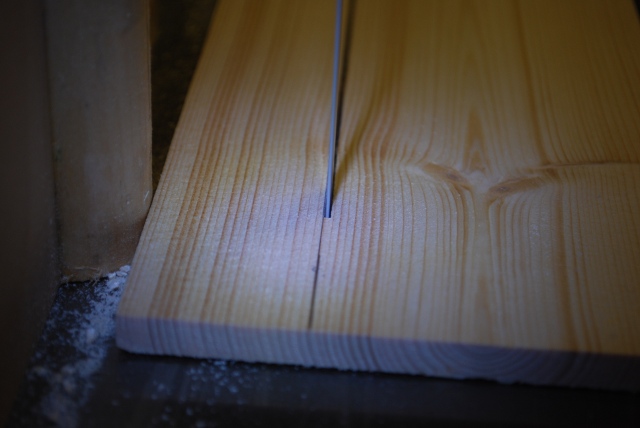
The pencil makes an easy line to follow with the bandsaw and the marking tool makes it straight.
I'll saw this right down the center.
|
|
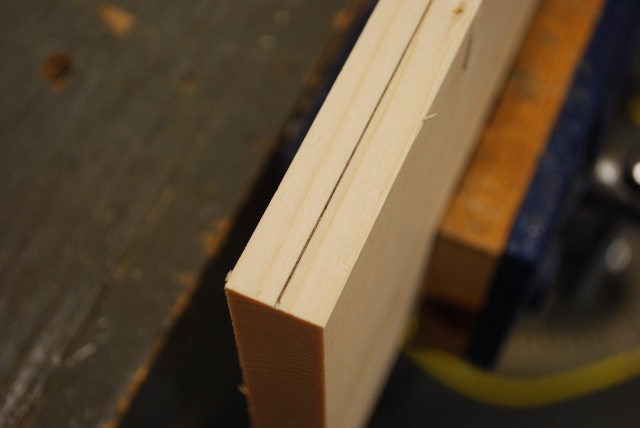
Here is one of the 1x6s after its resawed.
I run the pieces across the jointer to clean up the bandsaw marks, it takes off 1/32".
Please see pics below for more info on sawing.
|
|
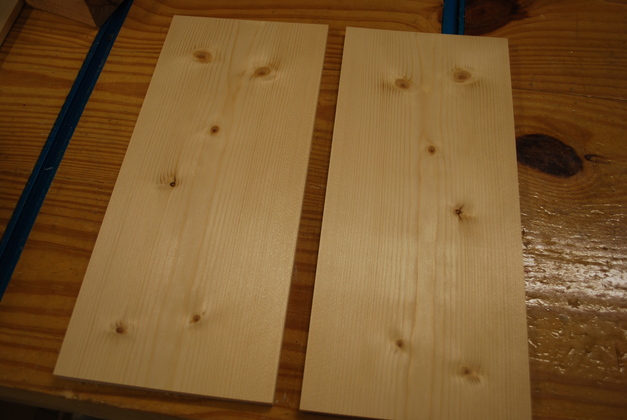
Its interesting to note the two panels are mirror images of each other, that can add to the looks of a small box.
|
|
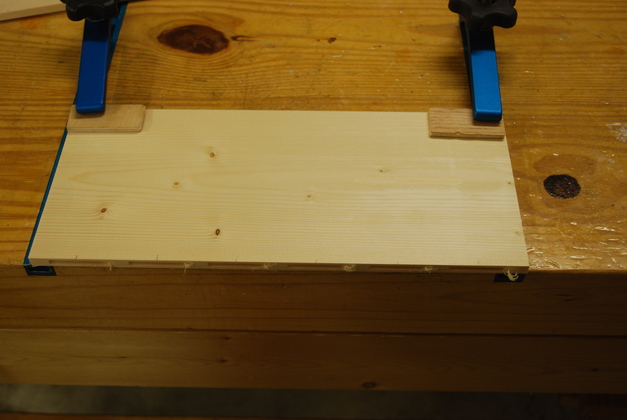
One of the resawn panels clamped and mortises cut for type FF biscuits.
|
|
Closer look.
I use my Porter Cable biscuit cutter for type FFs, my Dewalt doesn't have an FF blade.
I cut off the little lip on the right side of the mortise with a pocket knife.
|
|
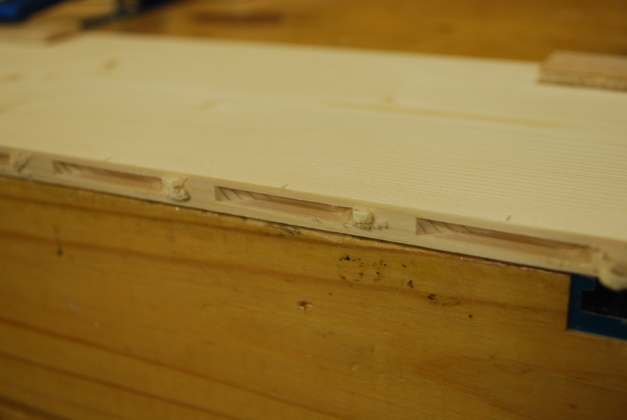
Both sides mortised for joining.
|
|
The clamps set up for edge joining a panel.
The wax paper keeps the glue off the clamp bars and table top.
|
|
Both sides matched and the biscuits layed out for the joint.
I store the biscuits in their original box or a zip lock to keep moisture out.
|
|
I run a bead of glue down the edge, with extra in the slots, and then insert the biscuits.
|
|
Now a bead of glue on top of each biscuit and its ready to join and clamp.
|
|
Edge joining a panel, in the clamps.
|
|
And extra clamps to hold the panel down on the clamp bars (makes sure everything is flat when I get through).
|
|
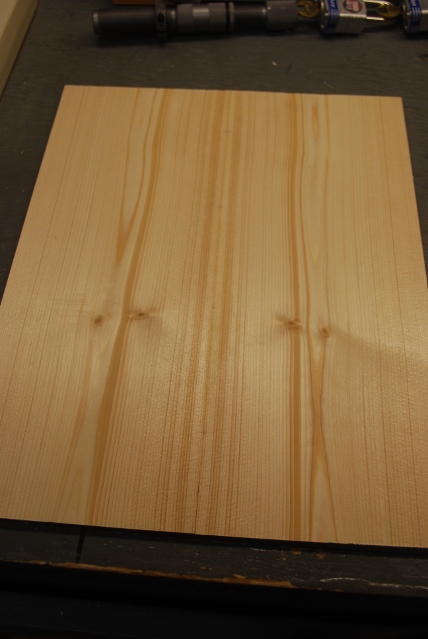
One of the joined panels, see how the knots are mirror images, but notice the grain isn't.
You never know whats inside a board until you saw it!
|
|
To make the sides, front and back of the two "pages" I cut them from a wider resawed piece.
I have to cut them, as in other cases, allowing an extra 1/32" so I could run them across the jointer to clean up the bandsaw marks.
Note: Even though I made the guide for resawing, I use my homemade guide when bandsawing everything, it beats the heck out of the one that came with the Jet especially for resawing.
|
|
You can see how I take the center of the line with the edge of the blade so the resultant width is as accurate as I can make it.
The resultant piece on the left here should be: 1-1/32" wide and after I machine it on my jointer, it should be exactly 1" wide.
The line is .01845" wide (made with a .5mm pencil), same as the resaw marks(see pics above), the back of the bandsaw blade is .025" thick, and the kerf is about .040" wide.
The saw is a Jet JWBS-14DXPRO (14" no riser block) with a Timberwolf 3/8" 3TPI blade.
|
|
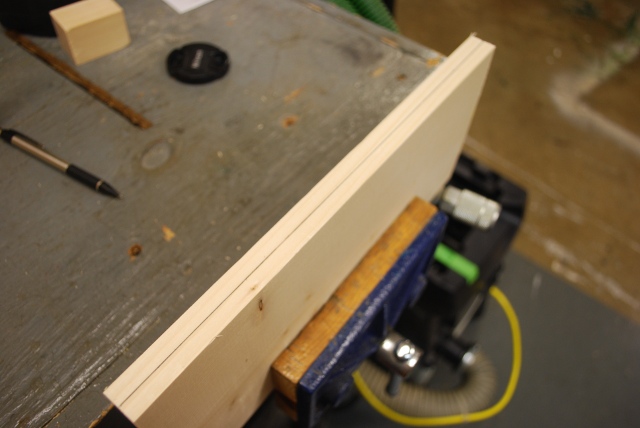
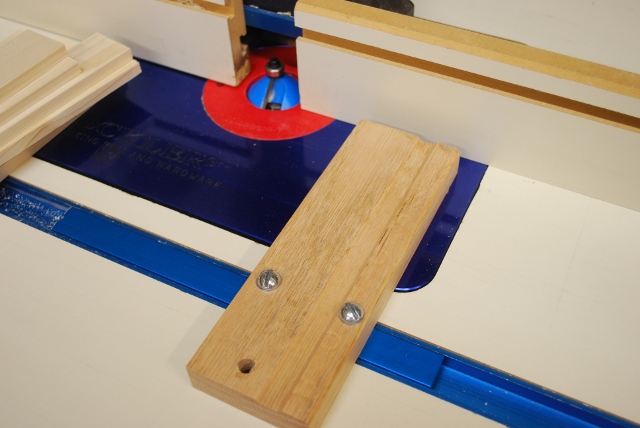
I made this sliding square to guide the pieces across the 45° chamfer router bit so the result would be as accurate as possible.
The oak piece is just short of the router bit.
|
|
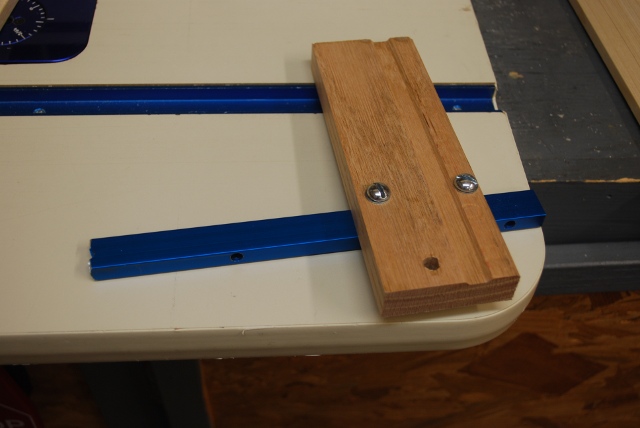
Here is a better look at the home made sliding square, it just a piece of oak bolted to a sliding miter bar.
I use my best engineering square to set and check the angle, it seems to hold the angle well.
|
|
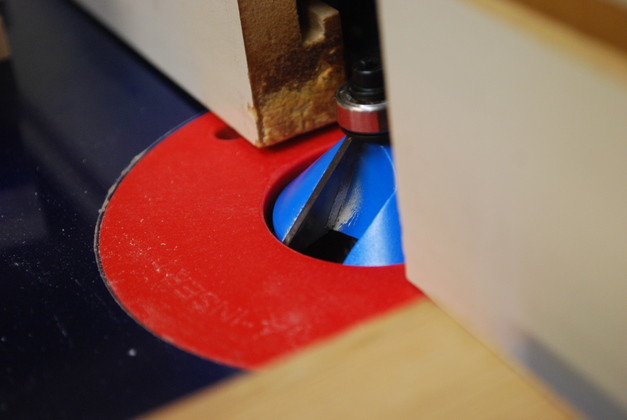
Here is a look at the 45° bit I use for cutting mitered edges.
|

|
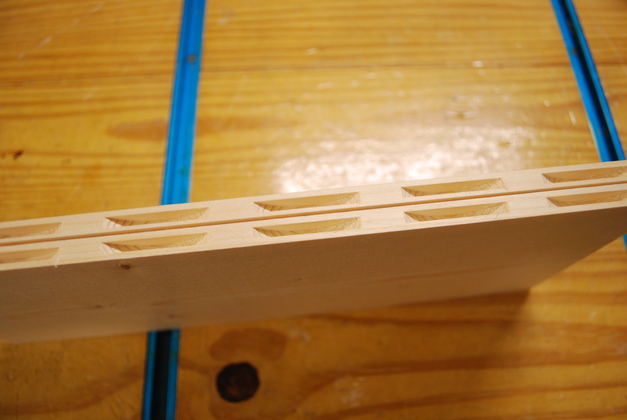
Here is one of the panels after I mitered it's edges.
All 4 edges are mitered on the top and bottom panel, fonts and backs only have 3 edges mitered.
|
|
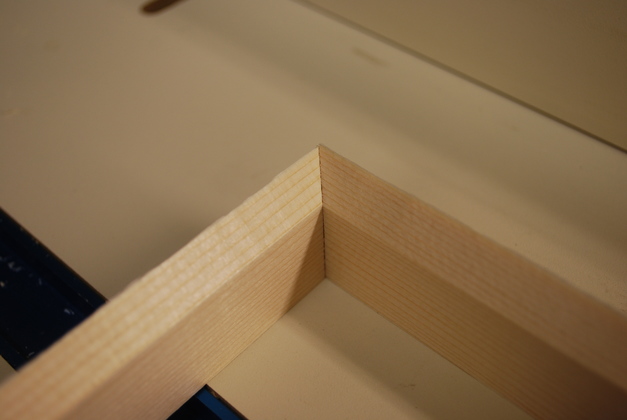
The joint between two sides of the "page" the router bit makes really accurate miters.
Its not glued yet, I do the top panel and all 4 sides at the same time.
|
|
All 4 sides of a "page" laid out.
|
|
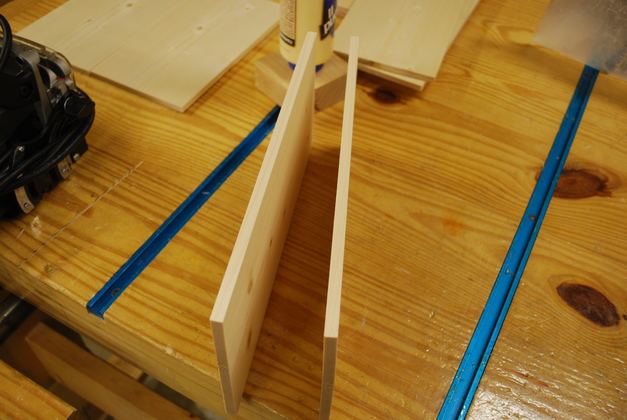
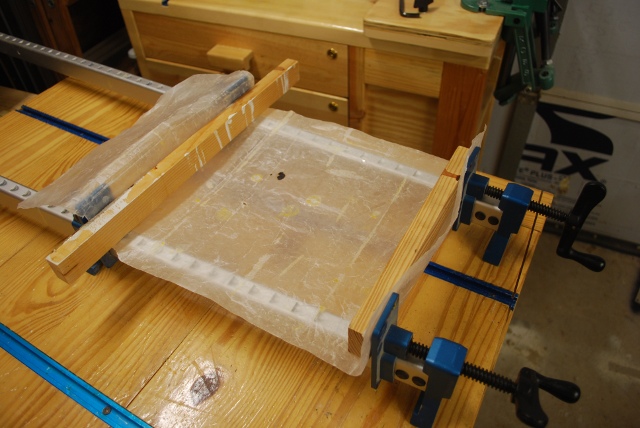
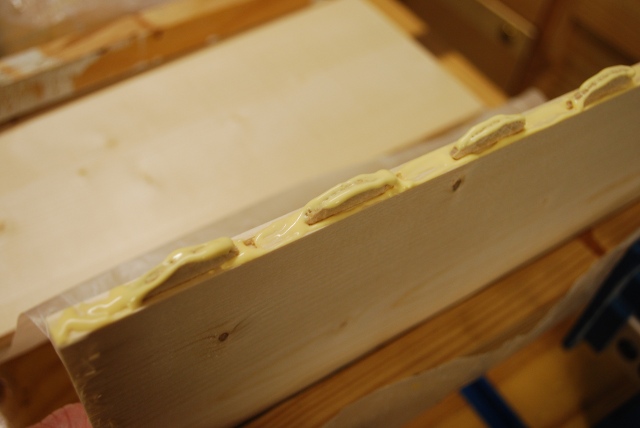
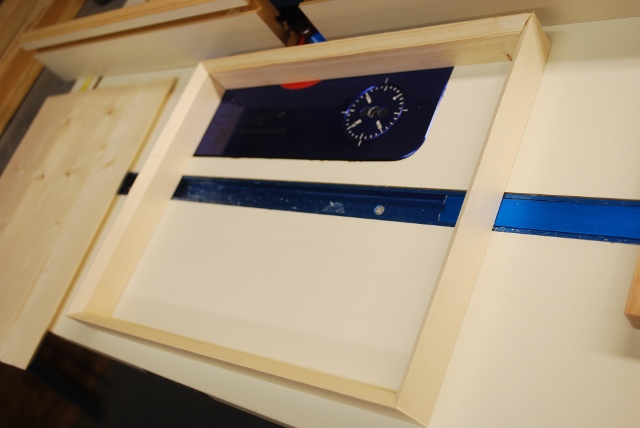
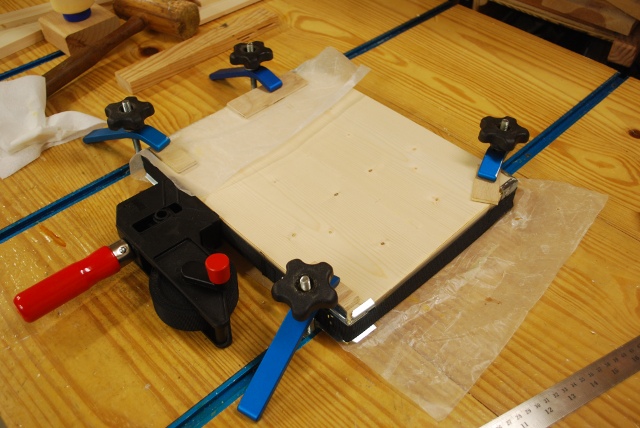
Here is a "page" in the glue clamps.
Lining up miters in 3 dimensions is not really hard if you did the measuring and cutting accurately.
I need to use better cauls at the corners, these are short metal cauls that came with the clamp, I have better cauls for tall boxes.
|
|
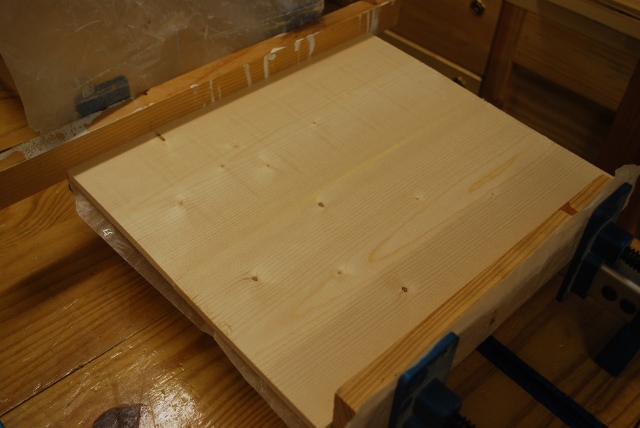
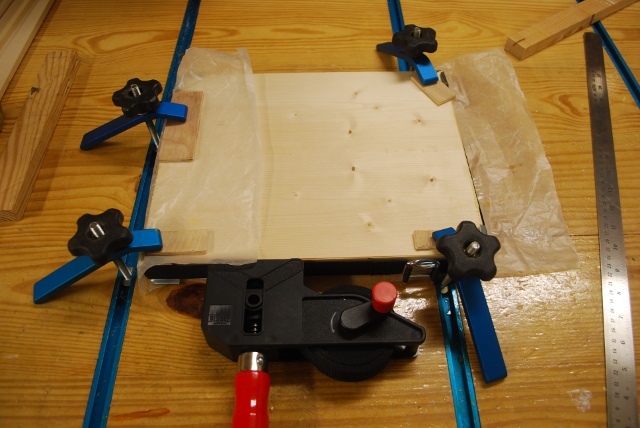
The blue tee track clamps on the corners hold the page down flat on the table so everything will be flat when the glue sets.
|
|
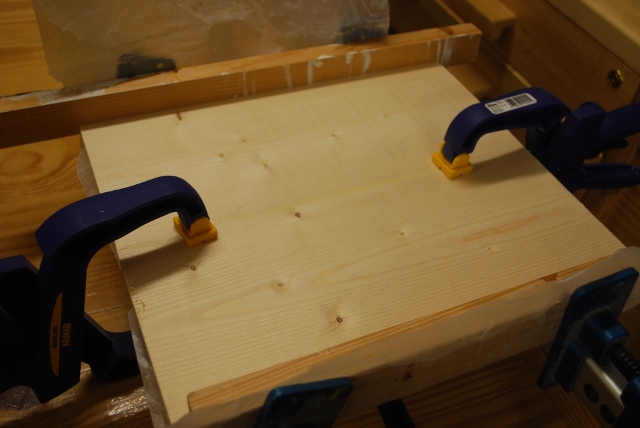
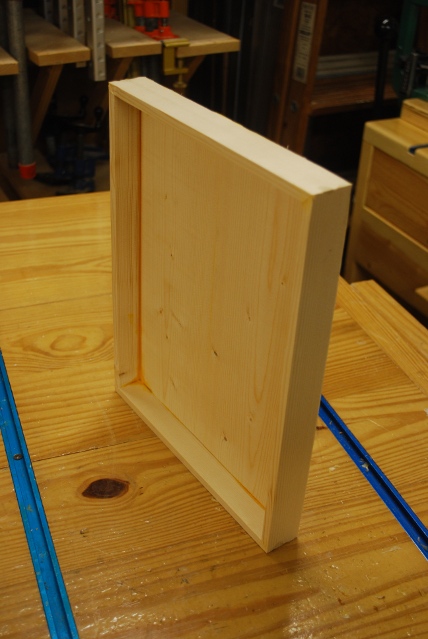
First "page" to be glued.
|
|
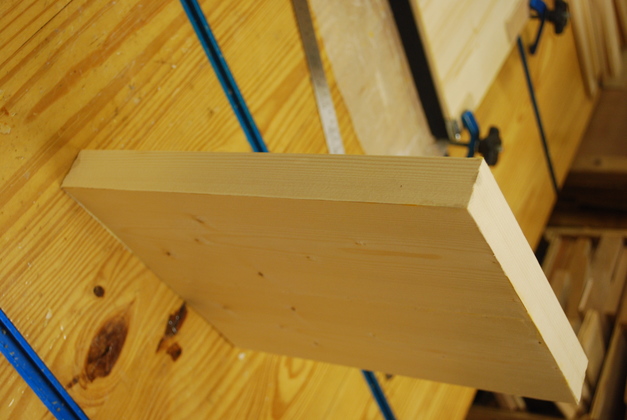
Another angle.
|
Making The Pegs
I need a row of pegs at the top of each "page" to hang the neclaces on.
Pegs are great for hanging things, but I realize that in something that can be easily moved, like a jewelry box, pegs must have a lip to keep things from sliding off.
Because of this I decided to put caps on the pegs.
I am going to use 1/8" dowels as pegs and a piece of 1/4" dowel for a cap which should give me a 1/16" lip to hold things on the peg.
I need to drill a 1/8" hole in the cap then glue it onto the peg, but a 1/4" diameter cap about 1/4" long is hard to align while drilling.
So I decided to drill the hole before the cap was cut to length then glue in the peg and cut the cap off after the glue dries.
I've used this on larger pegs like a shellplate peg and I decided to try it here.
|
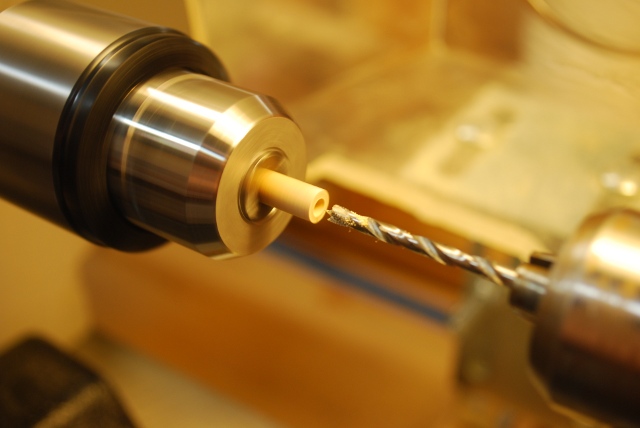
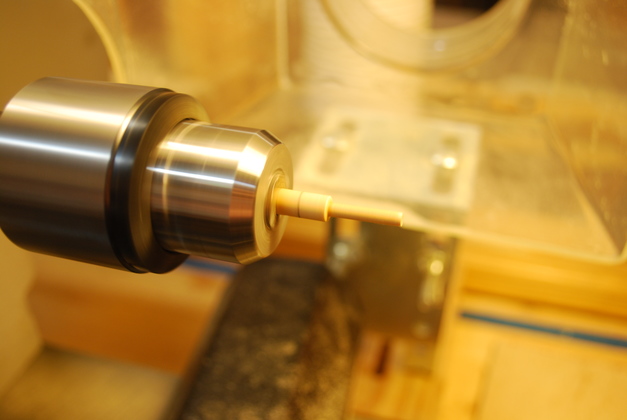
Using a lathe to drill a 1/8" hole in the center of a 1/4" dowel to create a cap for the 1/8" peg.
The drill is a 1/8" brad point, I'm using two drill chucks in the lathe.
|
|
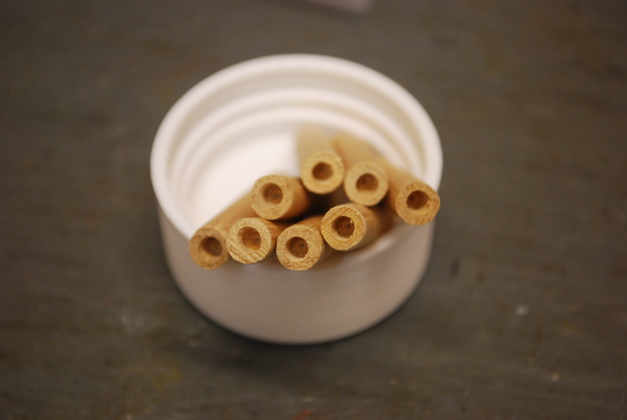
Bunch of 1/4" dowels with 1/8" holes drilled in them.
The holes are about 5/32" deep.
|
|
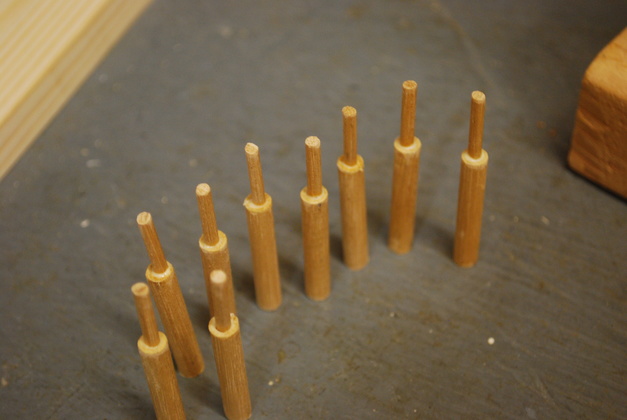
1/8" pegs with soon-to-be-caps (1/4" dowels) and my rolling alignment boards (a 1/4" on the right and a 3/16" on the left).
The hole in the cap is not very deep (slightly deeper than the diameter of the small dowel) so the hole doesn't force alignment.
From this angle you can see the 1/16" difference in height of the closer 3/16" and farther 1/4" board.
I roll the larger part of the peg on the lower board (left side, 3/16") with the smaller part of the peg extending out over the thicker board and when I'm through the small dowel is aligned with the center of the large dowel.
|
|
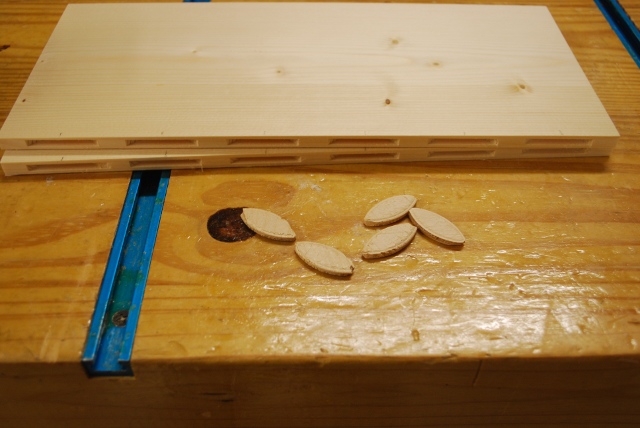
Pegs with soon-to-be-caps glued on.
|
|
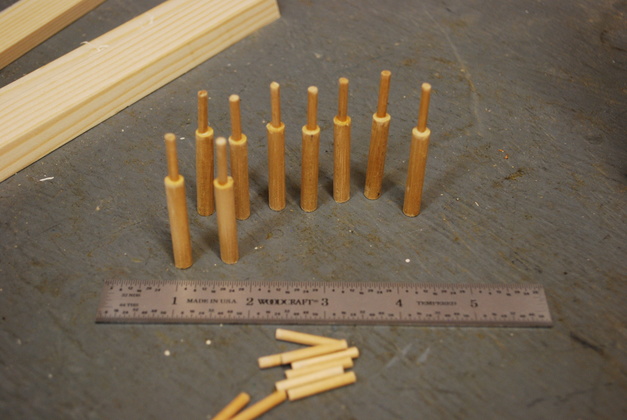
Pegs, glued and unglued with a 6" ruler for scale.
|
|
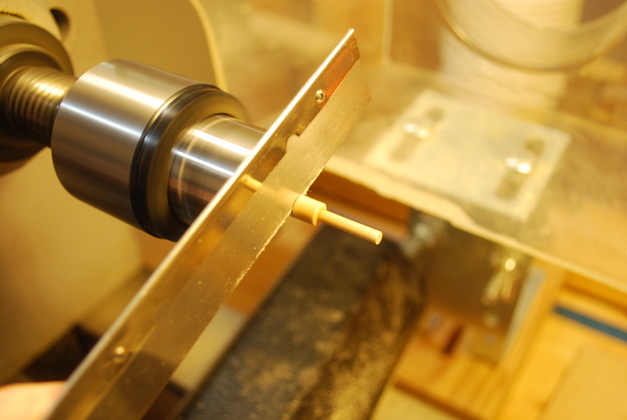
Marked peg cap, turning in the lathe, ready to saw off.
Actually the mark was only about 1/8th of circumference, and didn't show up well in the pic, so I held a pencil up to it while it turned and I now have a nice clear mark all the way around the dowell and exactly orthogonal to the axis of the dowell.
Yet another keen thing the lathe is good for.
You can also draw circles on round things exactly concentric with the object.
|
|
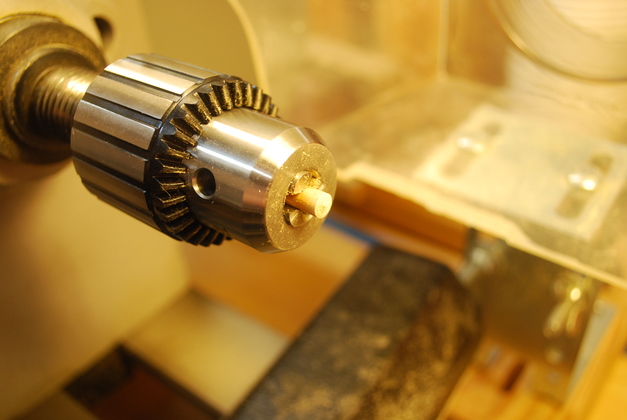
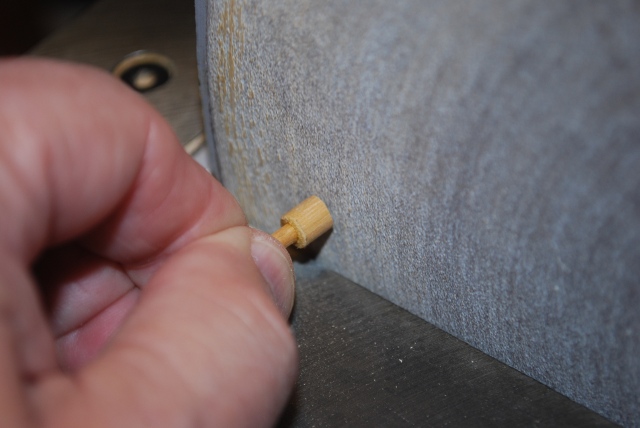
Sawing off the excess cap length.
I'm using an eXacto saw to cut off the cap at 1/4", hold this saw or a hacksaw against the peg and gently move it back and forth in a sawing motion, it quickly cuts the peg exactly square across it's diameter.
|
|
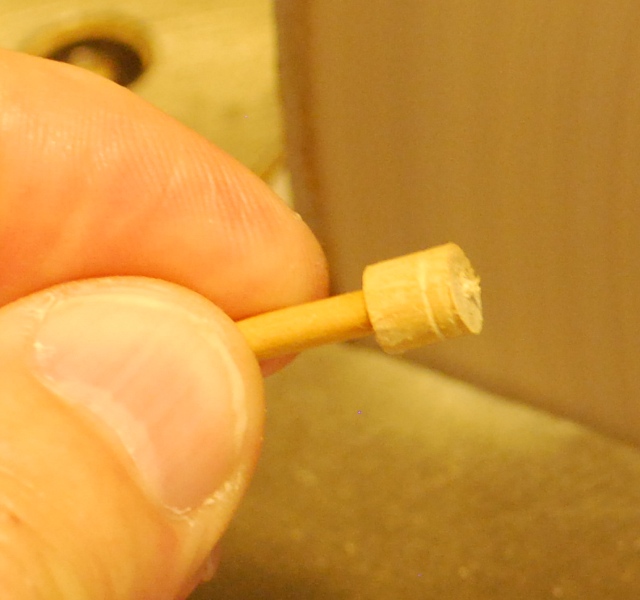
Sawing leaves a tiny nub sticking out of the center of the remaining peg and one on the peg cap.
I could clean this up with a parting tool but I'll do it when I chamfer the new peg.
|

|
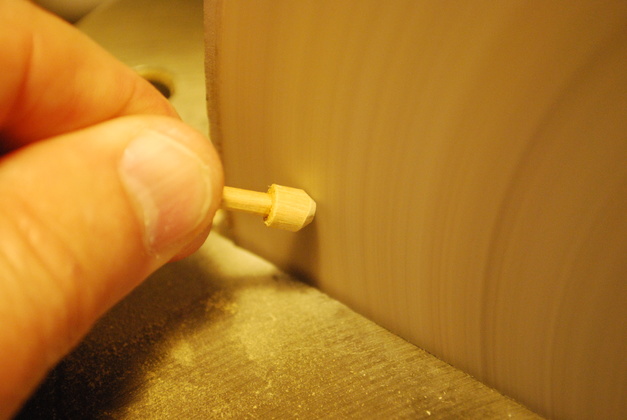
You can see the little nub in the center of the new peg cap.
|
|
Close up of new peg cap.
|
|
Flattening the top.
|
|
Just gently hold the peg cap against the moving sanding disk at about 45° and roll it in your fingers.
|
|
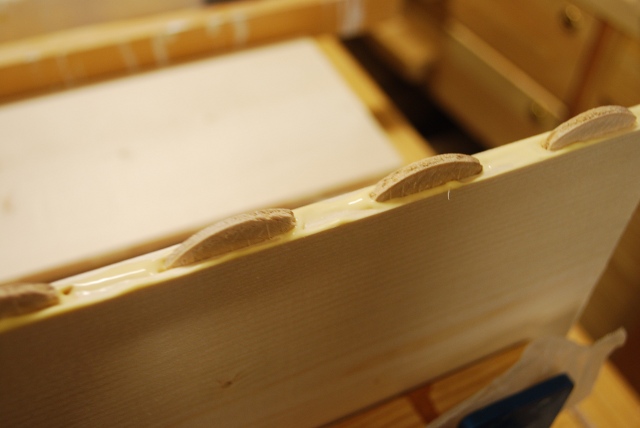
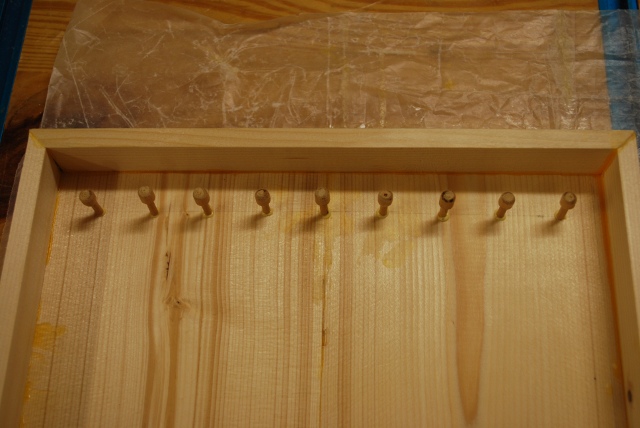
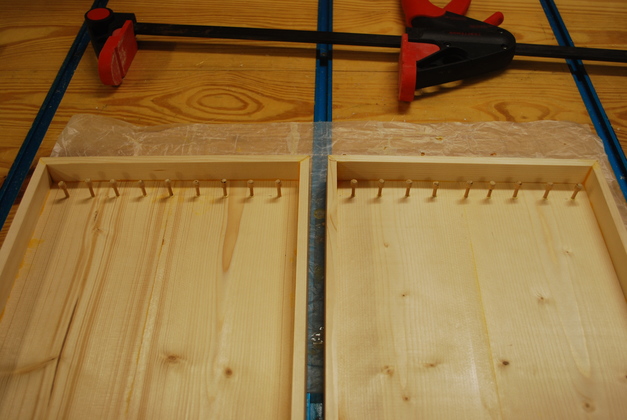
New pegs in the top of one of the neclace box "pages".
|
|
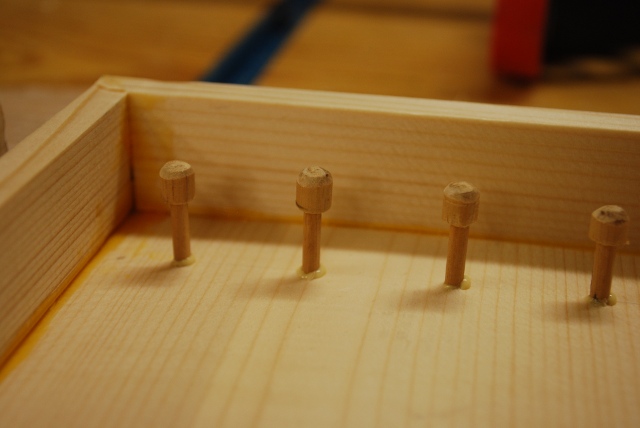
Closer view of pegs in page corner.
|
|
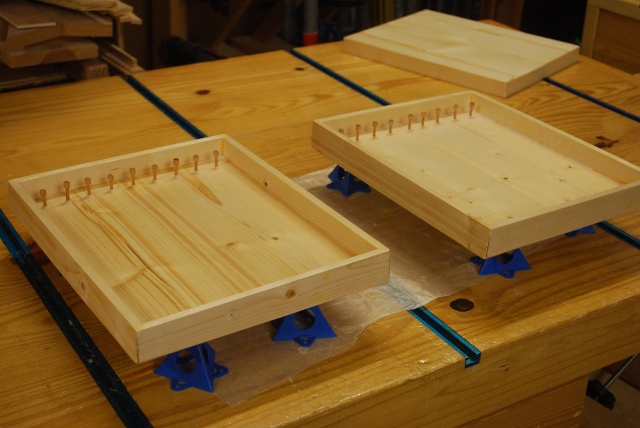
Both pages side by side as they'll end up.
|
|
Insides being painted.
|
|
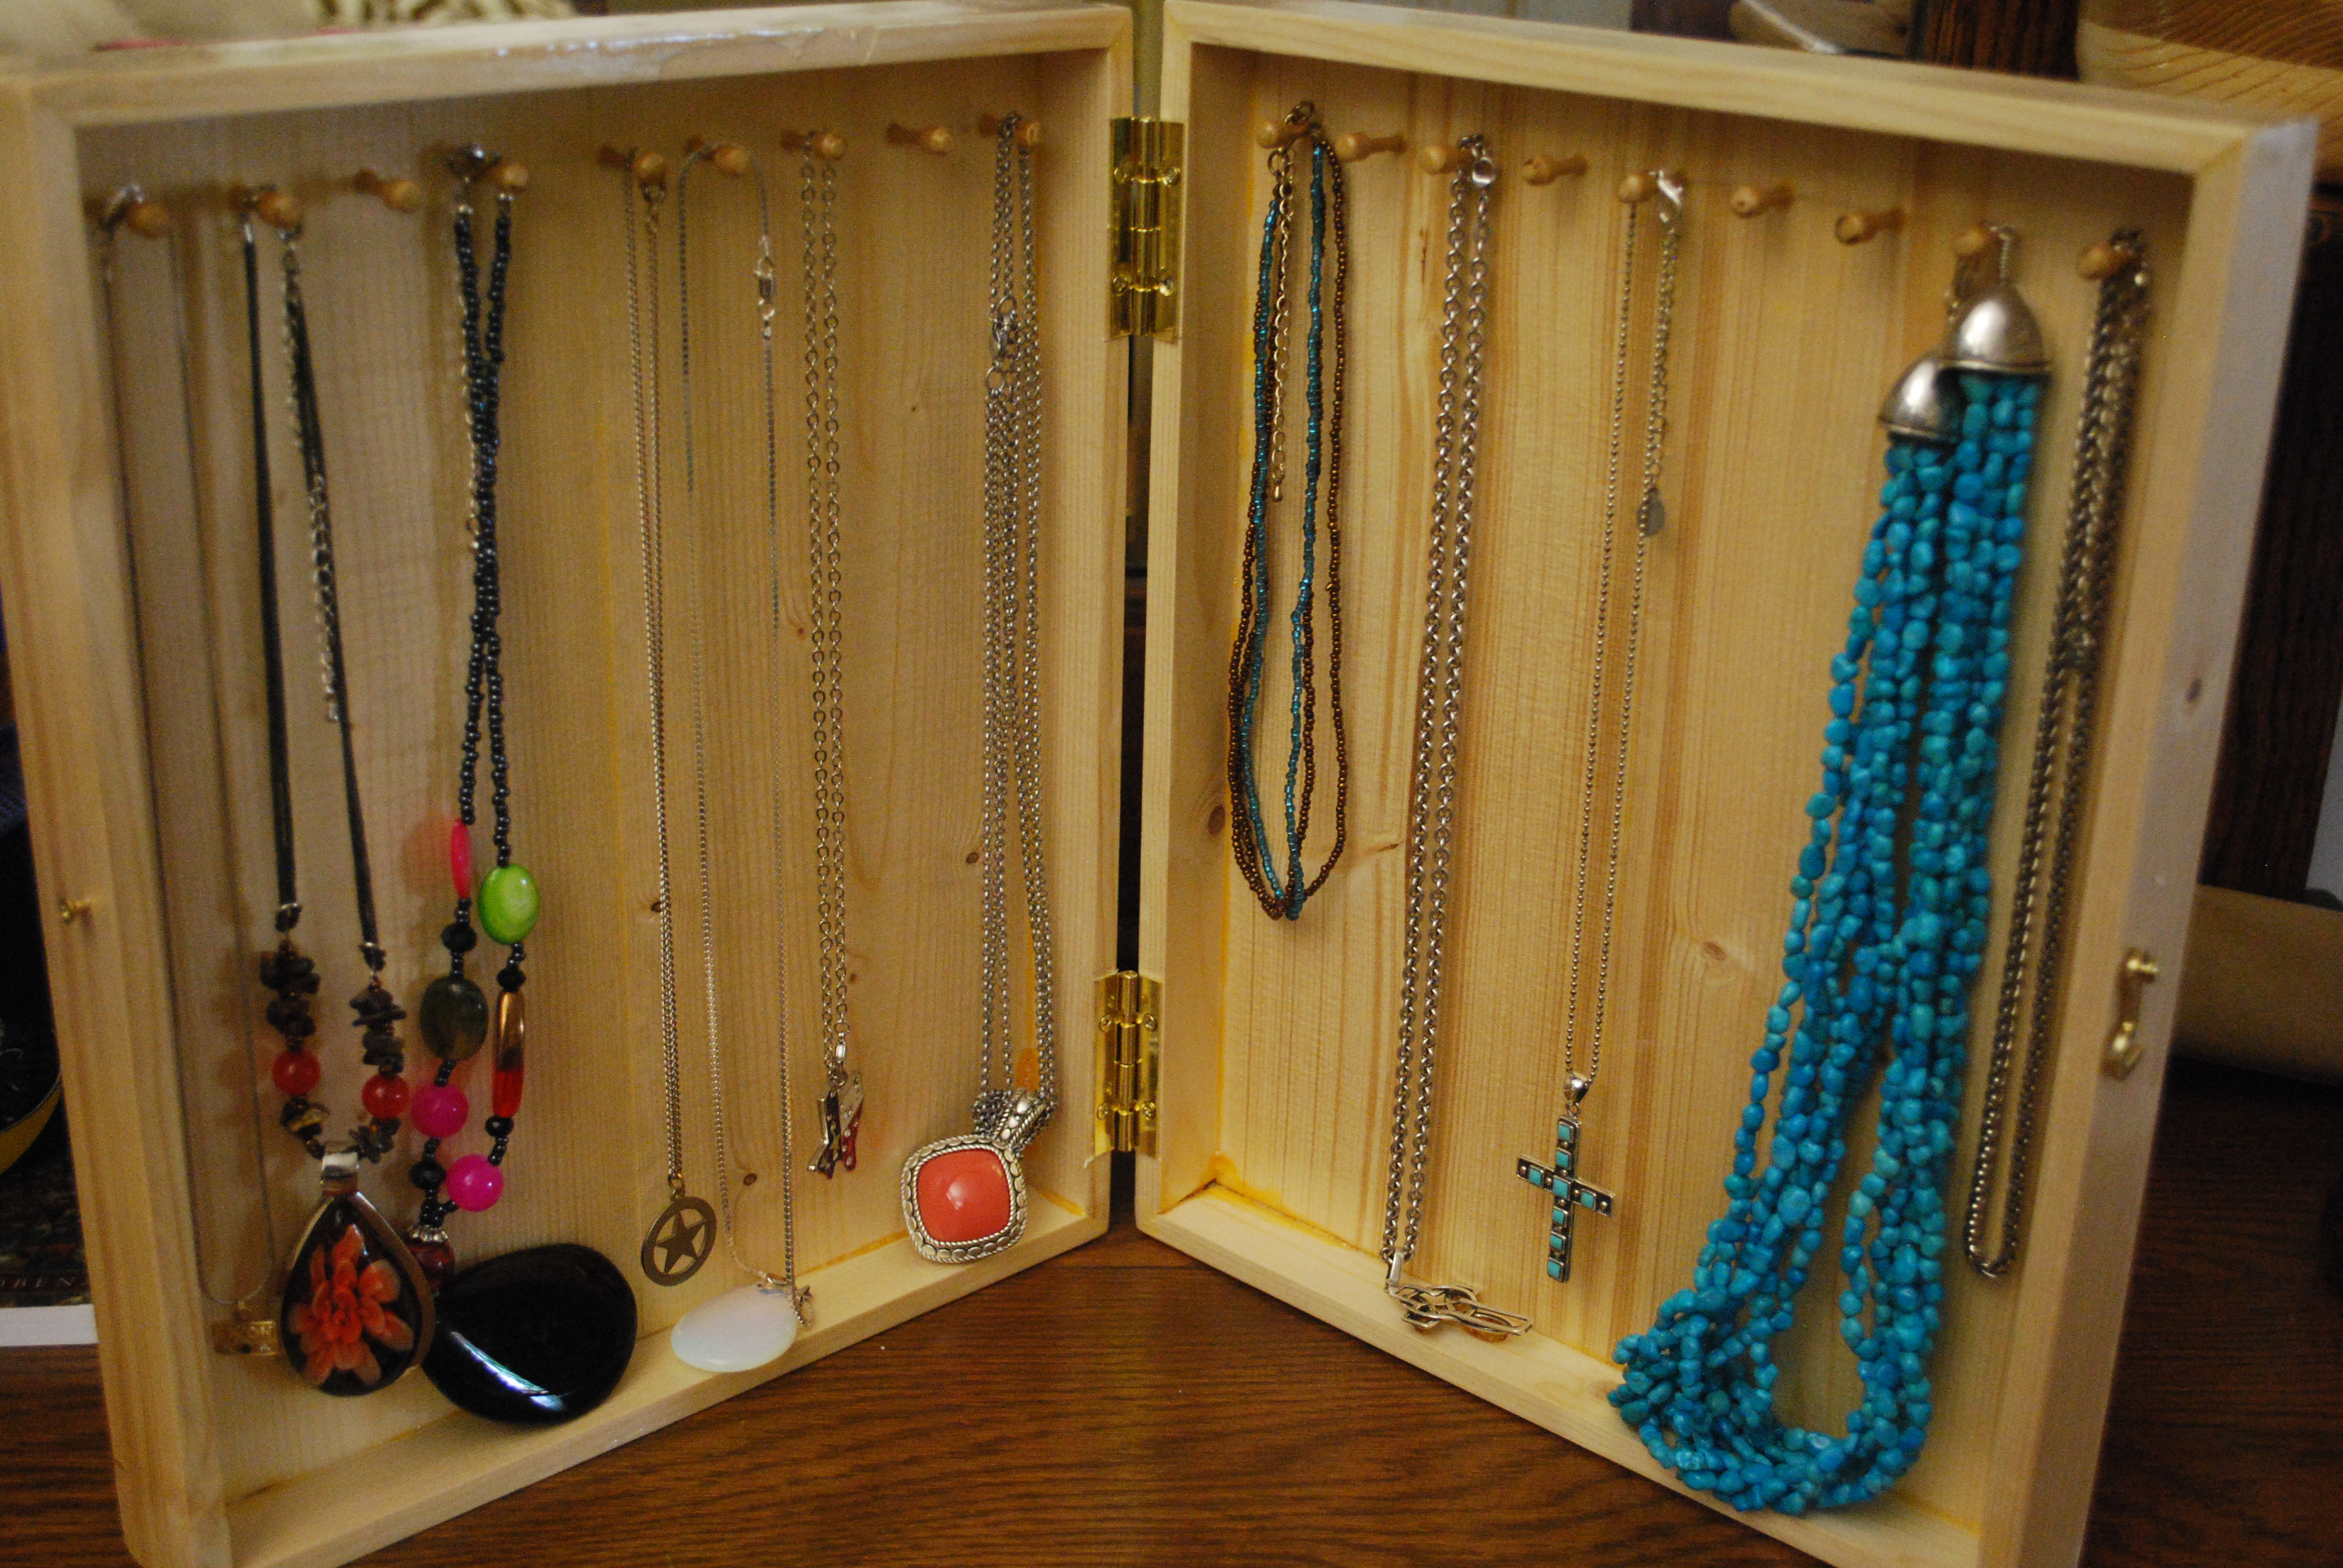
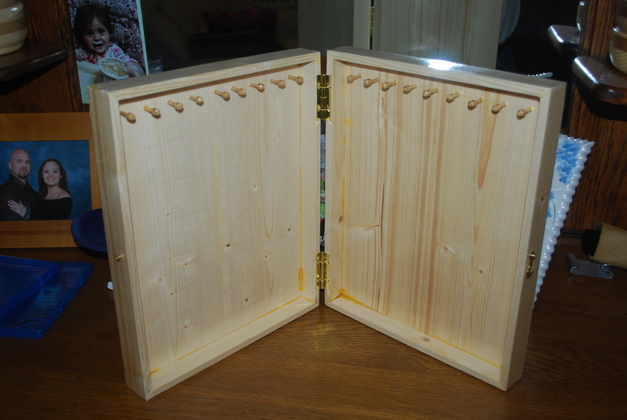
Pages open showing pegs.
|
|
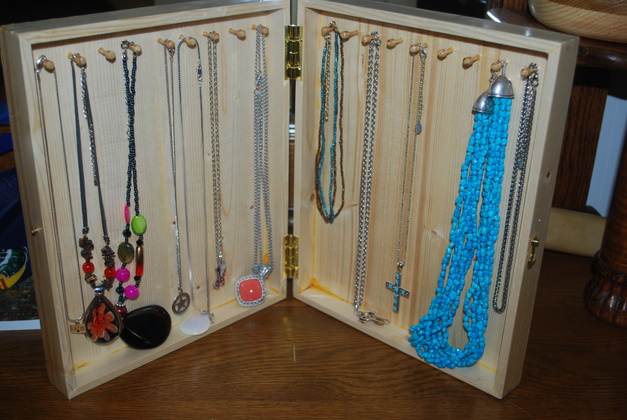
With some neclaces.
|
|
|
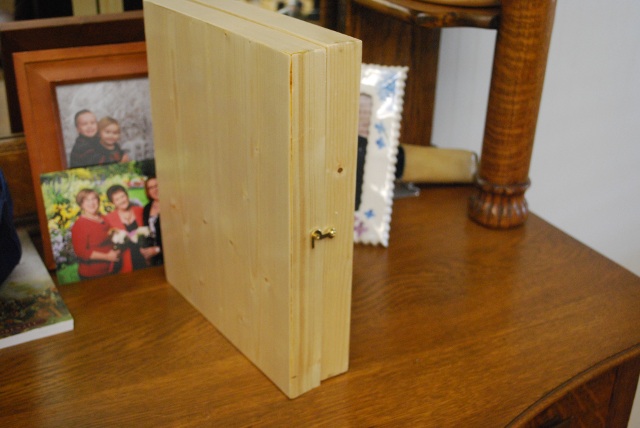
Book closed.
|