| 
| 
|
|
6L Bottle Carrier
| ||
|
|
|
|
|
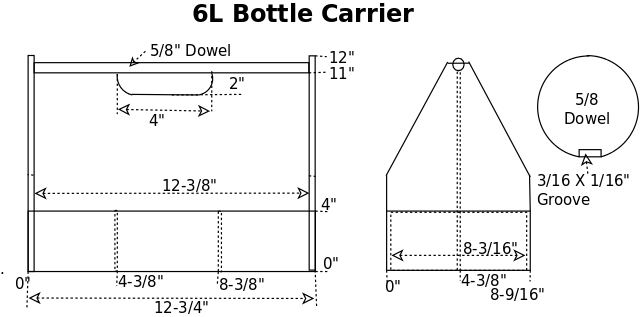
6L Bottle Carrier
| ||
| Construction Info | Diagram | Clamping Cauls | Mitering Plywood |
| Storage Bins | Tilt Bins | Range Box | Back Bath Vanity |
| Carrier Rack |
We carry 24 1L bottles from storage in the corner BR to the Kitchen for sanitization, then to the utility room for botteling, then, filled, back to the corner BR again.
We currently use the 12 bottle cardboard cases but they are getting old and rickety.
So I need to build some kind of carrier to help when moving the 1L bottles around.
One note: I realized that we can bottle with the bottles in the carriers.
Having the bottles in the carriers during bottling eliminates a load/unlaod cycle.
We only have to unload them to sanitize them then reload, bottle and unload into aging storage freeing the carriers for the next batch of bottles.
I have had luck making boxes fom 3/16 plywood so I thought I would make 6 bottle carriers using the same technique. I always sanitize 24 bottles, so I need 4 carriers. My current thought is these will need to stack neatly for storage so I'll let the bottles stick up a little higher than the carrier frame. Or I could build a rack to store them.
|
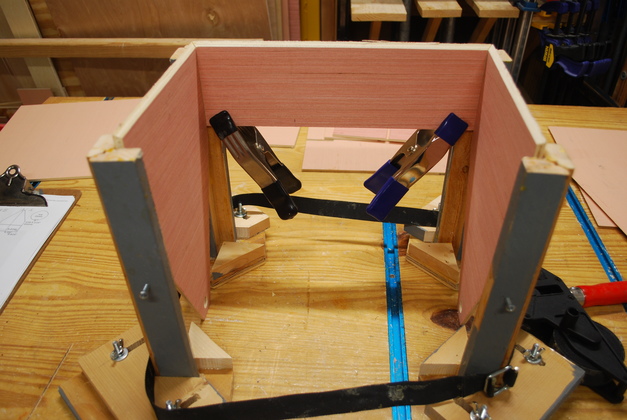
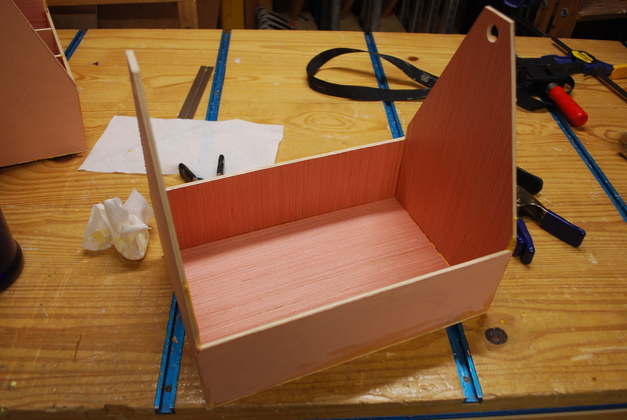
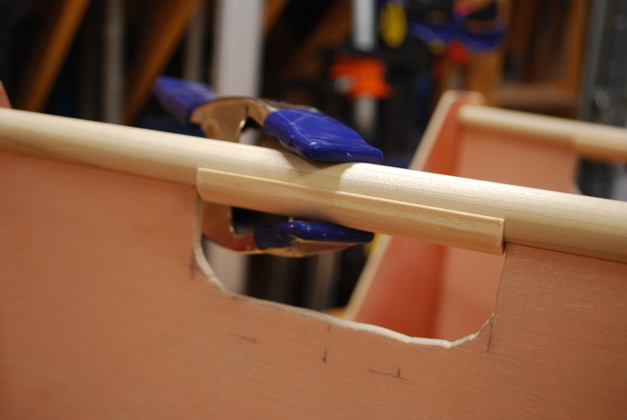
Spring clamps holding the far side of an uneven box so it is flush with the ends. You can see additional carrier parts laid out on the bench behind this box. |
|
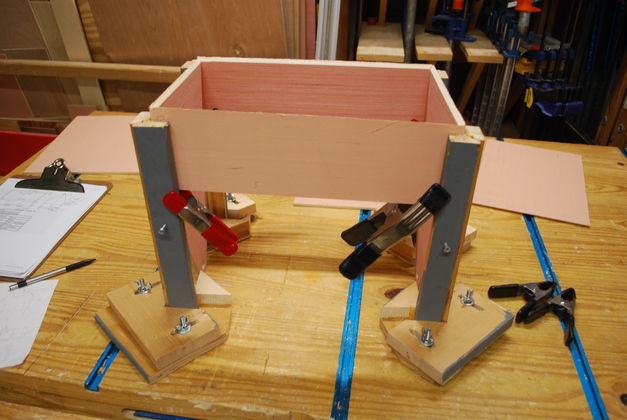
Clamps holding the near side of a box with uneven sides. |
|
Same box a different perspective. This is a 6 x 1L carrier. |
|
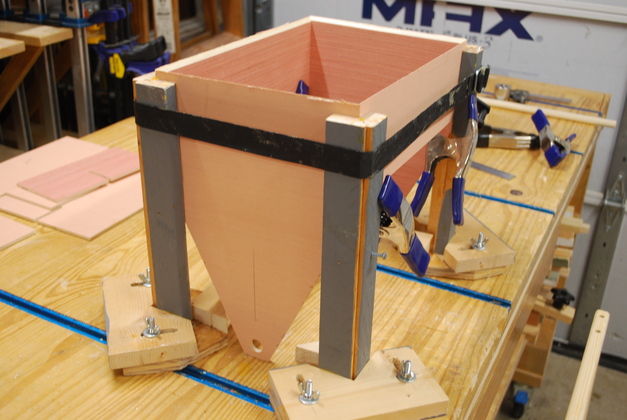
Now I add the strap clamp to place pressure on the mitered edges. |
|
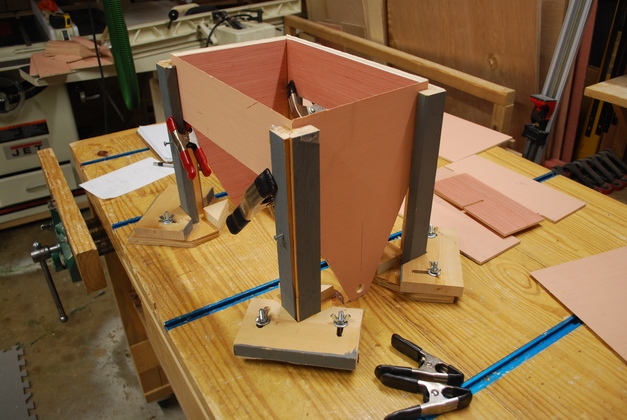
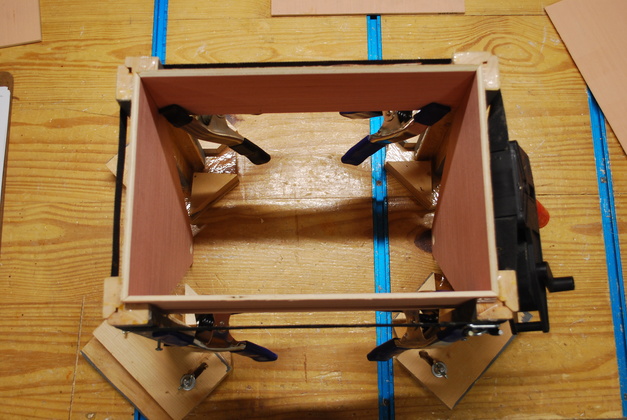
Looking down from above (bottom of the box), ready to glue on the bottom. |
|
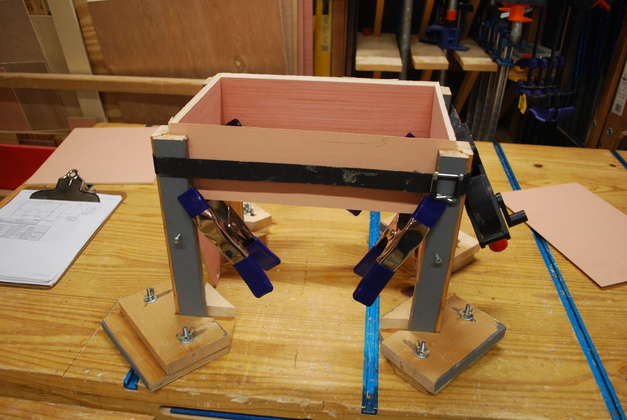
End view with strap clamp applied. |
|
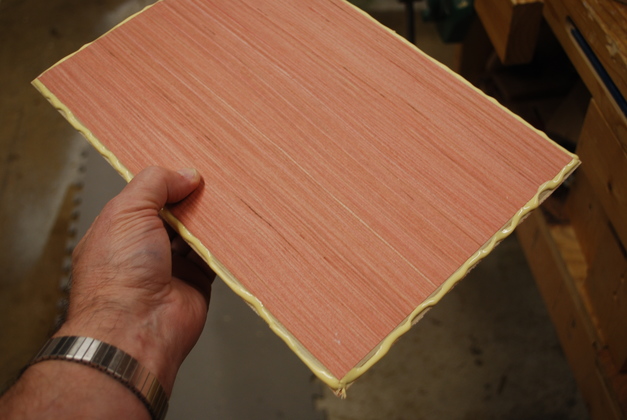
The bottom with glue on it's mitered edges. |
|
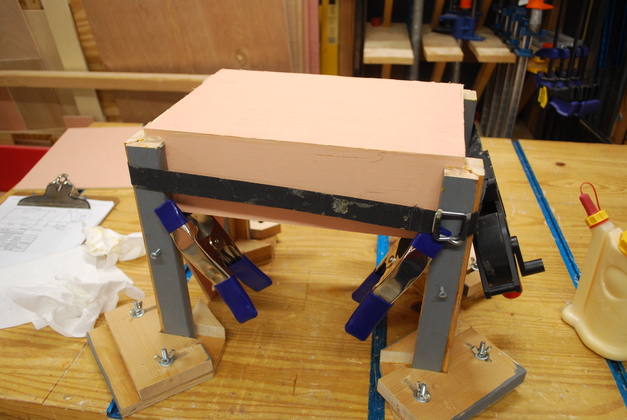
And with bottom on the box. Some of these don't fit as well as this one and I have to use a weight. |
|
Glued box, ready for partitions. |
|
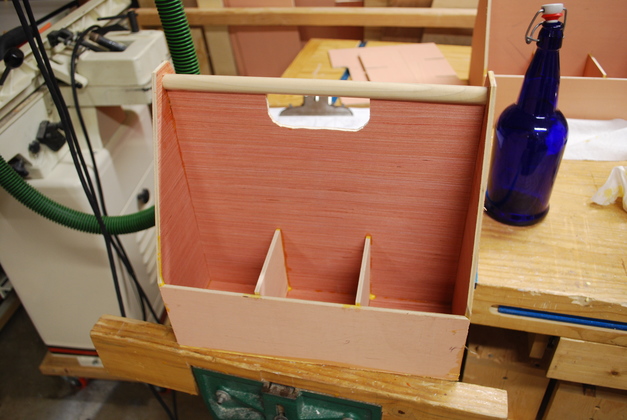
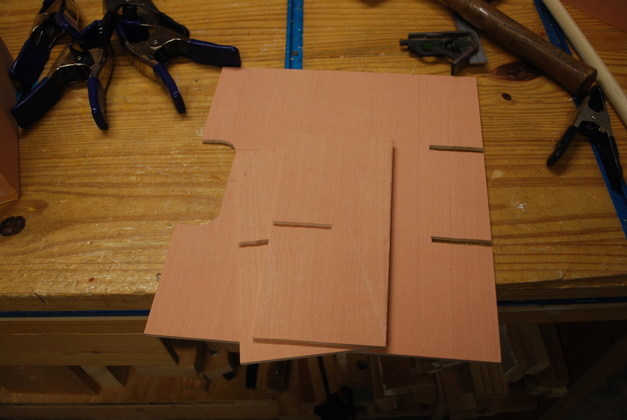
The internal partitions cut out and notched. |
|
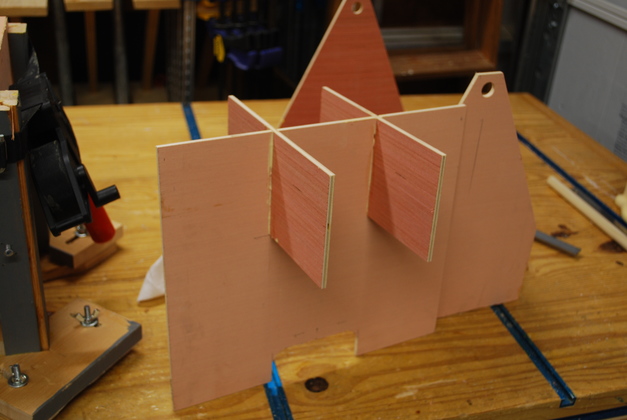
After the box is glued, I glue up the internal partitions. |
|
Then place them (and align them) inside to box. |
|
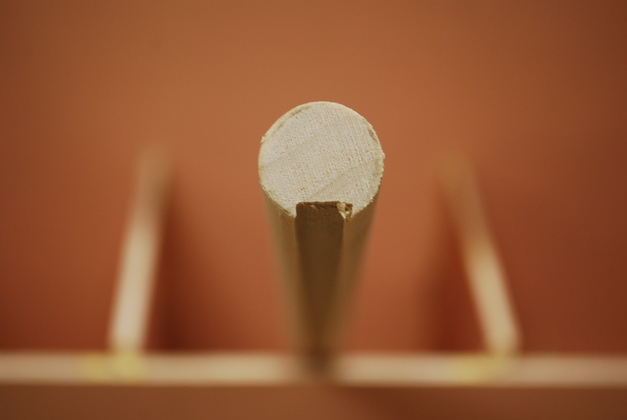
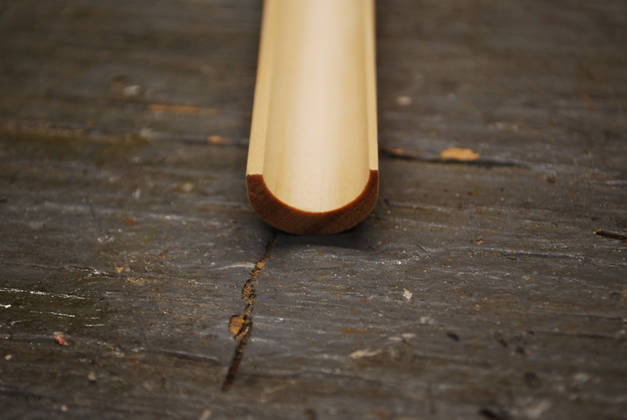
You can see the groove in the bottom of the handle dowel. |
|
|
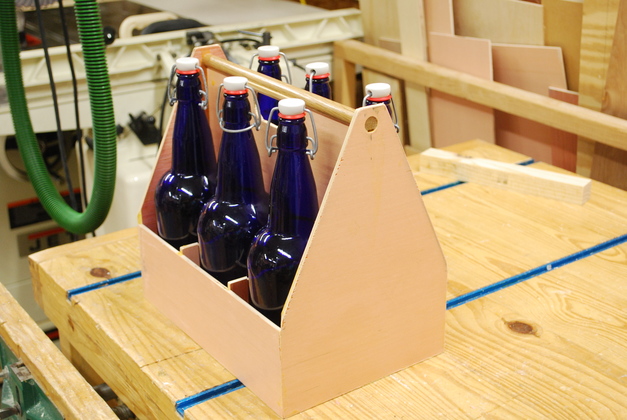
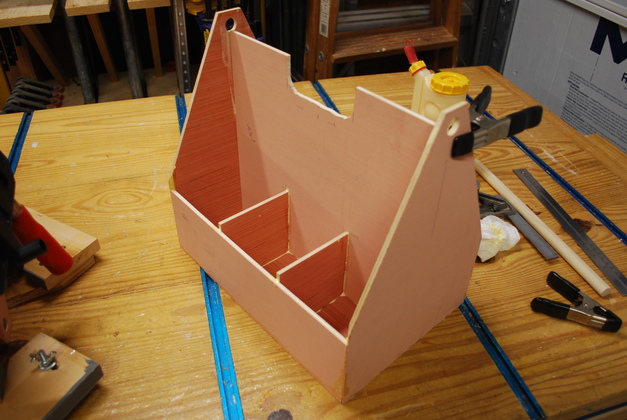
Now the handle has been glued in. The handle has a groove to allow the center partition to be glued into it, this makes the box much stronger to hold 6L of mead (about 13.5 Lbs). The box is now ready to sand and paint. You can see one of our 1L bottles on the right rear side. |
|
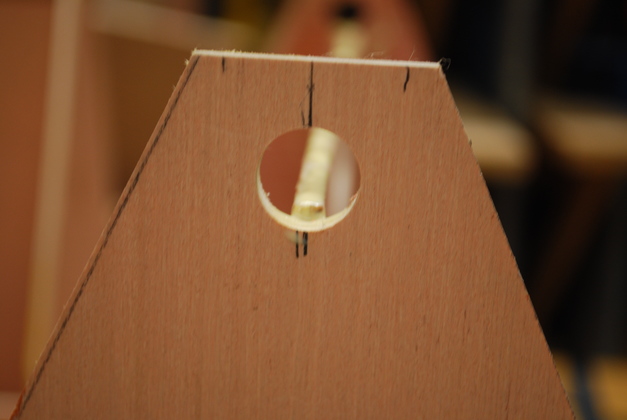
You can see the center partition sticking up slightly above the hole for the handle. |
|
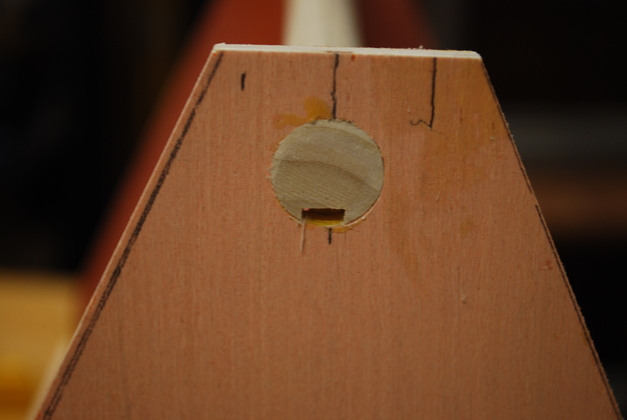
Now with the handle glued in you can see the groove that accomodates the center partition. |
|
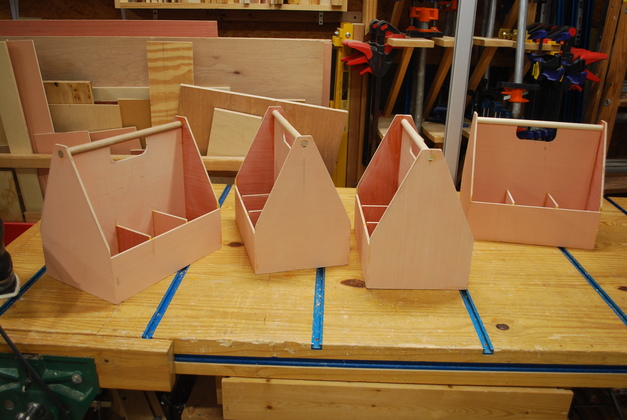
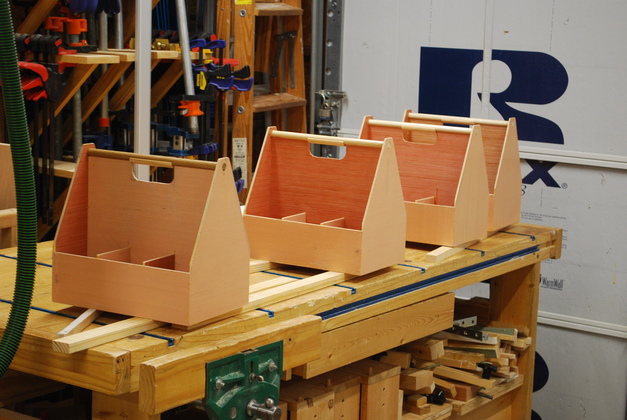
All 4 carriers glued. |
|
I made this little saddle to go under the handle area to it would feel better carrying 6 full liters of mead (13.5 Lbs.). The saddle turns the 5/8" handle into a 3/4" grip. |
|
Saddle being glued to handle area. |
|
Carriers being painted. |
|
|
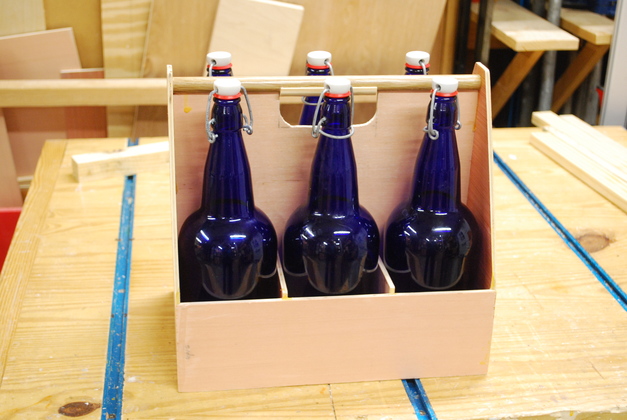
A carrier loaded up with all 6 bottles. |