|
|
|
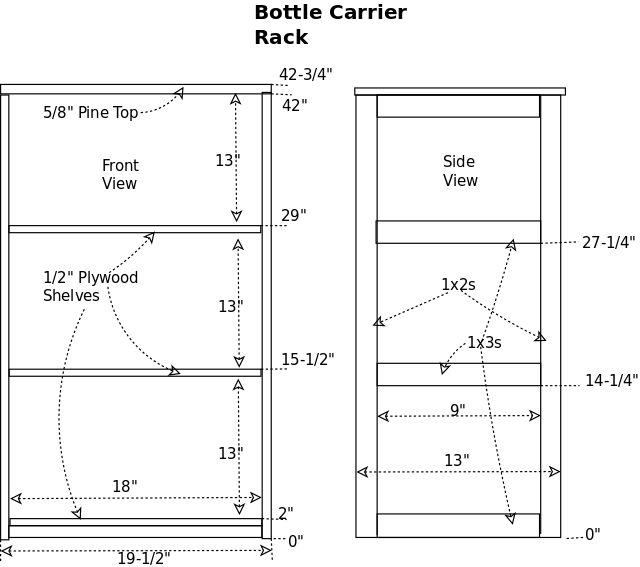
Carrier Rack | ||
|
|
|
|
Carrier Rack | ||
| Diagram | Construction Info | 6L Carrier |
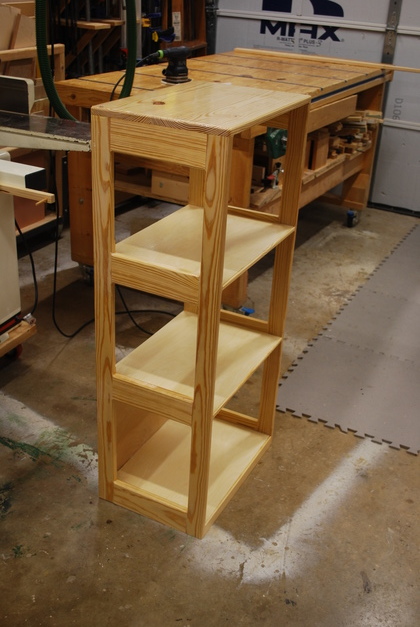
When I decided we needed bottle carriers, I also decided to build a rack to store them. I'm allowing shelves for the 4 carriers (two to a shelf) plus the bottom shelf for another box of 12 bottles.
The corner verticals will be yellow pine 1x2 (actual 2"), the horizontal braces will be 1x3. The shelves will be 1/2" birch plywood, the top will be edge joined pine.

|
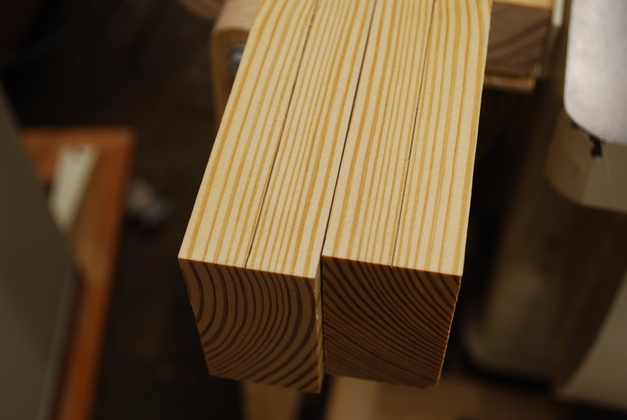
2x3s marked for resawing into 1x3s. |
|
Closer look at resaw marks. |
|
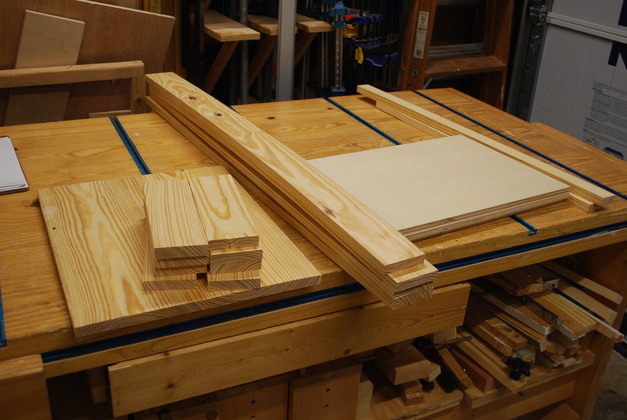
Lumber cut to size. One the left, bottom it the rack top, on top of that are the side braces, to the right the verticals, plywood shelves, and 1x2 front rear braces. |
|
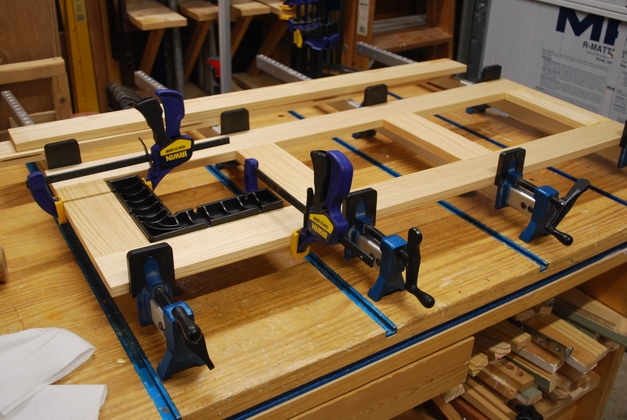
One of the sides in the glue clamps. |
|
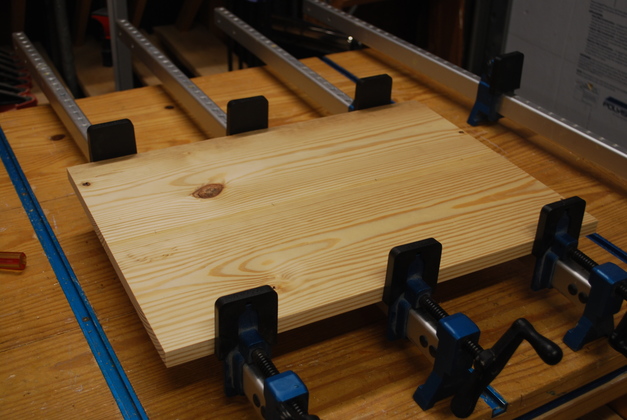
Top in the glue clamps. |
|
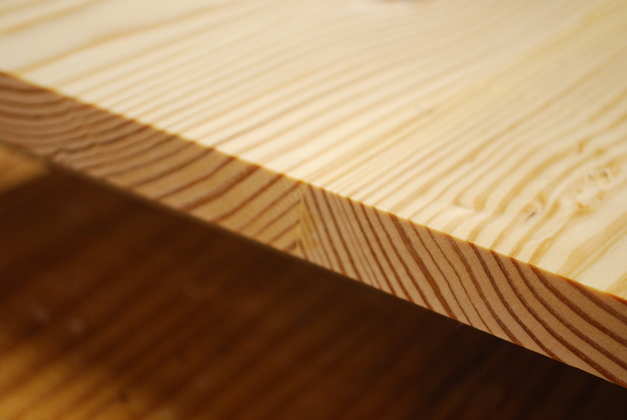
You can see the difference in the grain on the edge but you can't see the actual crack on top, thats what a jointer does for you. |
|
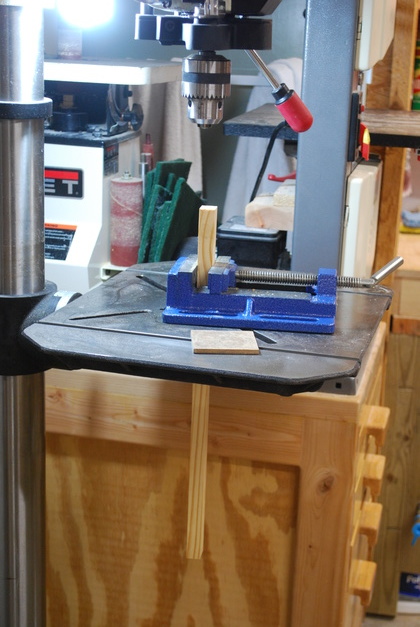
Drilling dowel hole in end of front and rear cross brace. Note: the drill press storage has been set aside for this operation. |
|
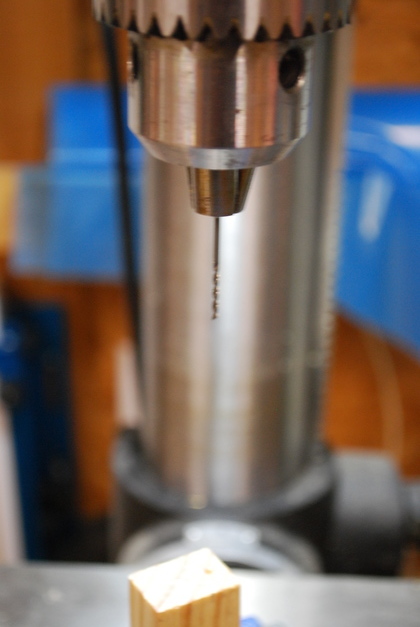
I align the piece to be drilled with the side of a bit.
|
|
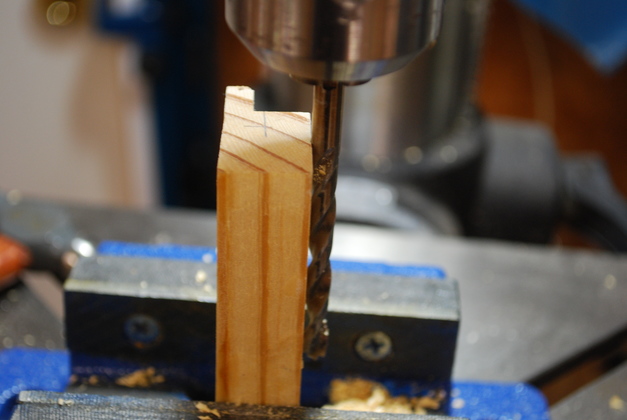
Since these cross braces are yellow pine and have very hard "stripes" running through the grain, the bit wants to walk or divert as I drill. So I start with a solid carbide bit. |
|
Cross braces being glued underneath the bottom shelf. |
|
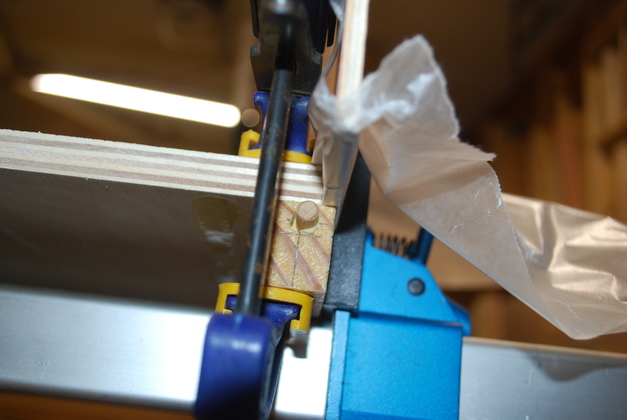
Looking at the rear cross brace from below, you can see the 3/16" plywood shim (Wrapped in waxed paper). The shim provides space for the cabinet partial back. |
|
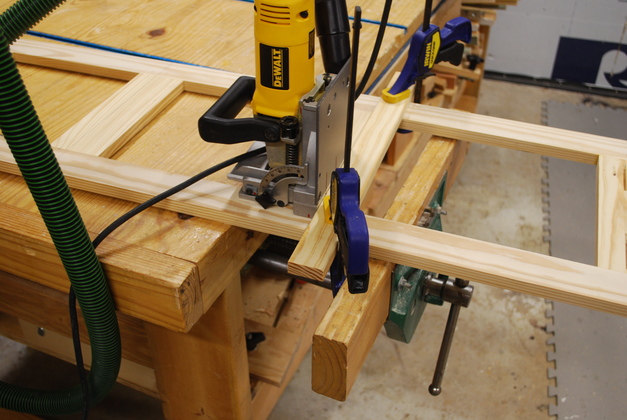
Cutting biscuit slots for shelves. These are 'T' joints since the shelf will butt against the side frame. |

|
I clamp this wooden bar across the frame spaced 1/8" below the shelf bottom. |
|
I made marks on the wooden bar where the slot should be centered. |
|
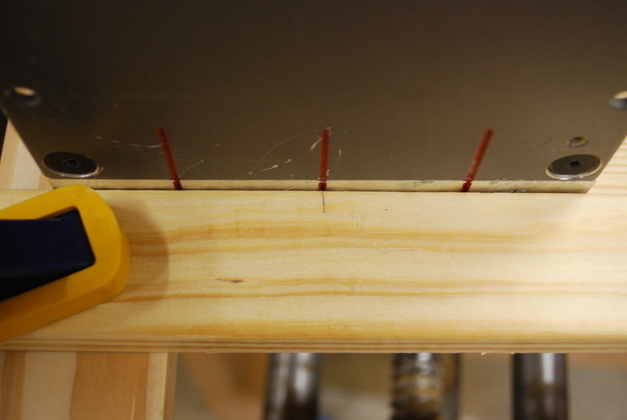
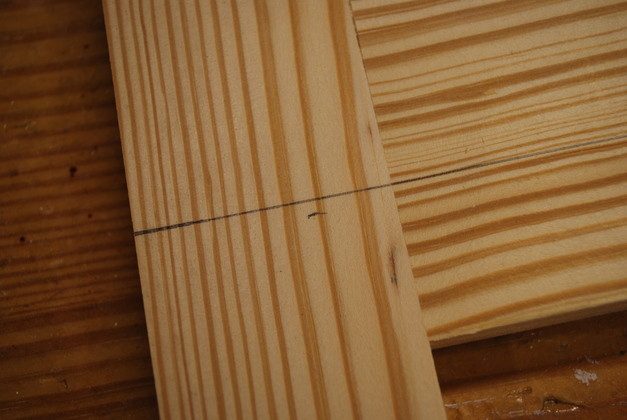
The solid line on the frame is the bottom of the shelf, the tick mark is for the wooden bar. |
|
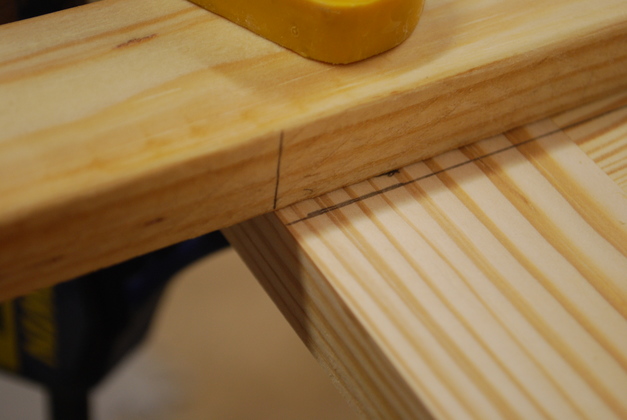
Wooden bar aligned and clamped on the frame, the vertical mark on the bar is the reference edge of the frame. You can just see the tick mark for bar alignment under the edge of the bar. |

|
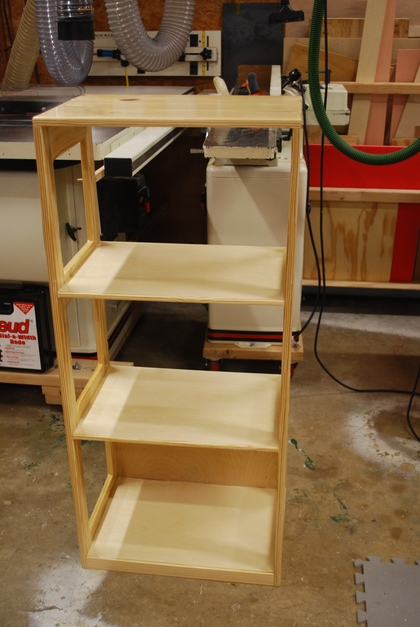
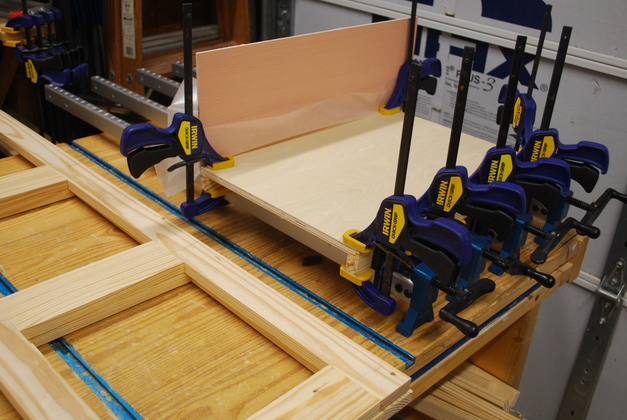
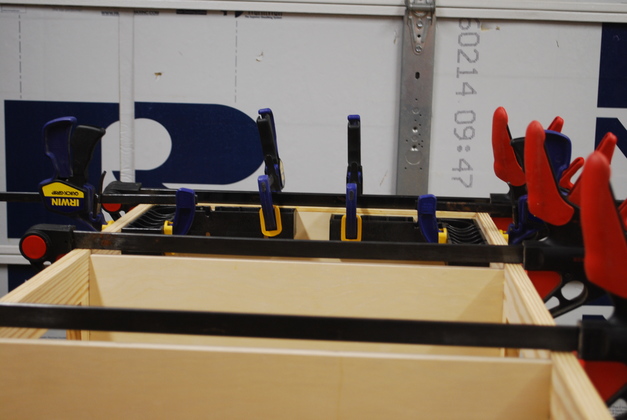
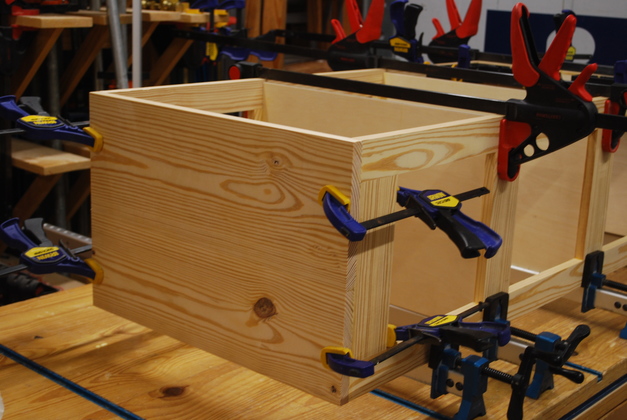
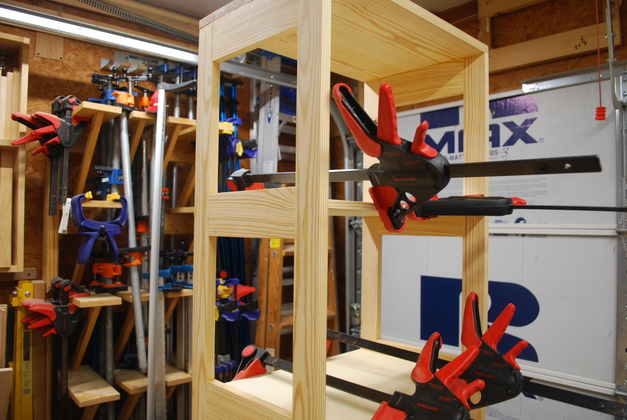
Frame in glue clamps. Bottom 3 shelves are being glued in, the top will be glued last. |
|
Showing the Rockler "ClampIts" holding the frame square while the glue sets. |
|
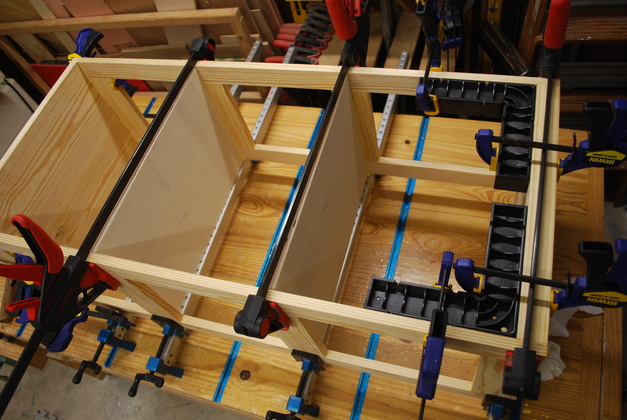
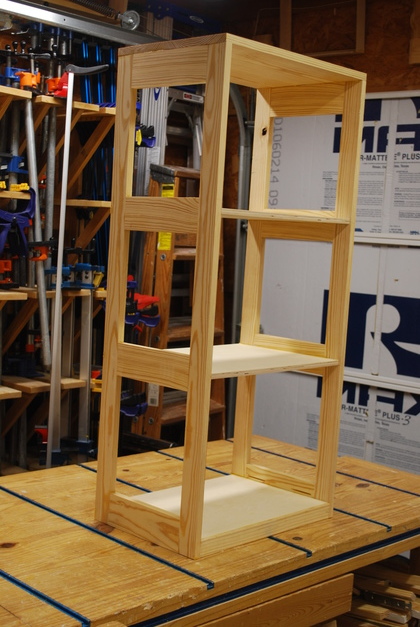
Rack being glued. Note the Rockler "ClampIts" being used to hold it square. |
|
Top being glued on. |
|
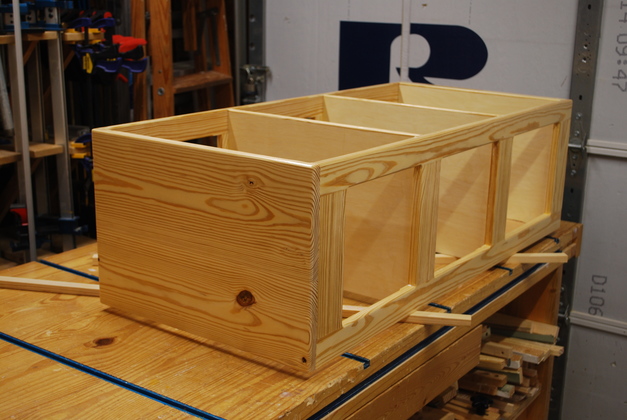
Frame glued. |
|
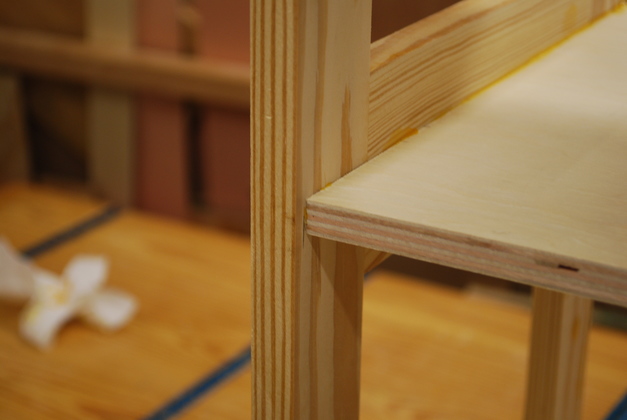
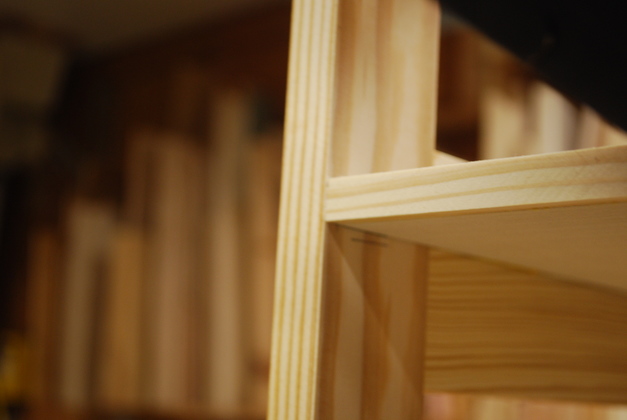
Front of plywood shelves, note they are recessed 1/4" |
|
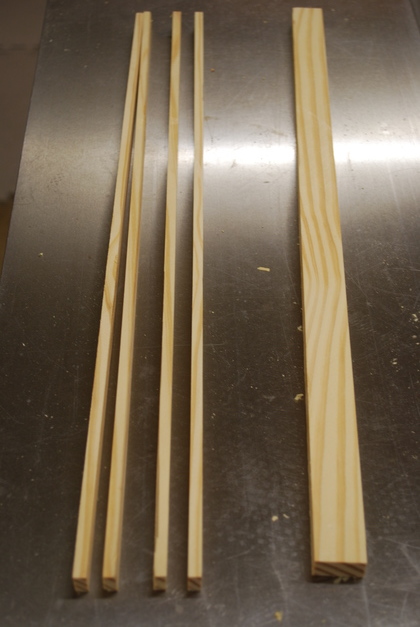
1/4" X 1/2" pine cap strips (on left) for front edge of plywood shelves. The larger strip on the right is the 1/2" thick piece I sawed the cap strips from. |
|
Pine cap strips being glued to front edge of plywood shelves. |
|
Pine cap strip glued to front edge of plywood shelf. |
|
Frame being painted. |

|
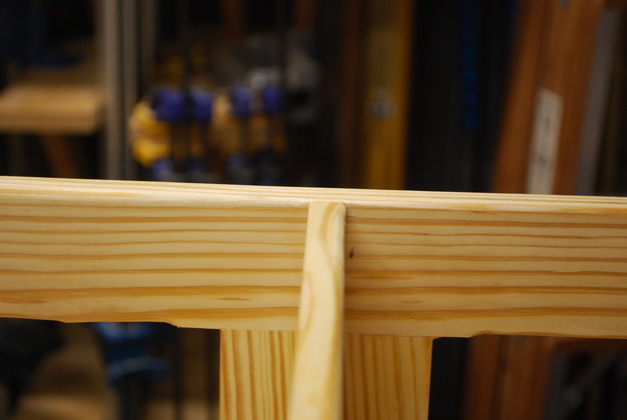
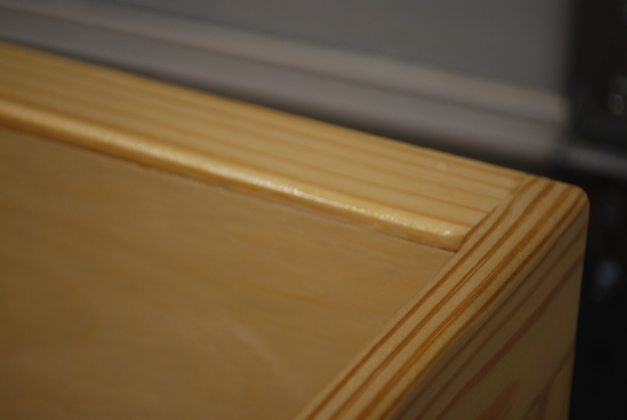
Another look at cap strip joint to frame after rounding and painting. |
|
Opposite cap strip joint to frame. |
|
Look at bottom shelf behind lower moulding hiding plywood edge. |

|
Looking down at front edge of lower two plywood shelves, note how cap strip hides plywood edge and makes it nicer to look at. |

|
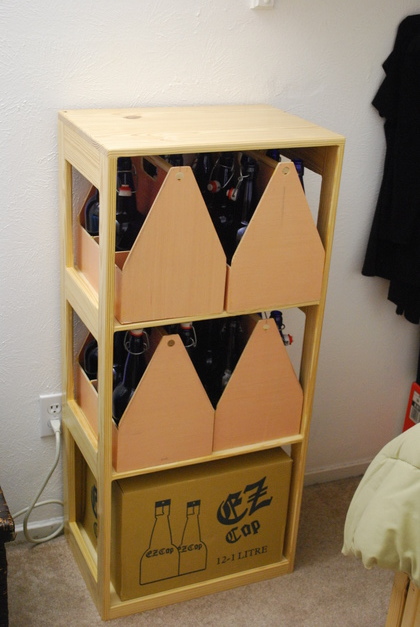
Loaded with 1 Liter bottles. |