| 
| 
| 
| 
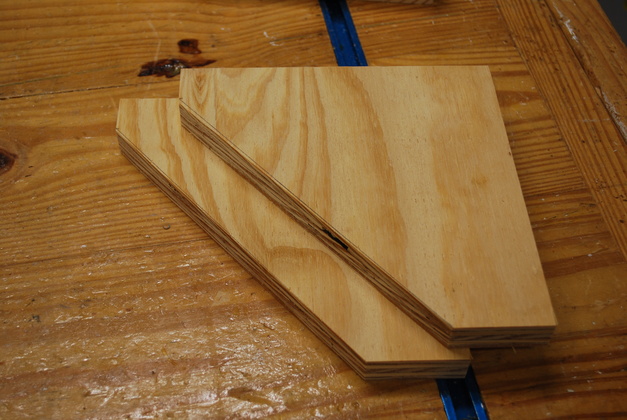
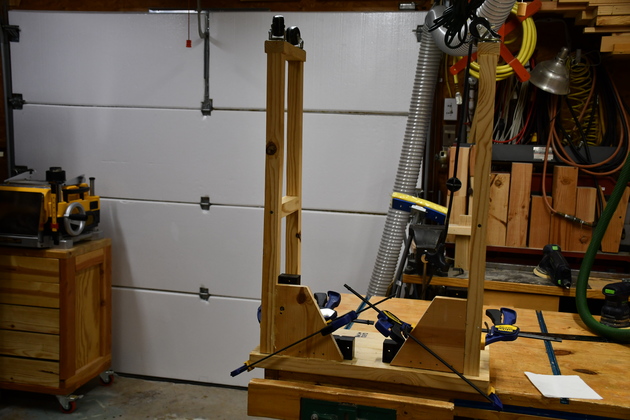
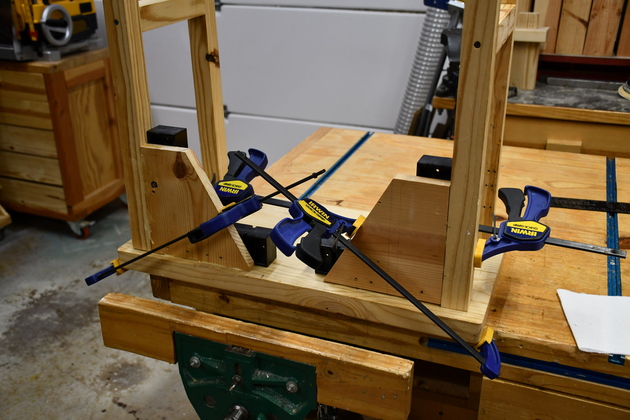
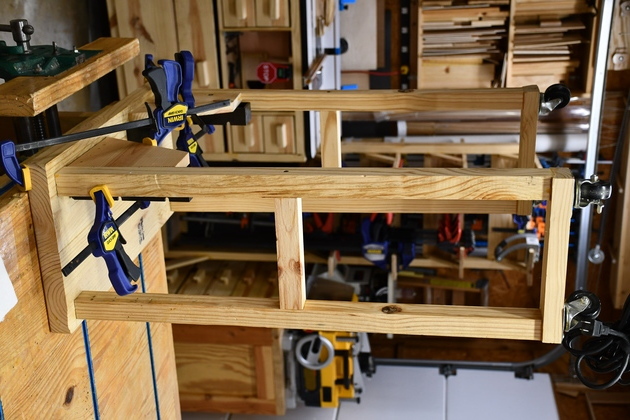
Work Cart helping dovetailing |
|
Work Cart
| ||||
|
|
|
|
|
Work Cart helping dovetailing |
|
Work Cart
| ||||
| Construction Info | Scissor Lift |
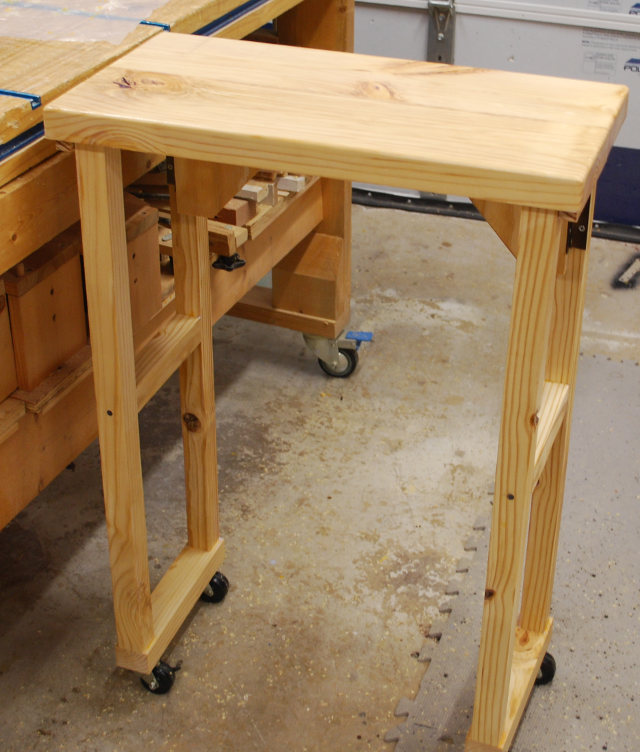
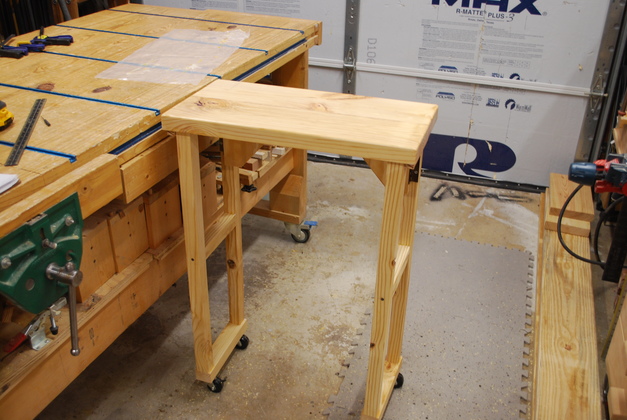
I frequently need a cart or inflow/outflow table I can use to hold extra stuff, but my shop is tiny. So I came up with this cart, 12" X 24" X 36" high. The original folding flat idea was my way to save storage space but, it is always in use. BTW, the 36" cart height is the same height as my woodworking bench, miter, and table saws.
This cart will be built mostly from a single 2x8x8' SYP plus scraps.
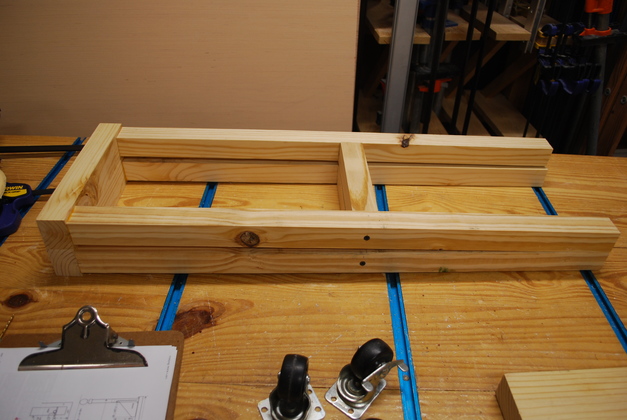
The top will be two 2x pieces ripped 6" wide and 24" long, laminated together, the legs and upper cross braces will be 1-1/2X1-1/2"
The bottom cross braces will hold the caster and will be 2" x 1-1/2".
The two upper braces will be 3/4" plywood.
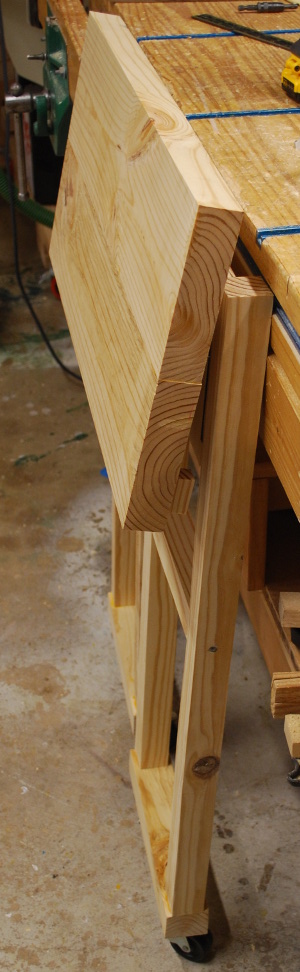
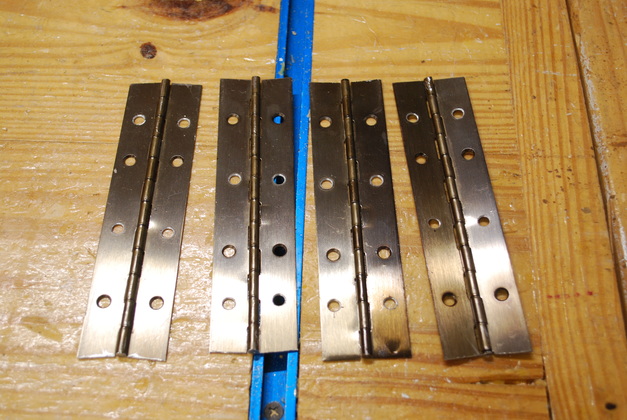
The hinges are 6" long pieces sawed from a piano hinge.
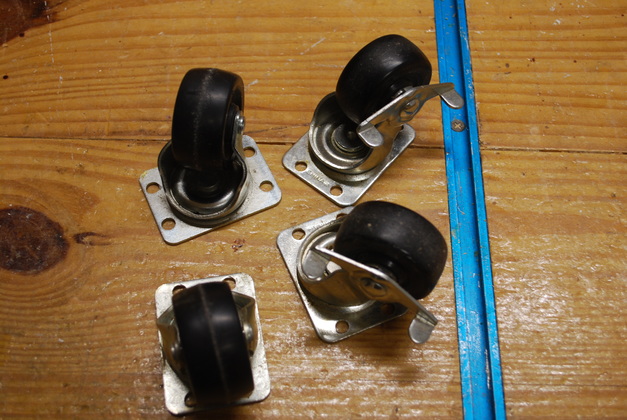
Casters are 2" one pair locking and swivel the other pair just swivel.
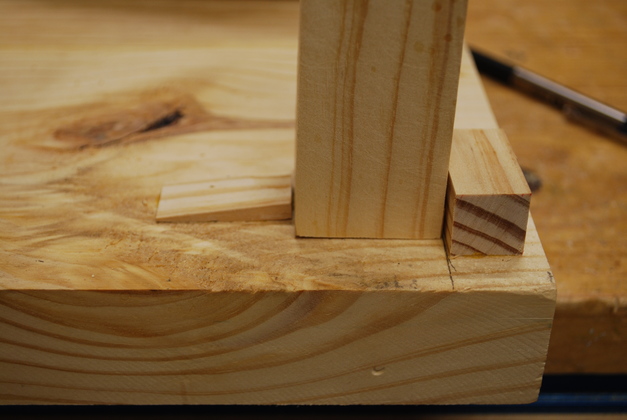
The only tricky part is attachment point of the hinges, which I have tried to illustrate.
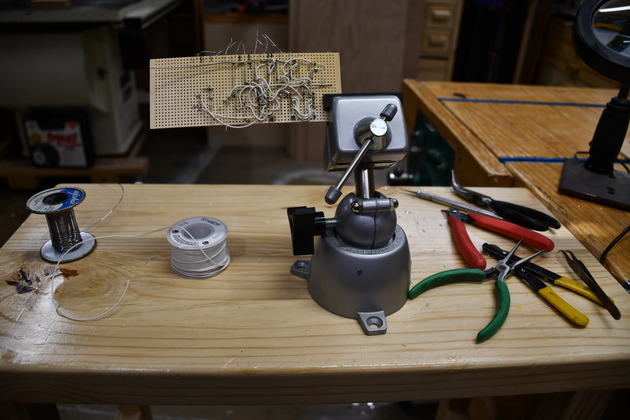
The fact that the cart is easy to roll can be used as and advantage when using it as an inflow or outflow table with longer material. Instead of the material rolling on top of a roller stand, the whole stand rolls which, in some cases is better, so I don't have to reposition the roller stand as I feed long lumber into the miter saw. I also use this as a work station for soldering, and electonic assembly.
After using this thing for almost two years and never folding it once for storage, I realized I didn't need the folding aspect. So I am gluing the legs and omitting the hinges to make it a little more stable.

|
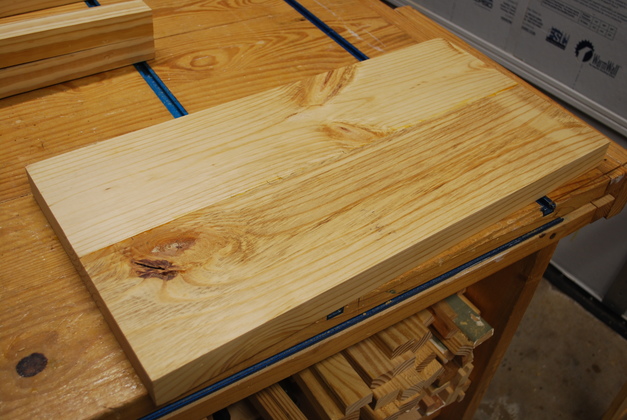
Top after edge joining, ready to sand. |
|
I happened to have four 2" casters, two locking and two not, so... |
|
Legs, glued & screwed. |
|
6" long piano hinges, sawed. I also drilled extra screw holes. |
|
Top braces. |

|
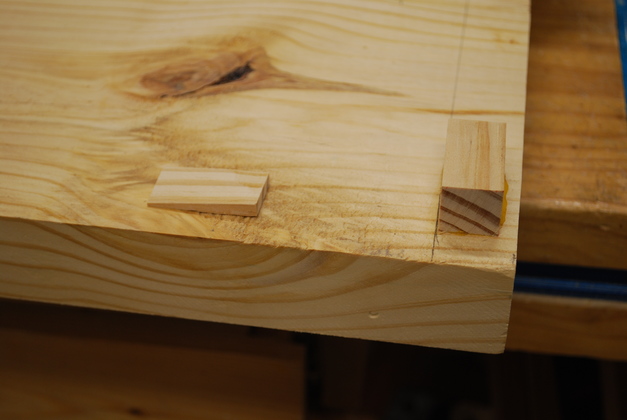
One pair of stop blocks, the beveled one will go toward the center. |
|
Stop blocks glued on. |
|
You can just barely see the lines I drew, on the underside of the top, one is 1" from the side the other is 2" from the back edge. |

|
Upside down cart with legs attached. You can get a little better idea of how the hinges work. |
|
The whole cart, still upside down. |
|
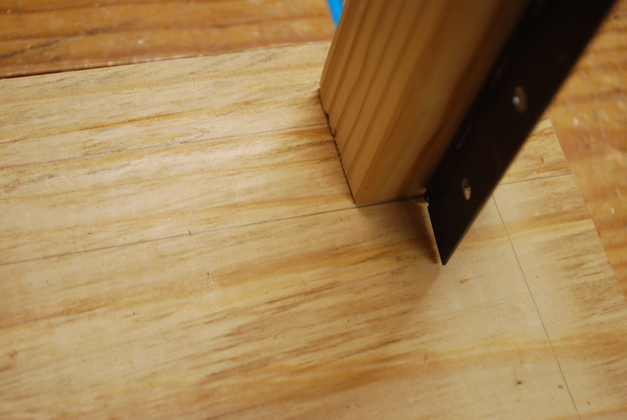
How the stop blocks hold the front legs. |

|
Cart standing on it's casters, you can see how the upper braces work. |
|
|
Cart, ready to paint. |
|
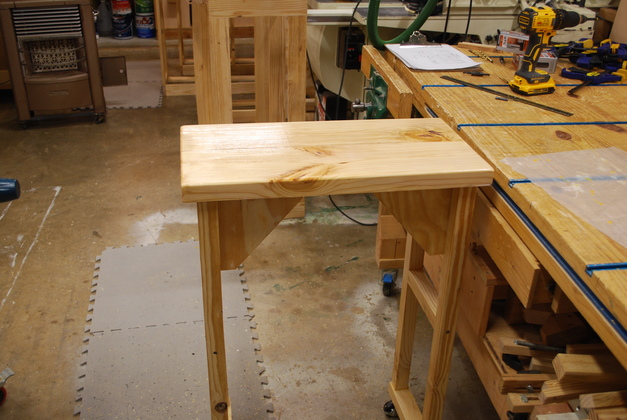
Edges rounded and painted. |
|
Back side. Also note the table is the same height as the workbench and miter saw. |
|
|
Here is being used as a soldering station along side the woodworking bench. This particular pic, I was building the BDC Clock. |
|
|
Cart, folded ready to store. |
|
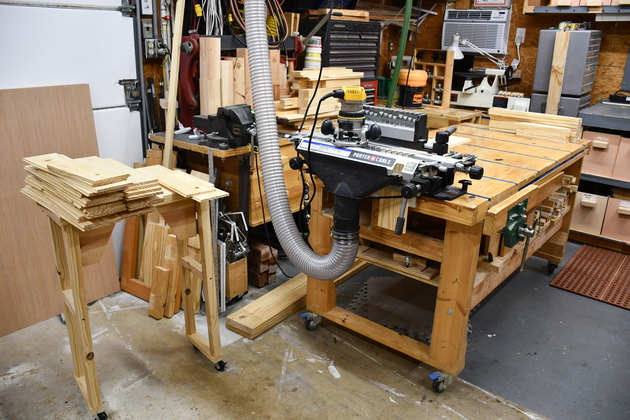
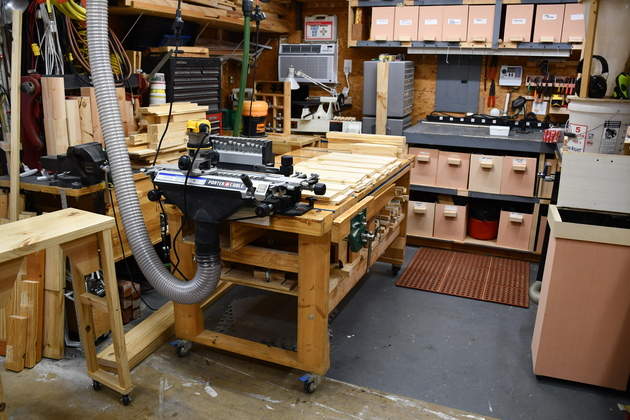
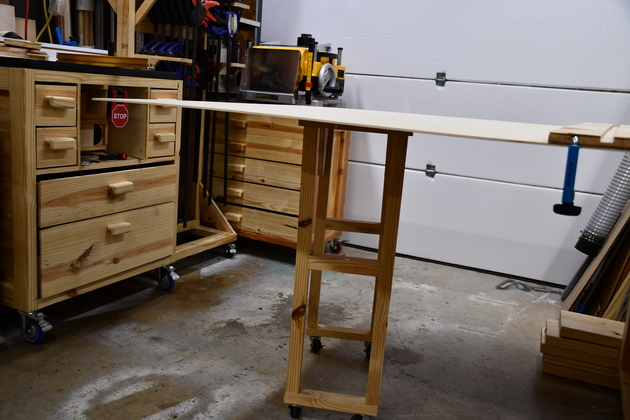
The work cart (on the left) is used all over the shop as a side table to hold pieces in-work for other machines. Here it is about to get drawer sets for the dovetail jig. Its also used with the miter saw, router table, lathe, drill press, etc. |
|
After 2 years, I am gluing the legs in place. Having the legs glued on. |
|
Note the corner braces are the old top braces I used when it folded. Also ClmapIts to make sure the legs are vertical. |
|
From the end. |
|
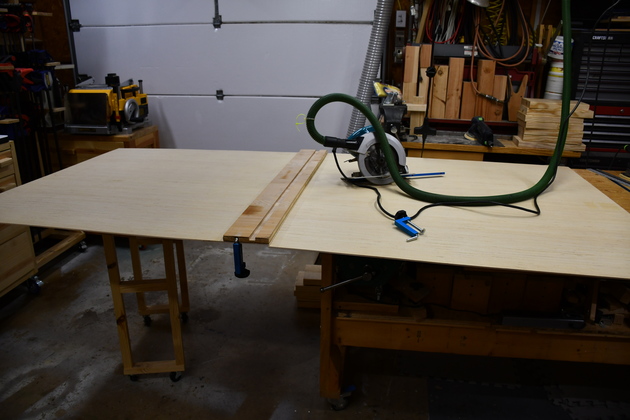
The work cart supporting a full sheet of plywood being cut. |
|
A little bet better shot of the cart supporting plywood. |

|
|