: Page Origin
On some of my earlier projects I used 5/16" thick pine inset panels on the sides of furniture.
After a few years about half of the panels cracked, leaving an ugly side.
Since then I have used a laminated a 1/8" thick pine slab to a 3/16" plywood backing to create a pine face inset panel that wouldn't crack with age.
This, of course, after I mastered resawing and had to invent some kind of laminating press.
If you need a very wide panel, I edge join the 1/8" pieces together, and sand smooth, before laminating to the plywood.
I have even been known to plug a hole left when a small knot falls out during planing.
When making laminated inset panels, I make the laminated panel a little larger than I need then trim to fit the rabbet.
This page is an attempt to document how I do this.
Door Inserts
|
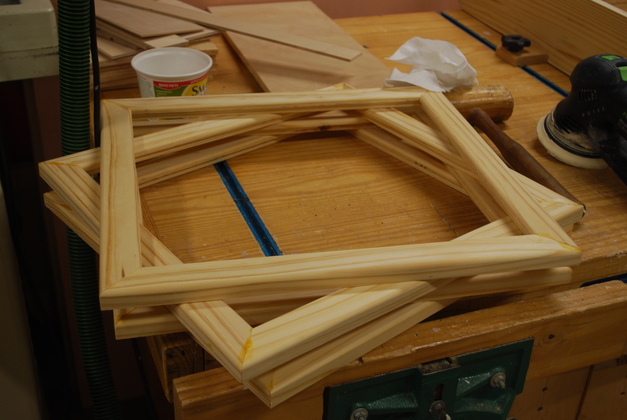
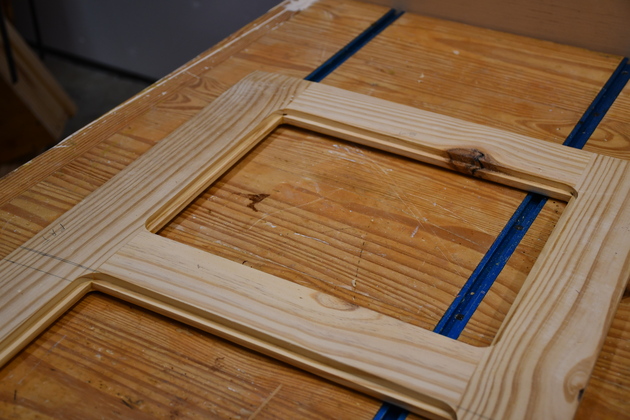
Glued door frames after gluing.
Need sanding.
|
|
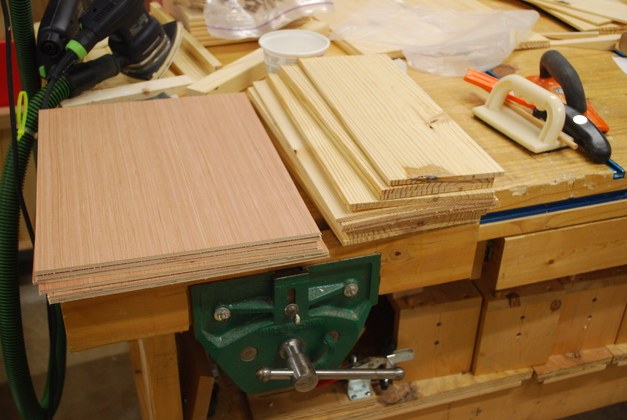
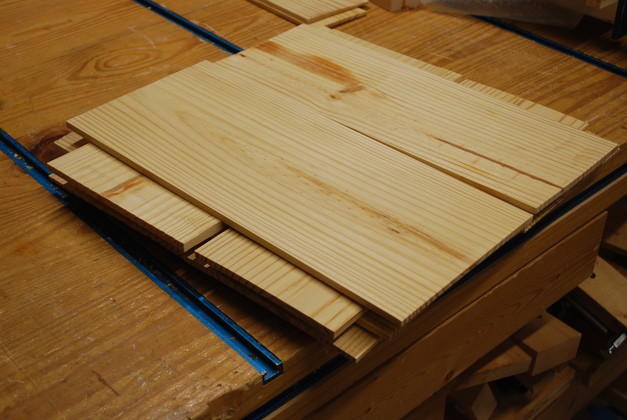
Plywood backs and resawn pine panel segments.
|
|
Pairs of pine segments, ready to be edge joined, for inset panels.
|
|
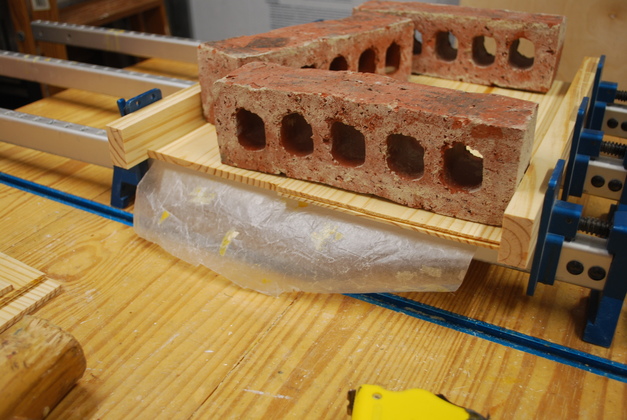
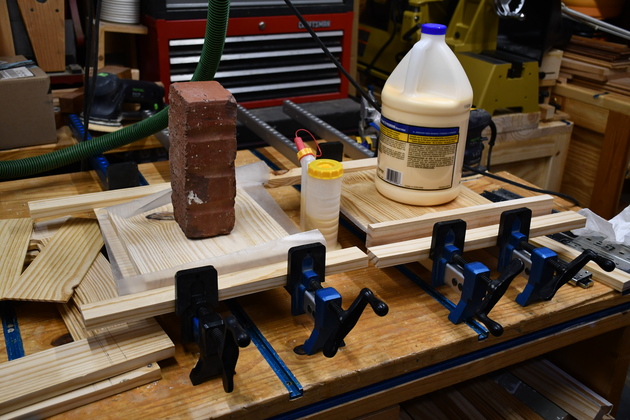
Edge joining pine segments for inset panels.
The bricks keep the panels flat while under pressure.
Of the two pine panels being joined, the panel on the right was laminated from two thinner pieces of pine left over when I resawed the bin fronts.
|
|
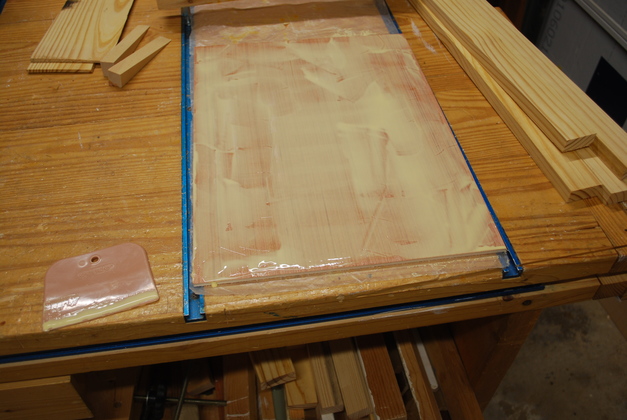
Glue spread on a plywood back ready to be laminated to it's pine panel.
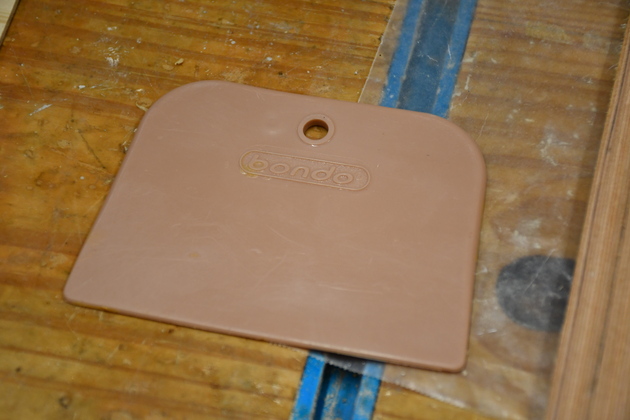
In the lower left of the pic you can see the Bondo spreader, from Walmart, I used to spread the glue.
The glue will wash off the spreader or, if it dries, peel off.
|
|
Laminating a pine panel to it's plywood back for an inset panel.
|
|
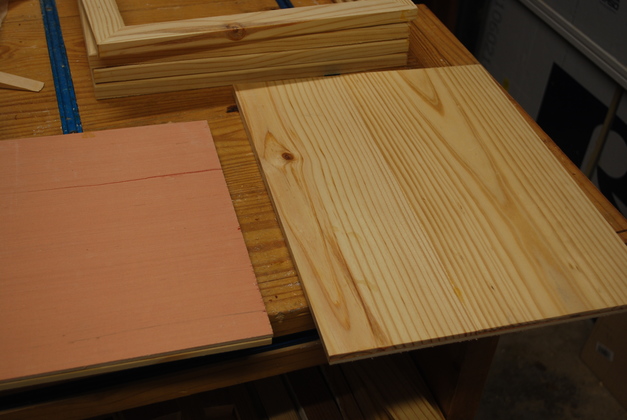
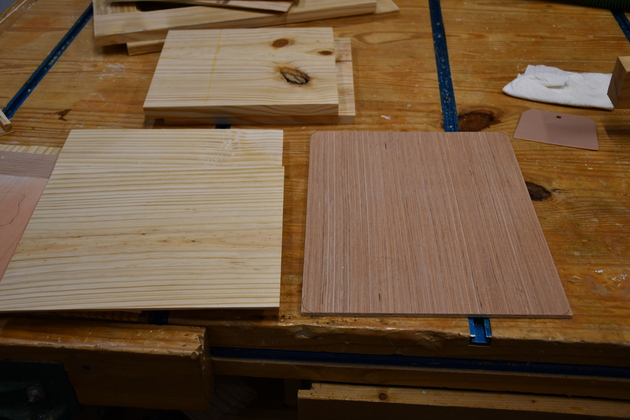
Front and back of two laminated panels.
|

|
Edges of two laminated inset panels with pine down and up.
These particular pine facings are 1/4" thick.
|
|
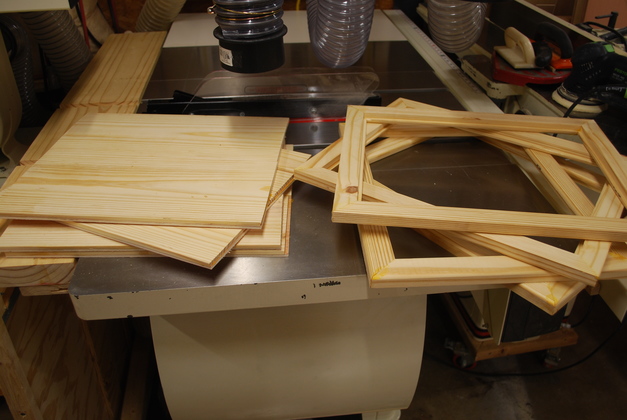
Door frames and laminated panels.
|
Cabinet Inserts
|
Rabbets cut for inset panels.
|
Inset Panels
|
1/8" SYP panels cut and planed for inset panel faces.
|
Edge Joining Panel Faces
|
Edge joining 1/8" SYP face panels before laminating to 3/16" plywood backing.
|
|
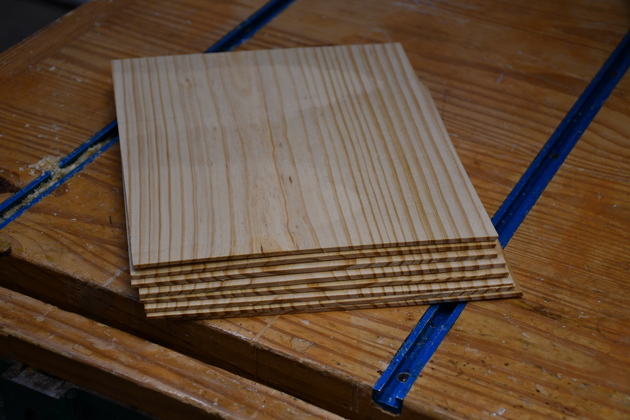
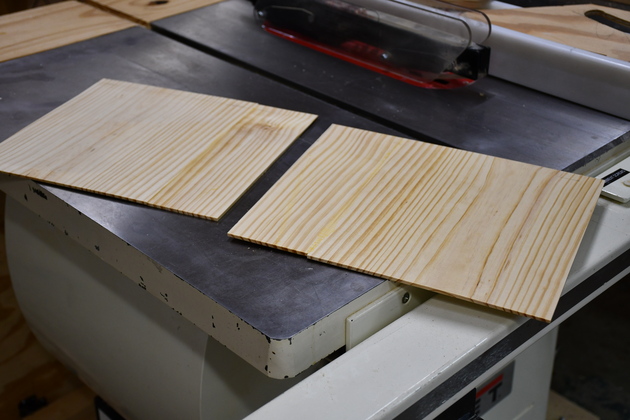
Two edge joined face panels.
|
|
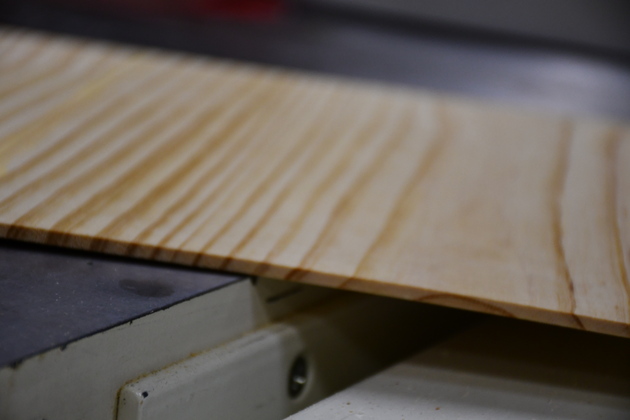
Edge of 1/8" SYP face panel.
|
|
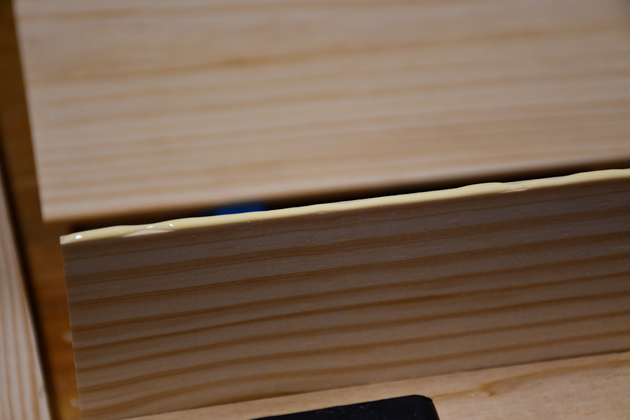
Start of edge joining process.
The panels have already been across the jionter, now I apply a bead of glue along one edge.
|
|
First I put just a little bit of pressure on the edges of the panels.
Too much pressure at this point and they will start to buckle.
I place wax paper on top of panels being edge glued.
This keeps the flattener board from being glued to the SYP panels.
|
|
Place the flattener board on top of the waxed paper.
|
|
Place a weight on top of the flattener board.
Crank the bar clamps just a little to placee pressure on the edges of the SYP panels, look for just a little squeezout and you'll know its OK.
The flattener board keeps the panel from buckeling when I put a little pressure on the edges.
|
|
I had to edge join one of the 3/16" plywood panels, I use cut-offs or scrap.
|
|
One of the pine face panels (left) and it's plywood back (right) ready to laminate.
|
|
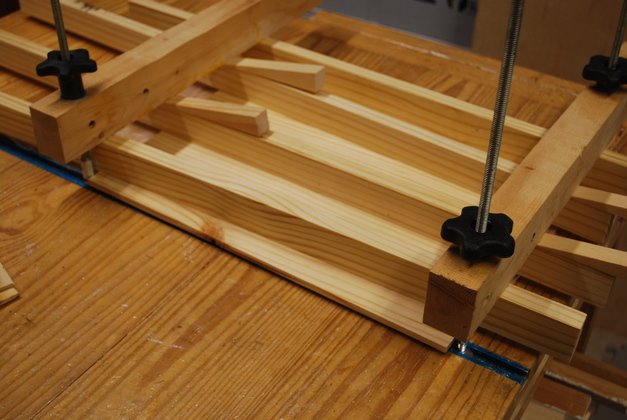
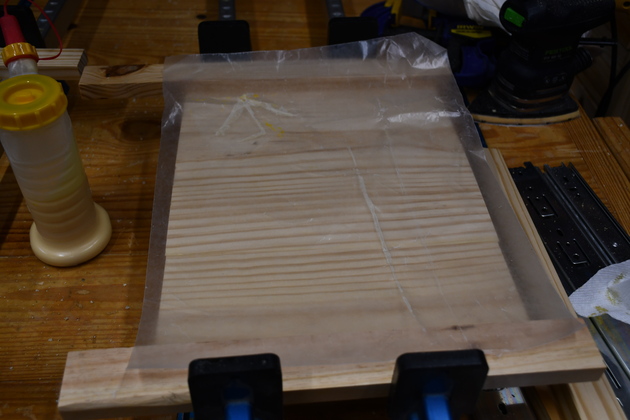
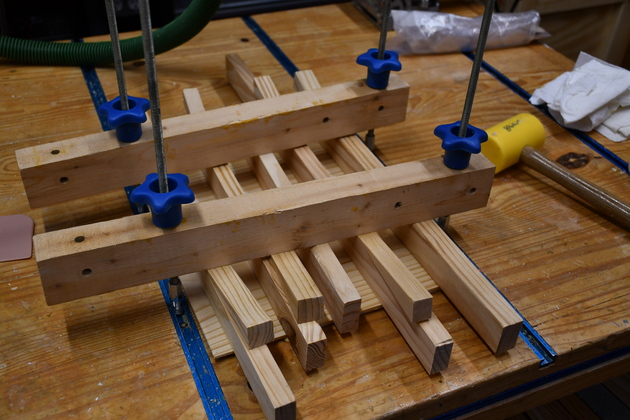
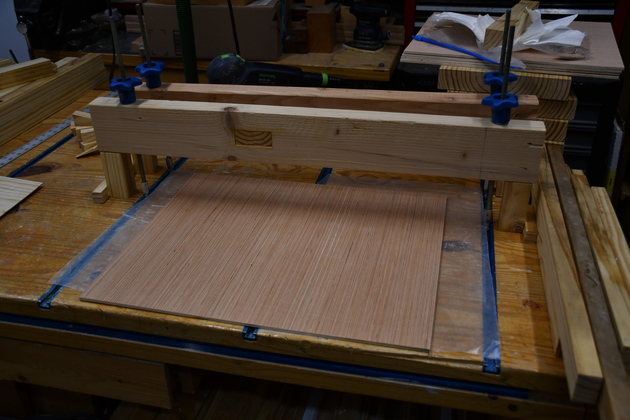
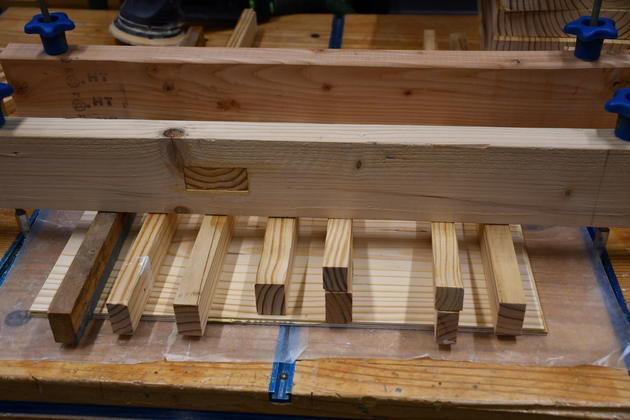
Laminating an inset panel, pine face is on top.
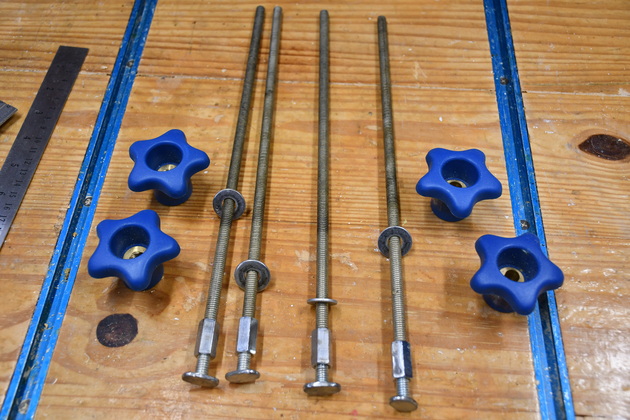
This kluge is my idea of a lamination press, its not very beautiful but it works OK for laminating pine inset panels.
The two 2xs on top provide clamping force via the tee rails in the bench top, and the smaller 1x distribute the pressure.
The little wedges make sure the pressure is uniform on each 1x.
The knobs on the tee bolts are the 5/16" quick release from Rockler.
|
|
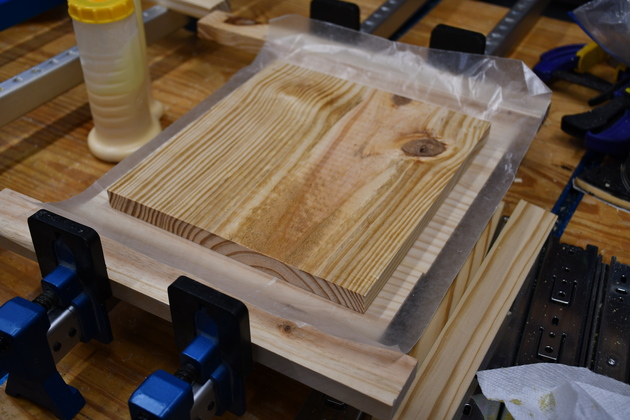
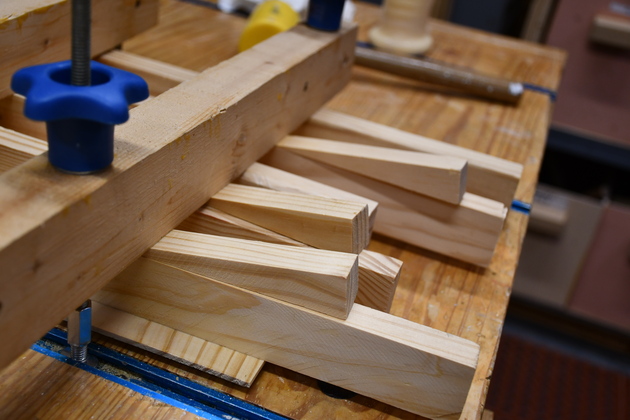
Closer look at the small wedges.
I don't keep the longer 1xs around, the ones I use are cut-offs or scrap, so I use the wedges to make sure I get more or less uniform pressure.
The pine face is a little larger than the plywood, I'll trim them both after the glue sets.
I'll leave these laminations under pressure for a couple of hours before I remove the pressure.
I won't do anything else to them until the next day.
|
|
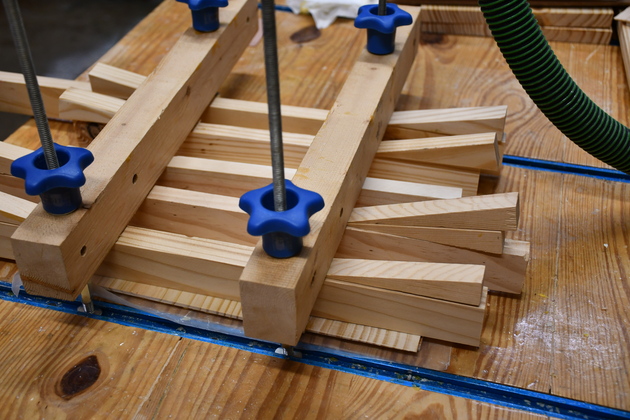
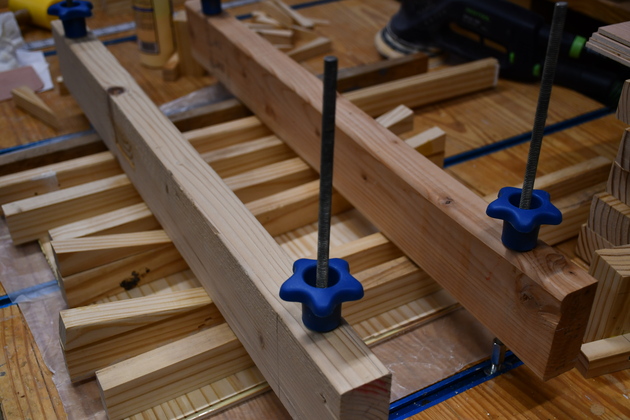
Back side, showing wedges on back side.
|
Wide Inset Panel
|
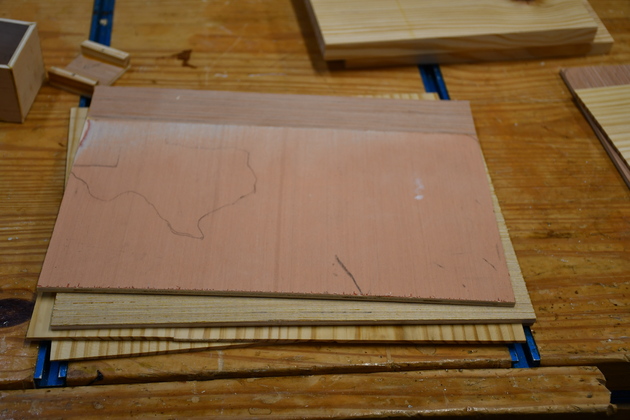
A wide inset panel.
|
8
|
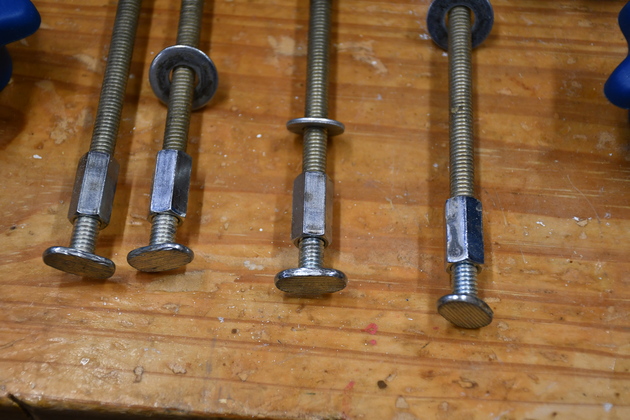
I made these out of 5/16 threadded rod, a 5/16" coupler, and a short 5/16" tee bolt.
|
|
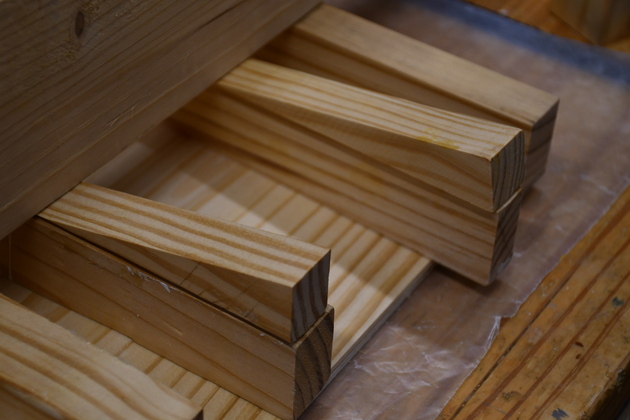
Little rest blocks hold the pressure bar up while changing panel plywood and face.
|
|
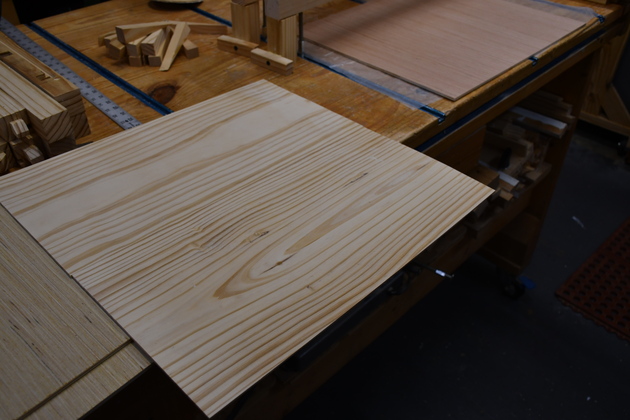
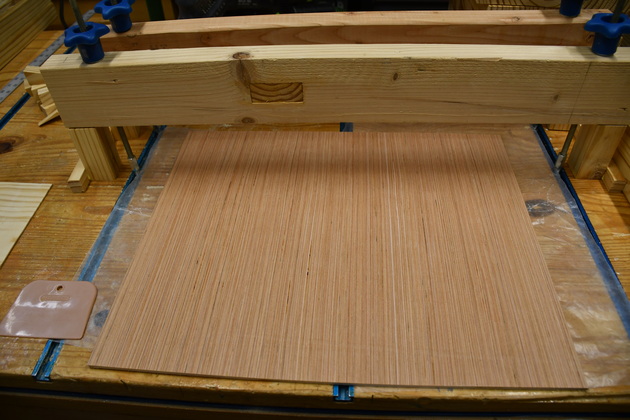
A wide panel face, ready to lam.
|
|
Plywood backing ready to apply glue.
|

|
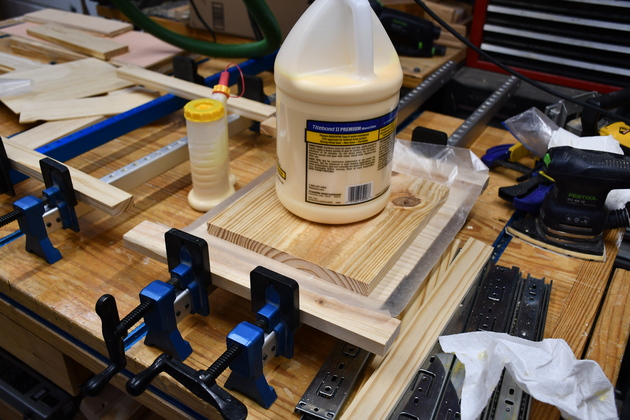
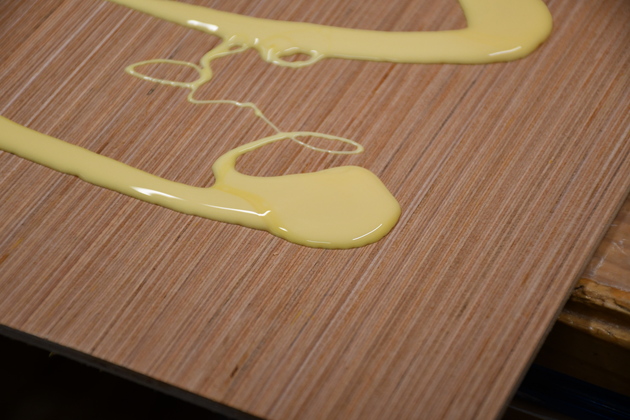
Generously spread glue, note Titebond bottle upper left.
|
|
Closer look at glue.
|
|
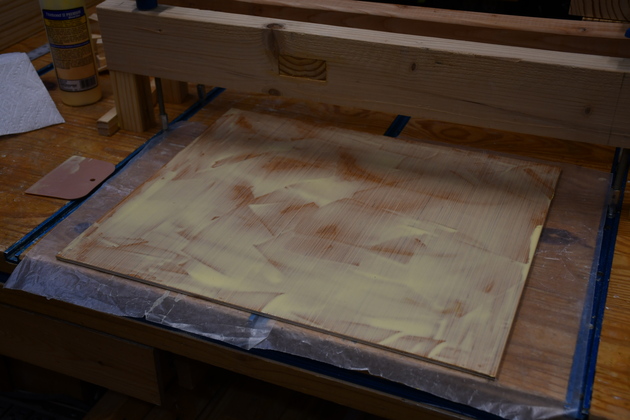
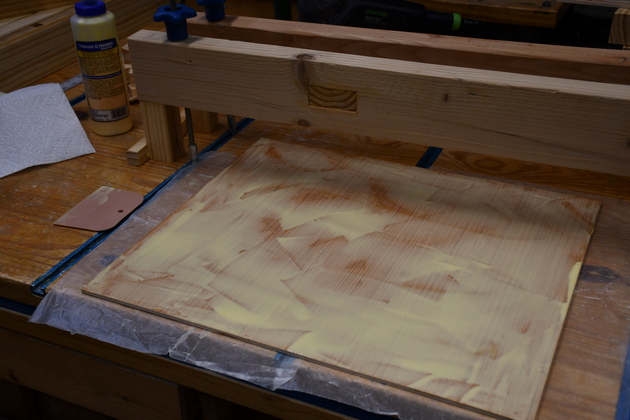
Spread glue all over the plywood backing.
Make sure no part of the plywood is dry.
|
|
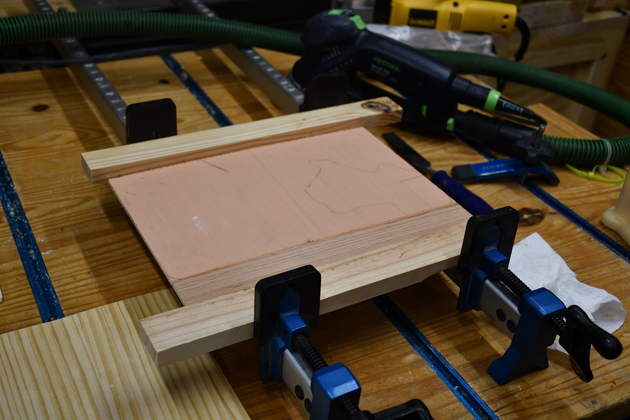
Notice the wax paper under the plywood backing.
|
|
Pisition pressure cross bars uniformly across the panel.
Remove rest blocks, bring down pressure bars
Tighten until most pressure cross bars can't be wiggled.
Put wedges under ends of pressure sub bars an drive in until you can't wiggle the bar.
|
|
view a little from above, you can see the pressure cross bars and wedges.
|
|
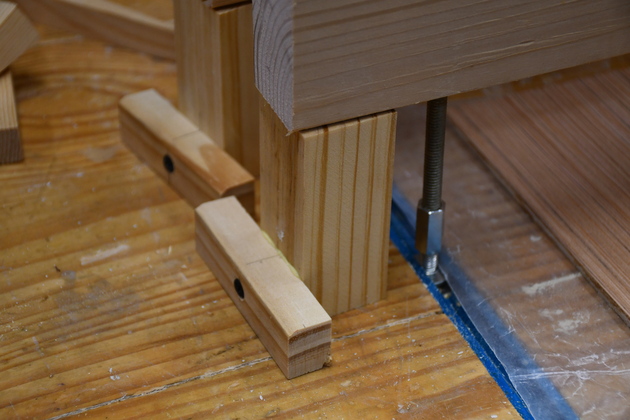
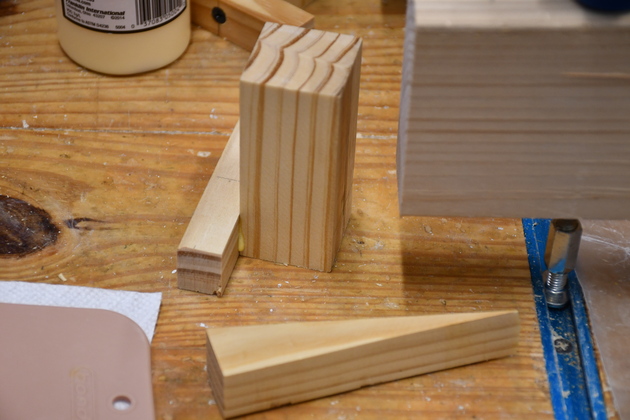
Close up of rest blocks.
The rest block main piece is 1-1/2 x 1-1/2 x 3-1/2".
The foot bar is 3/4 x 1 x 4-1/2" tapered.
|
|
Closer look at pressure wedges in action.
|
More Panels
|
More plywood and pine panels ready to laminate.
|
|
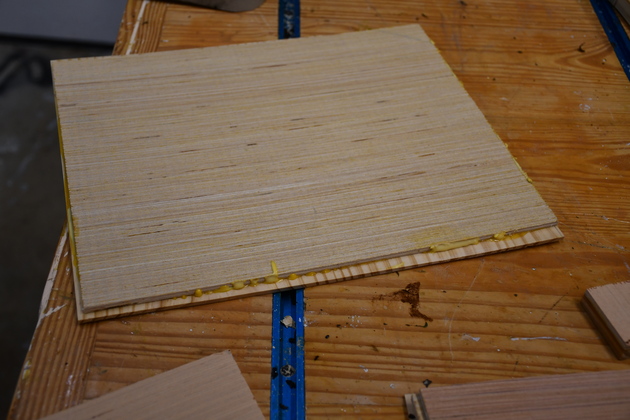
First inset panel coming out of the lamination press.
I'll let it set till tomorrow, then I'll trim it and install it into one of the side frames.
|
Chest Of Drawers
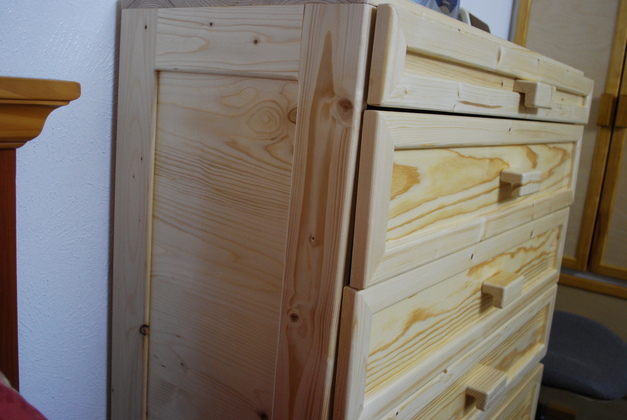
|
Note the inset panels in the drawer fronts and side panels.
|