| 
| 
|
|
Clamp Rack
| ||
|
|
|
|
|
Clamp Rack
| ||
| Build Info | Frame | 2018 Pics |
2018
I have decided to re-build my clamp rack.
The current rack is 24" wide and 15" deep, with 'Quick-Grip' type clamps all along either side which make it much wider and wall space is at a premium in our shop.
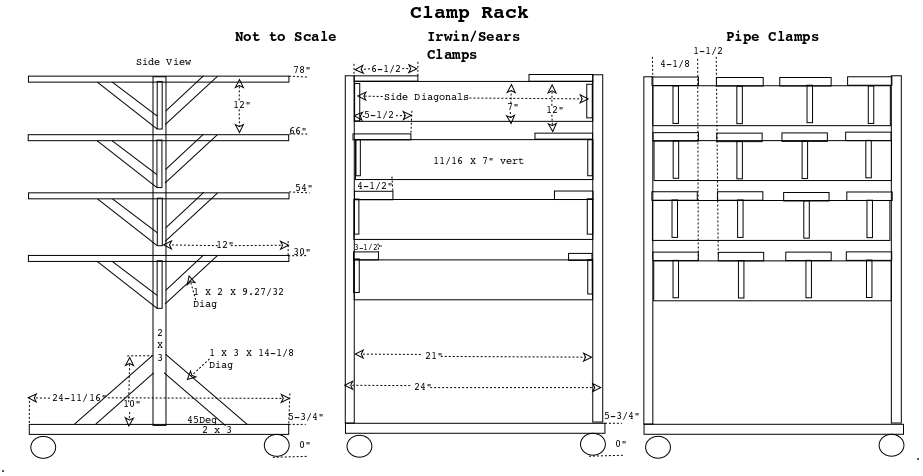
The new rack will have a 24" X 24" base and 78" high with 12" arms on front and back.
I will put pipe clamps on one side and Quick Grips on the other.
I have a lot of the Quick-Grip clamps from 6" to 48", the 48s will be on the bottom, the 6s on top.
The Pipe clamps will be on the other side in an arrangement like the current rack.
I do a lot of gluing, so I use a lot of clamps of various lengths. I looked at clamp racks on the web but most consumed a lot of wall or floor space, then I looked at free standing or roll-around racks and they didn't have the capacity I needed. So I decided to build one.
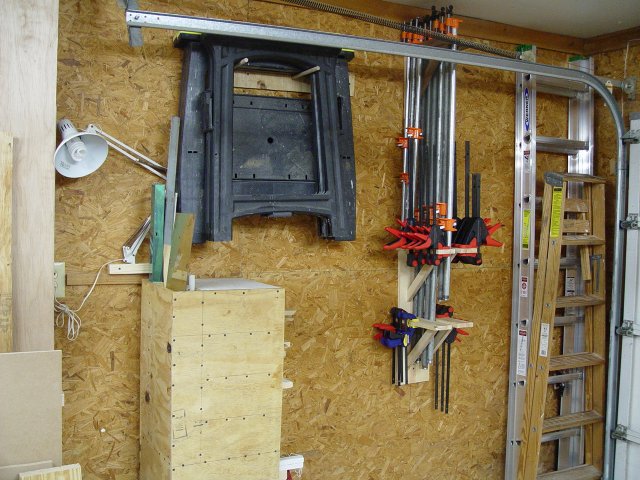
My first try consisted of pairs of horizontal 1x4s 12" long (to clear the overhead door rail) with about a 1.25 space between them attached to vertical 1x6s screwed to the wall. The 1x4s were supported by a 45° diagonal with tenons on the ends and mortises in the vertical and horizontal boards. This configuration allows long pipe clamps to hang in the space between the 1x4s and others to clamp on the outside of the 1x4s. I soon ran out of space on this first rack, and being attached to the wall wasn't movable.
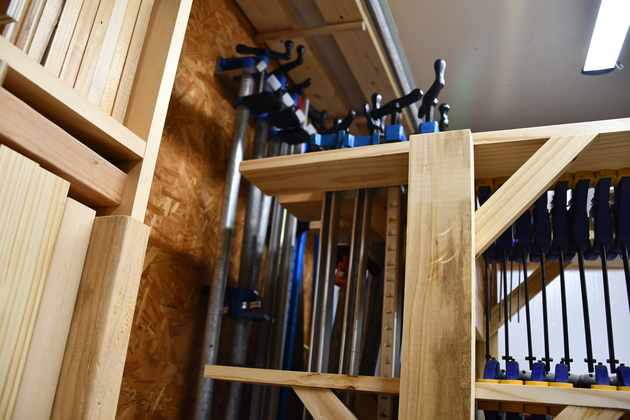
The 1x4 configuration worked well but I needed more space and it should be mobile. I now had a larger assortment of clamps. So built a 6' 4" tall rack on casters, 24" wide, and rows of horizontal boards on 12" vertically centers. Each row had 4 horizontals with the center pair 1x4s and the outboard pair 1x6s. I left the 1x4s off the second row since the row above usually is full of very long clamps, thus no room for intermediate at this level. I also left the bottom (6th) row of horizontals off since I didn't want to stoop over that often. I need a pic of the back so you can see that the diagonals for each row are mortise and tenoned into the top rear of the row below (a pic is worth 1000 words).
|
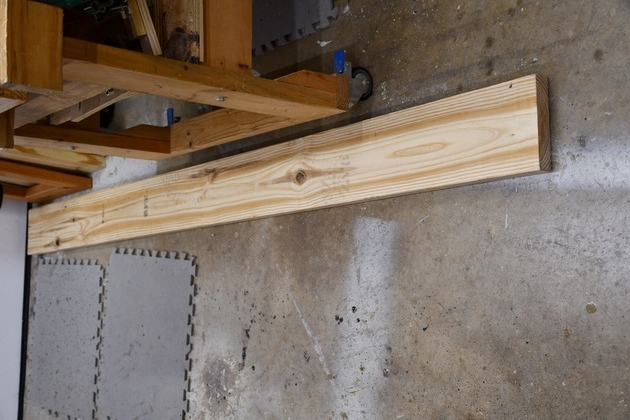
As usual I start with 2x8s laying on the shop floor. |
|
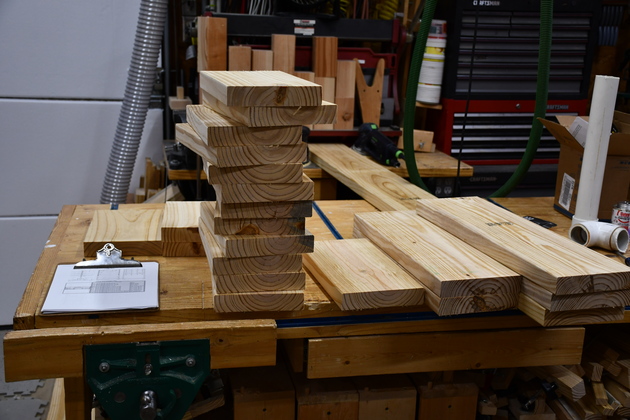
I have cut to length all the pieces I'll need.
More on cut-to-length.
|
|
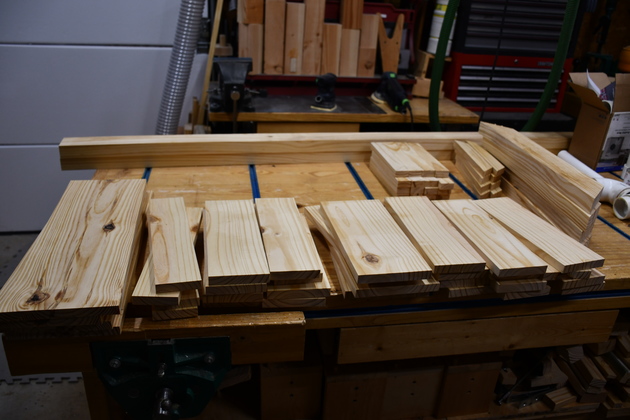
Now all the pieces are ripped to the correct width. More on ripping. |
|
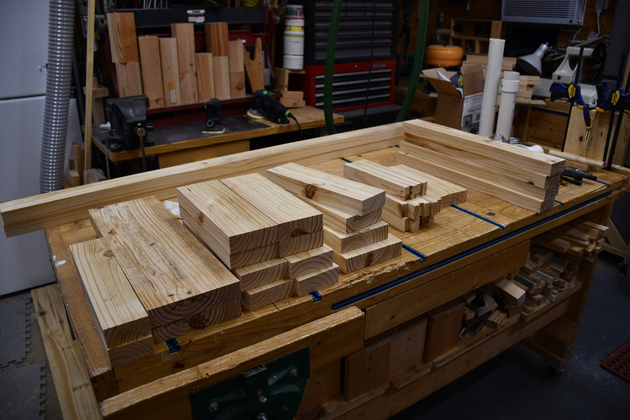
Here are the pieces after resawing to thickness. More on resawing. Also, I mitered the base pieces and Quick Grip side diagonals. |
|
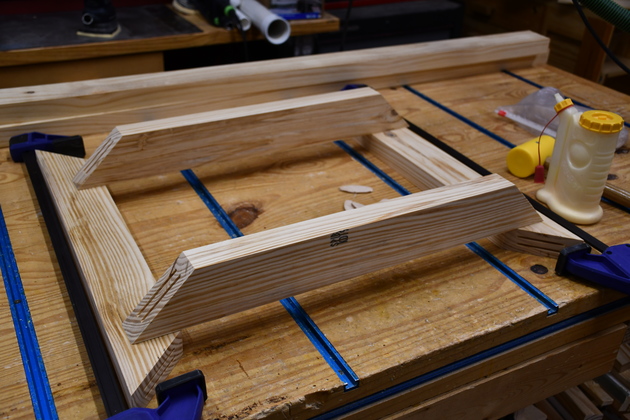
Base laid out, you can see the dual biscuit slots at the corners. |
|
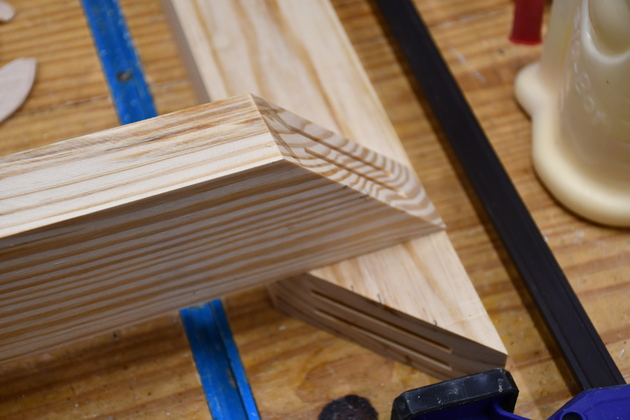
Closer look at the mitered corners and the biscuit slots. |
|
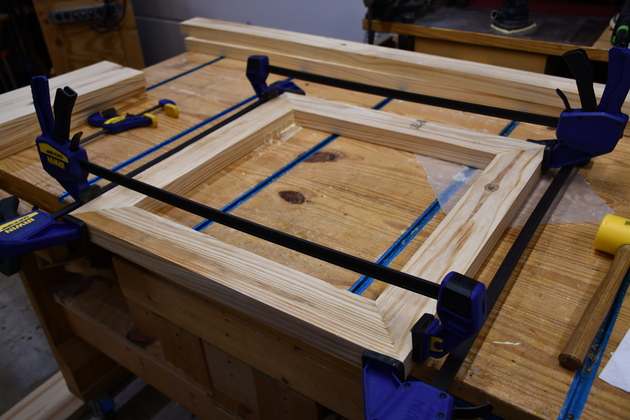
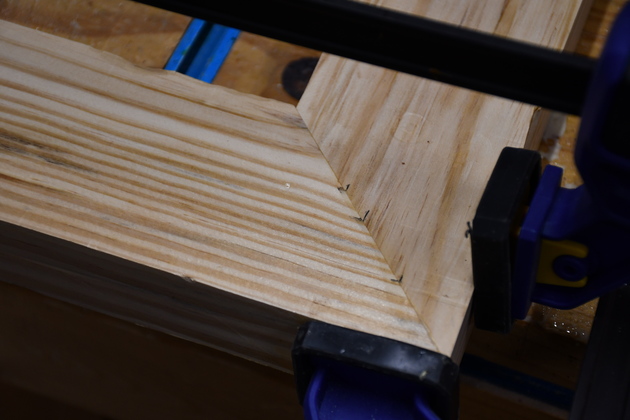
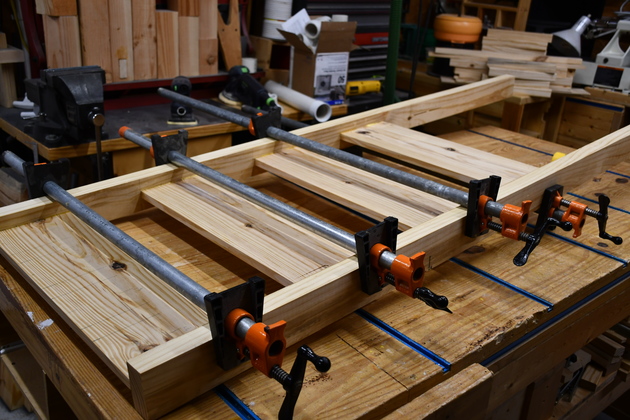
Base in the glue clamps. |
|
Almost as good as a picture frame, but out of 2x3s. |
|
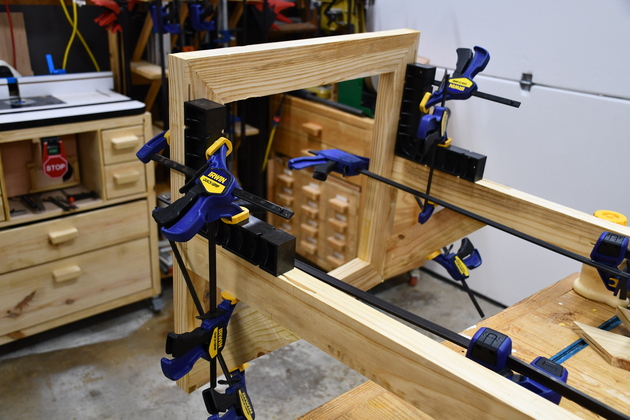
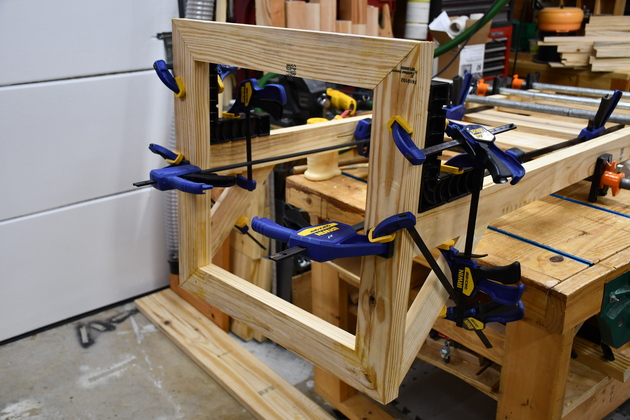
Vertical frame being glued. |
|
Base being glued to verticals. Note the ClampIts holding the verticals square to the base. |
|
Bottom view of base being glued to verts. Also one set of base diagonals being glued. |
|
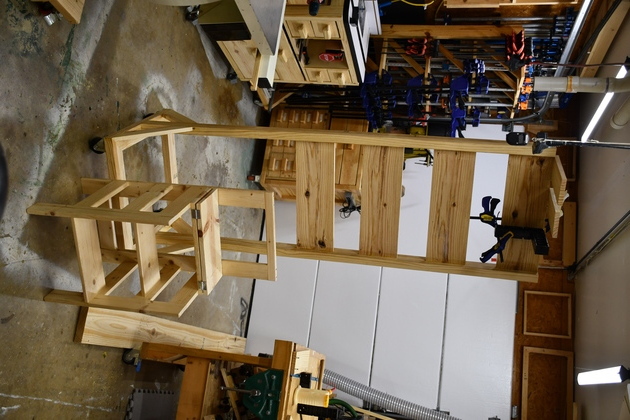
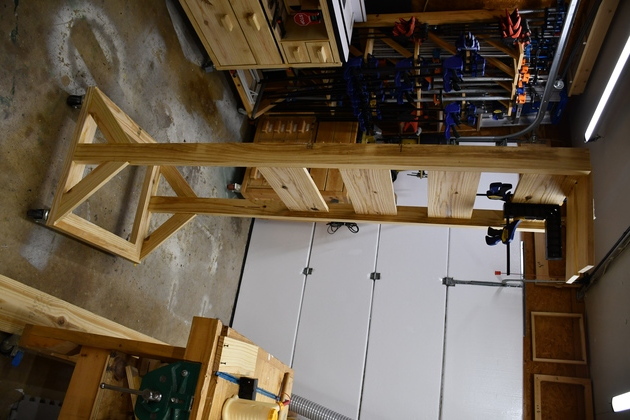
Up on it's wheels, I'm putting on the top four pipe clamp "arms". |
|
Note I use a ClmapIt to hold it level while I glue & screw it down. |
|
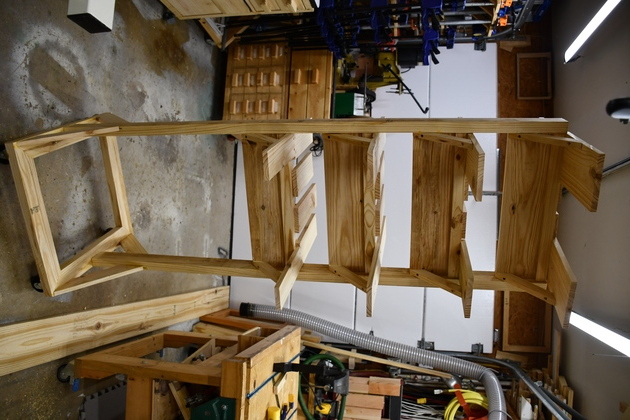
"Arms" on the quick grip side. |

|
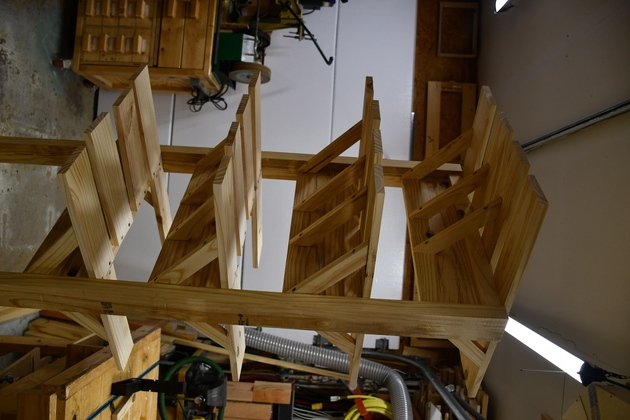
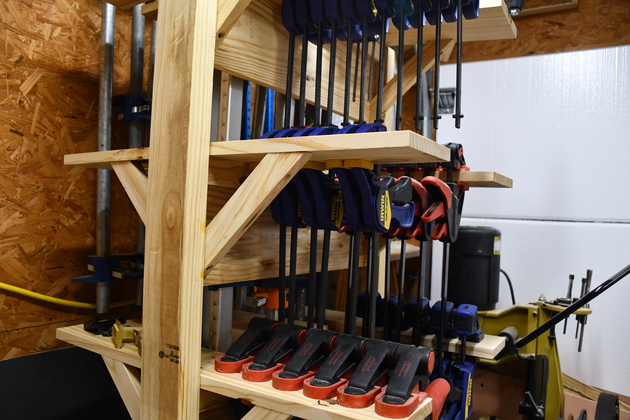
A little closer look at the "arms" from the quick grip side. Note the diagonals bracing all the shelves. |
|
"Arms" on the pipe clamp side. |
|
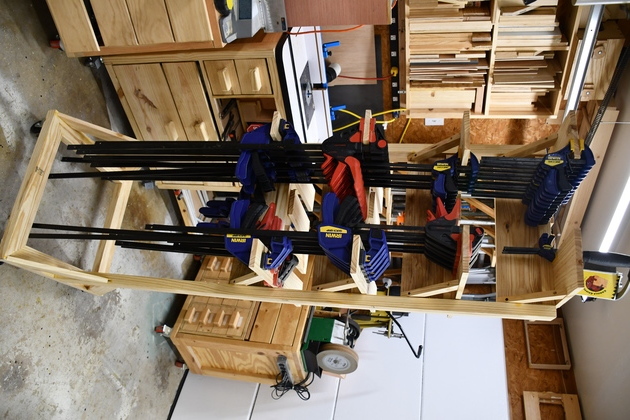
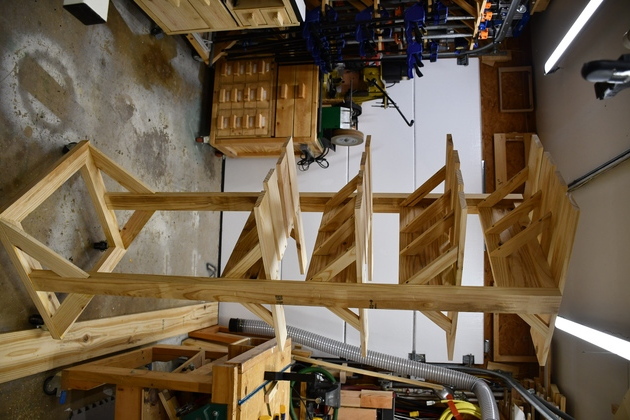
Completed rack. |
|
|
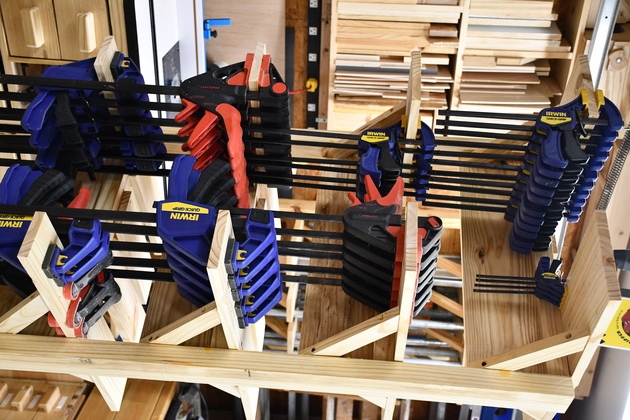
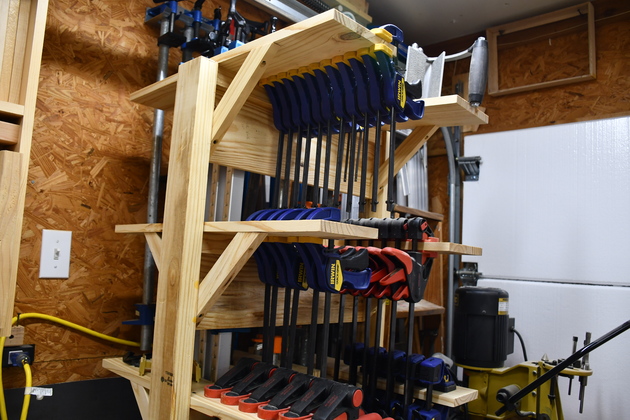
Loading up the quick grip side. The staggering of the arm width narrow at the bottom and wide at the top keep the bars from interfearing as much. I still have to interdigitate the handles with the bars from above. |
|
Closer look at quick grip side. |
|
|
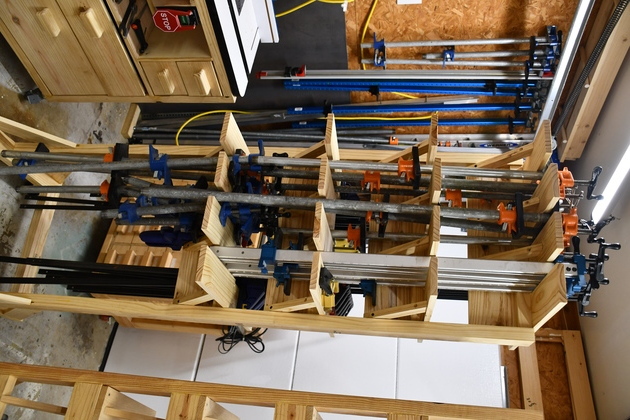
Pipe clamp side, loaded.
|
|
|
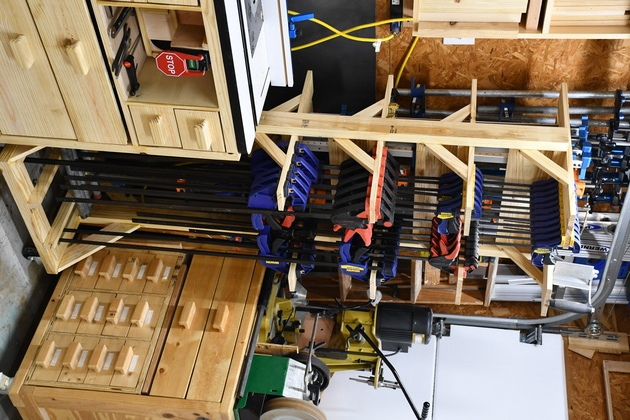
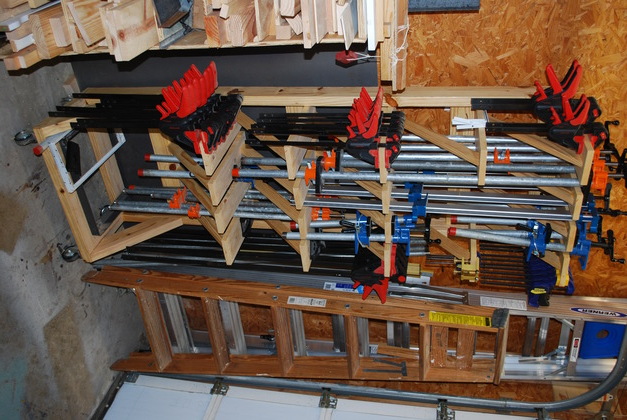
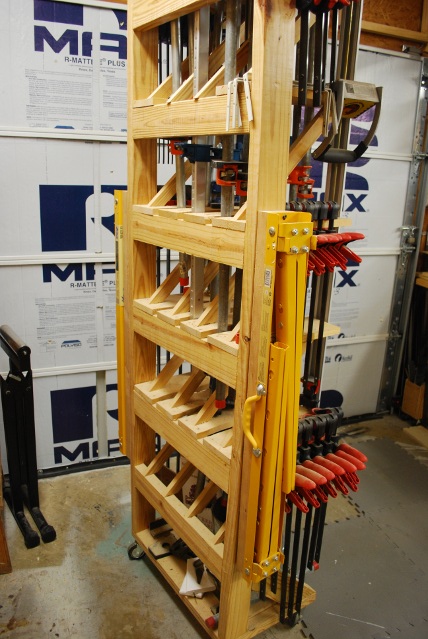
Fully loaded clamp rack in it's position on the West wall. It not only looks neater, It is not quite as wide, allowing easier movement of the machines on either side. There are a total of 65 clamps on this rack. |
|
Nothing sticking out on either side. |
|
I still have some longer pipe and Sure Foot clamps on the wall behind the rack. |
|
|
|
|
|
Clamp rack version 2, lots more space for lots more clamps, more accessable, and it's portable (rolls around). |
|
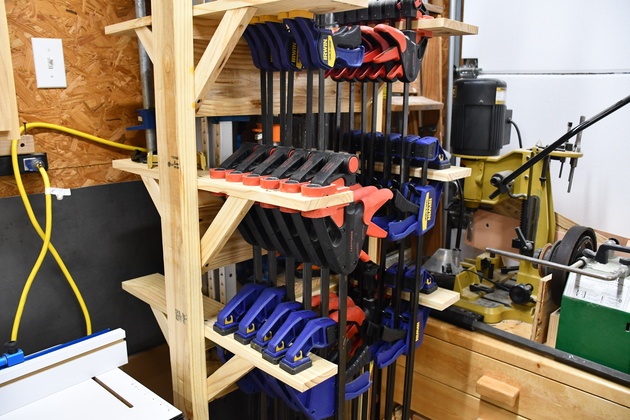
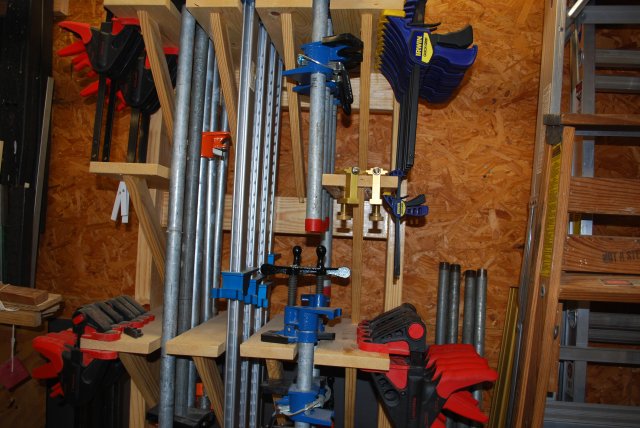
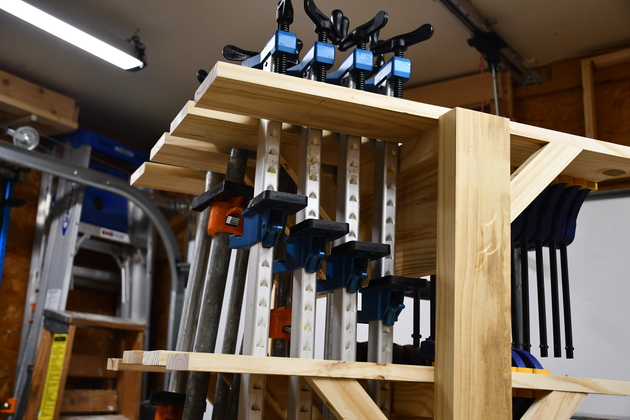
Closer view showing missing center 1x4s on the second to the top row. This gap is because the top clamps are long and there is not space for others at this level. |
|
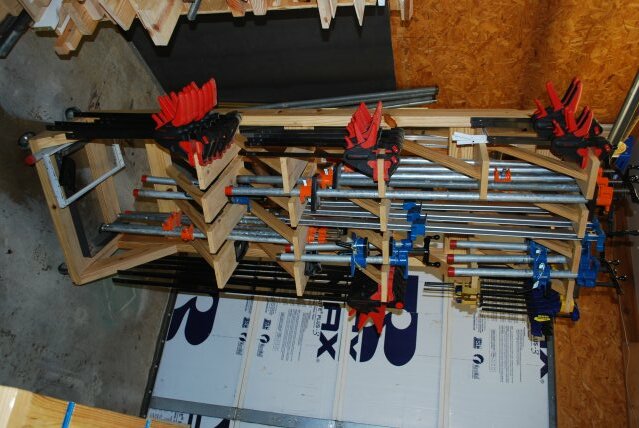
The clamp rack pulled out from the wall. |
|
Back side of the clamp rack. Note I also store my folding saw horses on either side of the rack. |

|
Version 2 of the clamp rack (2018), note how it has become crowded and the handles of the quick grips stick out 6" on each side making it take up almost a foot of extra wall space. |
|
I realized I could get more bar clamps on the rack if I staggered their movable pieces so they don't interfear with each other. |
|
The old clamp rack screwed to the wall. |
|
A little closer view. |

|
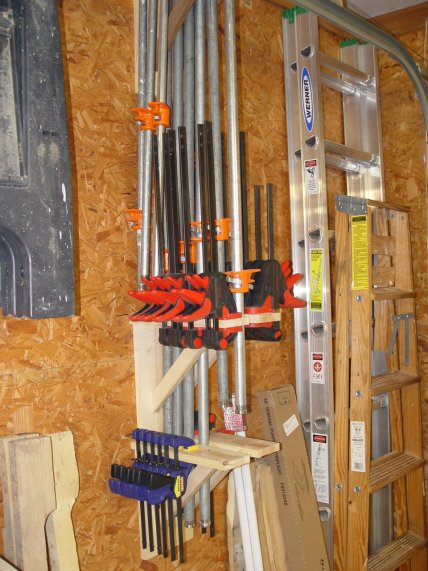
The bottom of the old rack. |
|
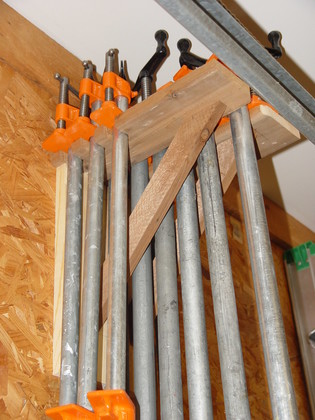
The top of the old rack. Note, the notches on the sides of the horizontals for 1/2" pipe clamps, I didn't do the notches on the new rack. Also notice how the horizontals clear the door rail with just enough space to allow a pipe to fit through. |

|
|