
| 
| 
| 
|
|
|
|
|
|
We frequently have problems finding good cases for protecting our reading glasses (readers).
So I decided to make some simple cases from leather.
|
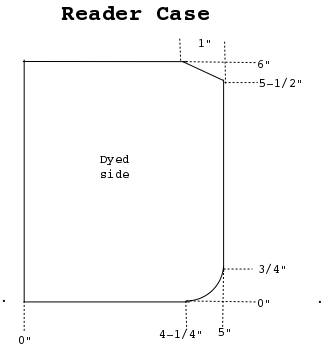
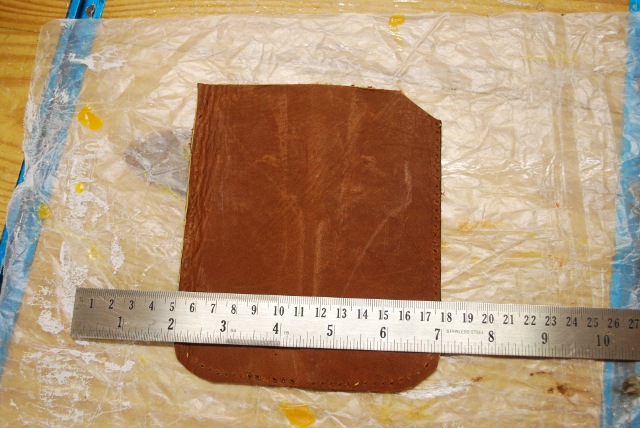
A piece of dyed leather (remnant form Tandy) cut out 5" wide by 6", tall.
Cut off the upper right corner 1" wide and 1/2" high, the lower rounding has a radius of about 3/4".
When I make a round corner I get something round, like a socket (comes in lots of sizes), in this case 1-1/2" in diameter, place it in the corner and use a scratch awl to scratch line aound it's edge to mark the corner cut-off.
The cut off corner seems to make it easier to put the glasses into the case. |
|
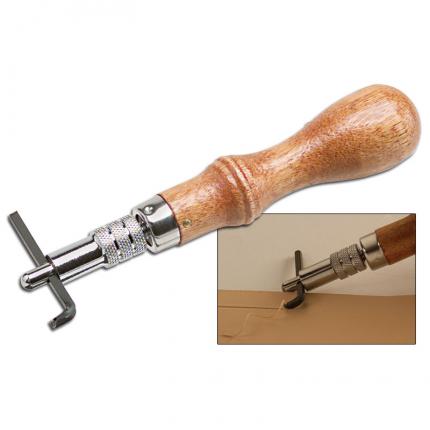
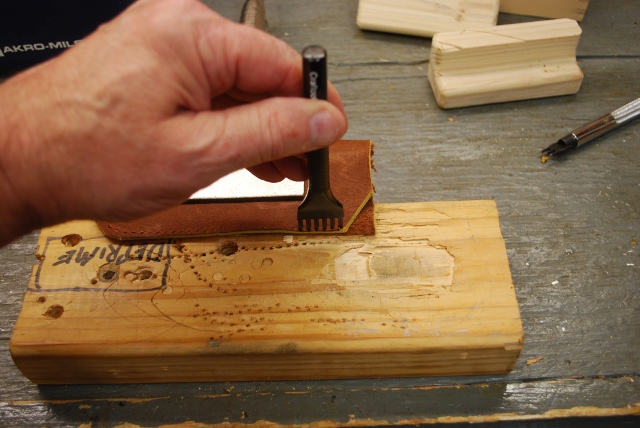
I make a stitching groove to determine where to place my chisel when making the thread holes.
The groove should be parallel with the edge and about 3/32" from the edge of the leather.
This groove should start at the upper cut off corner, go down the side, around the corner, and across the bottom to the center.
You can use a ruler and scratch awl to scratch a line or Tandy has special tools to make do this. |
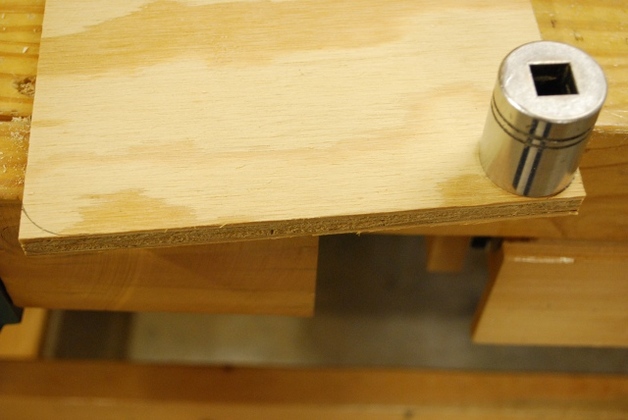
| This is how I use a socket to draw a round corner (on wood in the pic) but it works the same with leather with a scratch awl. Anything round, and the right diameter will work, I have lot of sockets in lots of sizes. I clamped the leather in the duck bills then cut the rounded corner so both would exactly match. |

| A pair of duck billed vice grips usually used for welding sheet metal. I made a pair of these once by welding two flat metal strips to a regular pair of vice grips, or get some at Harbor Freight as Welding And Sheet Metal Clamps. |
| Fold the leather and match the sides up for the case and clamp in the duck bills to hold it secure while punching thread holes. |
| Using a 6 prong stitching chisel to punch the thread holes. Start at the side close to the angled cut off and continue down the side. When I punch the second (or any additional) set of holes I place the top prong in the bottom prong hole from the last set, making sure the stitching holes will be uniformly spaced. |
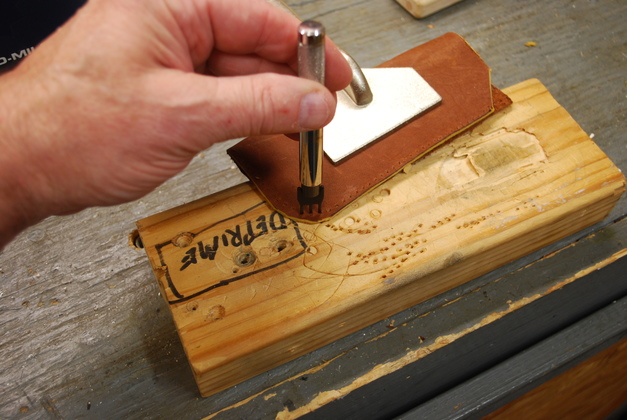
| I used a 3 prong to go around the corner. Again put the first prong in the last hole of the previous punch set. |
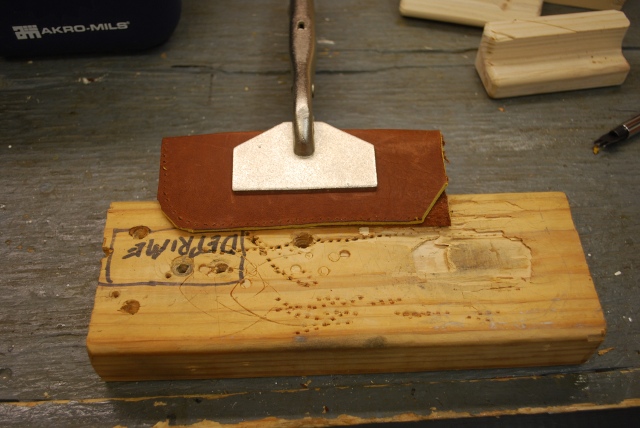
| Now move it to the stitch horse and clamp it in. |
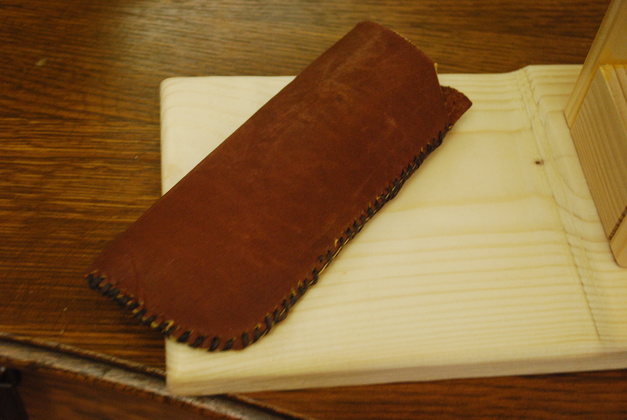
| I'm not great at stitching, but I'm learning. Note the "around the edge" type of stitch. |
| I use a sewing awl on the stitch horse. The next time I make one, I'll get some pics of the actual sewing. There are a few sewing pics on the Stich Horse Page. |
|
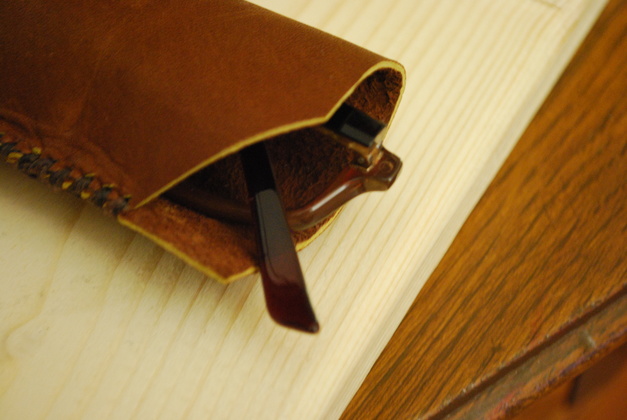
| With a pair of readers. You would have to make the case wider for larger glasses. |
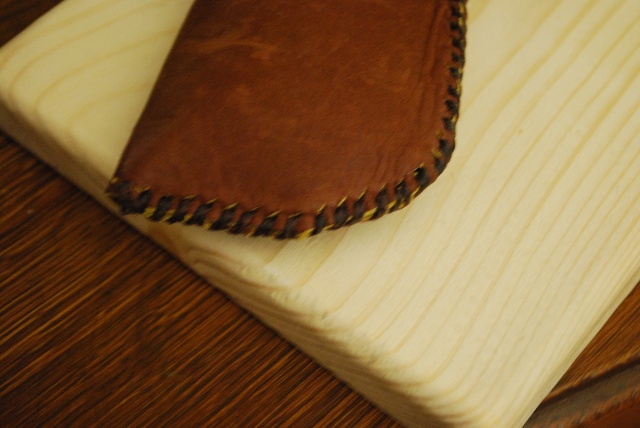
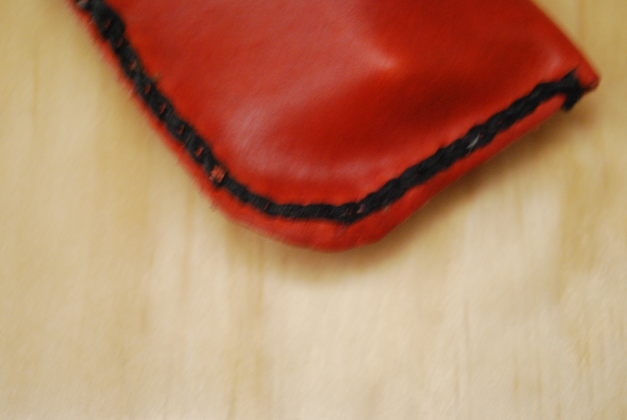
| Lower end. Again, you can see the "around the edge" type of stitching. |
|
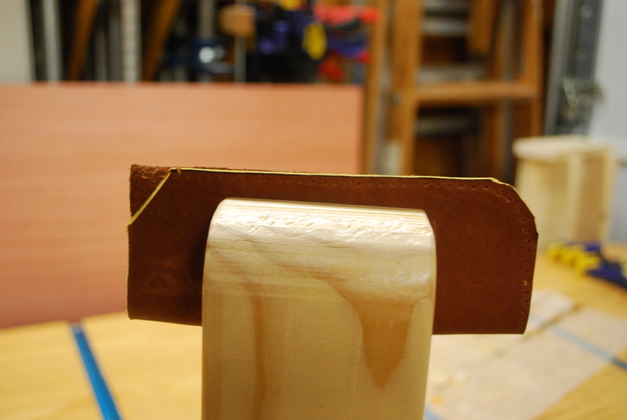
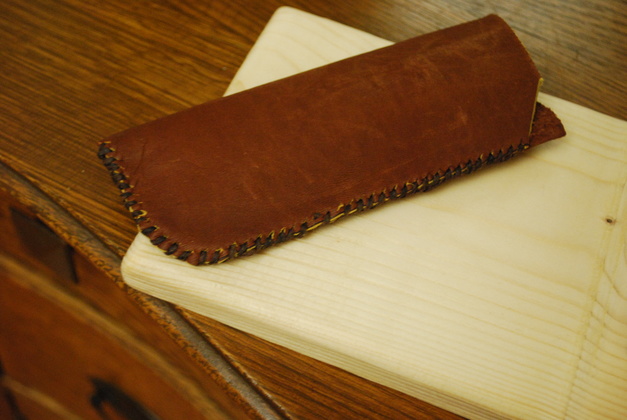
| Top, the cut off corner seems to make it easier to put the glasses into the case. |
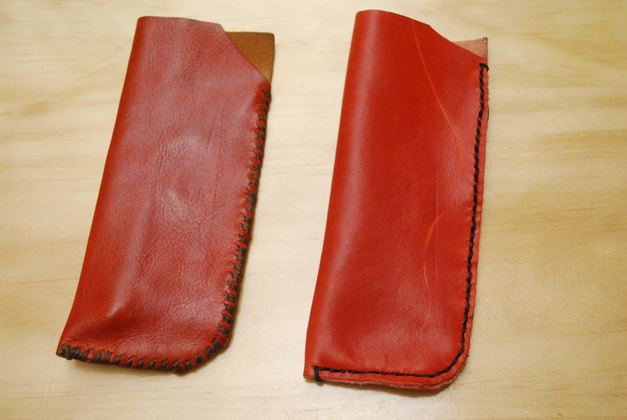
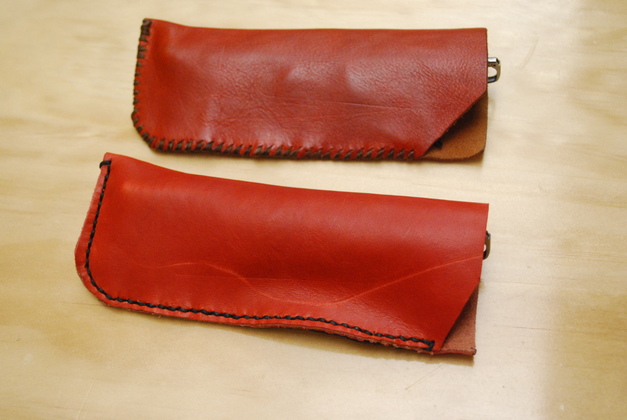
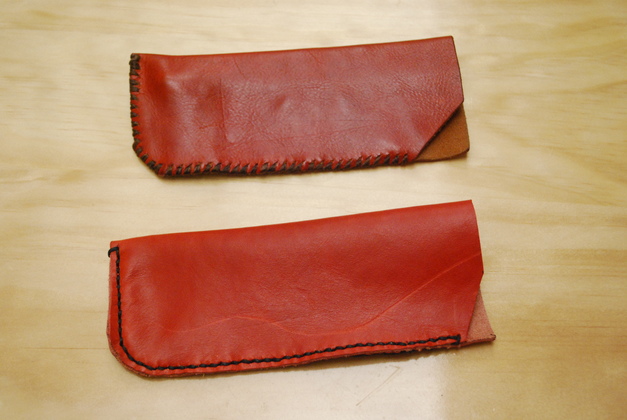
| A couple of cases, the left is one I've carried for over a year, the right is brand new. Notice I used different stitching techniques. |
| Side view. |
|
| With glasses in both. |
|
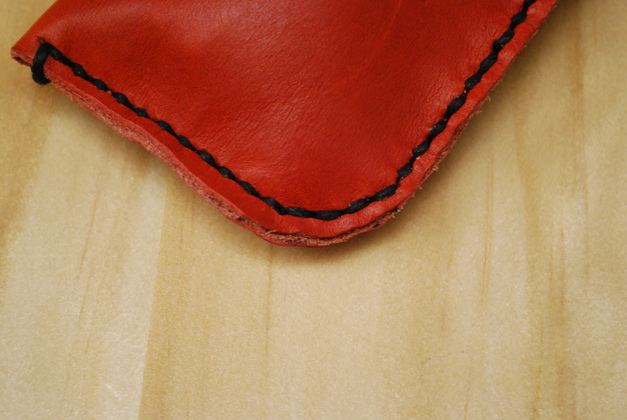
| Close up of straight stitch top side. |
| Close up of straight stitch bottom side. |