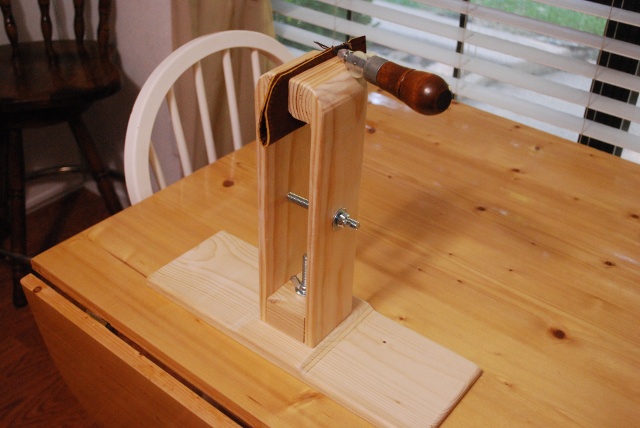
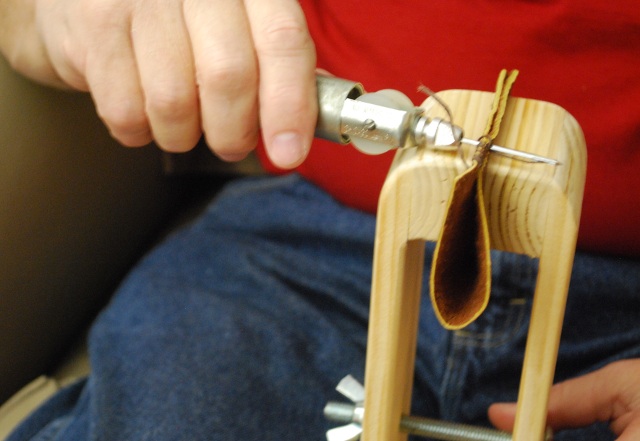
This stiching horse is for holding pieces of leather while sewing them together.
It clamps the pieces together in the correct alignment so you can easily sew a seam.
When the stich horse was about 5 years old, I was preparing to do some stitching and as I pried the clamp jaws apart to insert the work piece, one of the jaws popped off the swivel base.
Well that was embarrasing!
So I cleaned up the joint and reglued it.
After the glue set, I drilled two 1/4" holes through the clamp jaws and swivel base, then added two 1/4-20 flat head bolts with tee nuts so this would never happen again.
|
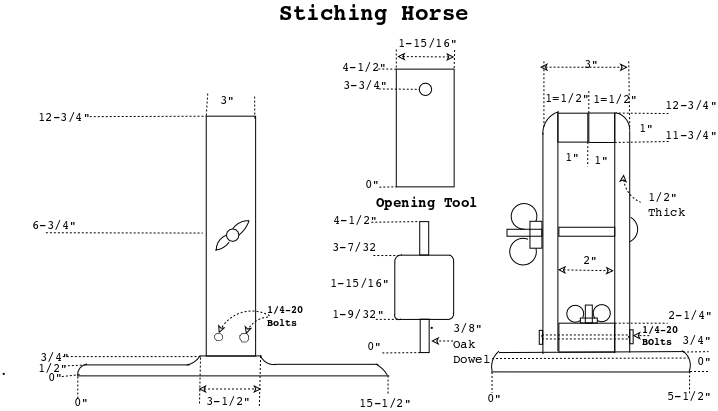
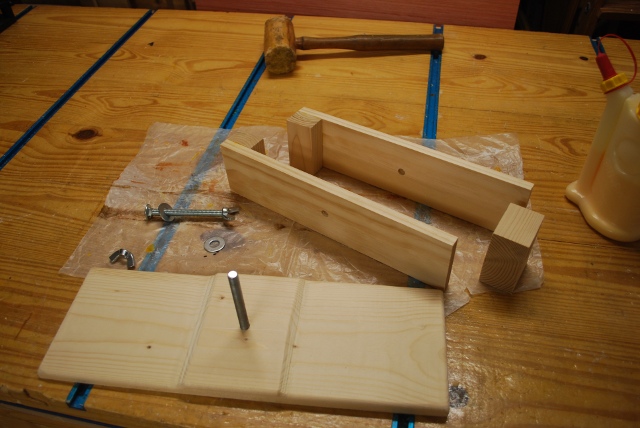
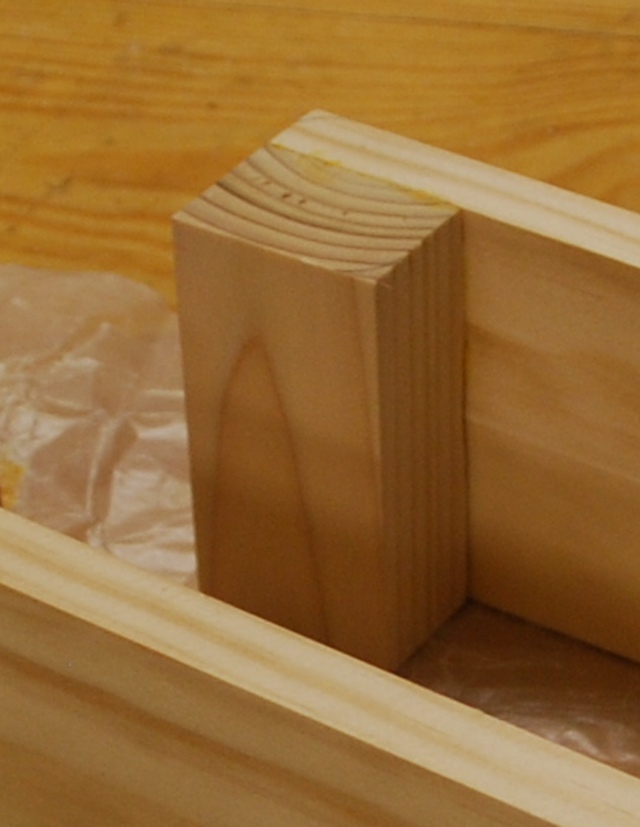
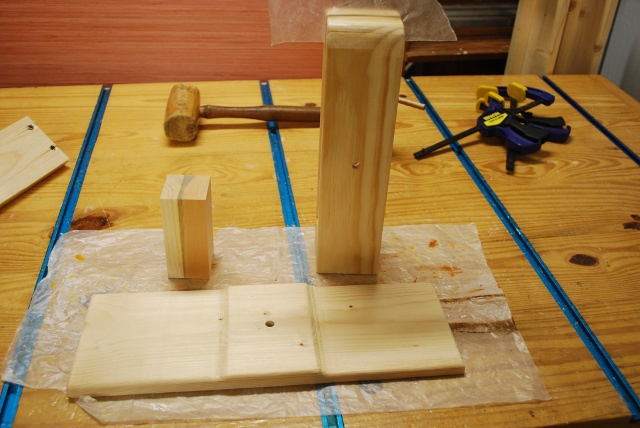
Parts of the stiching horse.
The vertical pieces are 3" wide and 1/2" thick pine.
Notice I have glued a 1" block to the top of each vertical side, but I haven't sawed the profile yet.
|
|
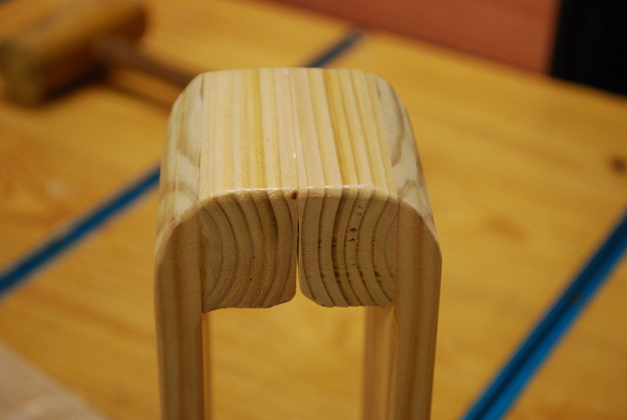
Top of vertical before sawing curved top profile.
|
|
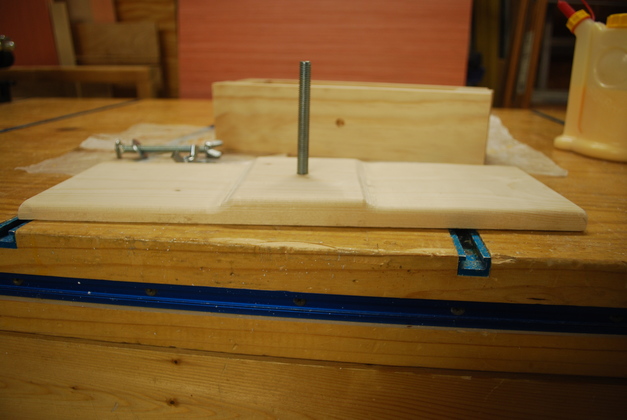
7/8" by 1/4" deep counter bore under bottom for vertical 3/8" carrige bolt head.
|
|
The bottom's profile.
This was a 1x6, I sawed it down to 1/2" thick on each end, leaving a 3-1/2" wide pedestal in the center then rounded the corners, and sanded it.
|
|
Top of clamp after sawing and sanding profile.
|
|
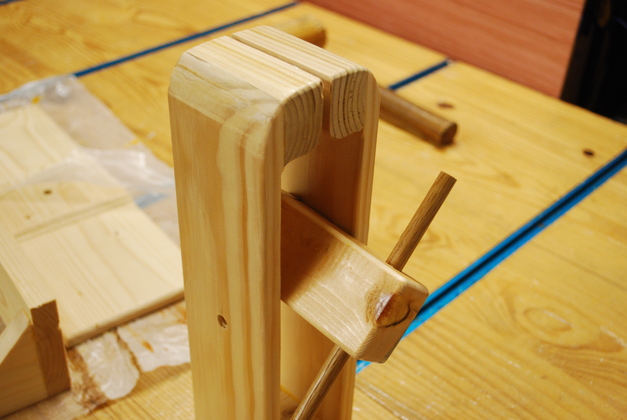
Pry-block opening jaws.
|
|
Parts of stich horse after painting.
|
|
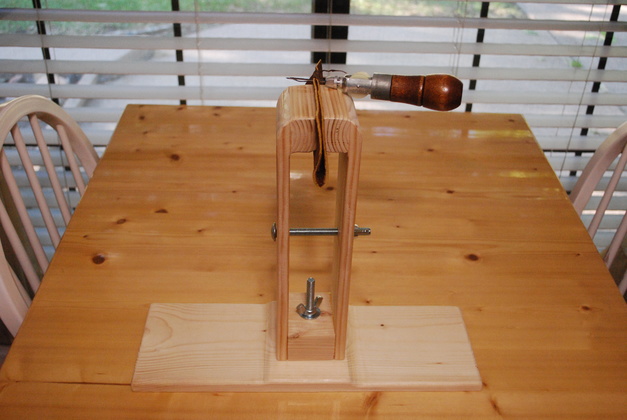
Finished Stiching Horse.
|
|
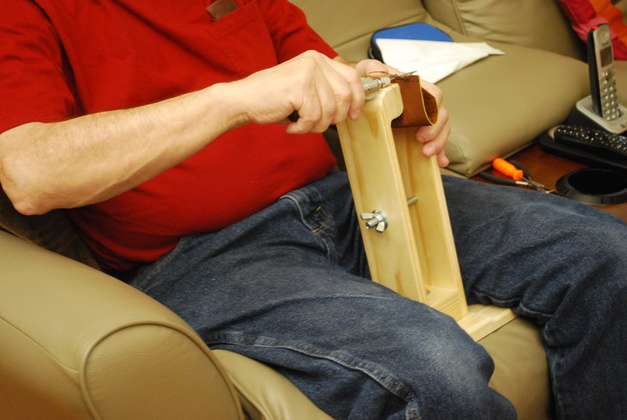
Heres how you use it, sitting down on top of the base with the clamp coming up between your legs, so the clamped piece(s) are right in front of you.
|
Modifications
|
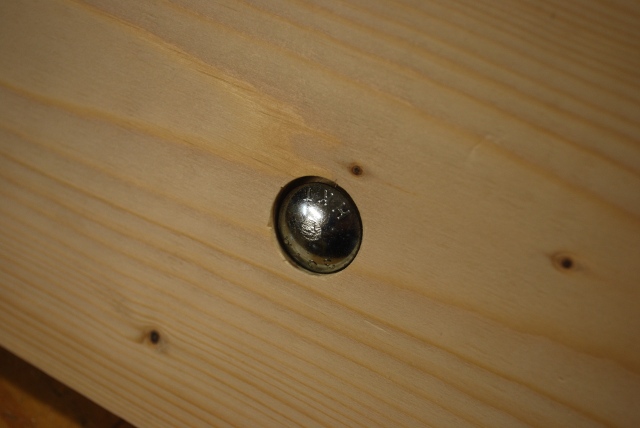
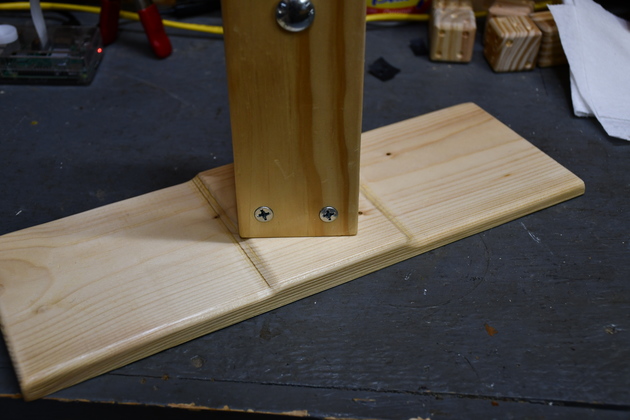
The stich horse was about 5 years old and one day when I was using it one of the clamp sides popped off the swivel base.
So I glued it back on and added two 1/4-20 bolts and tee nuts to keep that from ever happening again.
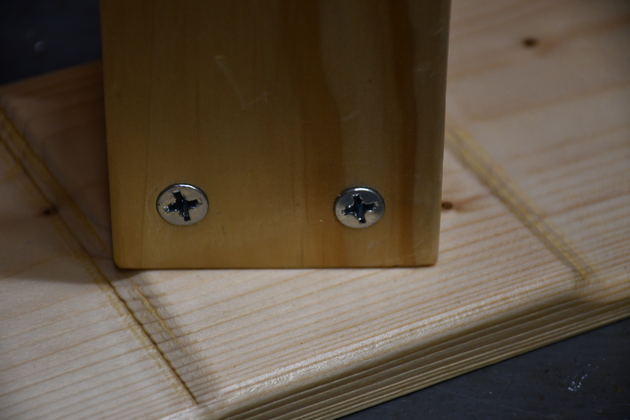
Here you can see the heads of the two 1/4-20 bolts.
|
|
Closer look at the heads of the 1/4-20 bolts.
|
|
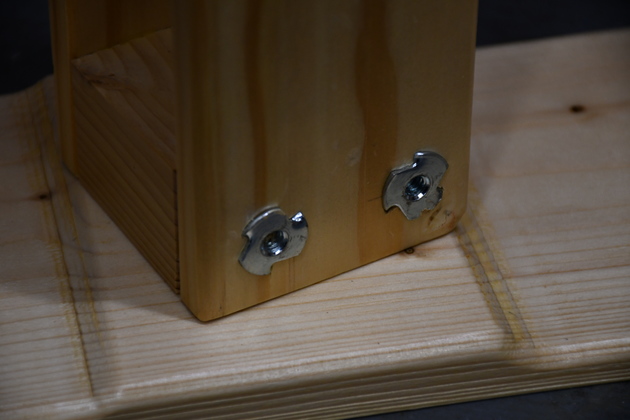
The tee nuts on the other side.
|

|
And a quarter look at the base.
|