Intro How to Install Fonts on Ubuntu 22.04 Jammy Jellyfish
step by step instructions The below sections will show you first how to acquire new fonts, and then cover the instructions for installing those new fonts via a Font Manager or manually in either user space or system wide.
Acquiring fonts In order to install new fonts on Ubuntu 22.04, you will first need the font files themselves. You can find a lot of fonts online for free. We recommend browsing 1001freefonts.com to search for some fonts that you might like. For this tutorial, we will be installing Bitwise.ttf as an example of how to install a TrueType Font on Ubuntu 22.04 Desktop. If you would like to follow along step by step, you can grab the same font from the aforementioned website. Here is the link to the Bitwise download. Once you have the file downloaded, you can unzip the archive: $ unzip -p ~/Downloads/bitwise.zip Bitwise.ttf > ~/Downloads/Bitwise.ttf $ rm ~/Downloads/bitwise.zip If you would like to verify your download: $ ls ~/Downloads/ Bitwise.ttf $ file ~/Downloads/Bitwise.ttf /home/user1/Downloads/Bitwise.ttf: TrueType Font data, 10 tables, 1st "OS/2", 18 names, Macintosh, type 1 string, BitwiseRegular
Installing fonts with Font Manager The first method we will cover is using an application called Font Manager. This is our recommended approach to installing fonts, but it’s not the only option, as we will see shortly.
Step 1 Start off by opening a terminal and installing Font Manager with the following apt commands: $ sudo apt update $ sudo apt install font-manager
Step 2 Once Font Manager is finished installing, open the Applications laucher and search for Font Manager, then click it to start the application.
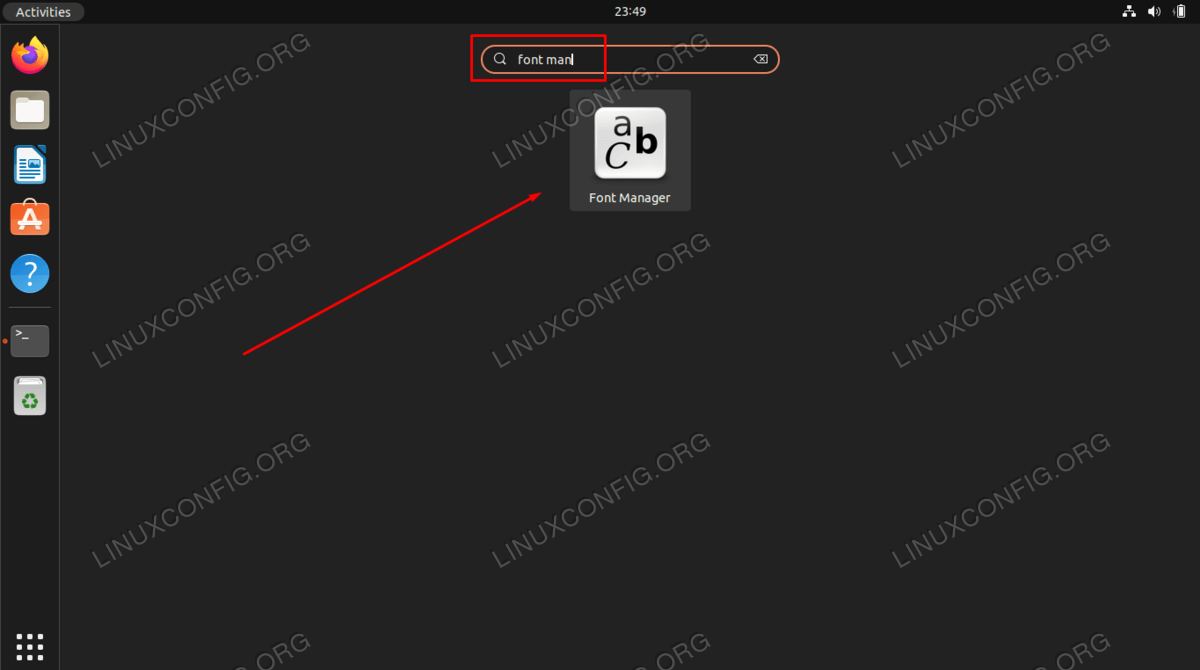 Open Font Manager from list of applications
Step 3 Inside Font Manager, click on the + plus sign to add a new font.
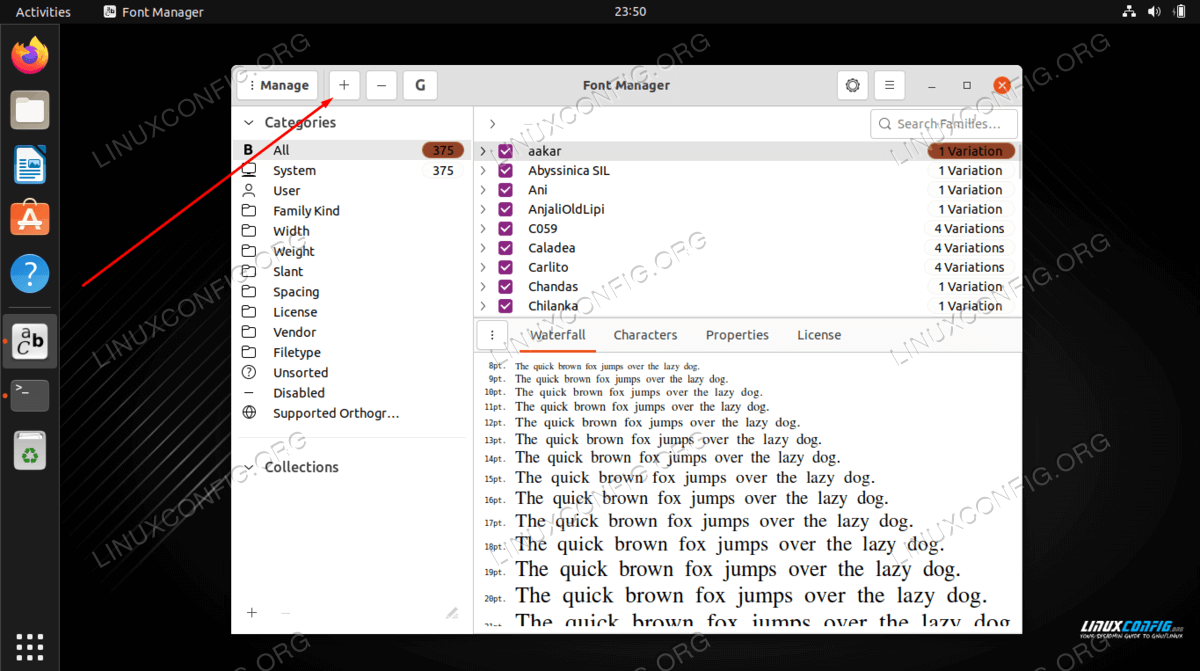 Font Manager on Ubuntu 22.04
Step 4 Now, you will need to browse to the font file on your system. If you are following along with us, the Bitwise.ttf file we downloaded is in your Downloads directory. Select your font and click ‘Open’.
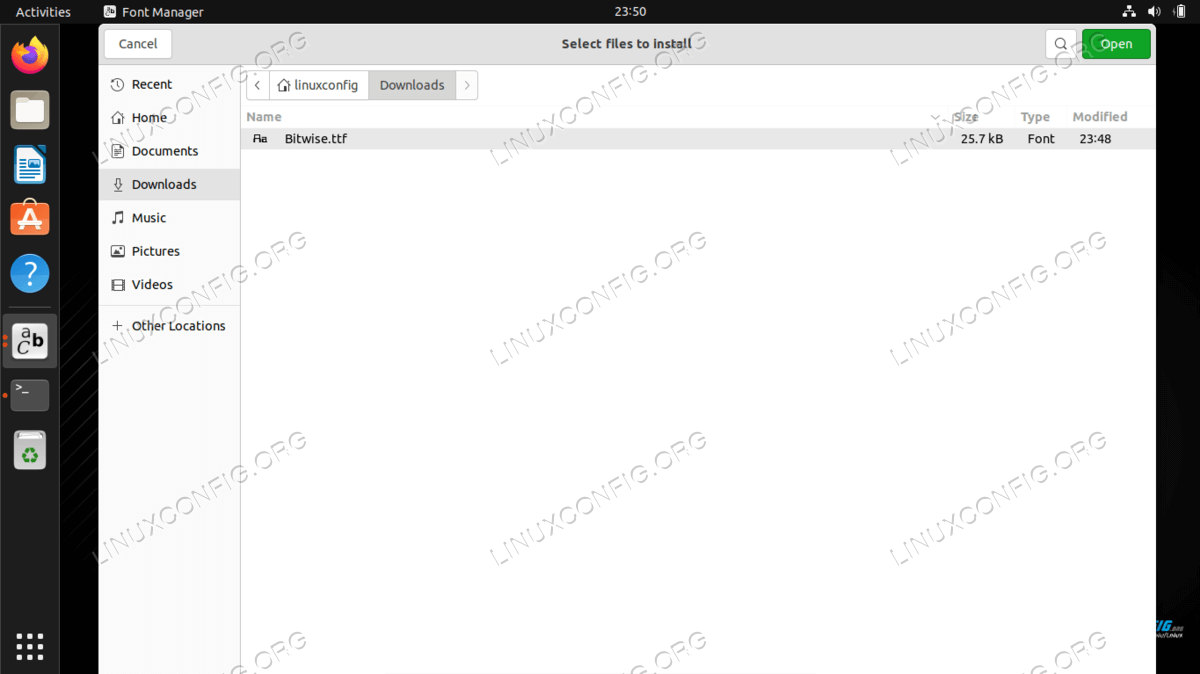 Browse for the downloaded font
Step 5 Your font should now be installed. You can scroll through the list to find it in Font Manager, or search for it by name in the search box.
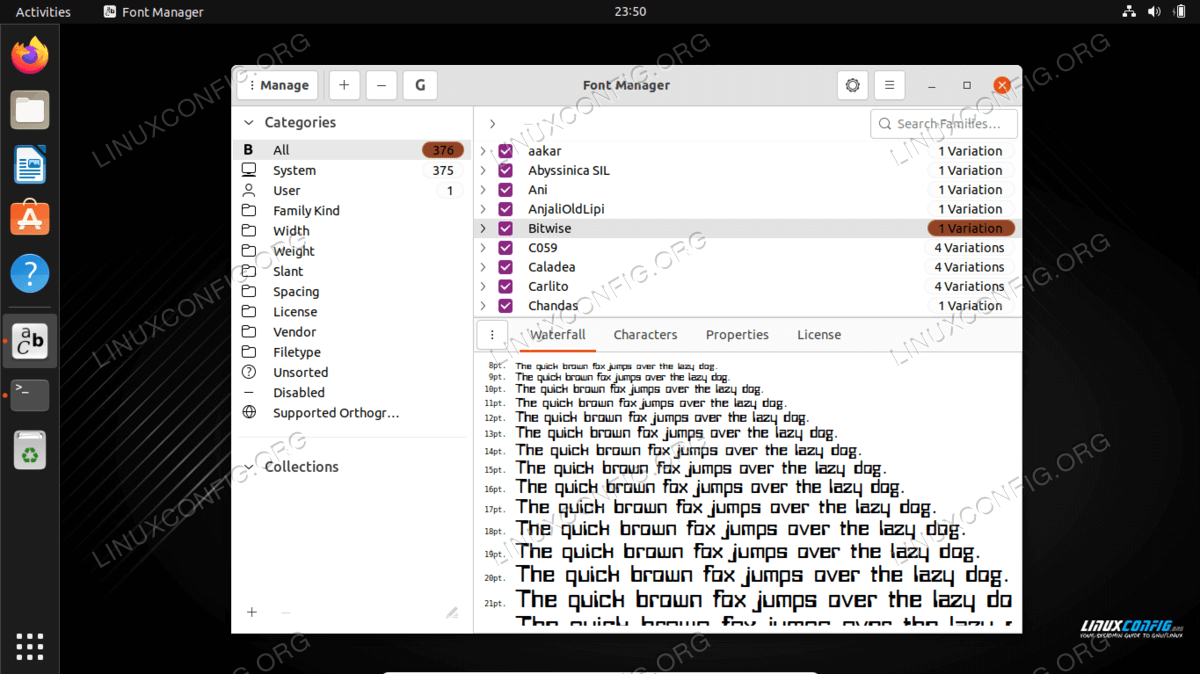 Bitwise font is now installed on Ubuntu 22.04
Step 6 You should see your new font available as an option in writing applications, or any program that allows you to choose fonts. Opening LibreOffice and making sure your font is available from the list of choices is a good way to verify that it has been installed properly.
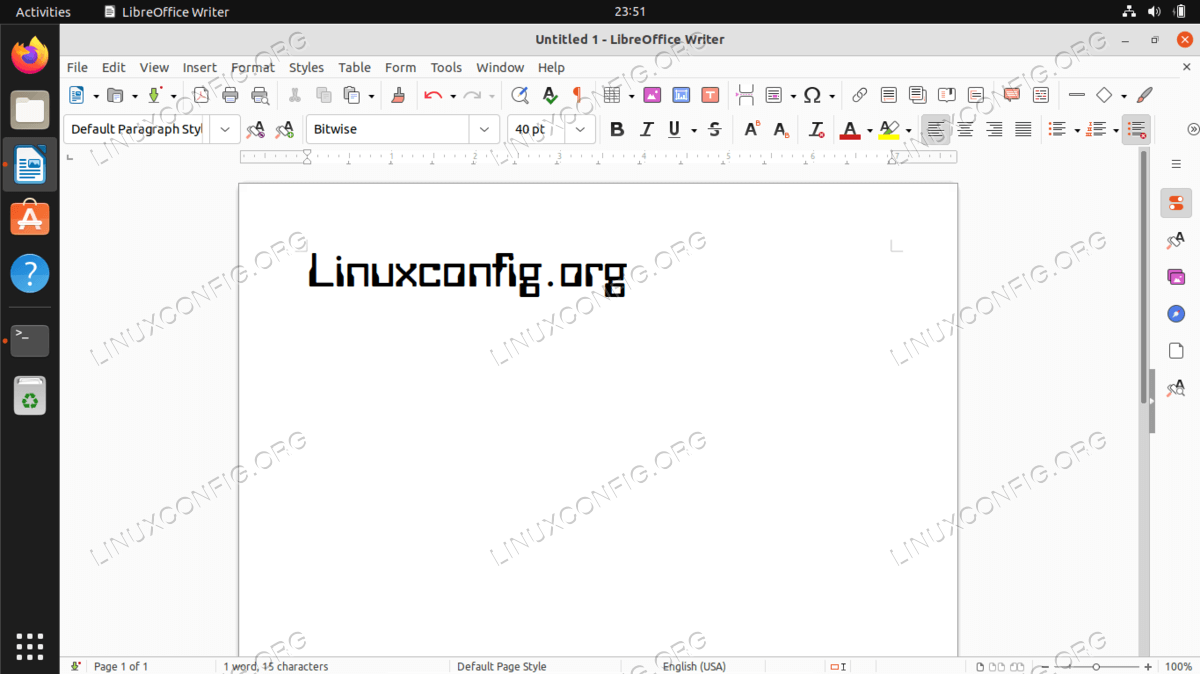 Verifying the new font in LibreOffice
Note that when installing fonts with Font Manager, the new fonts are stored
in the ~/.local/share/fonts/ directory. This means that the font is only
accessible for the user that performed the font installation.
If you want the font(s) to be available for all users, you need to do a
system-wide font installation. We show how to do this below.
Verifying the new font in LibreOffice
Note that when installing fonts with Font Manager, the new fonts are stored
in the ~/.local/share/fonts/ directory. This means that the font is only
accessible for the user that performed the font installation.
If you want the font(s) to be available for all users, you need to do a
system-wide font installation. We show how to do this below.
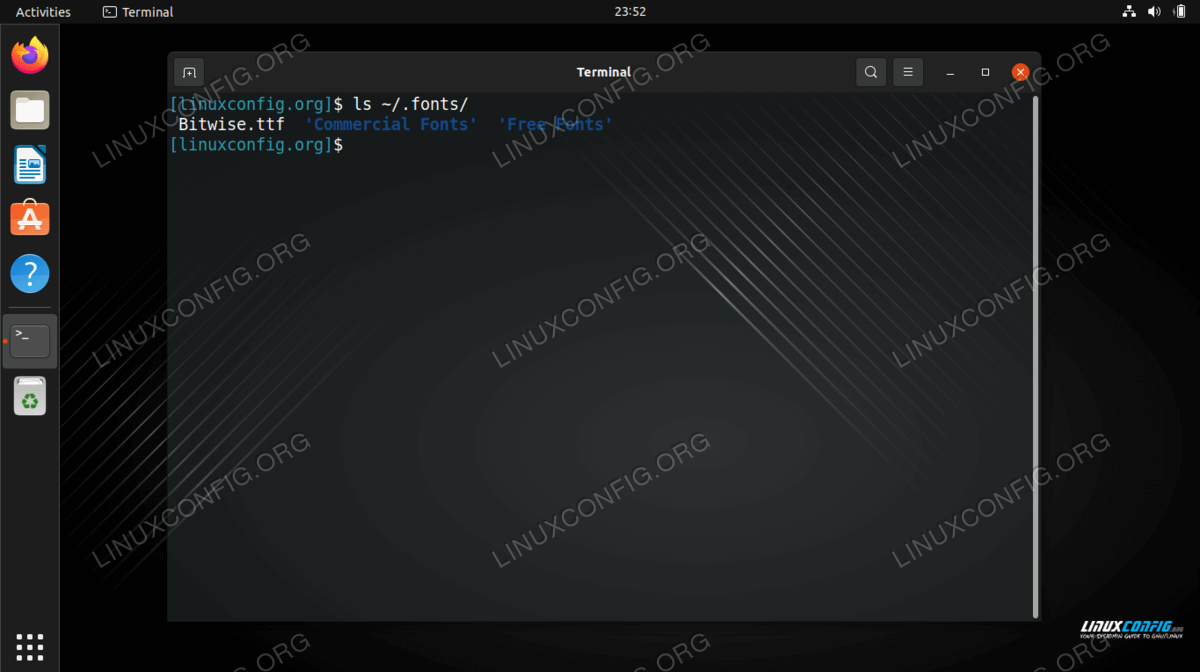
Manual user space font installation For those that prefer to do things by the command line, manually installing fonts for your user is very straightforward. All you need to do is place the font file inside the ~/.fonts directory. $ mkdir ~/.fonts $ cp ~/Downloads/Bitwise.ttf ~/.fonts Your font is now installed and usable. If you have a lot of fonts to install and want to organize them by directory, feel free to make subdirectories inside of the ~/.fonts directory. Ubuntu 22.04 will scan this directory recursively and make available any font files it finds.
 The fonts directory can contain subdirectories
Manual system wide font installation If you need a font to be available to all users on your system, you just need to copy the font file into the /usr/local/share/fonts directory. Just as the case with the user-space installation, feel free to create subdirectories within this path so you can organize your fonts better. Here is how you would create a new path and install the Bitwise.ttf font file system wide: $ sudo mkdir /usr/local/share/fonts/sample $ sudo cp ~/Downloads/Bitwise.ttf /usr/local/share/fonts/sample/ That’s all you need to do. Your font is new accessible by any user on the system.