| 
| 
| 
|
|
Missy's Trash Bin
| |||
|
|
|
|
|
|
Missy's Trash Bin
| |||
| Trash Bins | Construction Info | Lumber | Wood Preparation |
| Main Bin | Cap | Handle | Tee Handles |
| Finished |
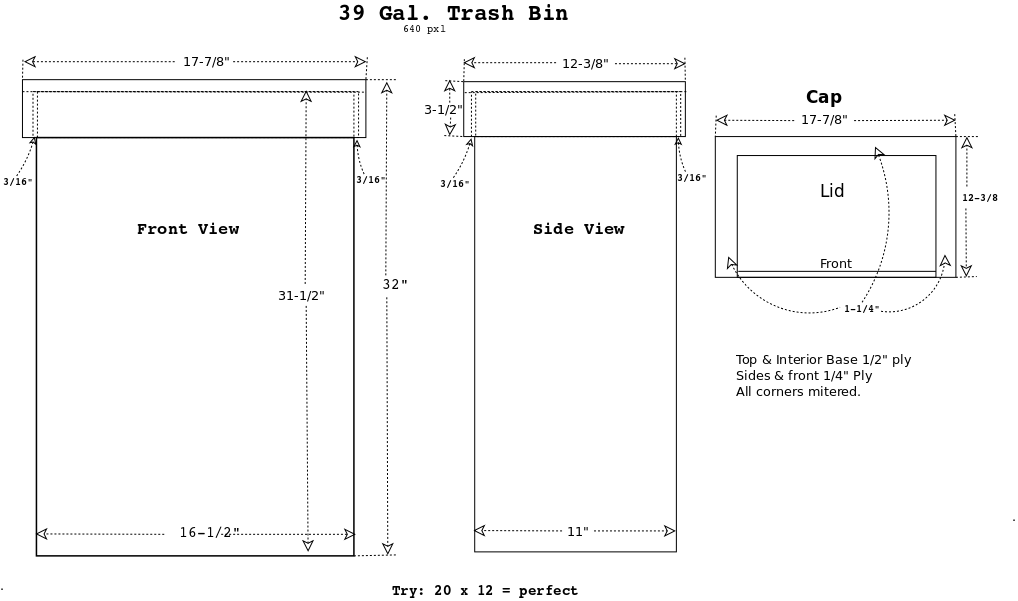
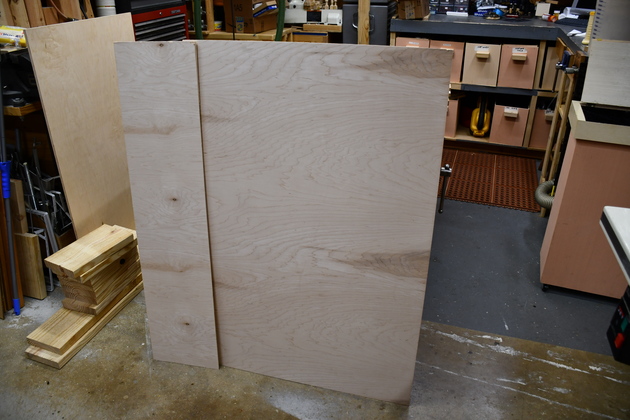
I am finally getting to build a trash bin for Missy. She wants to stain hers instead of painting, so I got some nicer (maple) plywood 1/4" and 1/2". The 1/2" is for the cap and lid.
Like the others I'll be using the mitered plywood technique on Missy's trash bin. The main (lower) part of the bin will be 1/4" thick mitered maple plywood, with a 3/4" plywood bottom. The cap will be the 1/2" thick mitered maple plywood with 1/2" plywood top and door. The 'T' handle will be made from either Fir or Yellow Pine 2x (whatever I can find). I like the 3/4" plywood bottom to add a little weight to make it more stable. I'll also drill some large holes (3/4" diameter) in the bottom. This'll let a little air in as the trash bag is pulled out so the trash bags will slip out easily.
|
1/4" and 1/2" maple plywood. |
|
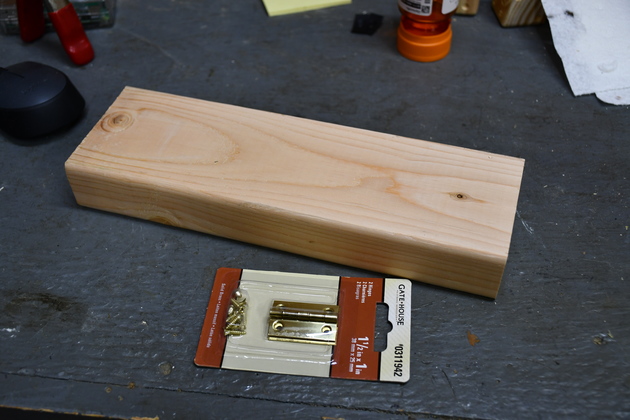
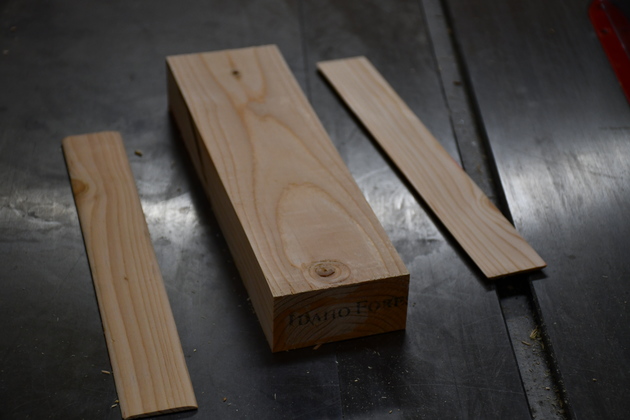
A piece of scrap fir 2x4 for the 'T' handle and brass hinges for the lid |
|
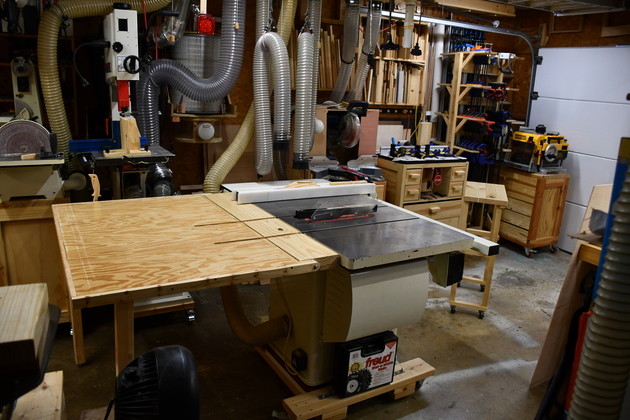
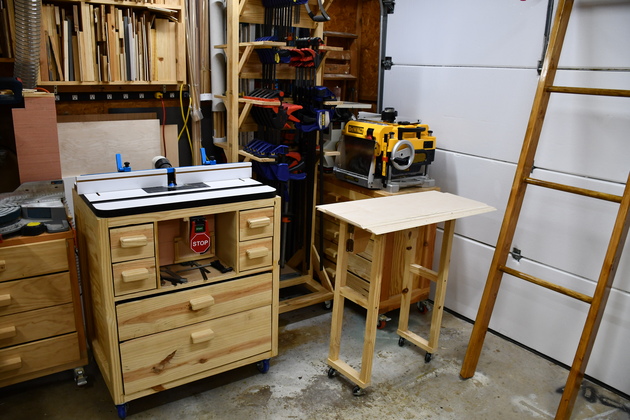
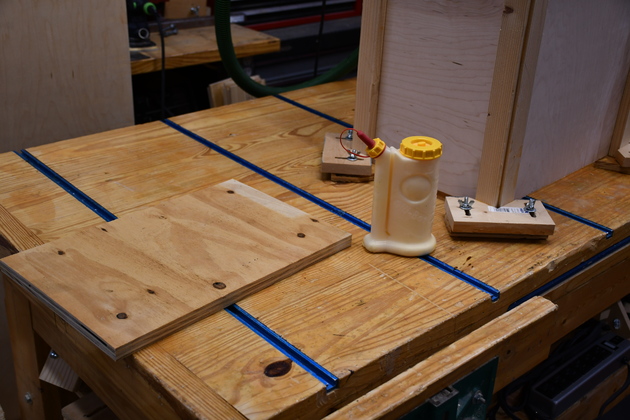
The table saw with it's outflow table ready to cut large pieces of plywood into just right pieces for Missy. |
|
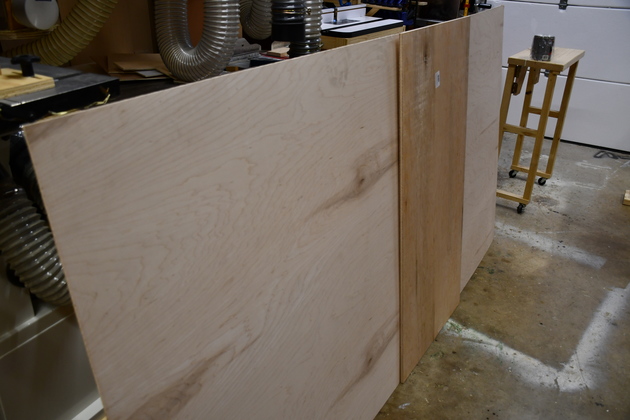
Some of the maple plywood cut into intermediate sizes. |
|
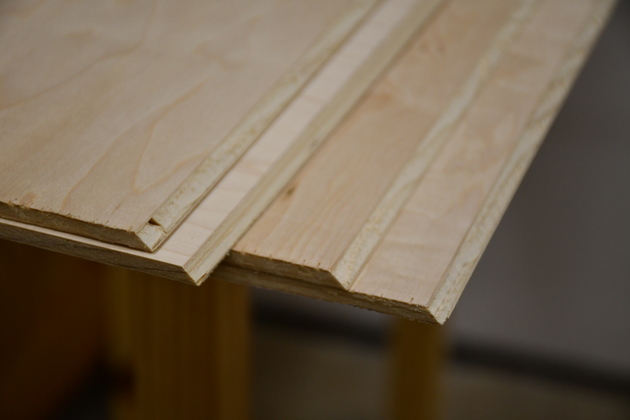
You can see the sides and front on the small side table ready to miter their corners on the router table.
|
|
Bin sides, front, and back after mitering edges. |
|
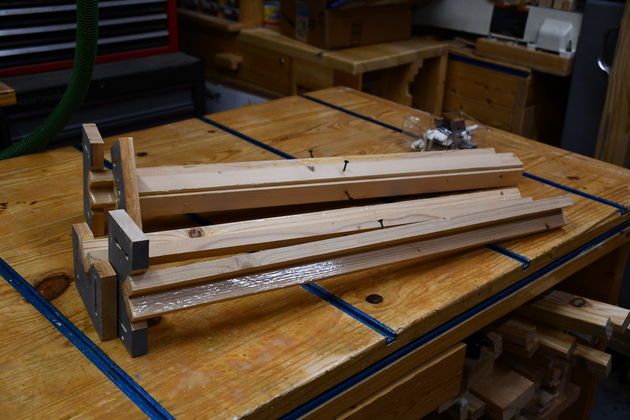
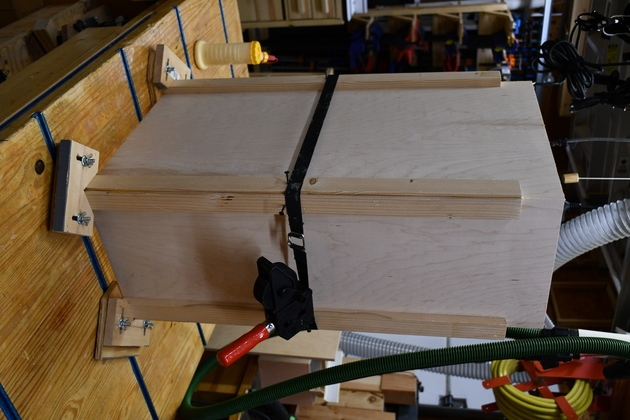
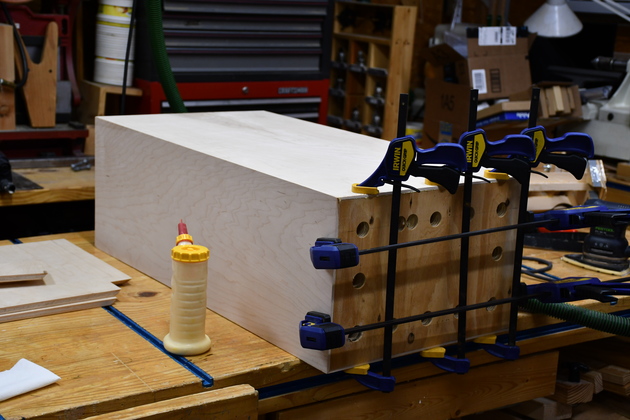
I had to get out the tall clamping cauls for the bin. |
|
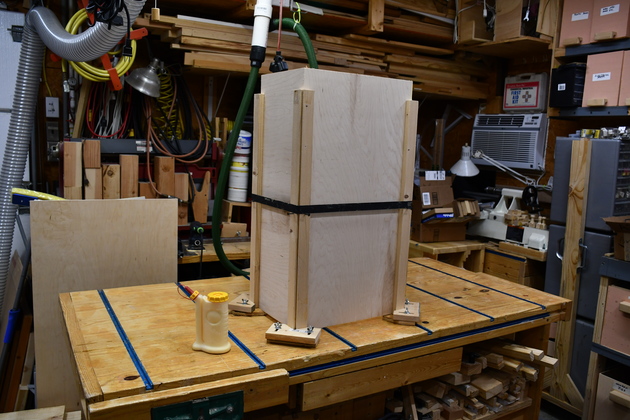
Missy's trash bin in the glue clamps (cauls). |
|
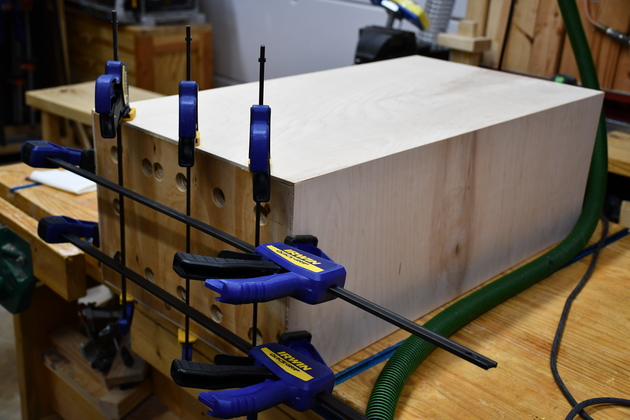
From the other side. |
|
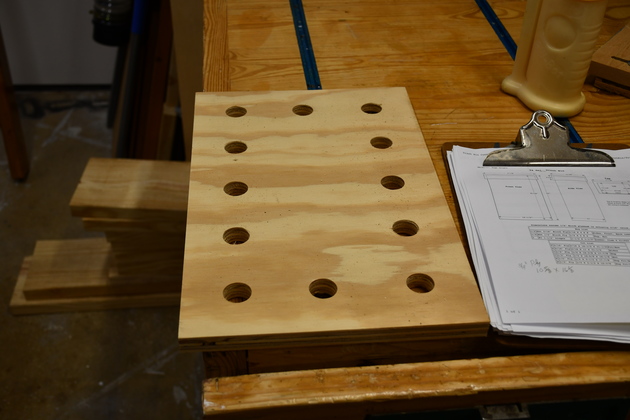
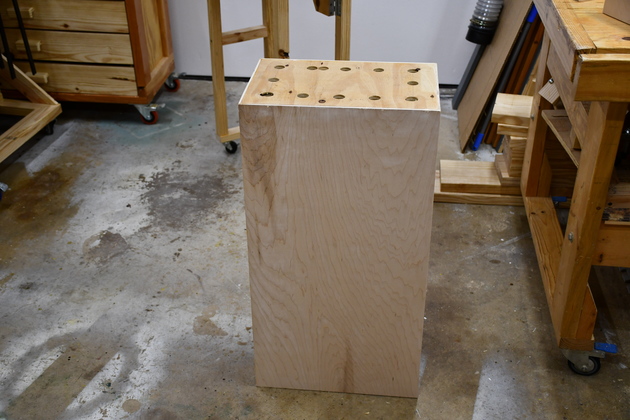
The base board cut out. This is 3/4" plywood, to give a little weight to the bin. |
|
After drilling 1" holes to allow air in when removing a filled trash bag. |
|
Bottom being glued into trash bin lower. |
|
Bottom glue-in from the other side. |
|
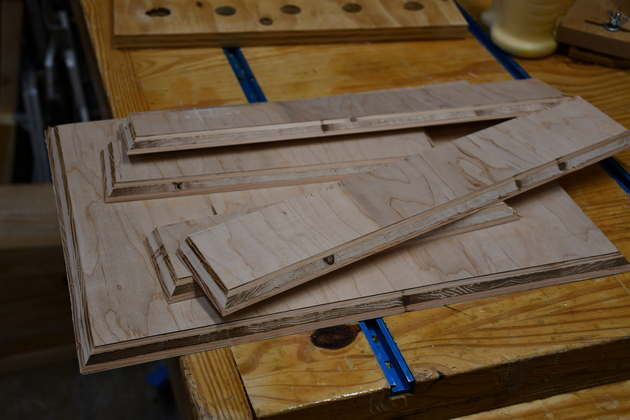
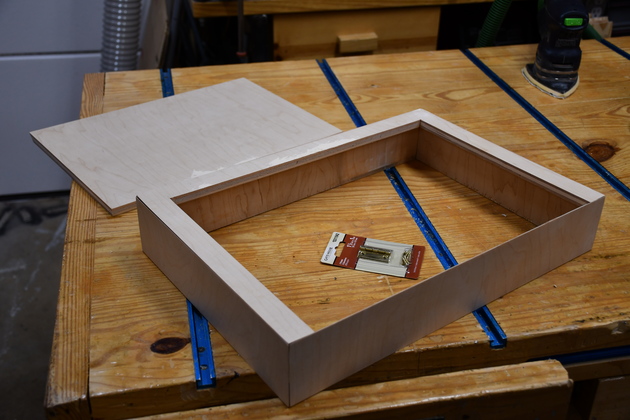
1/2" plywood pieces cut for the cap. Note the mitered edges. |
|
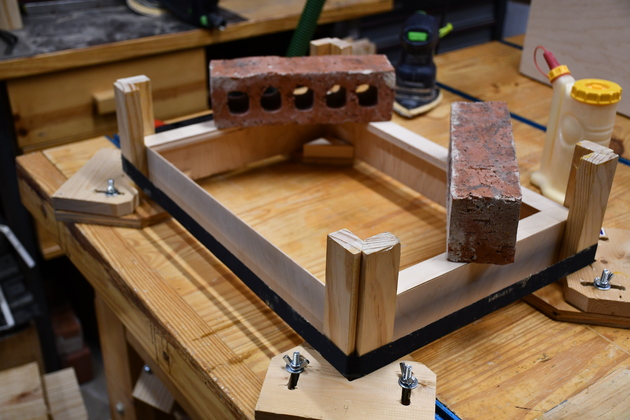
Cap being glued together with the short clamping cauls. The bricks hold the top down to get a good glue joint. |
|
Trash bin bottom almost complete. Note its upside down. |
|
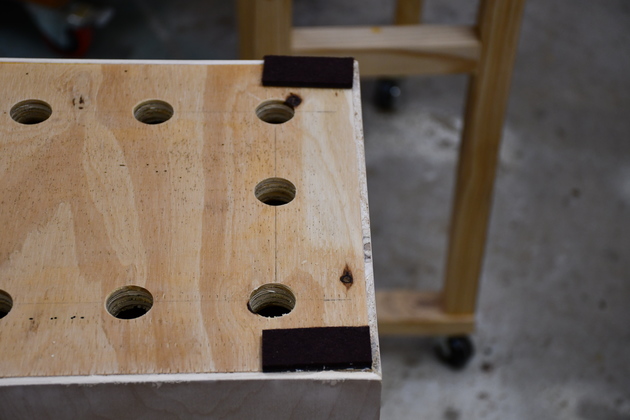
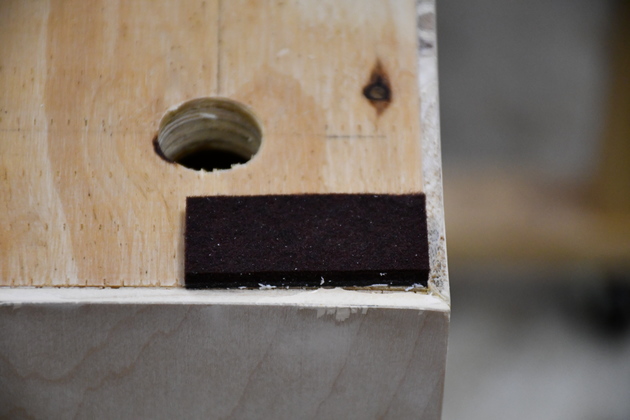
Felt pads on the bottom so it won't scratch Missy's floor. |
|
Closer look at felt pads. |
|
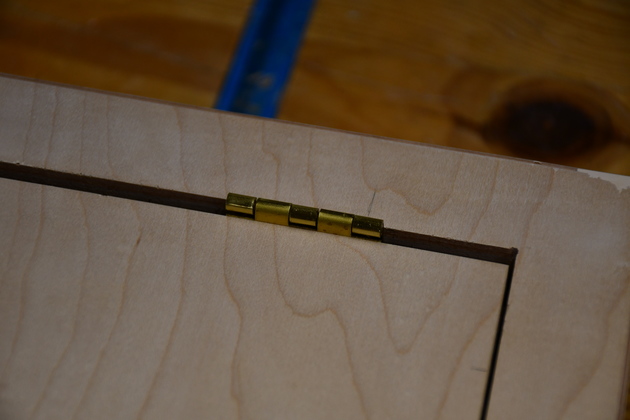
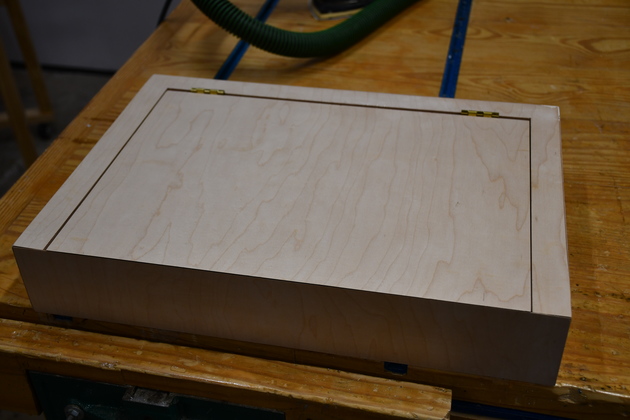
Cap completely glued, waiting for attaching the lid. You can see the hinge package inside the cap. |
|
Cap lid attached. |
|
|
Close up of the little brass hinges. |
|
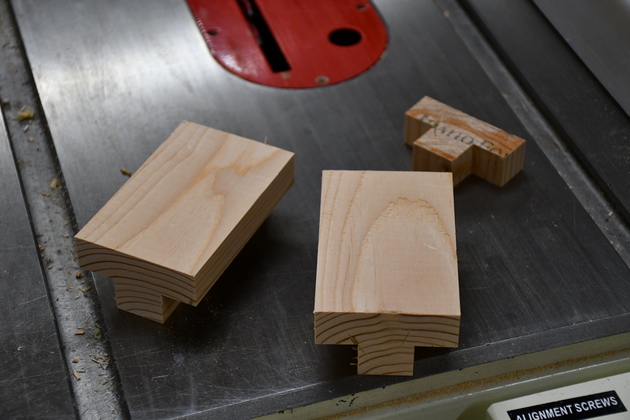
2x4 block with edges trimmed. For more info on how I make these handles please see my Drawer Handle Page. |
|
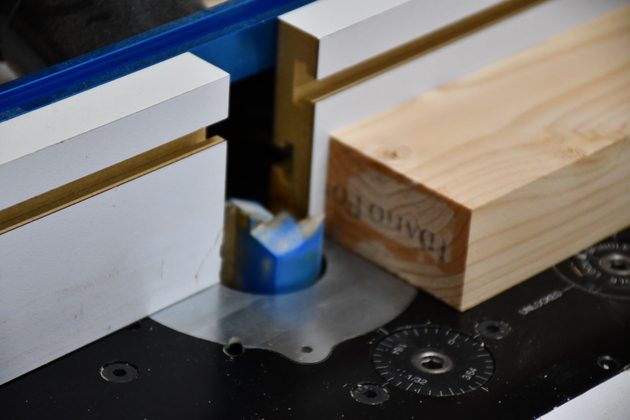
After trimming to 2-1/2" wide I'm ready to cut the two rabbets, one on either side. |

|
Rabbet cutting in progress. |
|
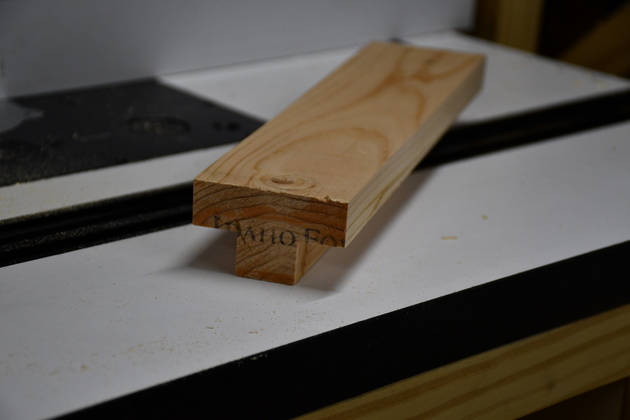
2 X 2-1/2 with rabbets cut. |
|
The rabbeted 2 x 2-1/2 cut into 4" lengths. Note the edges are not rounded yet. |
|
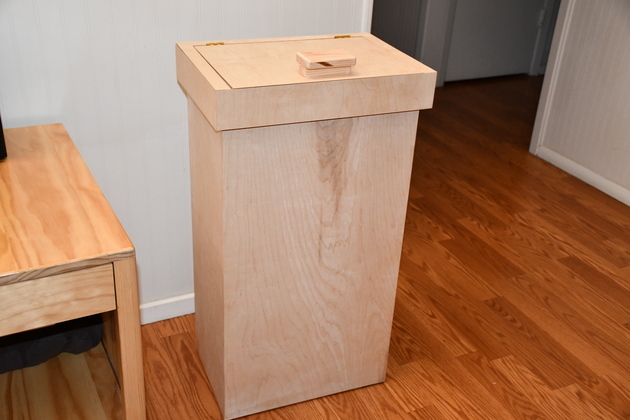
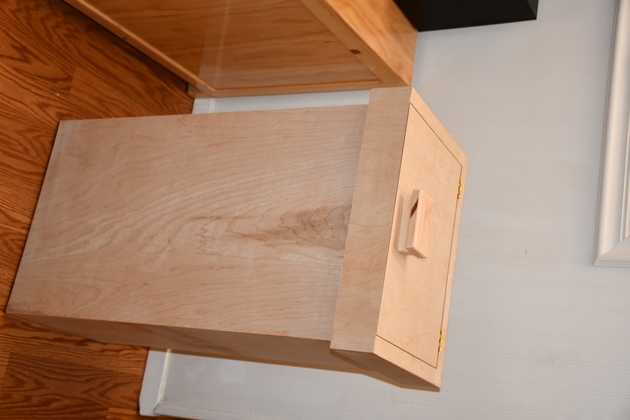
Assembled but un-finished bin in the Den. |
|
|
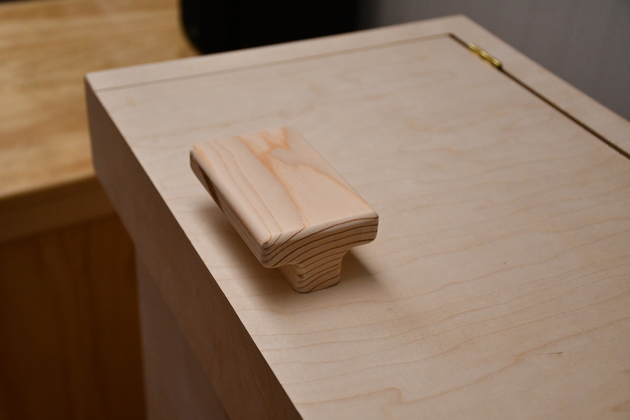
Close look at the handle with it's rounded corners/edges and mounted. |
|
|
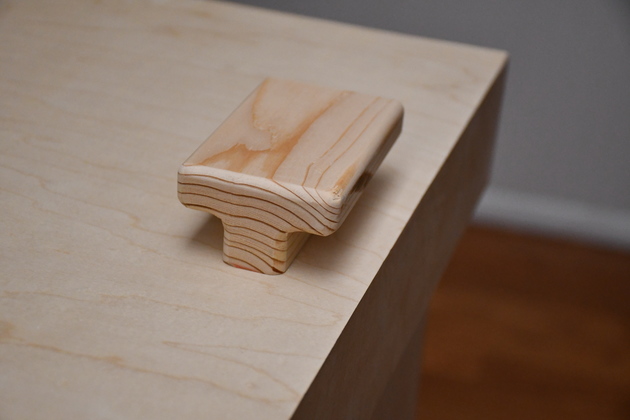
Handle from the other side. |
|
|
A different angle. |