10/15/21: Page Origin
I was about to do a saw cut to set a tennon's shoulder, I set the blade depth and made a test cut.
I measured the depth of cut and realized It was too shallow.
I had used a depth gauge to set the blade height.
On inspection I found the insert wasn't flat.
I had always had problems adjusting the set screws that support the insert, now I know why.
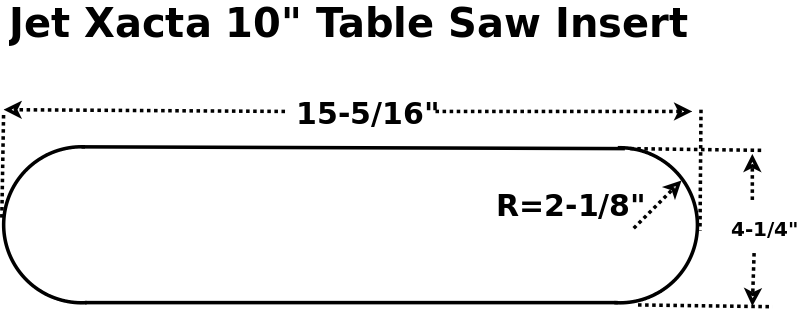
LeeCraft makes a Zero Clearance Insert, but it has been sold ot for a while!
The Jet Xacts replace ments inserts are very pricy $$$$, so I decided to build one.
I found an oak 1 by in the shop, and resawed and planed it to 1/2" thick, then saw out the insert's outline and drill finger holes.
The little tabs on the table saw that support the insert are just a little more than 1/2" from the top.
BTW, The insert support tabs are not a consistent distance from the saw's table top, they differ by about .01" to .02".
I'll use 1/4-20 set screws with tee-nuts to compensate for differences in tab height
The original insert uses 1/4-20 set screws, I wanted to use 1/4-28, but couldn't find any 1/4-28 T-nuts.
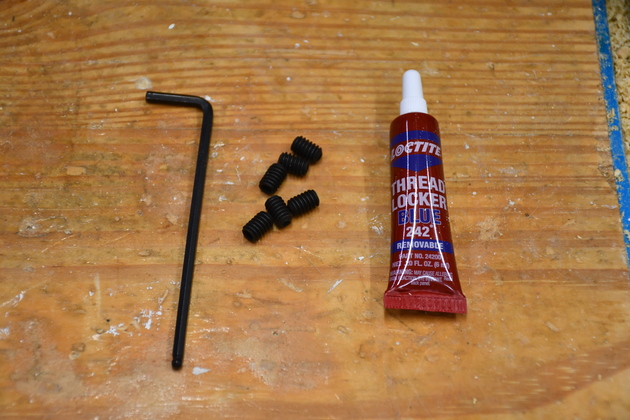
I will use thread lock on the set screws.
Click For Larger Pic
The Problem
|
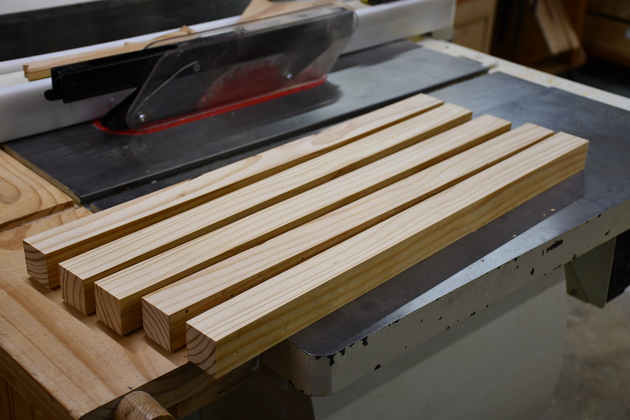
Table legs ready to have tenons cut, on one end.
|
|
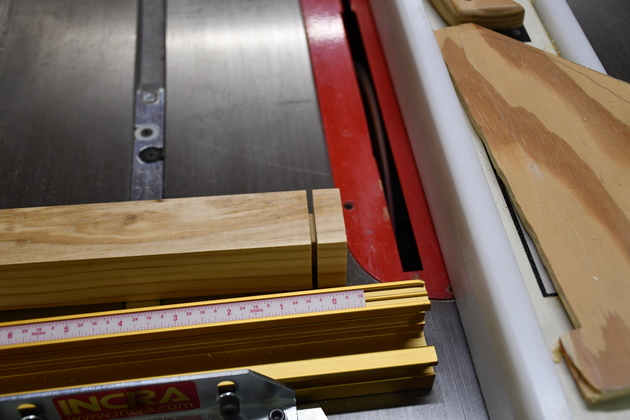
This is the test cut for a tenon, when I checked it's depth it was way off.
Normally I would move from this to the router table, and my tenoning jig, to complete the tenon's cut.
|
|
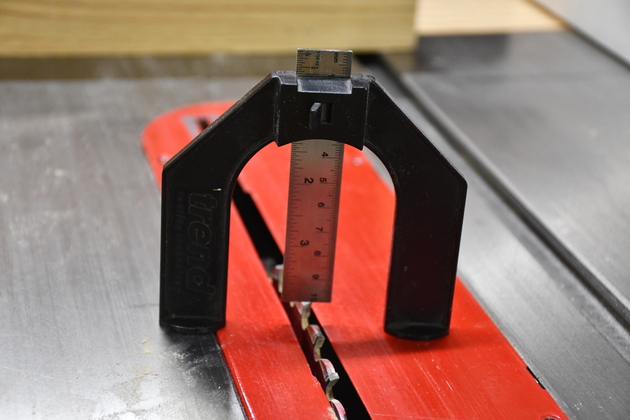
I use a router depth gauge to set the blade height when I do a tenon cut on the table saw.
Note one leg of the guage is on the insert which, I found, was below the table surface.
|
|
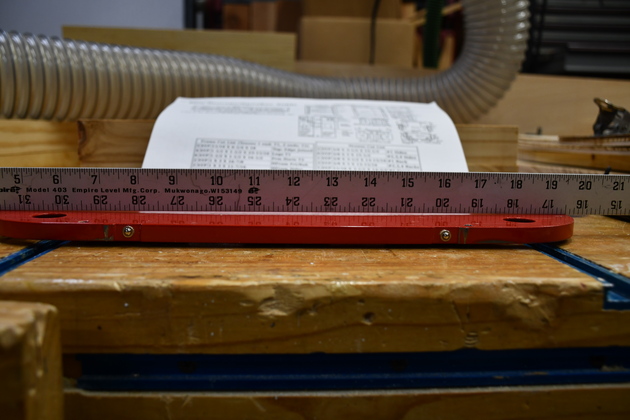
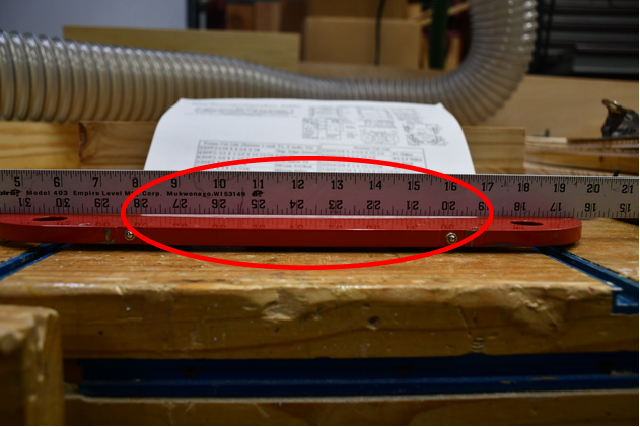
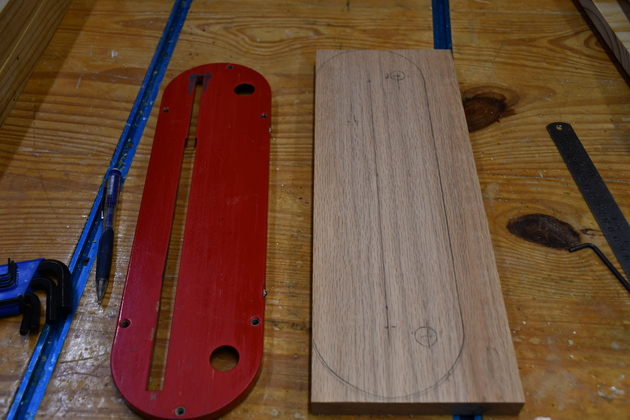
The original insert for my Jet Xacta, note its not flat, you can see lots of white between the insert and the straight edge (RED OVAL).
|
|
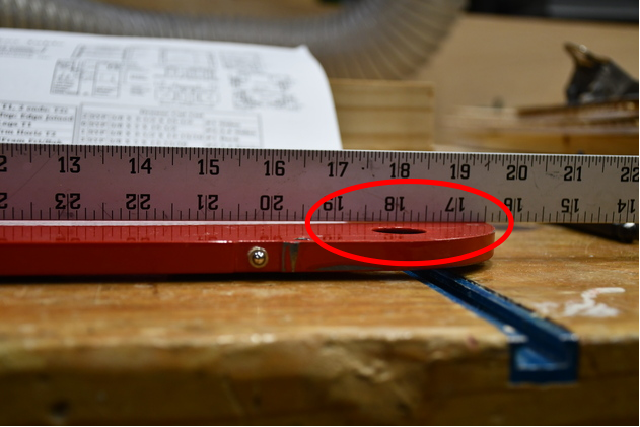
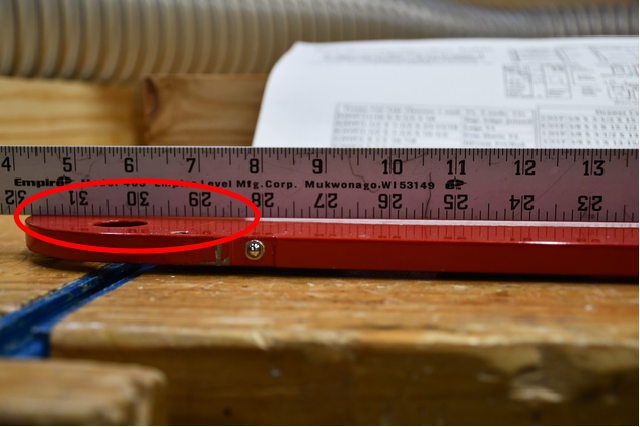
The straight edge sitting on the insert at both ends (RED OVALS)
|
New Insert
|
The top of the oak board.
I flipped the original insert, end for end, clamped it to the oak board, and drew the out line, finger holes, set screw holes, and riving knife slot.
I used a centering bit to mark where the setscrew holes went.
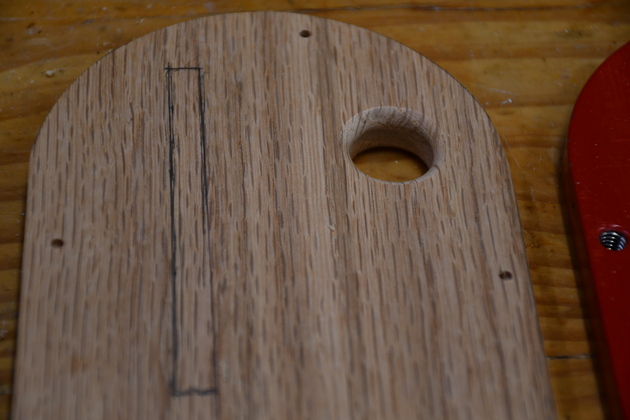
You can see the outline of the insert penciled in.
I'll have to resaw and plane it down to 1/2" thick.
|
|
Sawed out the shape with my 10" bandsaw, sandid it to fit the table saw, drilled and rounded the finger holes.
The marked location of the riving knife hole, ready to cut out.
You can see the centering drill holes where the leveling screws will be, I turned the original insert right side up to mark the leveling holes.
I'm going to use 1/4-20 set screws and tee nuts (just like the original) to support the new insert.
|

|
Closer look at finger hole, I drilled a 3/4" hole then rounded it off with a 3/16" roundoff router bit.
|
|
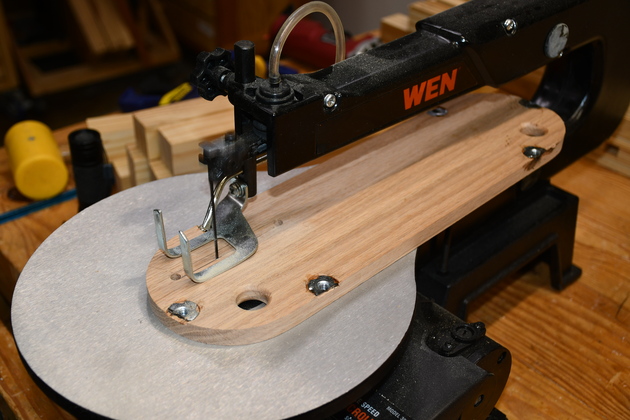
Sawing out the Riving Knife slot.
|
|
A little closer look at jig sawing the Riving Knife slot.
I drilled a 1/4" hole at each end then sawed the two cuts and squared the ends.
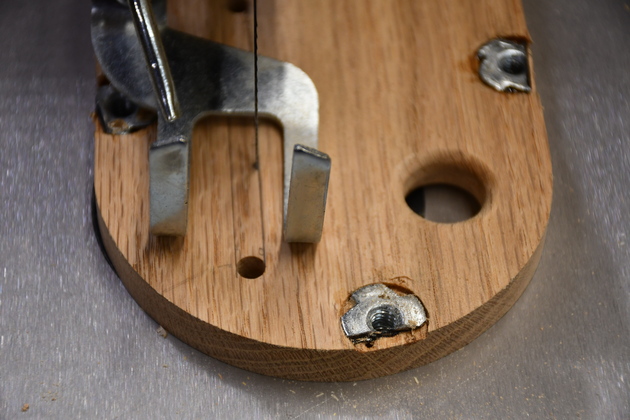
BTW, I had to cut the side of the tee-nuts since the support tabs on the saw were so close to the edge.
I drilled holes for the prongs so they wouldn't split the board.
I used a little super glue to help them stay put.
|
|
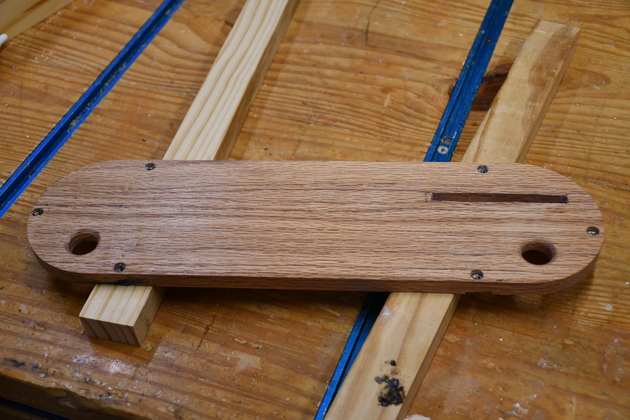
Sawed Riving Knife slot.
|
|
1/8" allen wrench, 1/4-20 x 3/8" set screws, and thread locker.
|
|
New insert being painted with clear polyurethane.
|
|
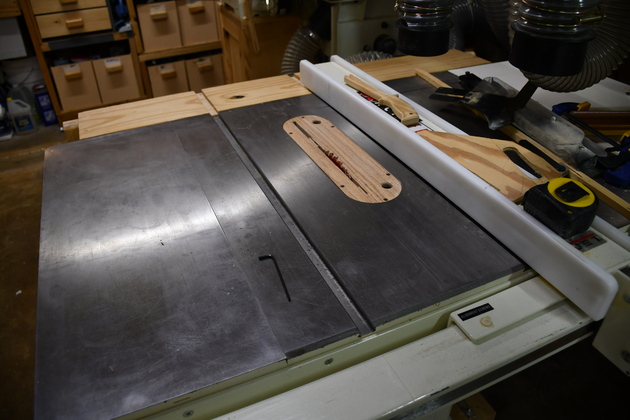
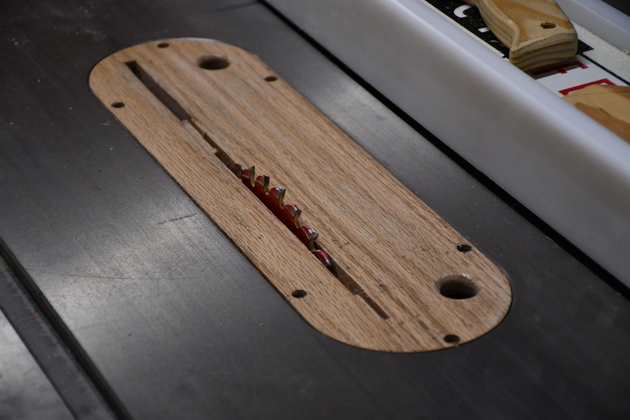
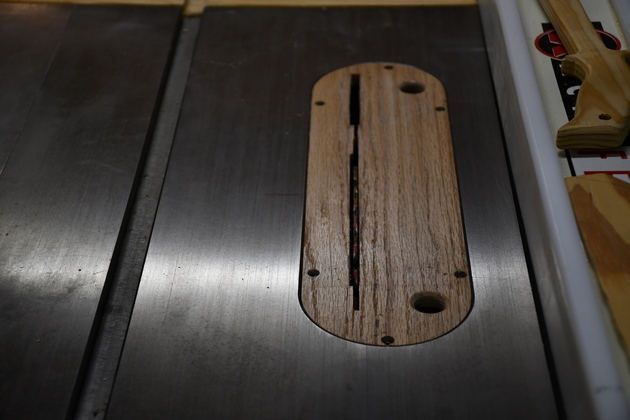
New insert installed after using a dado blade and then the regular 10" blade to saw the blade clearance hole.
The dado had a little offset so the hole it cut was a little offset.
|
|
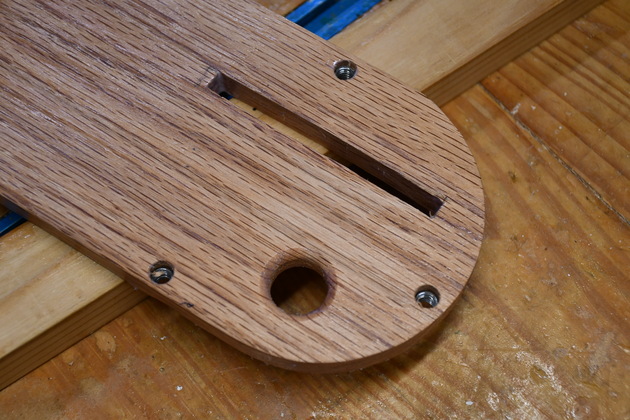
Closer look at the installed insert.
I didn't have the riving knife hole quite long enough.
|
|
Different angle, you can see where the dado was wider and a little to the left of the normal 10" blade.
|