| |
|
|
| 
|
10" resaw guide
|
03/10/13: Origin.
I don't actually resaw boards on the small saw but, I have gotten so used to using the resaw guide on my 14" bandsaw that I decided to make one for my 10" bandsaw.
I plan to make some bandsaw boxes so I wanted to get my guide setup, to make the straight line sawing easier.
In order to use this, I draw a line where I want to cut, straight or curved then follow it.
The round edge of the guide makes it easy to move the end left or right while giving me something to push the piece against.
I want to attach the new guide to the fence that came with the JWBS-10OS, but it didn't have a slot for the bolt, so I had to make one.
The fence is a rectangular aluminum extrusion, 1" thick by 2" high, but it has a nice adjustment latch, and attaches on both ends.
|
Here is the fence on my Jet 10" bandsaw.
|
|
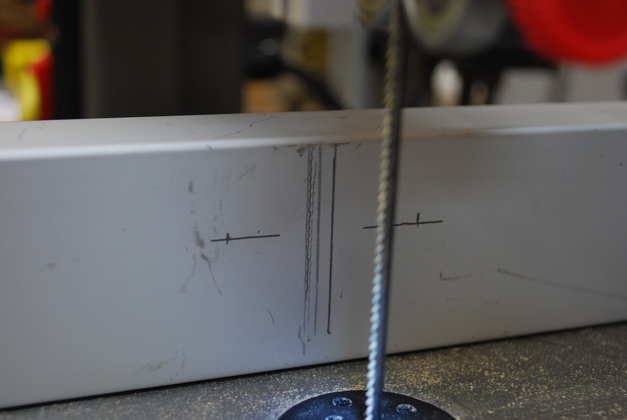
Close up of the fence, I marked where the blade runs.
|
|
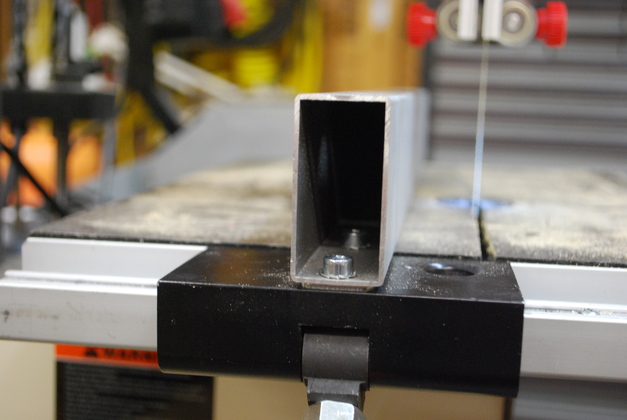
The fence is just a hollow aluminum extrusion, 2" high and 1" thick.
|
|
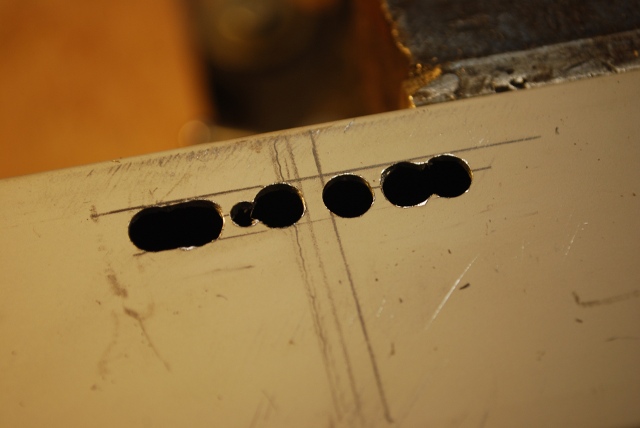
I needed a slot for the attachment bolt, so I marked a horizontal line 1-1/2" up from the bottom.
You can see, I drilled 1/4" holes where I wanted the slot to be.
Then I marked where the top and bottom edge of the holes are so I could use a Dremel cut off wheel to cut out the sections between the holes.
|
|
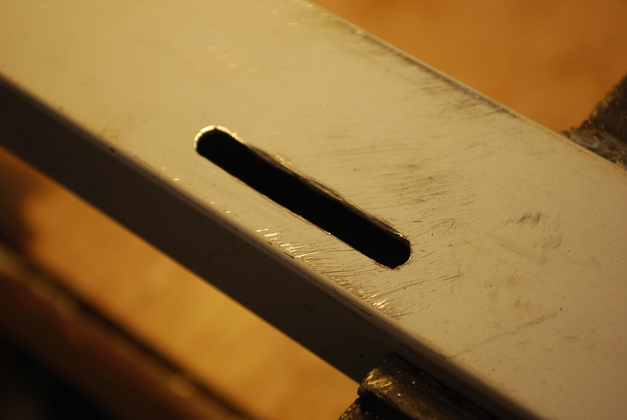
After I used the Dremel cut off wheel to make holes into a slot.
|
|
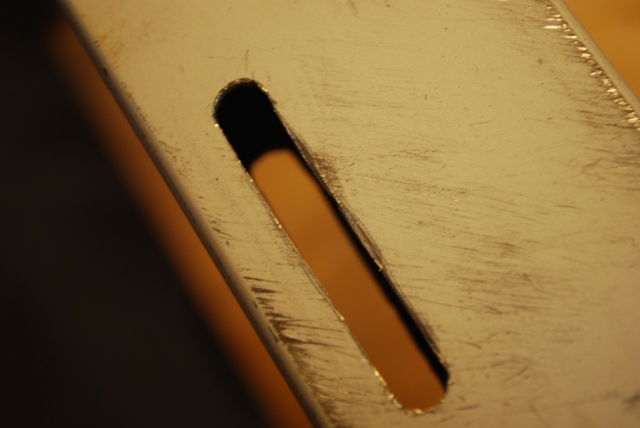
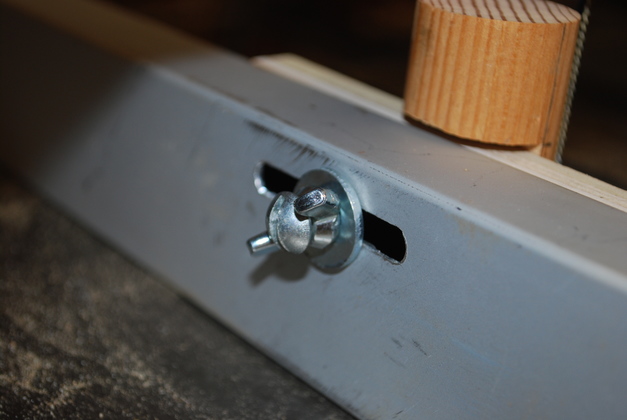
Closer look, you can see the matching slot on the opposite side.
By putting the slot near the top edge of the fence, I reduced the amount of flex of the fence walls when I tighten the screws holding the resaw guide.
On some fences, you might want to glue a hardwood block inside the fence to keep it from squeezing shut when you tighten the bolts on the resaw guide.
|
|
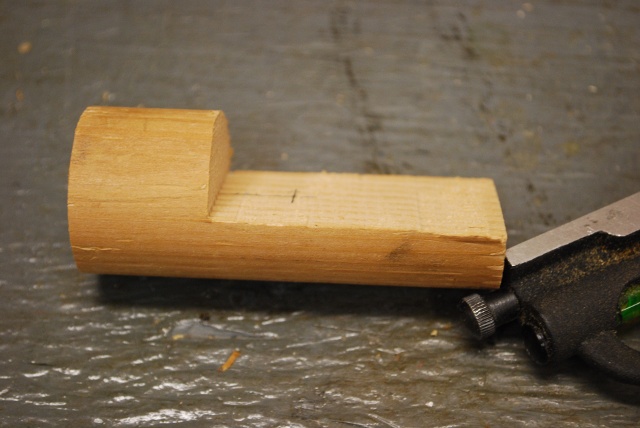
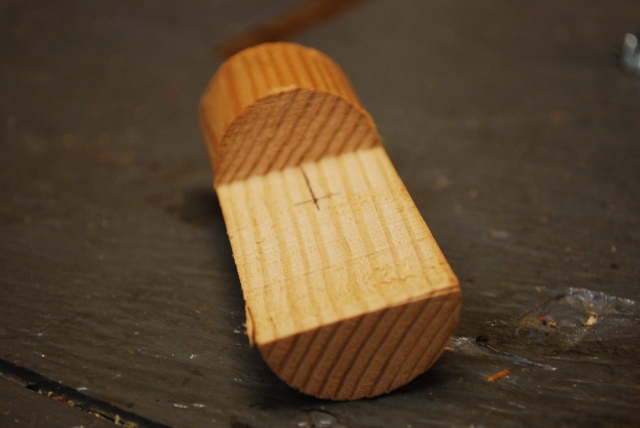
I took another piece of the same 1-1/4" dowel as I used for the 14" saw guide, cut off a 3" length, then I drew a center line 2" long and sawed out the notch with my 14" bandsaw.
The bottom of the cut shown in the pic, must be as close as possible to parallel with the rounded side (lower in the pic) of the dowel, so the finished guide is as near vertical as possible.
I also marked where the center of the attachment bolt would be so I could counterbore for the tee nut.
|
|
Another perspective on the notch in the dowel.
|
|
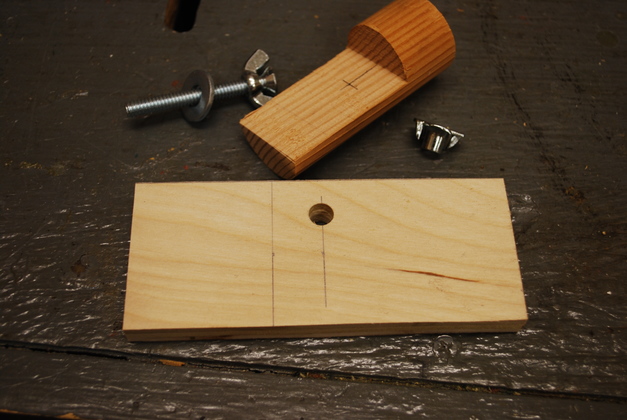
All the pieces, the dowel, a 2" X 4-1/2" piece of 1/2" birch plywood, a 1/4-20 machine bolt with a wing nut and tee nut.
|
|
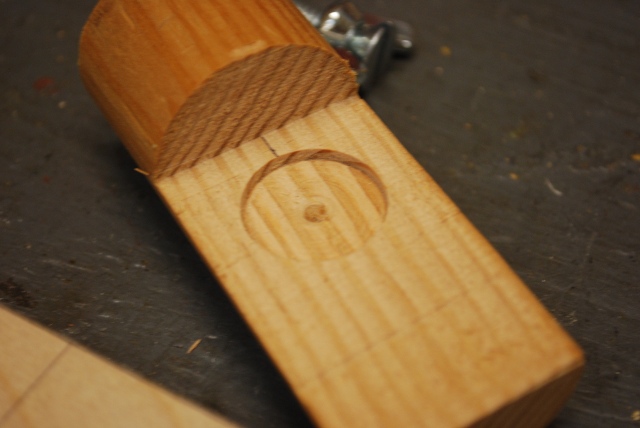
I counter bored the dowel for the head of the tee nut.
|
|
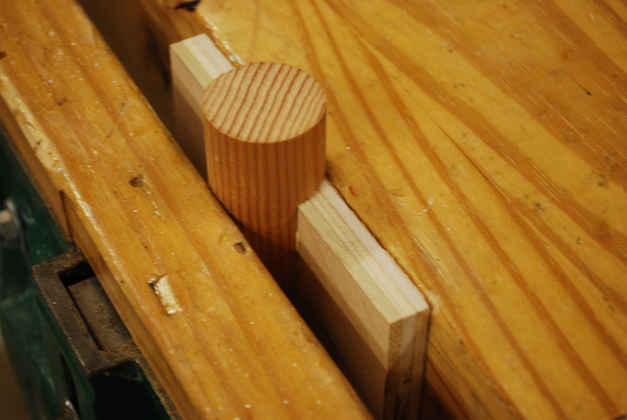
The small resaw guide in the glue clamp.
I drew an alignment line on the birch plywood to get the dowel straight.
It should be vertical when installed on the saw.
|
|
|
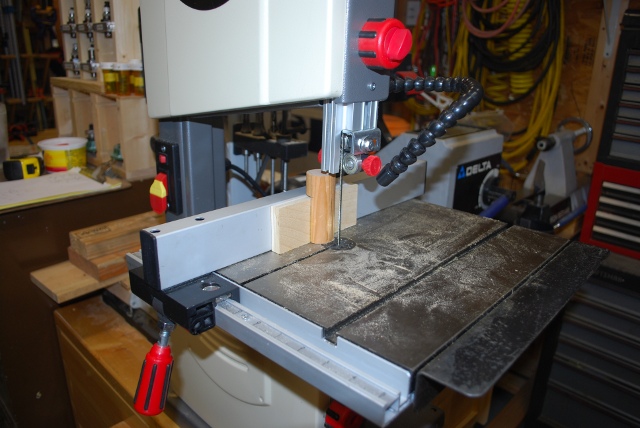
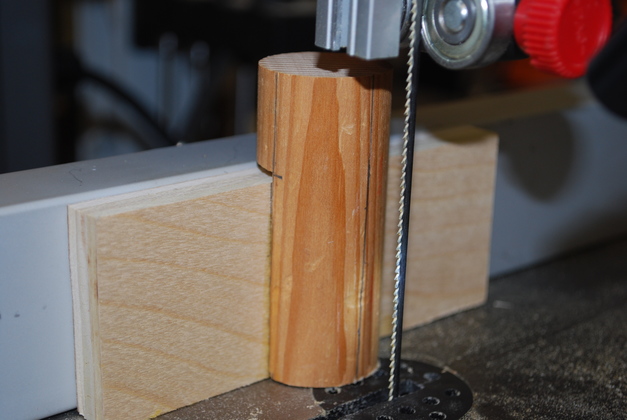
The new guide installed on the 10" bandsaw.
When you install the new guide, don't forget to check that it is exactly vertical to the table, and parallel to the blade.
|
|
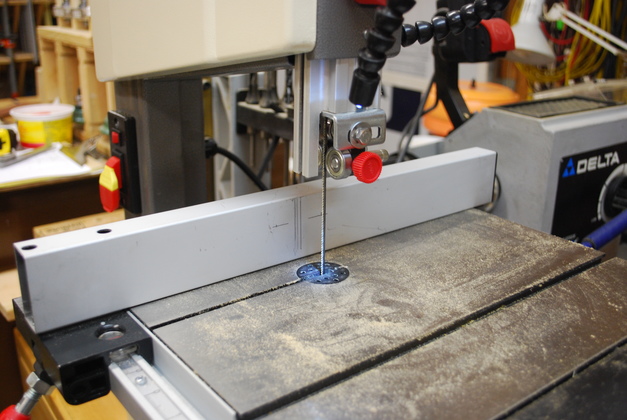
Close up view of the mounted resaw guide.
|
|
The adjustment bolt in back, a wing nut on a 1/4-20 round head bolt.
|