| 
| 
|
|
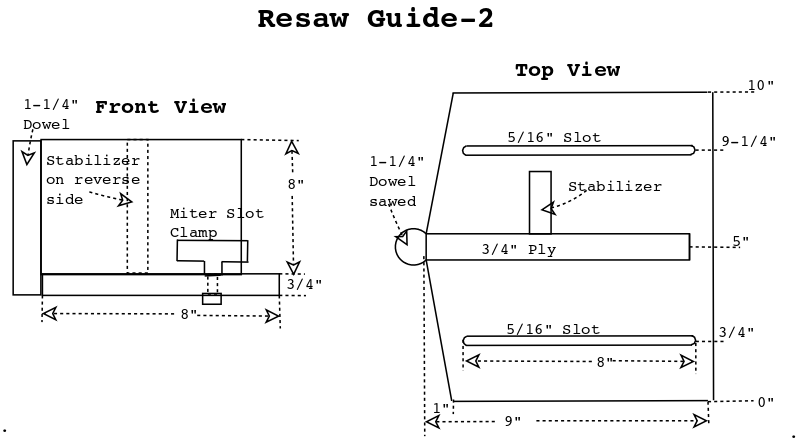
Resaw Guide 2
| ||
|
|
|
|
|
Resaw Guide 2
| ||
| Rsw#2Construction | Diagram | Saw Jig |
After using feather boards for resawing for some time I decided its time to make a better back side guide for resawing.
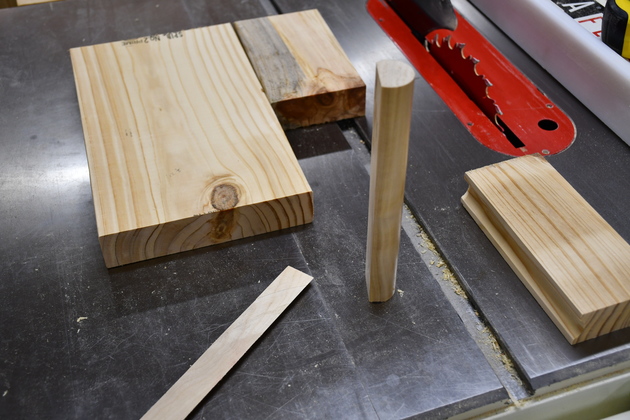
I used 3/4" plywood, a 1-1/4" dowel, and two miter bar clamps.
The dowel needed a flat side parallel to the opposite side.
I decided to use my tablesaw to saw a flat on a round dowel, so I had to make a special jig to hold the dowel.
I didn't take a lot of pics on this project, I did it in one afternoon then allowed the glue to totally set overnight.
|
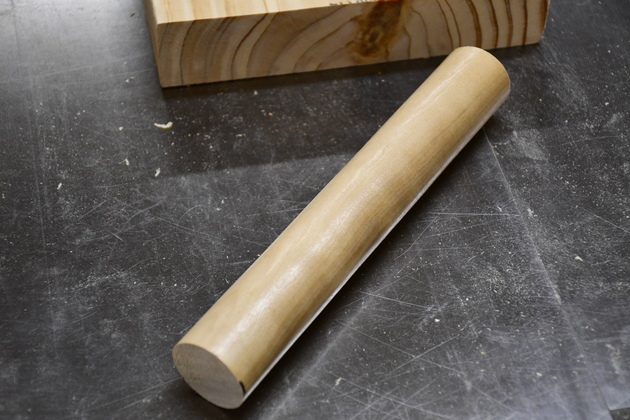
The 1-1/4" dowel. |
|
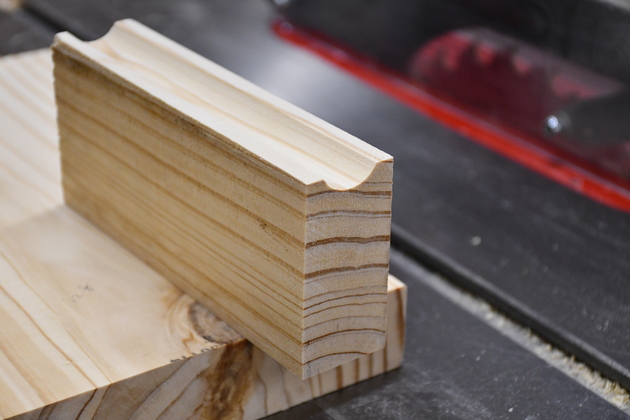
Dowel sawing jig. Its a 2x3 with a round groove machined into it's center down one edge. The groove was cut using my router table and a 5/8" round nosed bit, centered in the edge of the jig. |
|
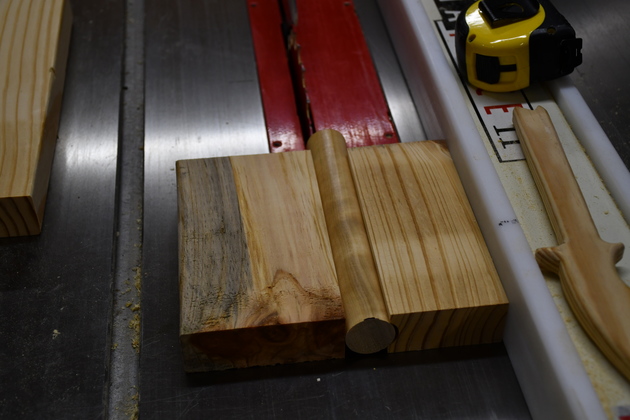
Here is how I used it, the 2x push block on the left, you can see the saw blade in the background. |
|
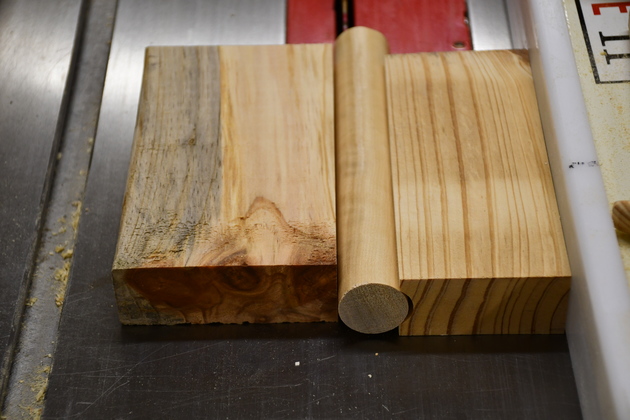
A little closer look. It doesn't matter exactly how much you saw off as long as you have a good flat surface parallel with the opposite side. I drew a chord on the end of the dowel that measured a little over 3/4", then adjusted the saw's fnece so the blade would cut on that chord. The flat surface needs to be at least 3/4", the width of the vertical I glued it to. |
|
After sawing. |
|
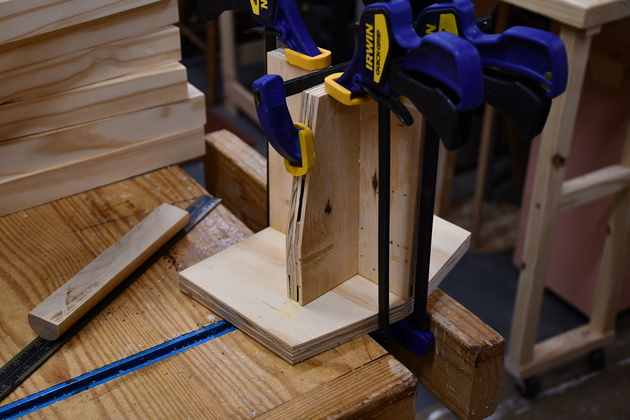
Gluing the frame together. Make sure all the pieces are square cut (check the table saw's fence before sawing). |
|
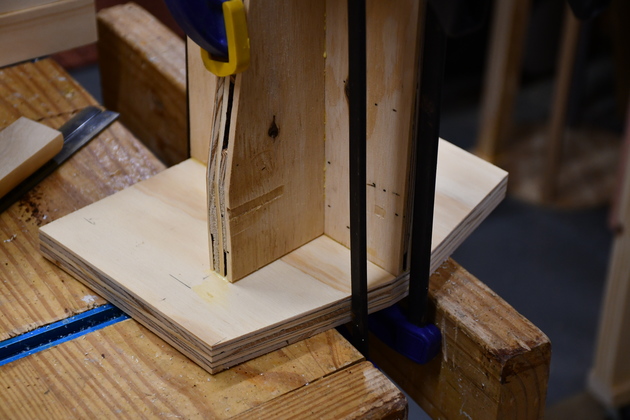
Closer look. Thats the stabilizer pointing to the left. |
|
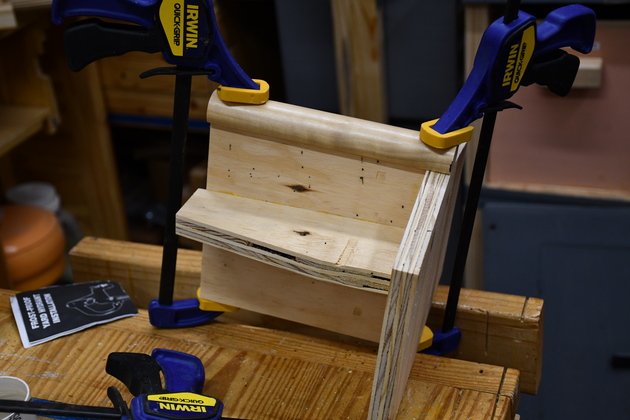
Gluing on the dowel. The stabilizer is pointing into the camera. |
|
Painting the guide. |
|
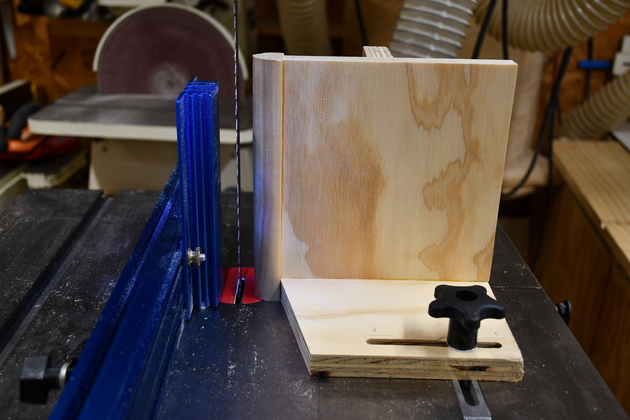
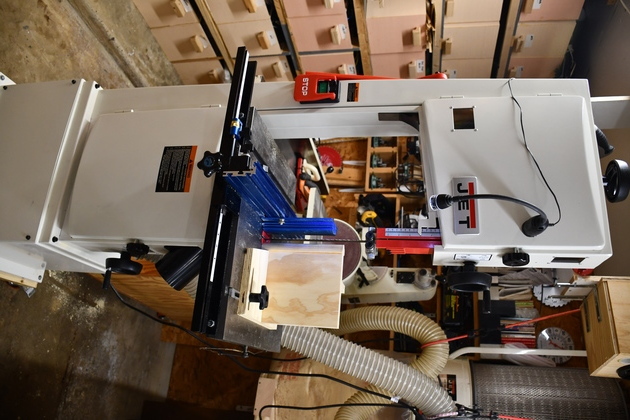
The resaw back guide on the bandsaw. |
|
|
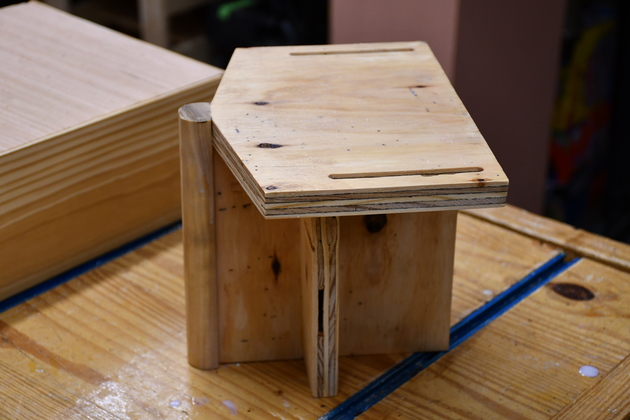
Closer look at the front. |
|
|
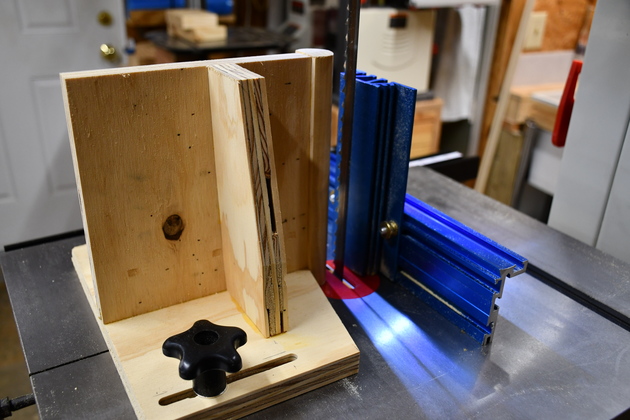
This is the back side, you can see the stiffener. |
|
|
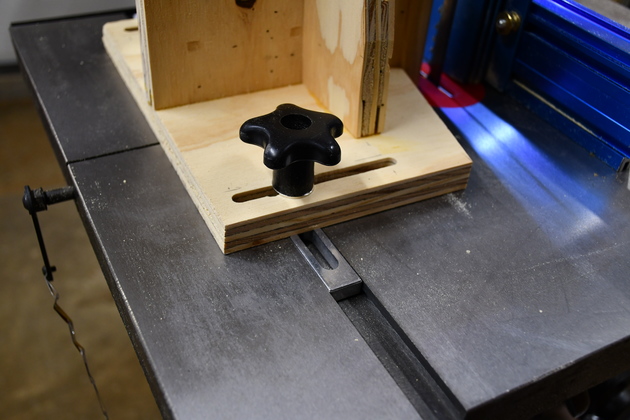
Closer look at the miter clamps, from Rockler. |