Making Picture Frames
06/02/16: Add Miter Sled & Miter Slot jigs links and description.
11/12/13: Update with brad pics.
10/21/13: Page origin.
We ocassionally get a new picture, (great grandkids, or a Gorman Poster) and need a frame for it, this is how I spring into action.
I like simple, clean lines for furniture, maybe thats why I like R. C. Gorman's work, most of his work is really clean and uncluttered so I make clean simple picture frames.
The frame shouldn't take away from the picture.
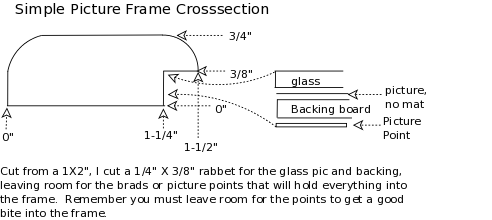
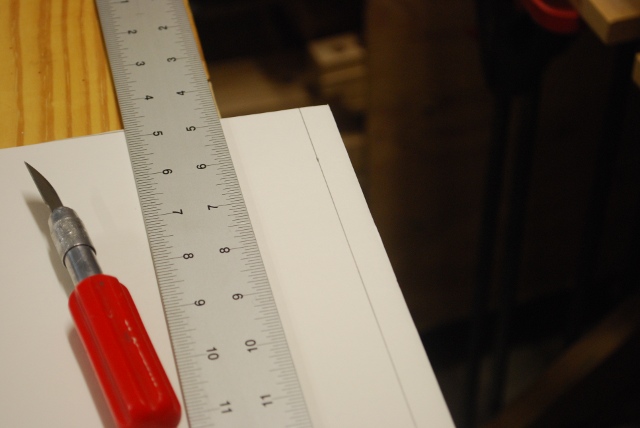
After deciding about matting, I trim the pic to it's final dimensions, I measure the horizontal and vertical dimensions of the picture (with optional matting), then figure out the dimensions of the frame.
The length of each frame piece is the pic dimension plus 2 X the frame thickness from the rabbet to the outer edge, in this case 1-1/4" plus a little relief for the glass (1/16 to /18").
Now I must decide what kind of backing to use so I know how deep to cut the rabbet.
The picture should be protected from moisture so I use a foam backing board about 1/8" thick, this seals out moisuture, its easy to cut and the 1/8" thickness doesn't use up too much frame depth.
The glass should be the same size as the picture (with matting if required), but the frame opening must be slightly larger so the glass isn't under stress.
The rabbet the glass and pic sit in should be flat all the way around again so the glass isn't under stress.
I start out with 1x2 usually, cut it to length, then I mark the 45s at the ends and cut them, getting the 45° angle and frame side length are both critical.
If you assume the glass it about 1/16" to 3/32" thick, the pic is just a few thousandths (unless its matted), and the backing board is 1/8" you end up with a sandwich between 3/16" and 1/4" thick (no matting).
You must also leave room for the brads or points that will hold the glass, picture, and backboard into the frame with enough space for the brad or point to dig into the frame without cracking.
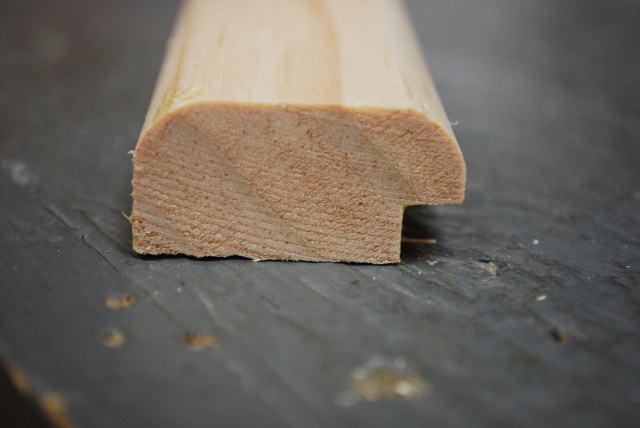
I usually cut the rabbet about 3/8" high and 1/4" wide (see diagram).
After the frame is painted, I install the glass with a bead of clear sealer between glass and frame, then the pic and finally the backing foam board, also sealed to the frame.
Don't get the sealer on the picture!
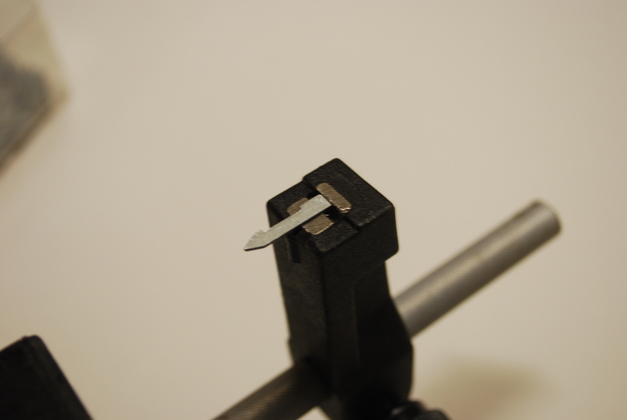
Last I drive in brads or picture points using framer's pliers.
You can make the face of the frame as complex as you want but I'd try to keep the back flat and do all my cutting (45°s etc) using the flat back as a reference.
Miter Slot Jig
Recently I acquired a table saw and made a miter sled and miter slot jig.
These two fixtures have really speeded up making picture frames, drawer, and slider fronts.
The pictures on this page show my using my sliding compound miter saw to cut the frame pieces.
|
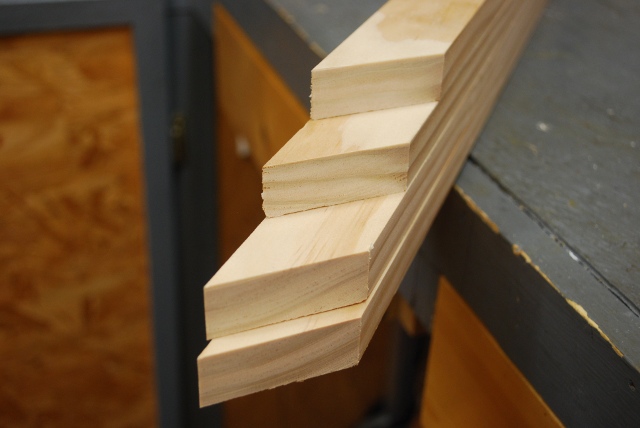
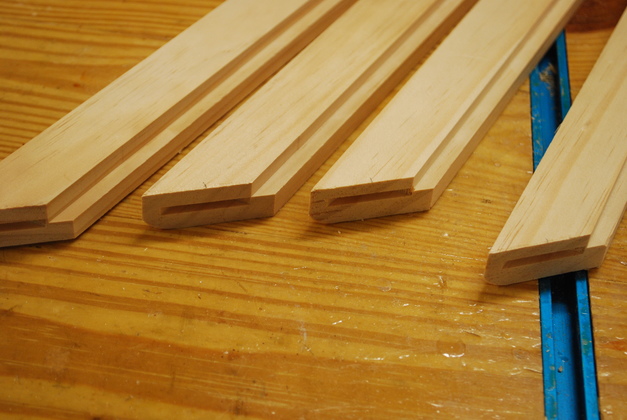
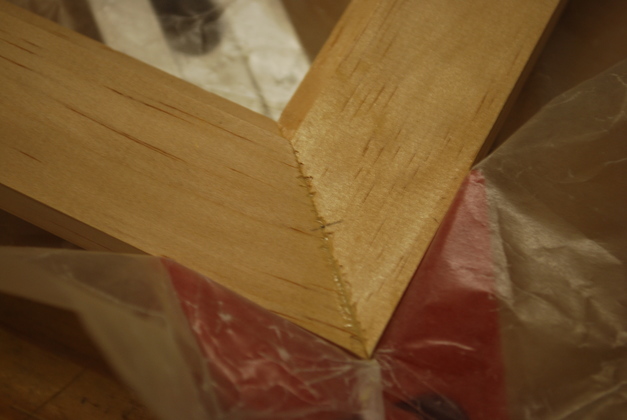
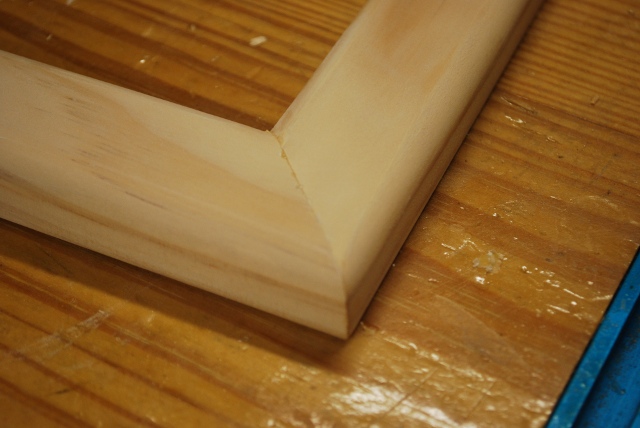
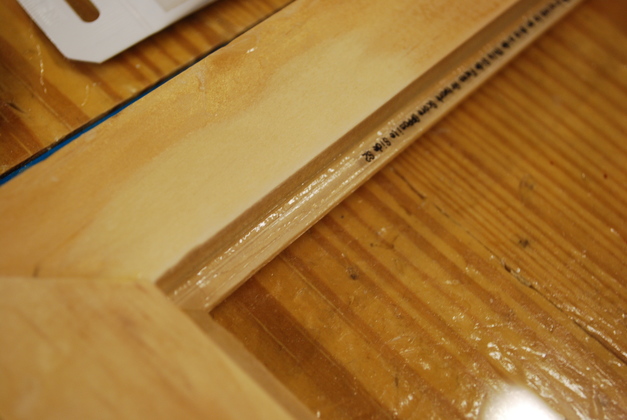
Heres a piece from another project, just to show what the frame's cross section looks like.
|
|
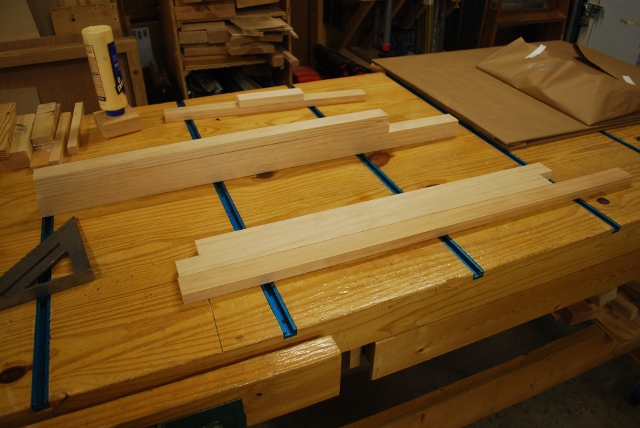
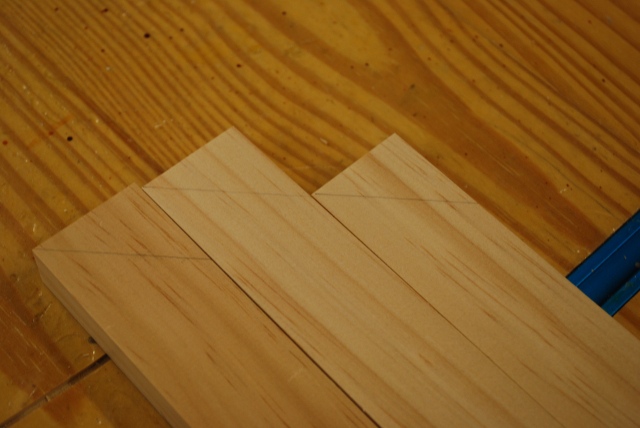
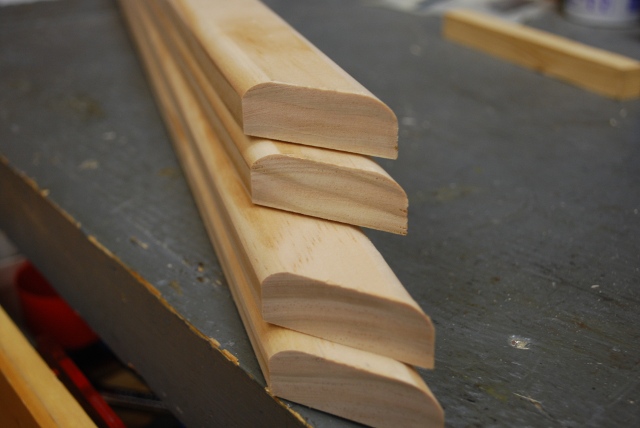
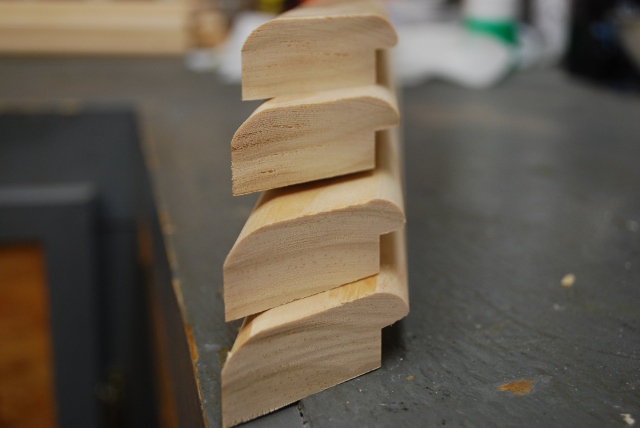
Frame pieces cut out.
This is select pine 1x2 from the Depot.
You can find straight pieces and they stay straight over time.
|
|
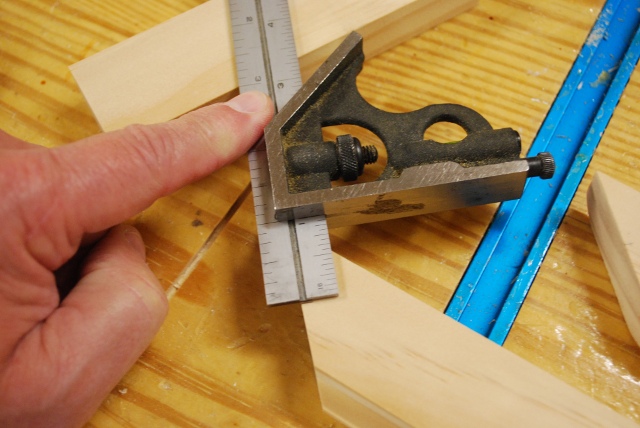
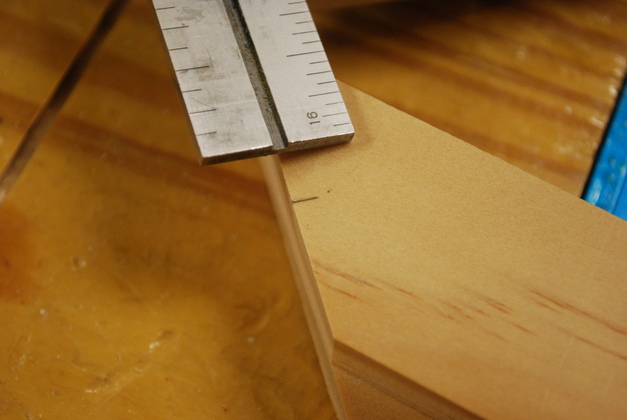
I take a small fixed angle square and mark a line to reference.
Remember the frame piece is already the right length, so I just have to cut the 45° exactly on the corner.
The most important thing here is to get the line so it bisects the corner.
|
|
Miters marked.
I cut the miters before I do any rounding or rabbeting, it makes it easier for me to get the frame piece exactly the right length and have a precise 45° cut at the end.
|
|
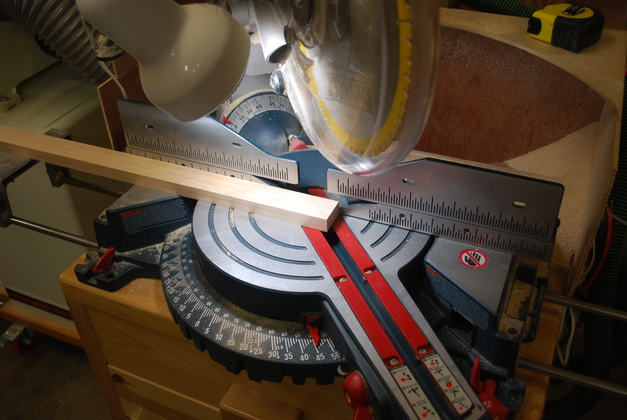
I use a Bosch miter saw to cut the acutal miters.
I set the miter saw to the right 45° position and cut one end of each piece, then set the miter saw to the left 45° setting and cut the other end, this nulls out any error in squaring the fence to zero.
|

|
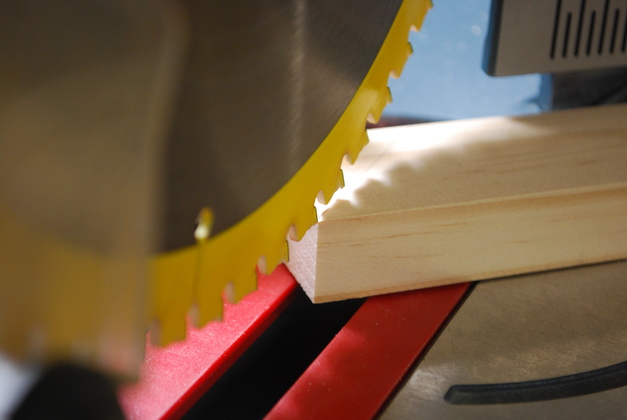
First I line each cut up so the teeth of the saw line up with the exact corner of the frame piece to be mitered.
See how the edge of the saw tooth lines up with the corner.
I cut the 45° before I round the frame pieces bacause I can line the saw up more accurately.
|
|
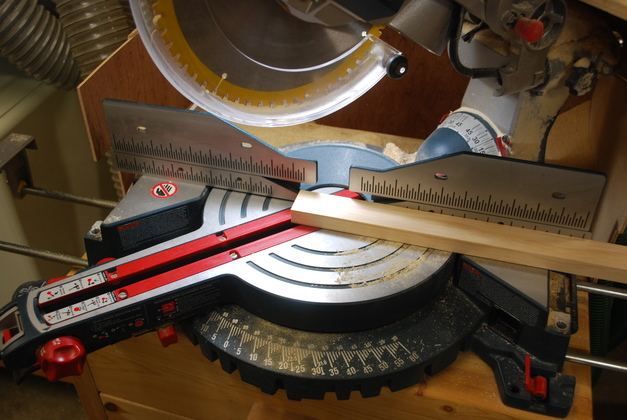
Now the left 45° cuts.
|
|
Again, line the saw tooth so it cuts exactly on the corner.
BTW your saw blade may have alternate teeth set to opposite sides, so be sure to line up with a blade thats offset toward the corner of the wood (to the right in this pic).
|
|
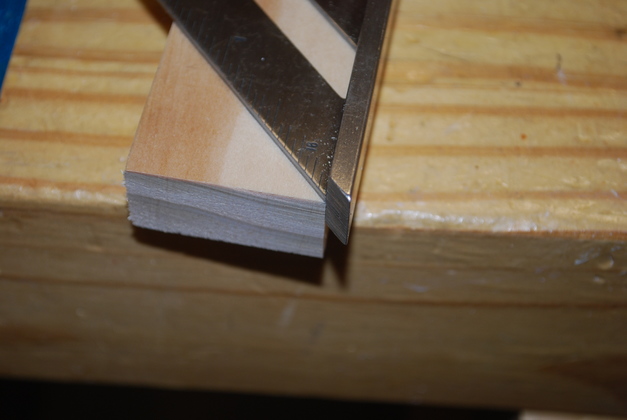
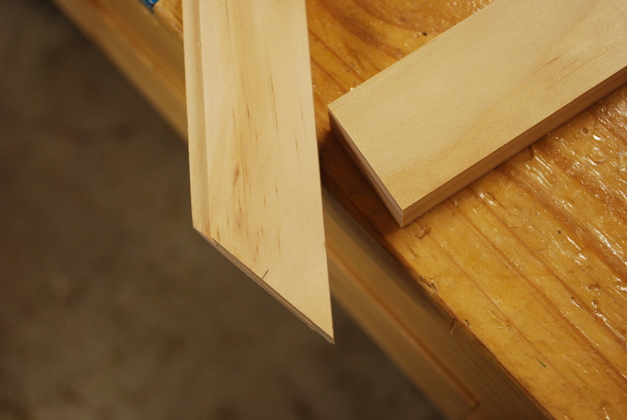
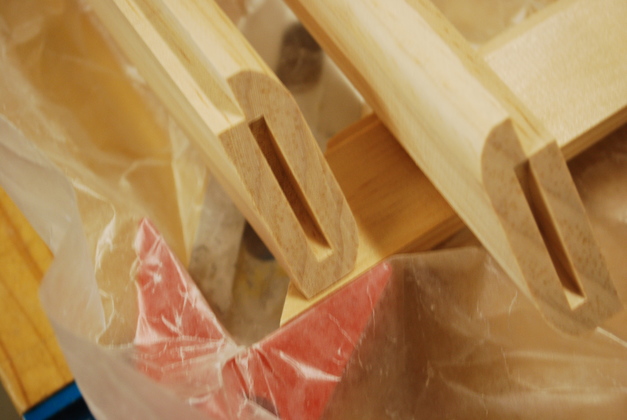
Mitered pieces ready to round and rabbet.
|
|
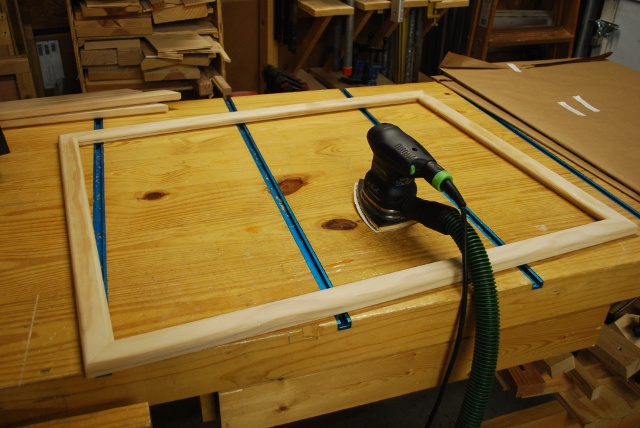
After rounding the front face.
|
|
Now the rabbets are cut.
|
|
Marking the mitered ends for slotting and later alignment.
In this case, I'm using type "FF" biscuits so I want them centered 1" from the corner of the miter.
|
|
This mark will be used to center the slots.
Note I pulled the try square back to show the mark.
|
|
Preparing to slot the miters.
|
|
Please see my Miter Slot Jig Page
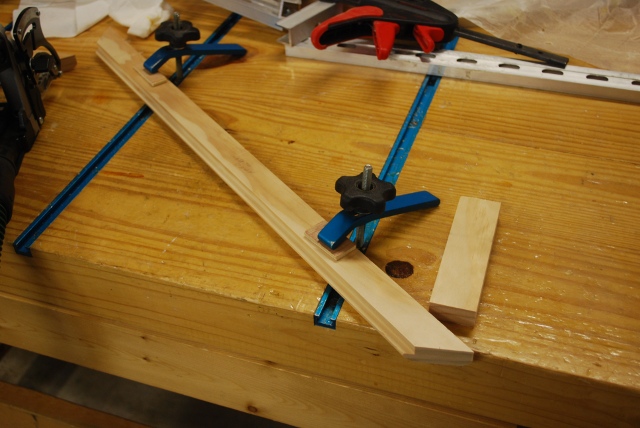
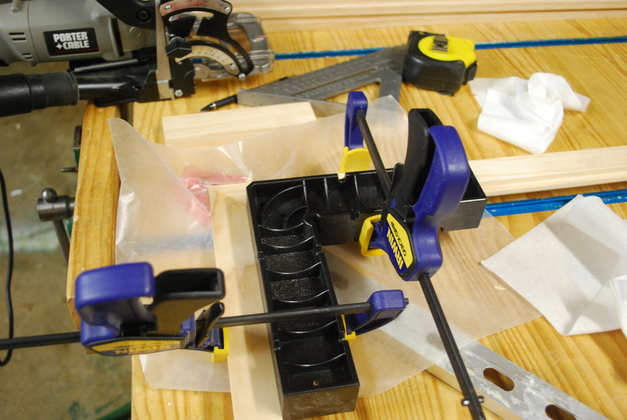
Frame pieces clamped down ready to slot.
The 1x2 lying next to the piece is the same thickness as the frame piece and gives me a larger surface to be sure the biscuit cutter is flat in the same plane as the frame pieces.
This should probably be done before rounding the face edges (especially if the face shaping is complex), but this still has plenty of flat on the front to be able to clamp flat.
|
|
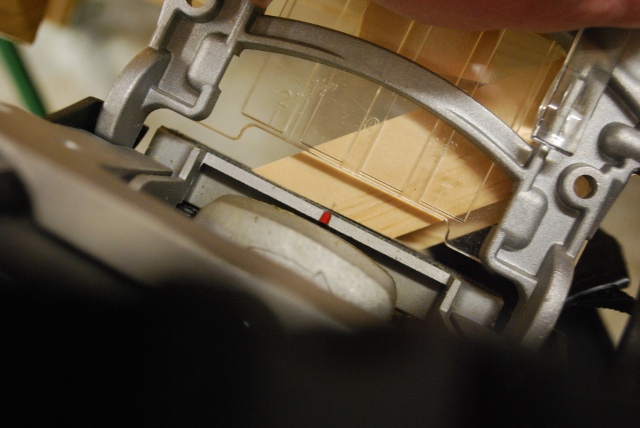
Looking down as I align the biscuit cutter with the miter.
I'm using the Porter Cable because it has a blade to cut type 'FF' slots.
You have to be sure the cutter is flush and square up against the miter and the fence is flat down on the two pieces of wood.
You can see the frame piece sloping off the the upper right and the end of the 1x2 at the top under my hand.
My hand, at the top, is holding the horizontal fence of the biscuit cutter down on the small 1x2 to insure I get a flat cut into the miter.
|
|
Slots cut in miters.
By cutting the slots from the back of the frame I must be sure the frame pieces are all exactly the same thickness, so the joints on the face of the frame will be flat.
Notice I positioned the biscuit slot so it just reaches the corner of the rabbet, the biscuit should not interfear with the glass when the frame is assembled and the picture installed.
|
|
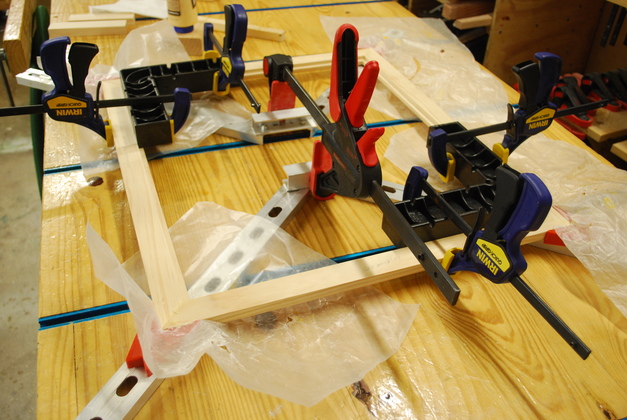
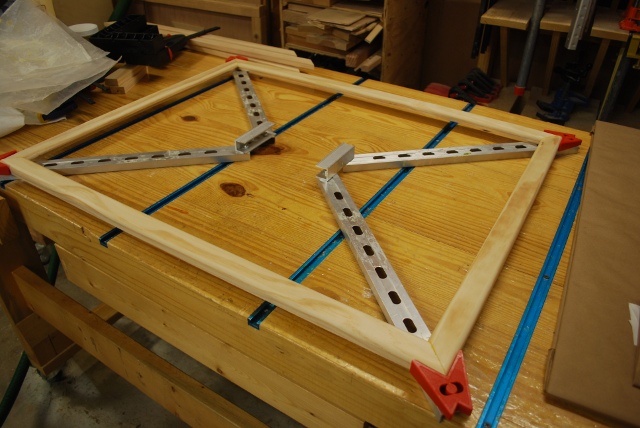
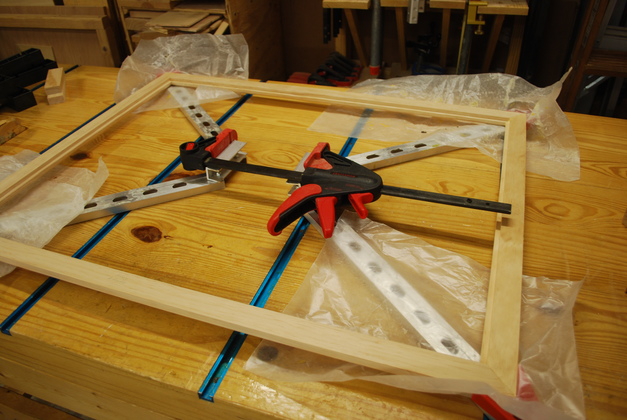
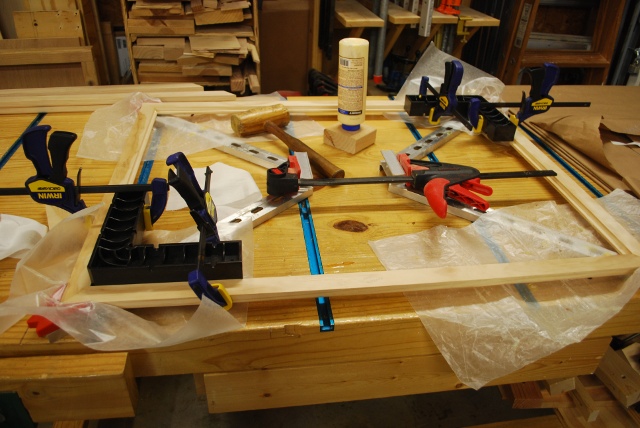
My X-clamp, since this is a large frame (34X27") its adjusted all the way out.
The X-clamp came with a carriage bolt and wing nut, but I use a bar clamp.
The bar clamp squeezes the two blocks at the center of the clamp to put pressure on all 4 corners.
I really like this clamp for making frames, it glues all 4 corners at once and its easy to keep everything square and flat with it and when your through it folds up flat for storage in a drawer.
A band clamp would work but you have to clamp the frame down to the workbench to keep everything flat.
Rockler and Woodcraft both cary one, they're about $30.
|
|
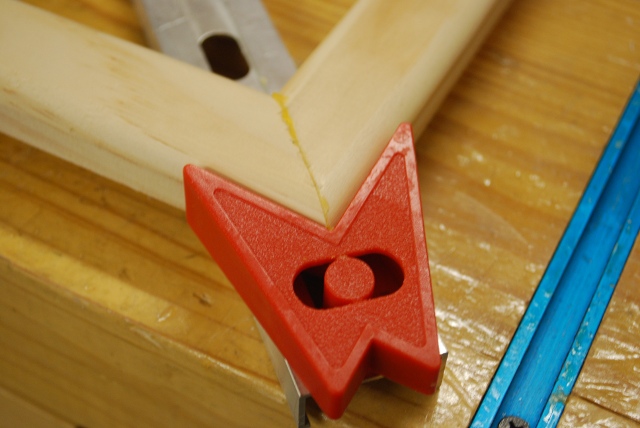
X-clamp's corner bracket.
The X-clamp is Self-Squaring, and for the most part it is, but it still takes a few fine adjustments to get everything dead-on.
I put a little pressure on the X-clamp then make sure the miter marks line up and tap down the corners with a wooden mallet to be sure their flat before final tightening the X-clamp.
|
|
The two longest members (top and bottom) ready to glue, laying on top of one of the side members.
|
|
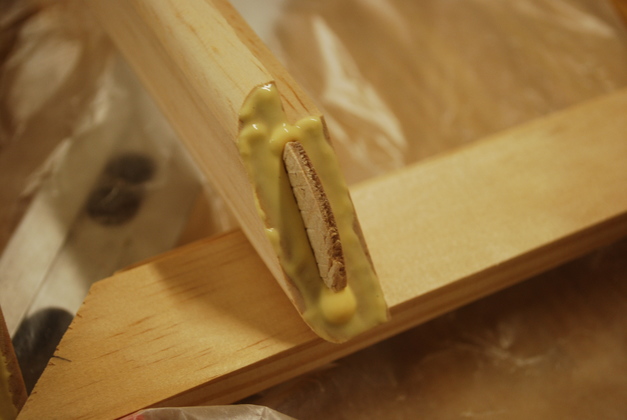
Spread glue (I use Titebond II) making sure there is lots in the slot and a thin layer on the flat surfaces to be joined.
|
|
Insert the biscuit (joiner plate).
|
|
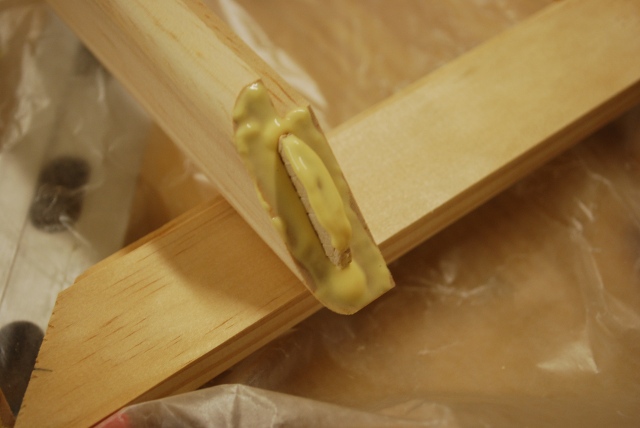
A generous bead on top of the biscuit that will fill the slot in the joined piece (laying under the glued piece).
|
|
Insert the corners, gently tighten the clamps, make sure the slot marks are lined up, then finish tightening the clamps.
|
|
Here you can see the slot marks on the back of the frame lined up.
|
|
A large pic frame clamped, note the bar clamp in the center squeezing the X-clamp and the Rockler Clampits on opposite corners.
The Clampits ensure the frame is square, the glass is cut square, your frame better be or you'll be disappointed.
The X-clamp is good at aligning a frame but the Clampits make it perfect.
My work bench is very flat so I can use it as a reference to keep the clamps and resulting picture frame flat.
|
|
Closer shot of Clampit, set into the rabbet, it forces the corner to be square.
You can see the aluminum arm of the X-clamp and, under the wax paper at the corner you can see the red corner bracket that forces the joints together.
You can also see the side of the Porter Cable biscuit cutter at the top left of the pic.
|
|
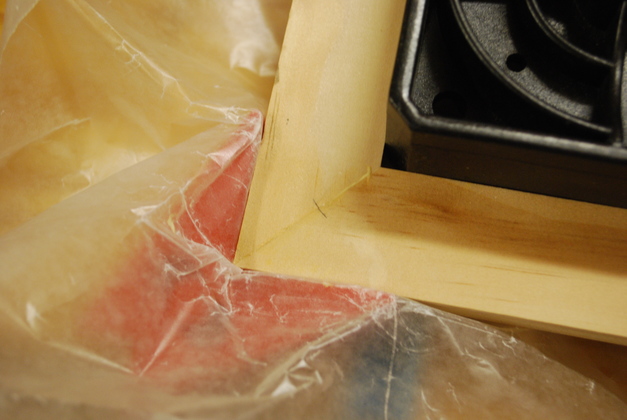
Note how the biscuit marks line up, this shows the corners are aligned.
You can see how the Clampit sits in the rabbet.
The red thing under the wax paper at the corner is the corner bracket of the X-clamp.
The wax paper catches any excess glue and keeps the table top and clamps free of it.
|
|
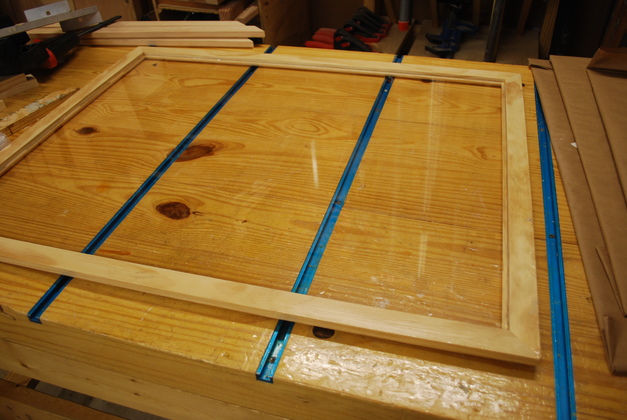
A glued frame ready to sand.
|
|
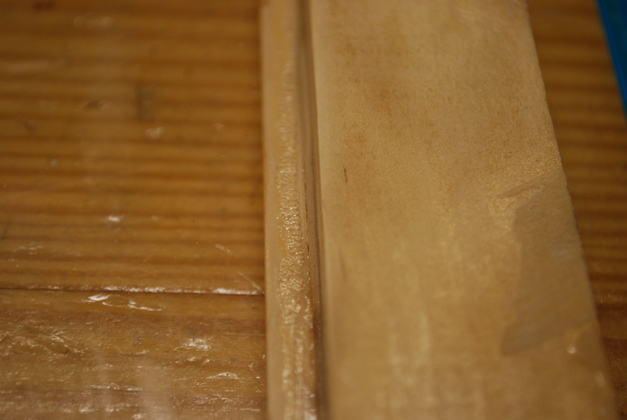
A glued corner after the first sanding pass.
After final sanding paint (I used clear polyeurethand on most of these).
|
|
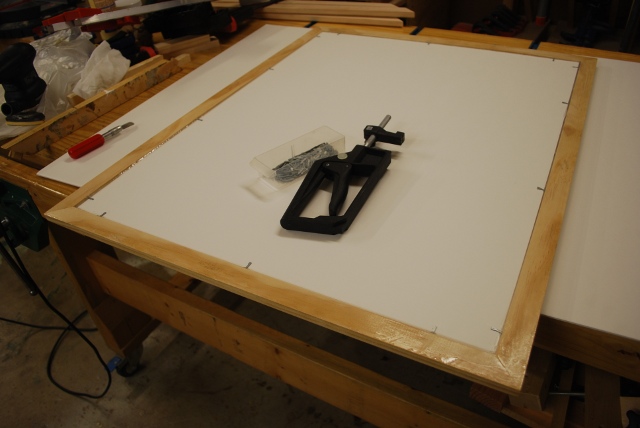
Glass laid in frame.
|
|
Here the frame is laying face down, a bead of sealer has been applied and the glass laid in.
You can see the sealer under the edge of the glass, note it doesn't come out the front edge or go all the way to the edge of the glass to keep it off the pic.
|
|
A look at sealer, under the glass, in a different area of the frame.
|
|
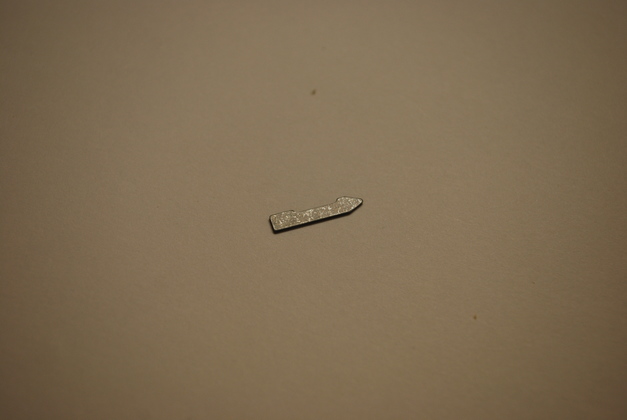
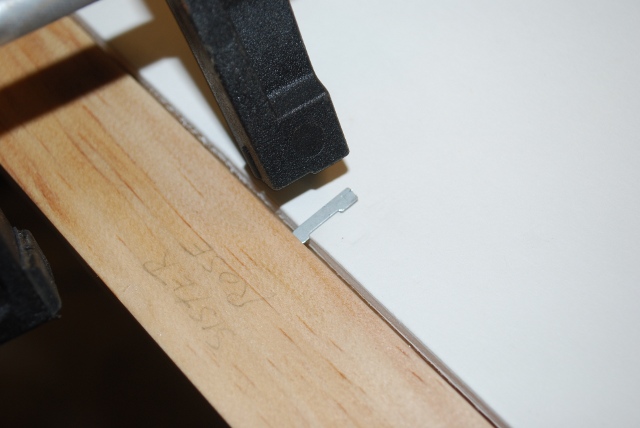
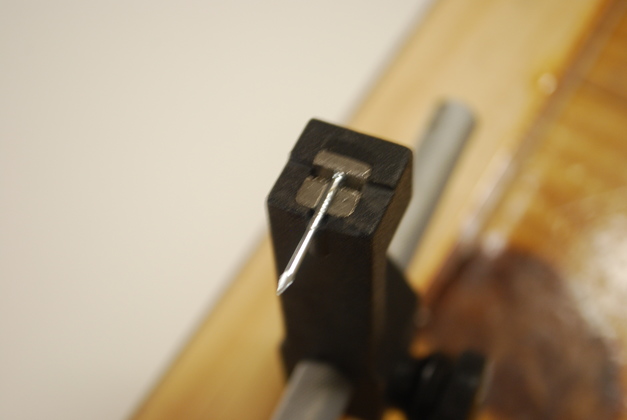
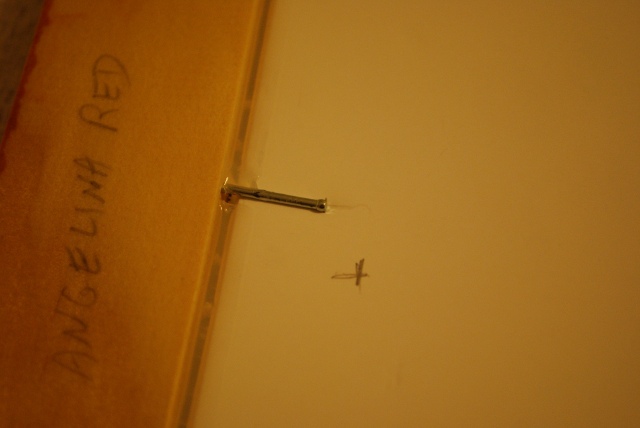
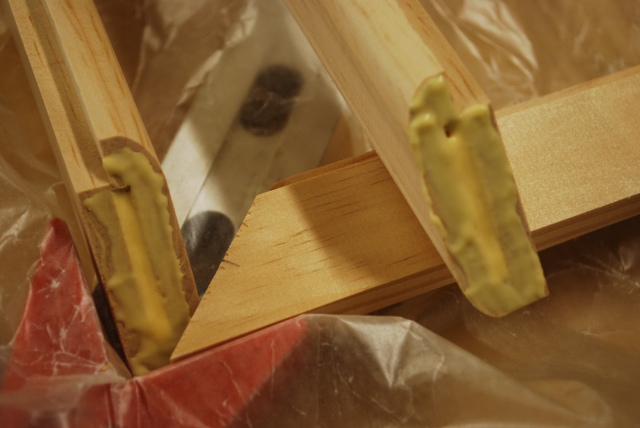
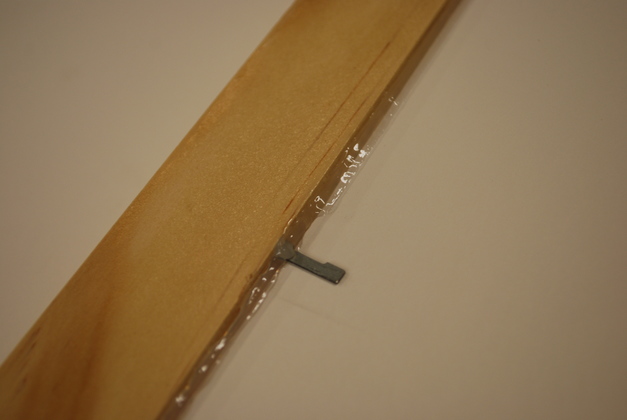
Backing board captured with framing points.
I use the framing pliers to gently squeeze in the points, no banging etc. that might damage something.
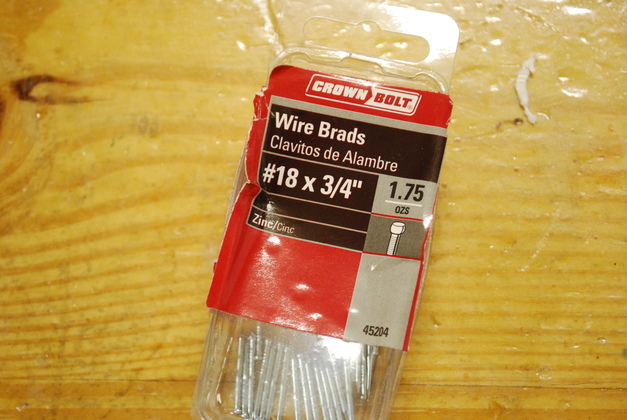
Note, I had a lot of problems with the framing points, the lip that catches the back of the framing point rounded off after assembling a Red Oak framed pic, so I switched to brads and it works OK.
|
|
One of the framing points.
You can see the sealer between the backing board and the frame.
With the glass and foam backing board both sealed, very little moisture can reach the pic.
|
|
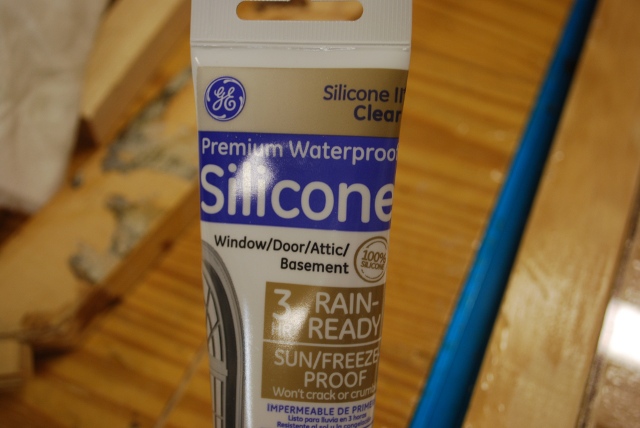
This is the tube of silicone sealer I sealed the glass and foam backing board with..
|
|
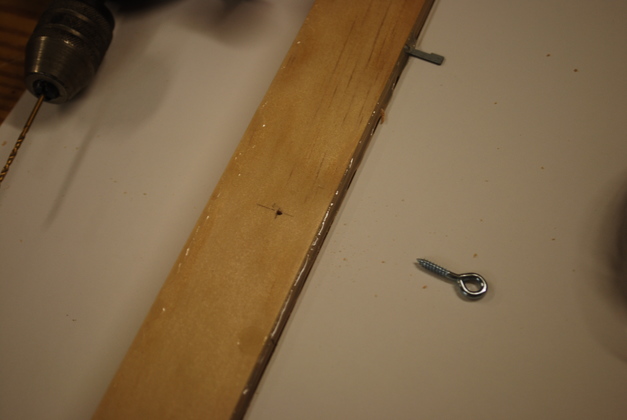
I marked holes for the hanger eyes 10" down from the top (the frame is 27" high).
|
|
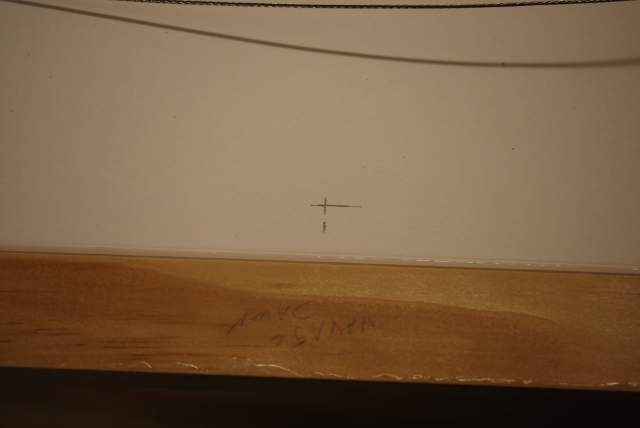
I marked a spot 2" from the top of the frame (seen upside down here) and in the center.
|
|
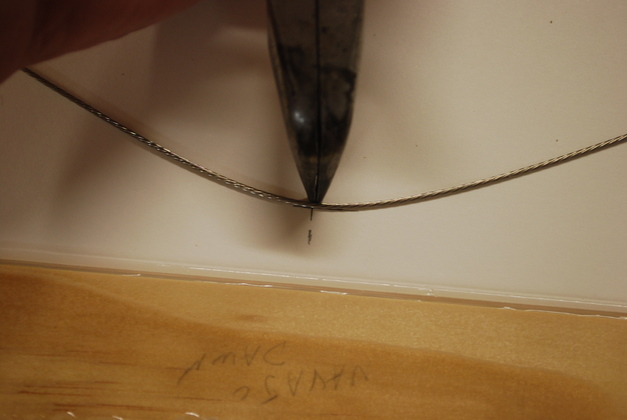
I ran the steel wire through one side to the other and tied it on the end.
Then I held the wire tight at the 2" mark while I tied it at the other end.
This way I can place my hanger 2" from where I want the top of the pic to end up.
|
|
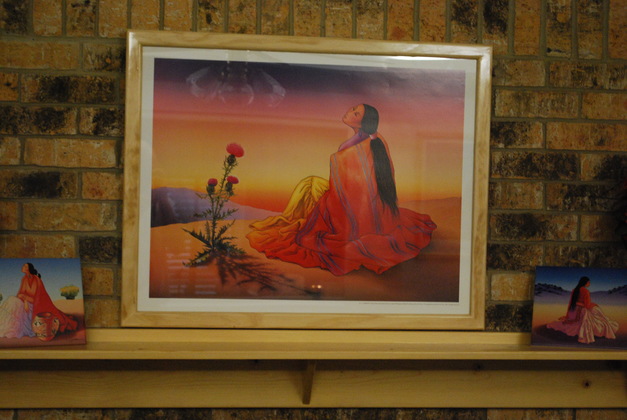
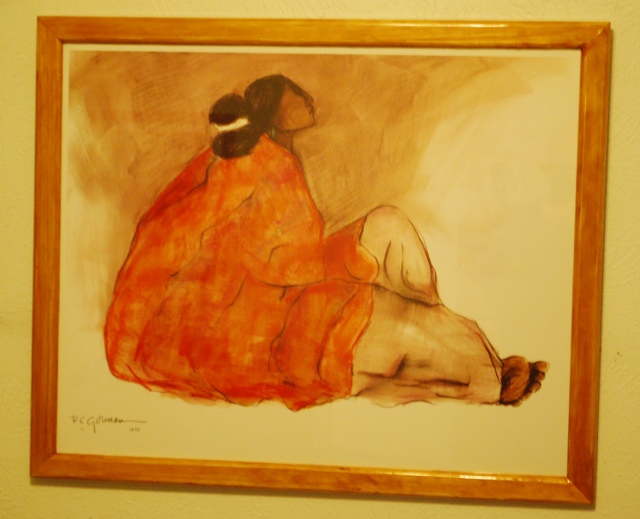
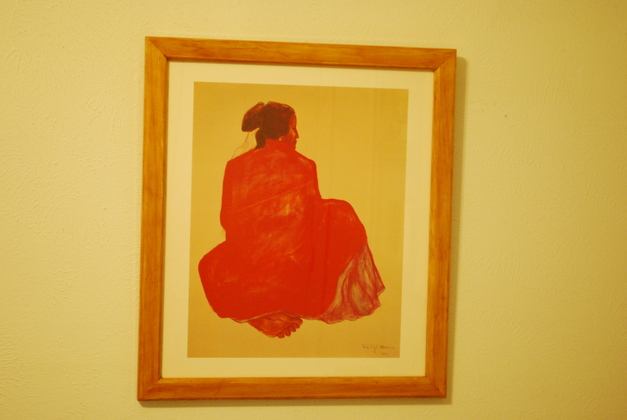
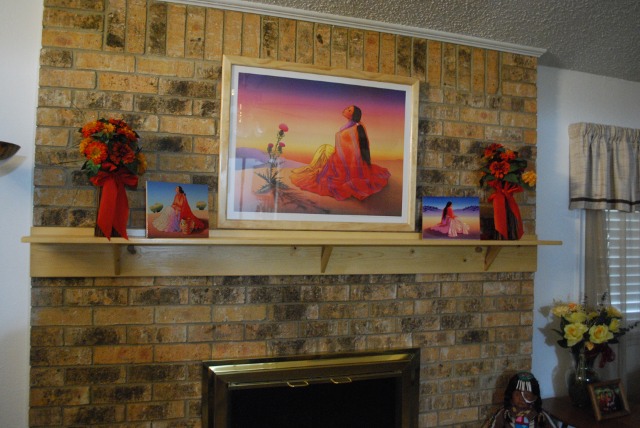
And here is R. C. Gorman's "Navajo Dawn" (92) hanging in our den.
Note the pine frame matches the pine mantel I built several years ago.
We purchased this particular Gorman from the Gorman Galleries in Taos, some of the others we have were bought over the internet.
Gorman pics are getting hard to find so you have to shop around.
Notice the Gorman tiles on the mantel, I have been toying around with making frames for those.
|
|
One of the frame's corners hanging just above the top of the mantel's backing board.
Thats exactly where Betty wants it.
|
|
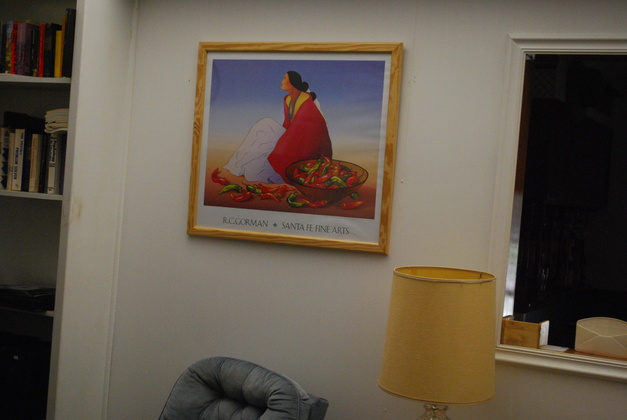
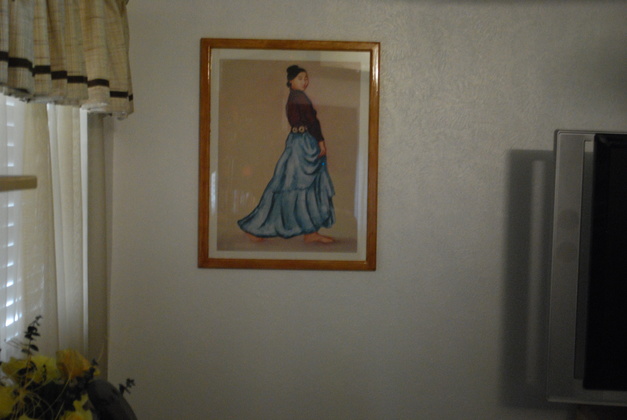
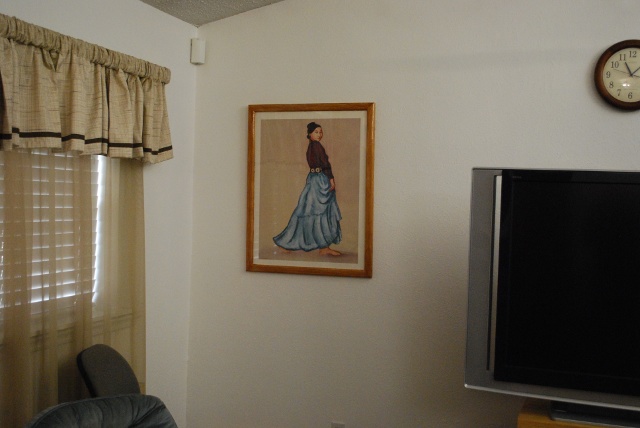
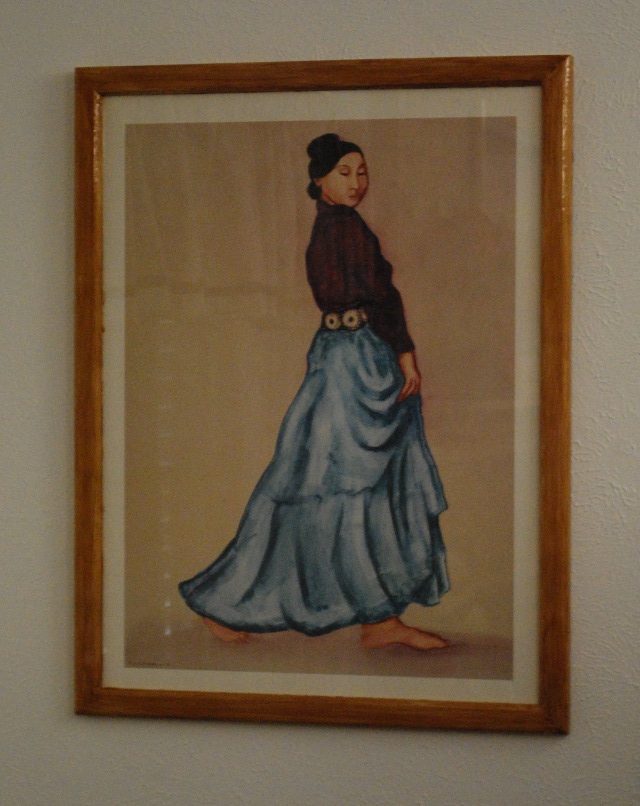
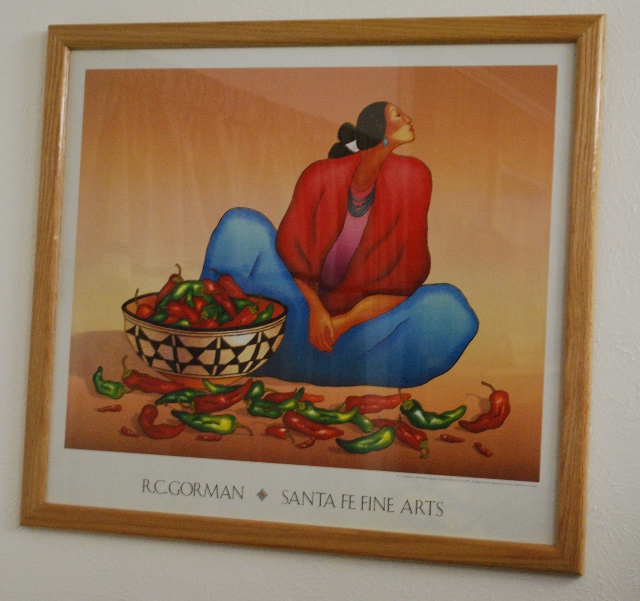
A Gorman ("Chili Fiesta" 93) I framed several years ago with a Red Oak frame.
|

|
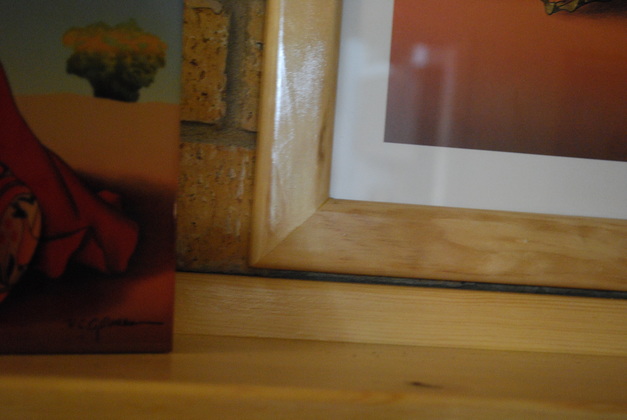
Detail of the red oak frame.
|
|
|
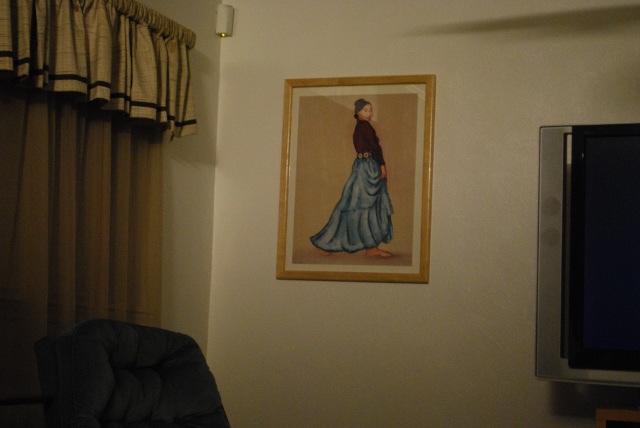
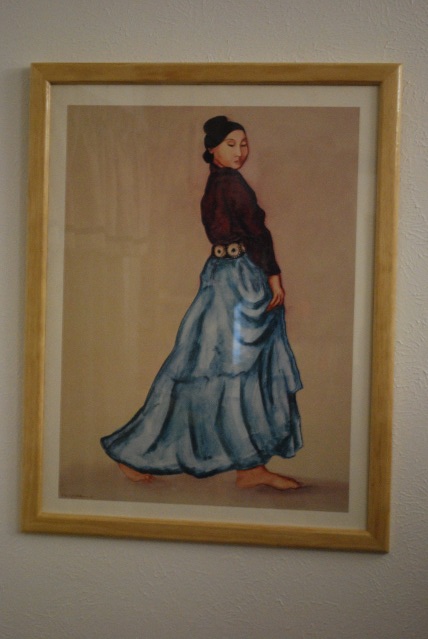
Another Gorman ("Navajo Chilis" 91) with a pine frame.
|