| 
|
|
Brazillian Cherry and Red Oak
| |
|
BandSaw Box
| |
|
|
|
|
Brazillian Cherry and Red Oak
| |
|
BandSaw Box
| |
After I saw some of these on the internet, I decided to try one. I laminated a block of two contrasting color woods, Brazillian Cherry and Red Oak, both of which I had available in my shop.
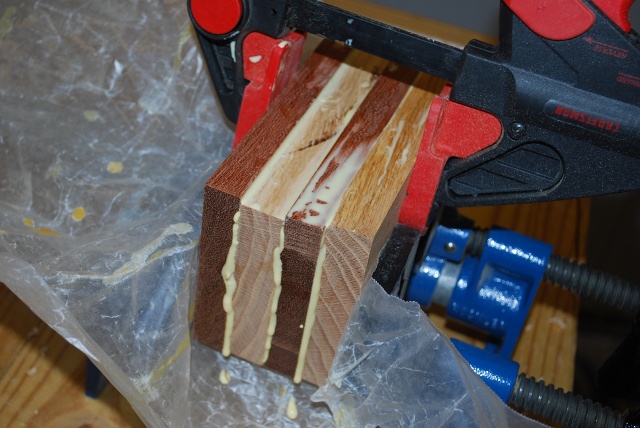
| Here are 4 blocks, two of Brazillian Cherry and two of Red Oak, being laminated. This is going to be interesting. |
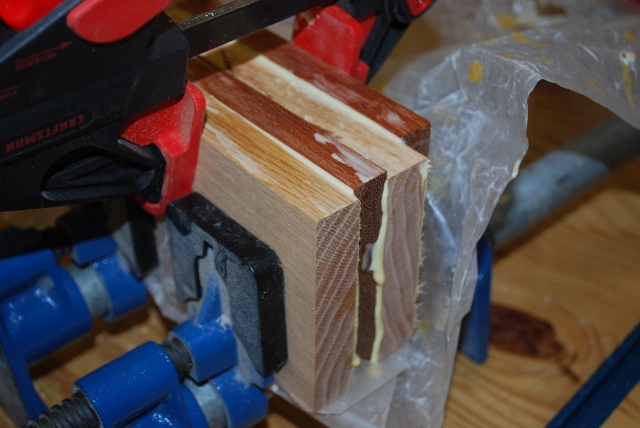
| The other end of the blocks being laminated. |
| After the glue has set. |

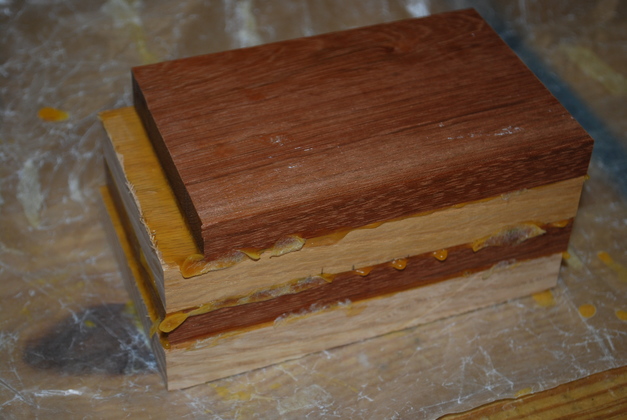
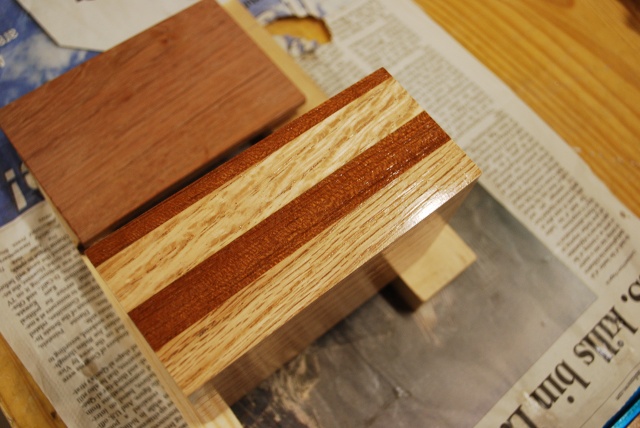
| After trimming, the next step is sanding. Brazillian Cherry and Red Oak are both very dense, heavy woods so this box is going to be heavy. |

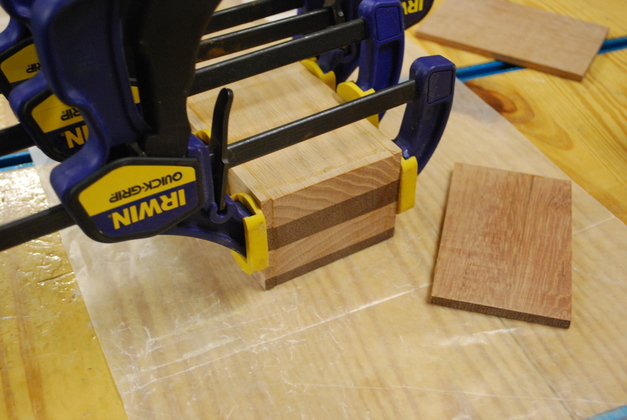
| Now its been sanded and ready to saw. I'll saw the lid, the front and back, the ends, and finally the bottom. One extra cut across the block will cut a "plug", piece to be glued to the inside bottom of the lid so it won't move around. |
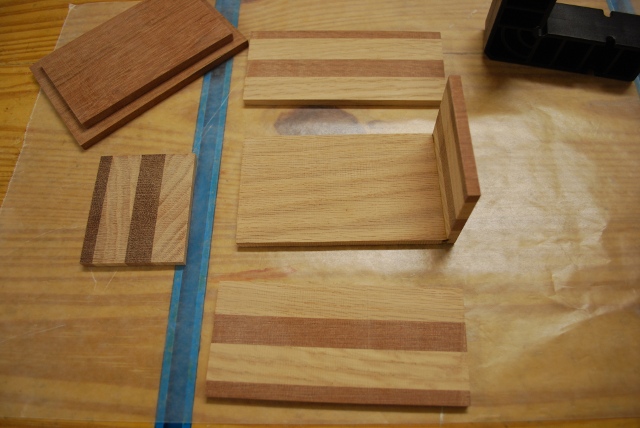
| Here are all the parts cut out, you can see the "plug" laying on top of the lid in the upper left corner. |

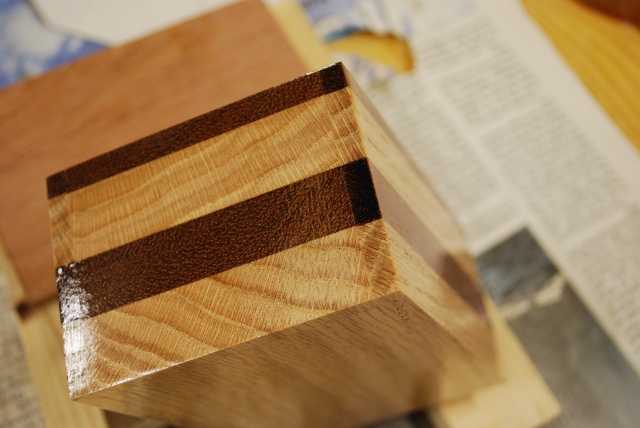
| One of the two "end" pieces, up close. |
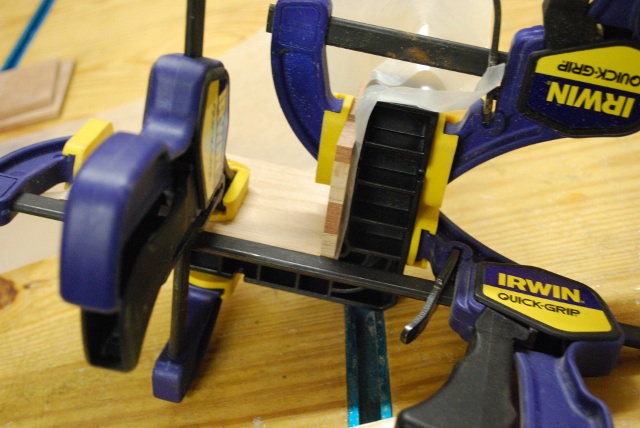
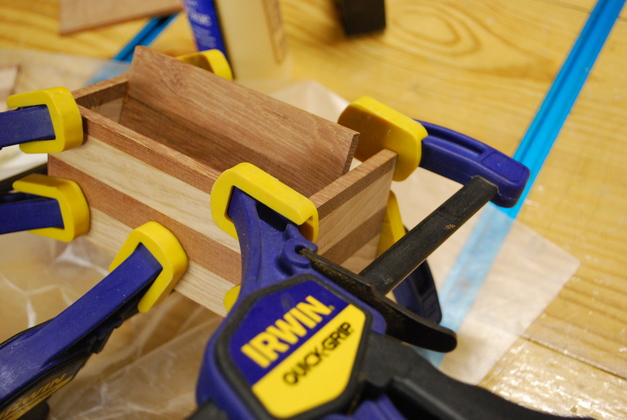
| One end being glued, in the clamps. Note the small ClampIt guaranteeing the angle is 90°, here Its on the outside of the box. |
| The clamp at the bottom holds the two pieces being glued together, forcing the glue into wood pores. The other two clamps hold the two arms of the ClampIt ensuring a square fit. |
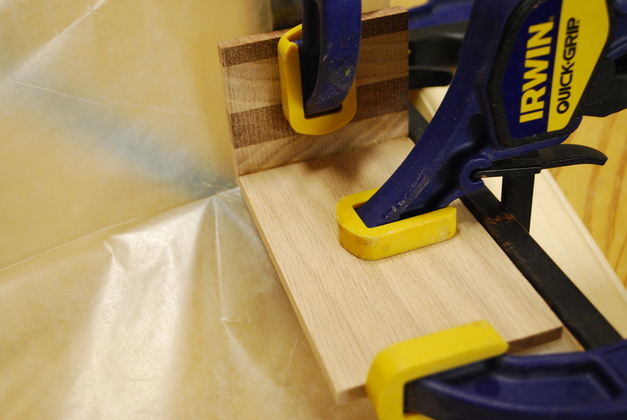
| The other "end" being glued and clamped. The bottom clamp holds pressure between the two pieces being glued, the other two clamps hold the arms of the ClampIt to ensure a square joint. Note the ClampIt is on the inside of the box, it works either way. |
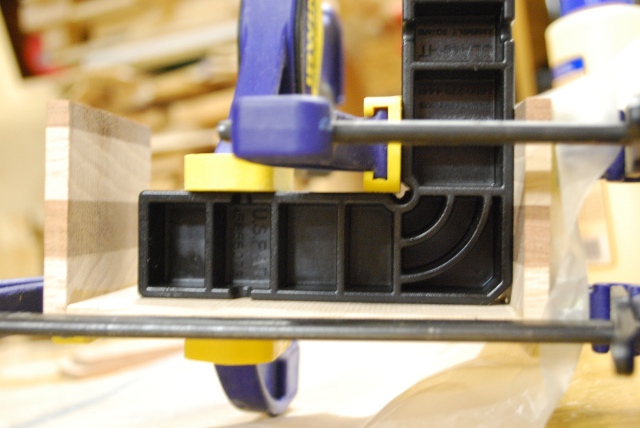
| Front side in glue clamps. The small piece in the center is used here as a spacer to guarantee the sides are vertical, it will become the "plug" on the bottom of the lid. |
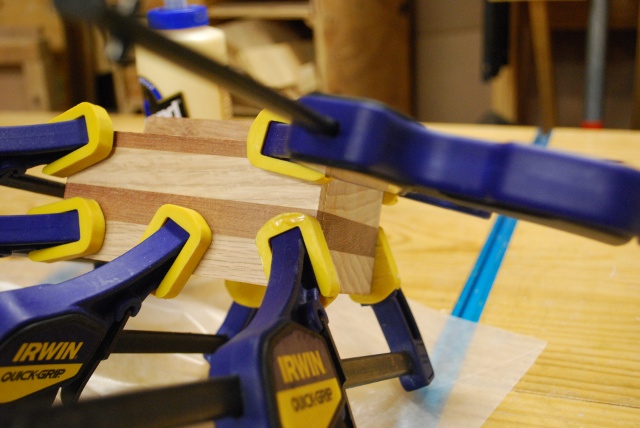
| A different view showing how the color bars line up. Gluing the back is next. |
| The back side clamped. |
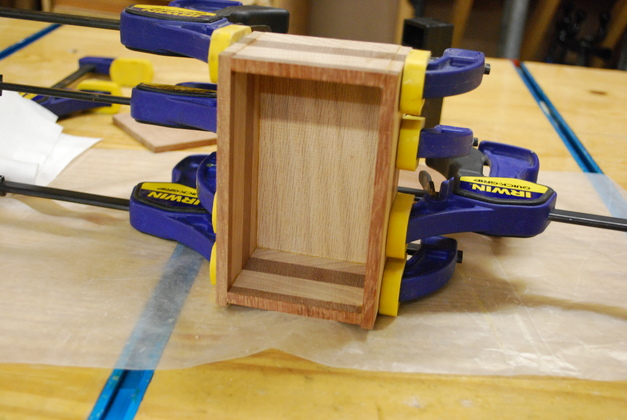
| You can start to see what its gonna look like. |
| Being painted. |
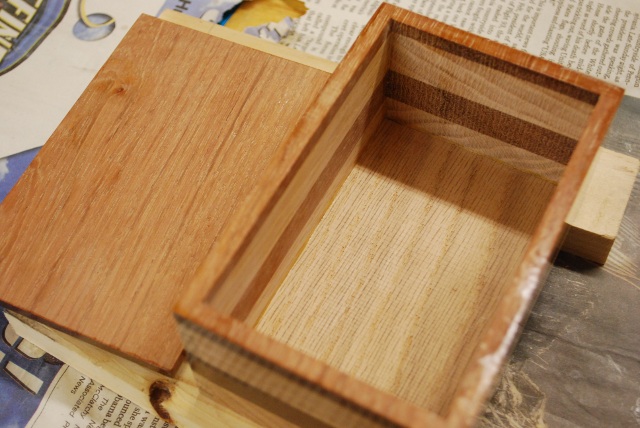
| Inside and lid before painting. |
| A coat of polyurethane really brings out the grain and colors. |
| Inside and lid with one coat of poly. |
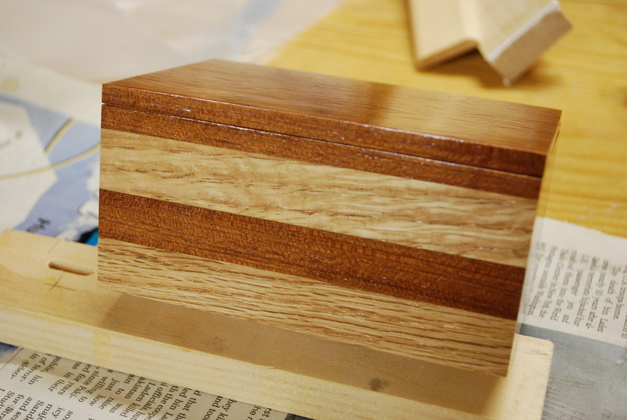
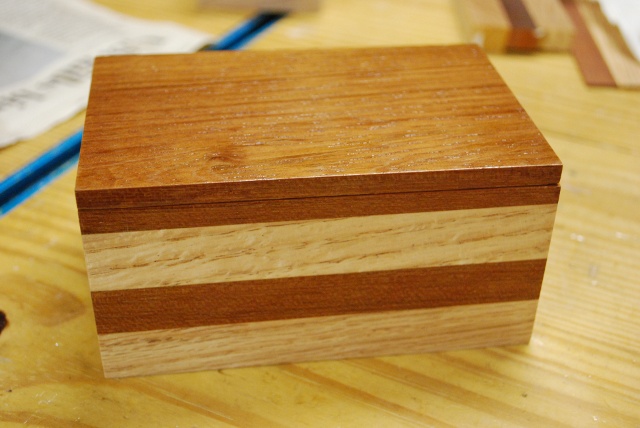
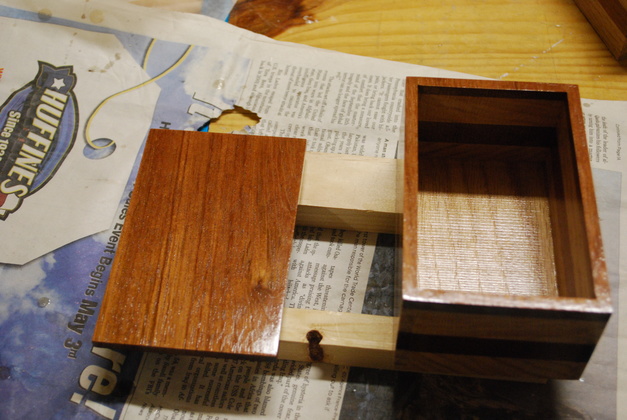
| Finished painting - Front. |
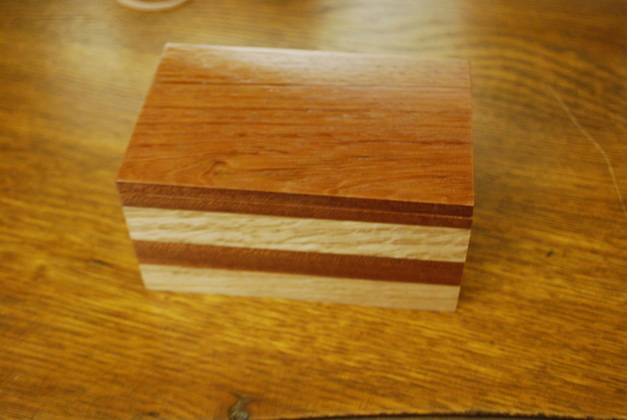
| Finished - top quarter. |

| Finished - end. |
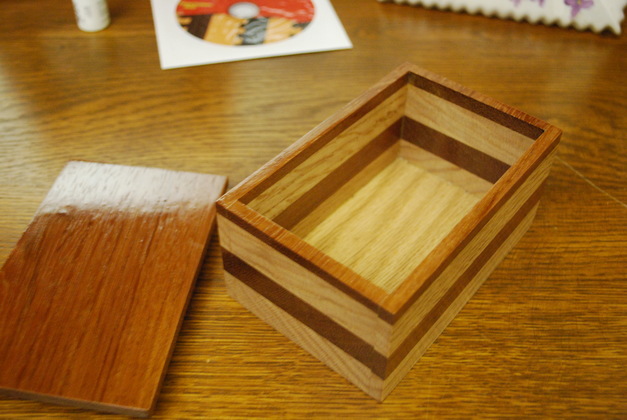
| Inside and lid. |
|
| Another inside and lid showing "plug" on the bottom of lid to keep it aligned. |