| 
|
|
Old TP Holder
|
New TP Holder
|
|
Toilet Paper Holder
| |
|
|
|
|
Old TP Holder
|
New TP Holder
|
|
Toilet Paper Holder
| |
| Diagram | New Holder | Beveling | Gluing |
| Roller | Old Holder |
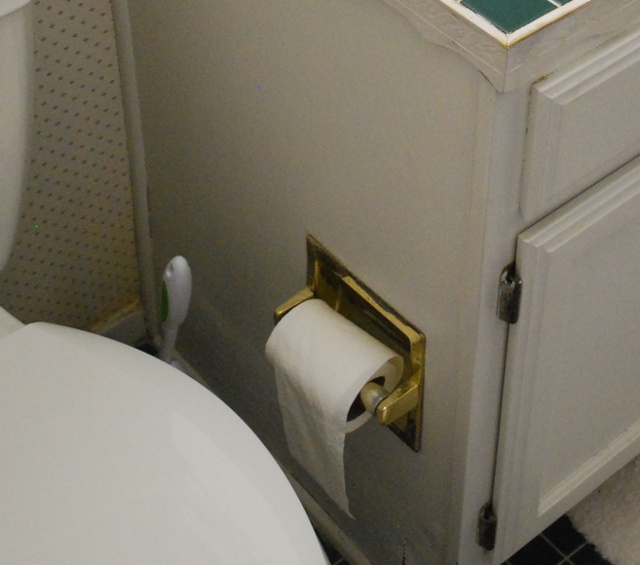
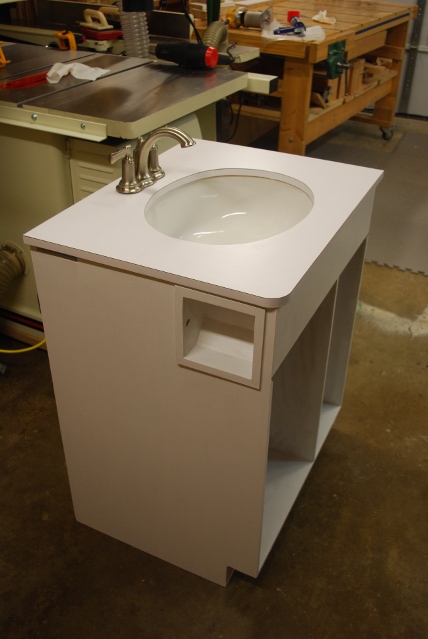
The old toilet paper holders in our bath rooms were too low and far too intrusive inside the vanity. I am going to build one that fits mostly inside the vanity up near the sink so it doesn't obstruct storage inside.
|
|
| Click for larger pic | |
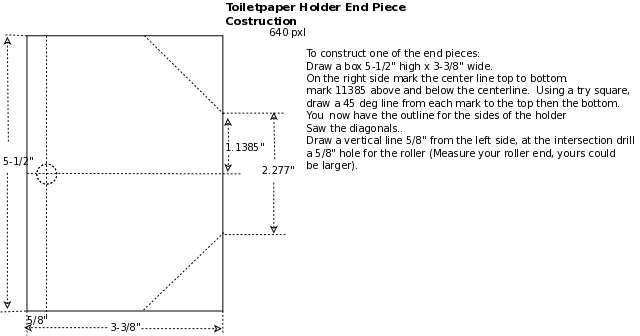
| The sides have been cut out and I marked the center line and 1.1385" on each side of the CL. |
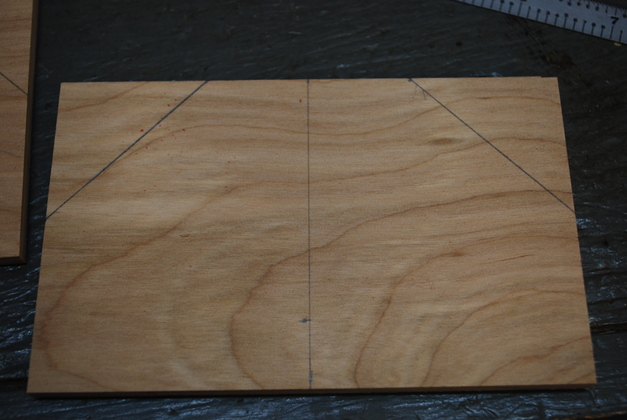
| I used a try-square and drew the diagonals on the marks (at 45°). |
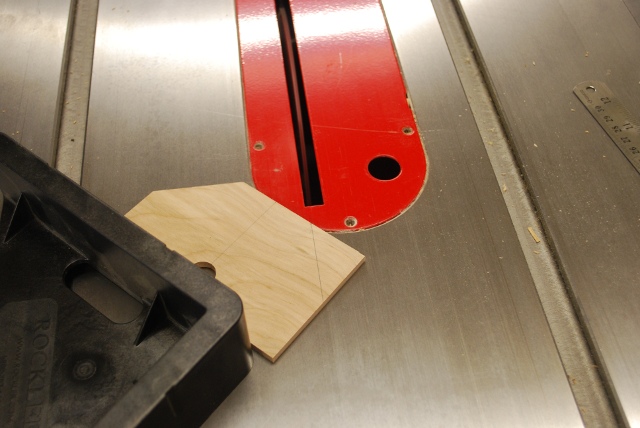
| I drilled the roller hole and now I'm using a 45° table saw sled to cut the diagonals. |
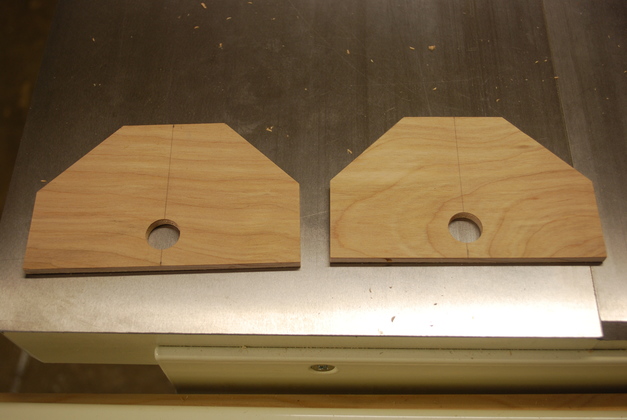
| TP Holder ends. Please click for info on how I drill clean holes. Also, you might want to see why the hole is 5/8". |
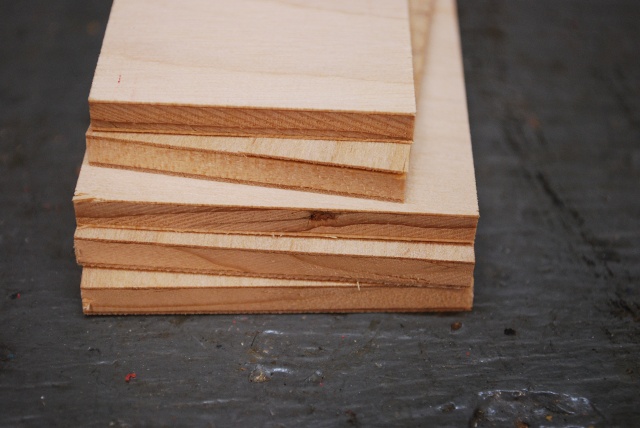
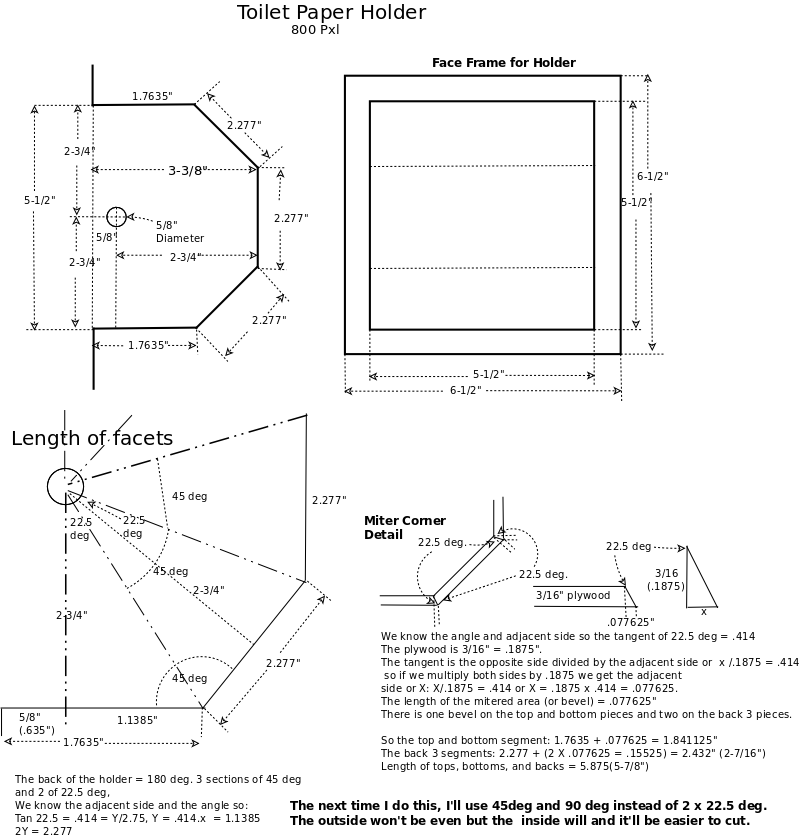
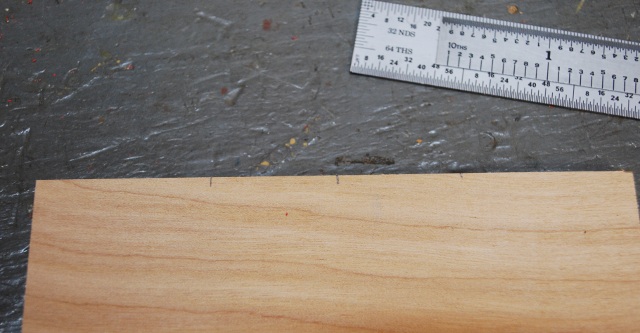
| This is 3/16" birch plywood, 5-7/8" long. Top, bottom (1.7635"), and back pieces (2.277")cut to width (Len = 5.875"), ready to bevel. |
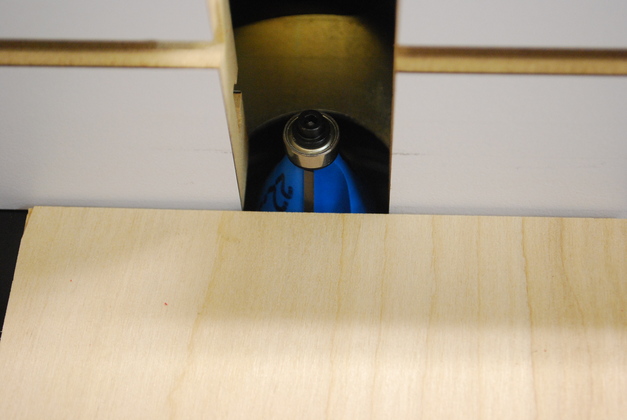
| I mounted a 22.5° chamfer bit (half of 45° in the router table. I pushed a piece of the material I want to bevel, as a spacer, up against the bit. |

| A little different angle, you can see the plywood is not up against the fence. |
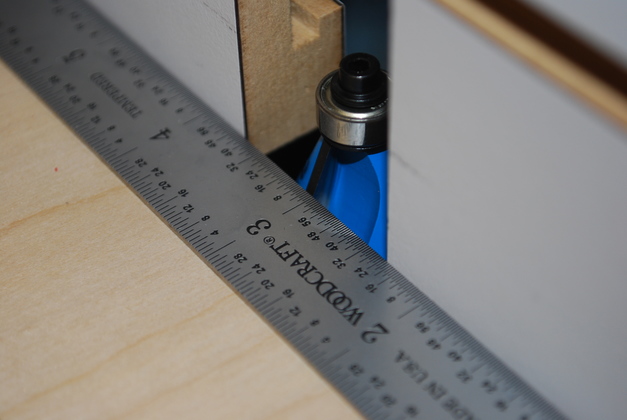
| I lay a flat ruler on top of the piece to be beveled and against the fence then adjust the router bit's height until it is just below (mises) the ruler. |
|
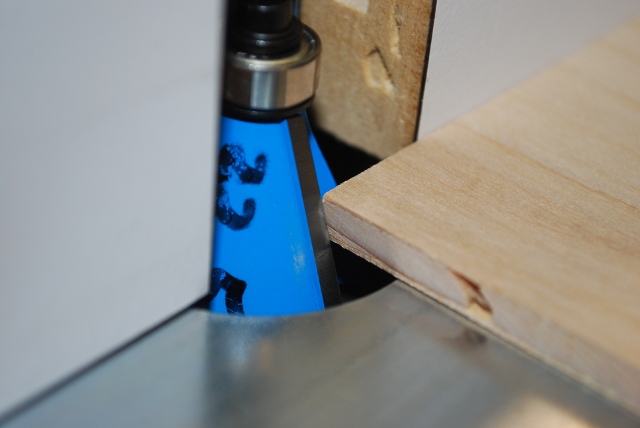
Here you can see the bevel bit will take off the lower corner and leave the top edge untouched.
|
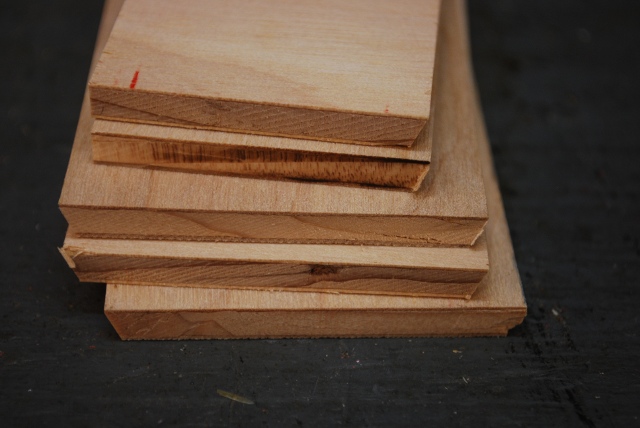
| Bevels cut on tops, bottoms and backs. |
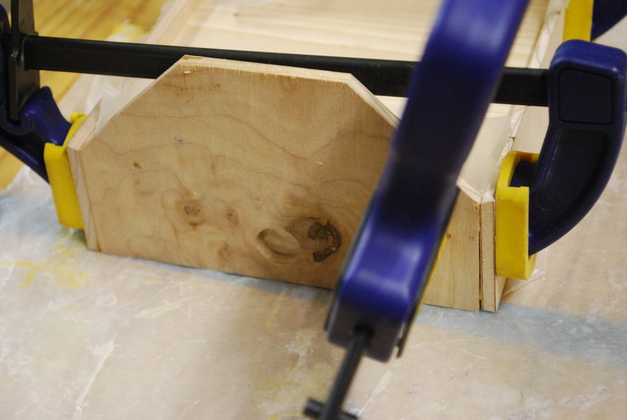
| Gluing top to ends. Note the 5-1/2" by 5-1/2" block used as an alignment frame. |
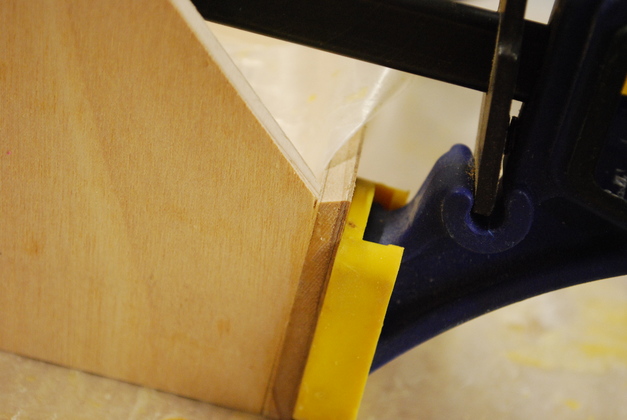
| Top being glued to an end, notice the bevel is toward where the back piece goes. |
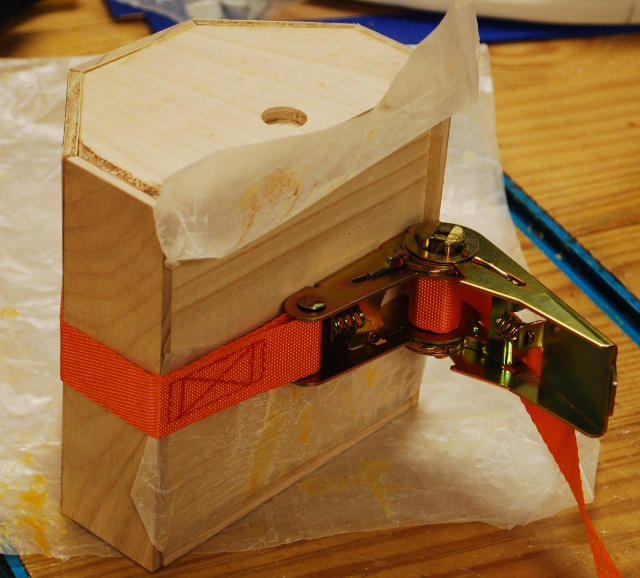
| All 3 back pieces being glued with a strap for tension. |
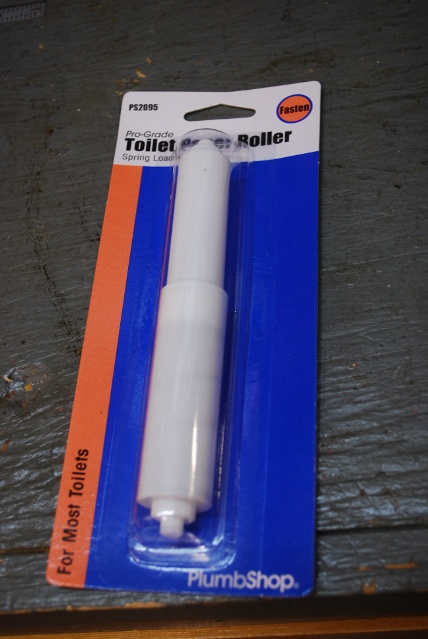
| Direct from Walmart, a plastic toilet paper roller. The shoulder on this one is just under 5/8" thats what determined the size of the hole in the end pieces, it can be changed for a different roller. I can replace this with a nicer one when I find it. |
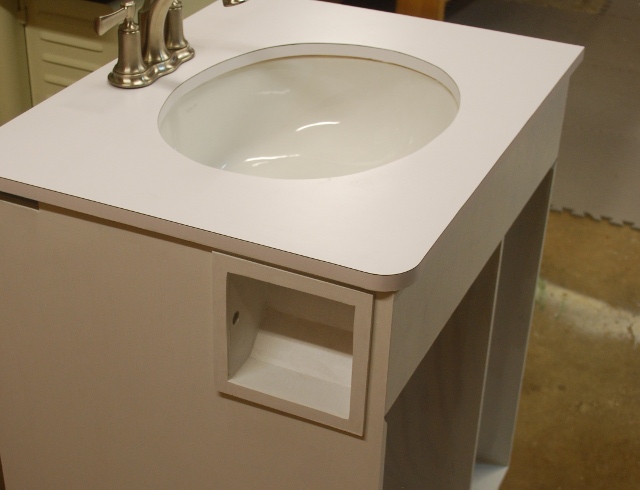
| Heres what it looks like installed. |
|
| Sticks out a long way from the vanity. Note the fake drawer front on the front of the vanity, behind that, and right above the current holder, is where I plan to insert the new holder. |
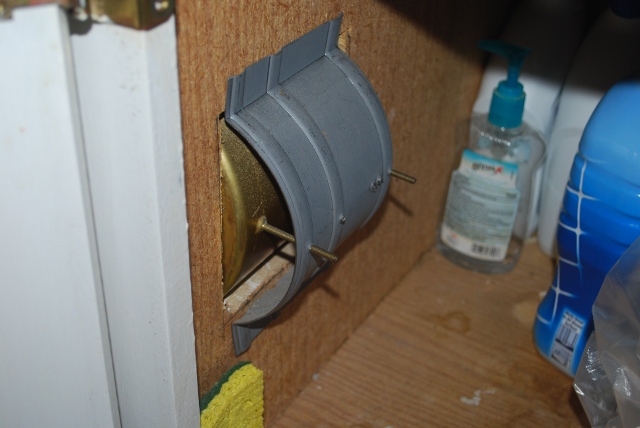
| Sticks into the storage area about 4", hangs on anything you try to store, especially extra toiletpaper rolls in plastic. |