| ||
|
Spigot on a Big Mouth Bubbler
| ||
|
| ||
|
Spigot on a Big Mouth Bubbler
| ||
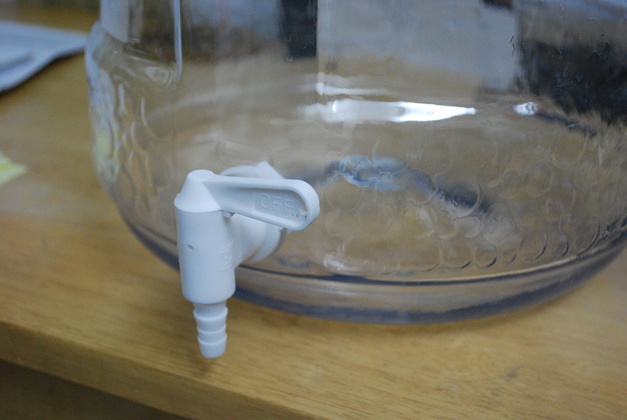
I had been concerned earlier that I would leave a lot of mead in the carboy if I used a spigot. I tilt the carboy up on at an angle when I siphon the mead out anyway, see Racking Block. But, there is always some sediment in the bottom that I want to leave in the carboy so I don't really need to go quite to the bottom when draining. For that reason I have been ordering Big Mouth Bubblers without a spigot, and finally realized what a boon it would be to have spigots on my carbouys. So I ordered one with a spigot, then ordered spigots for the rest of them. When the spigots arrived I had two empty Big Mouth Bubblers and mounted the spigots on them. BTW: These are the "Fermenter's Favorite" spigot for the Bottling Bucket but they work great on a Big Mouth Bubbler.
|
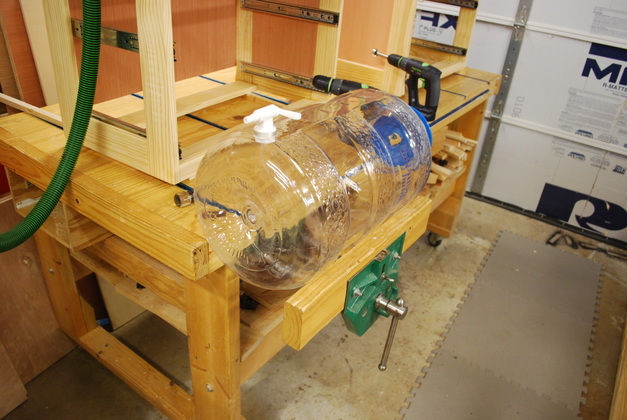
I extended my front vise on my woodworking bench to make a cradle to hold the BMB while I worked. |
|
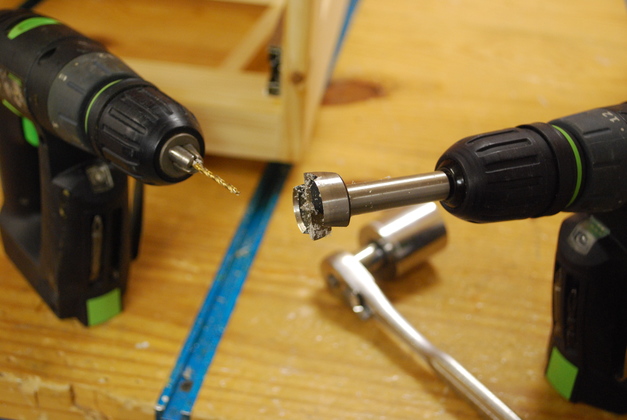
These are the tools I used, drill with a 5/32" bit, drill with a 1" Forstner bit, and a 3/8" rachet with a 30mm socket. |
|
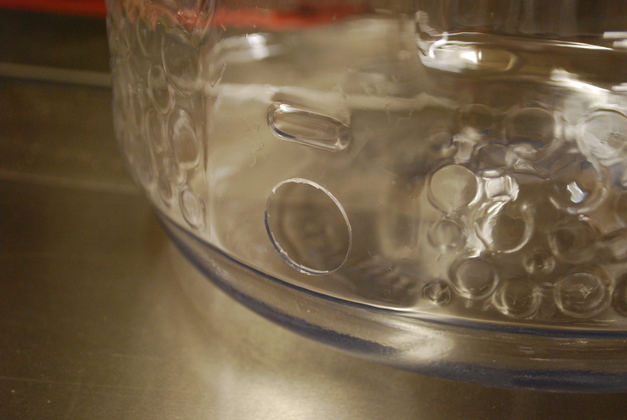
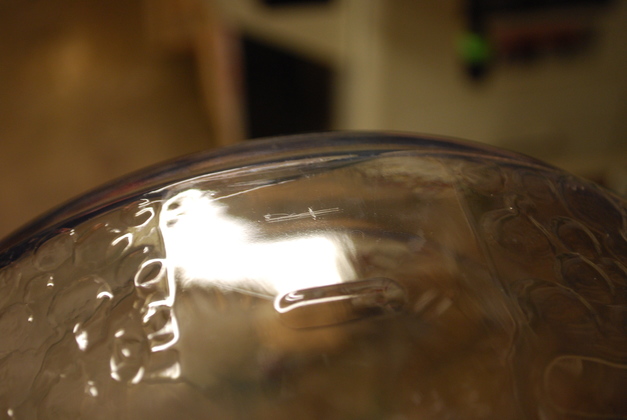
I ordered a BMB with a spigot, it came with the hole drilled and the spigot in the box, but not mounted. You note the hole is on the flat about half way between the 1 gal mark and the bottom. In fact, it is centered 3/4" up from the little ledge at the bottom of the BMB, about 1/2 way between the ledge and the 1 gallon bump. Make sure there is about 1/4" flat surface around the hole to get a good seal. |
|
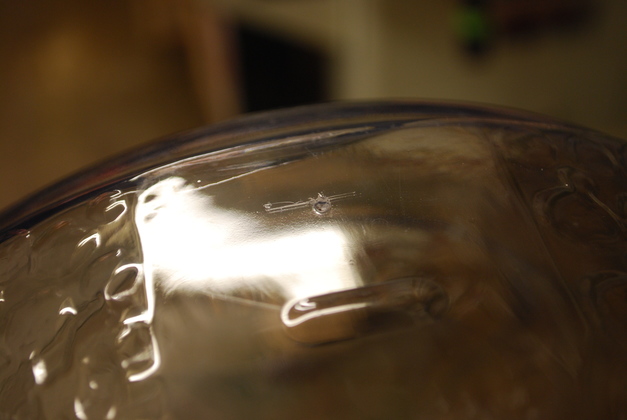
Looking down at the bottom of the flat on the side of the BMB, you can see the 1 gallon bump. You can see where I scratched a horizontal line 3/4" up from the bottom and a center line 1-1/8" from each edge of the flat area. |
|
I drilled a 5/32" pilot hole (I like pilot holes they pilot or direct the larger drill). |
|
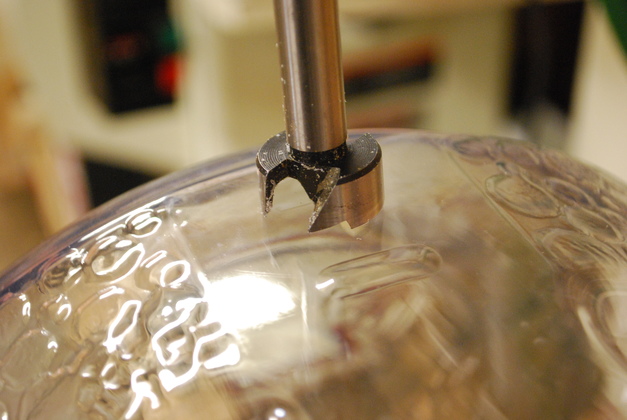
A 1" Forstner bit centered in the pilot hole. Drill slow with very little pressure, we're not in a hurry. |
|
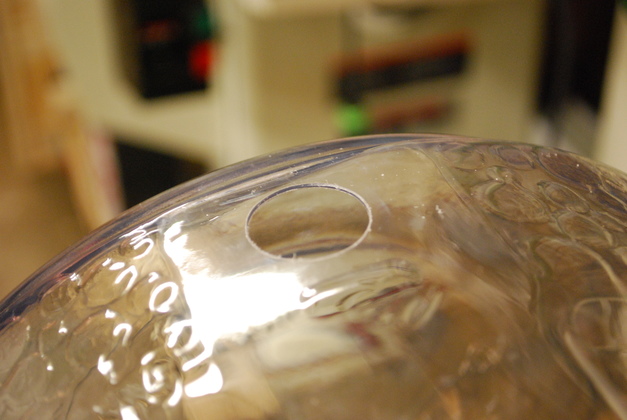
Forstner bits do a nice job, almost no clean up required, I use them a lot when I want a blind hole with a flat bottom or drill from both sides when I want a clean hole. |
|
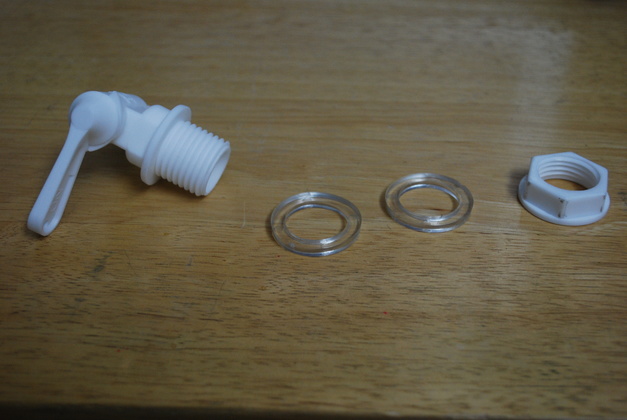
The spigot comes with 4 pieces, the valve, two gaskets and a nut. |
|
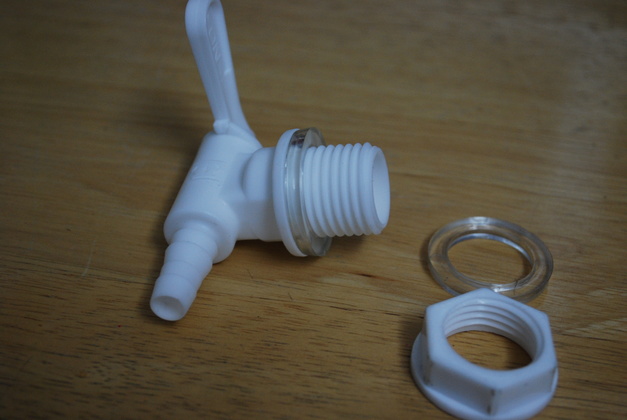
Put one of the gaskets on the valve's shank. |
|
Put the valve's shank through the hole you just drilled, then put the other gasket on the shank followed by the nut and tighten. I used the rachet to get it just a little tighter than I could by hand. You can see both gaskets, one on the outside of the bottle and the other inside. |
|
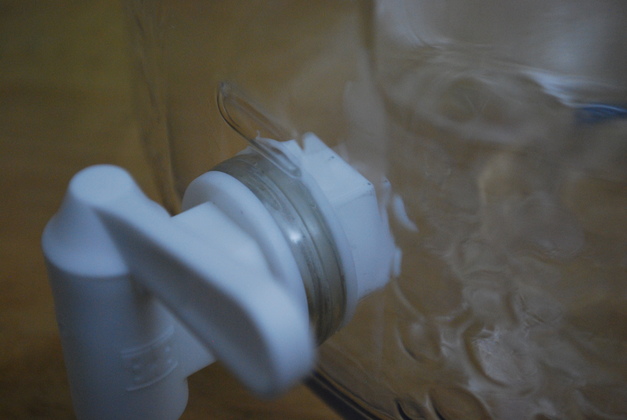
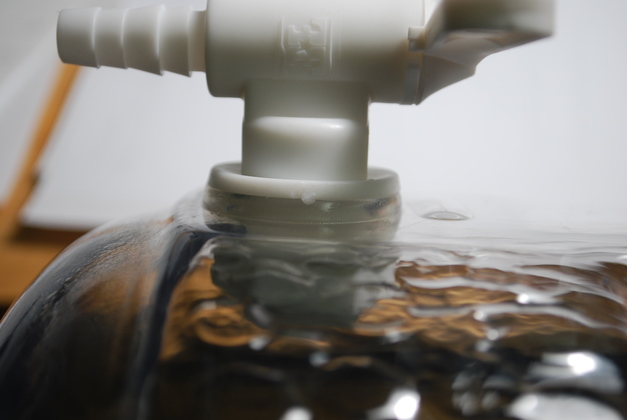
Looking down inside the BMB you can see both the inside and outside gasket and nut. |
|
Here you can see just how much clearance you have above and below the spigot's gasket when it's installed. |
|
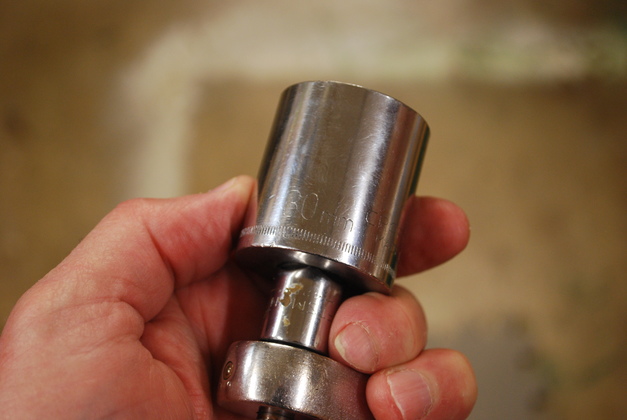
It doesn't show well but that a 30mm socket on a 3/8" to 1/2" adapter and a 3/8" drive ratchet handle. It doesn't take a lot of pressure, but I didn't have another good way to tighten it just a little tighter than I could by hand. |
|
|
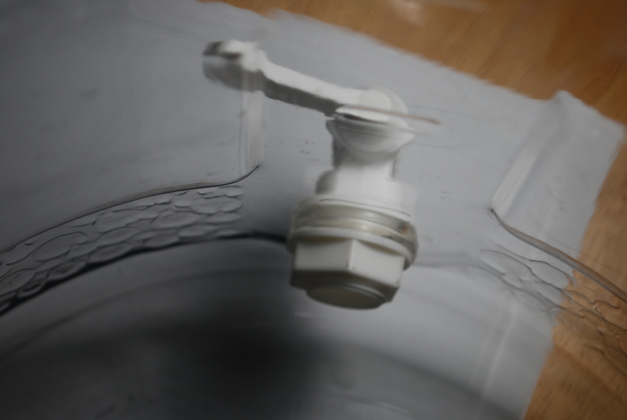
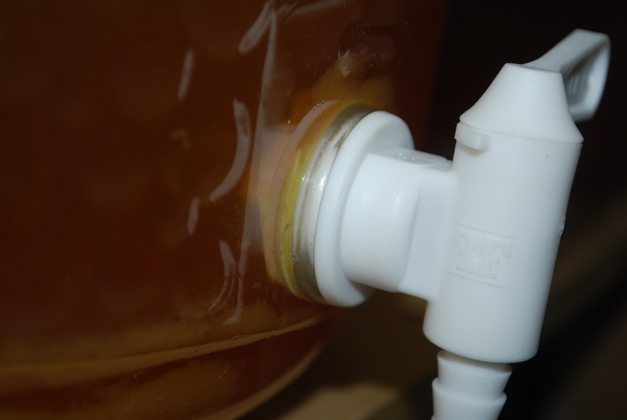
Finished, ready for mead. |
|
This is the first valve I have used, the must is about 1-1/2 months old, you can see the sediment collecting below it. Not a drop has leaked. |