Gunsmithing: Sight Replacement
03/02/13: Page Origin.
Why we like TFOs
We really like the TruGlo TFO sights, so we have replaced the factory sights on each handgun we own except "Old Blue" which TruGlo doesn't support (we got crimson trace laser sights for it).
We started into gun ownership for home defence, but since have started shooting for fun.
The TruGlo TFOs allow you to see your sights at all light levels from dark to bright sunlight.
Normal night sights are a small glowing dot surrounded by a (usually) white circle, you use the dot in the dark and the white circle in daylight.
The problem is that your sight picture is considerably different at night than in daylight, you especially notice it if you carry you firearm from a lighted room into a darkened room while sighting.
With TFO, you can be sighting and walk from a lighted room into a darkened room and the sight picture doesn't change.
Of course you wouldn't fire at anything in pitch dark, but in semidarkness (like from night lights) where you can see an intruder, you must also see you sights.
Another nice thing about TFOs is you can see them but the target can't.
BTW, we like the green TruGlos, you can also get yellow.
TFO stands for Tritium Fiber Optic, each of the 3 sight dots is actually the end of a tube with the top exposed to ambient light (like daylight) and filled with a tritium gas.
The tritium gas is radio active and emits sub atomic particles which activate a phosphor material in the sight that give off light (at a low level).
Don't waste a prefectly good panic, the amount of radioactivity is very low, this type of tritium is used on things like watch dials, etc.
TFO Pics.
Replacing Handgun Sights
So far I use Maryland Gun Works sight pushers to actually remove/install and align the sights.
Sight pushers are better for installing TFOs, if you use a brass punch and hammer you might damage the gas tube in the TFO.
I will attempt to illustrate how I go about replacing the factory sight on my Smith & Wesson M&P 40 with a TruGlo TG131MPT TFO.
Each manufacturer's handguns have something different that pose a challenge to replace their sights:
Glocks have a bolt down front sight, Springfield XD(m)s are very hard to get off.
The S&W M&Ps have a cap under the rear sight that retains the spring and striker capture pin (I think thats what its called).
If youre not careful, when you remove the sight, the spring goes flying.
I have changed sights on Glocks, Springfield XDm, and S&Ws so far.
Go here to see the boresighting setup I use.
I have ordered the TFOs for an M&P 40, and when they arrive, well start making pics.
Sight Replacement Pics.
Why We Like TFOs
|
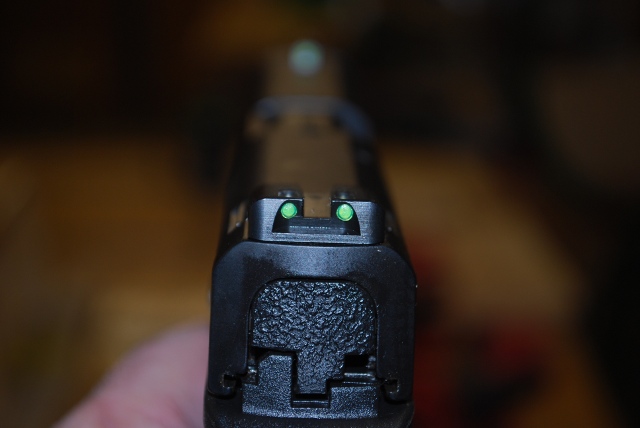
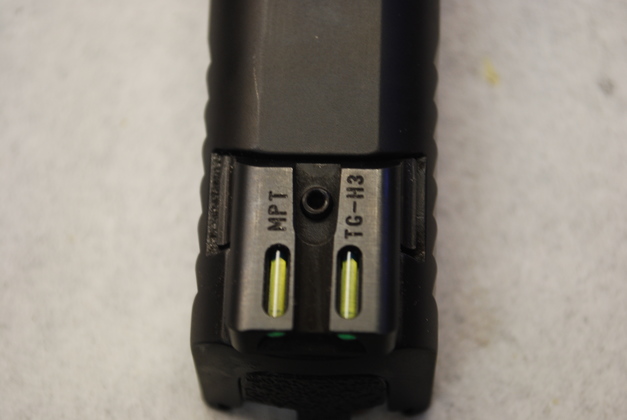
Here are some TFOs at normal room lighting.
|
|
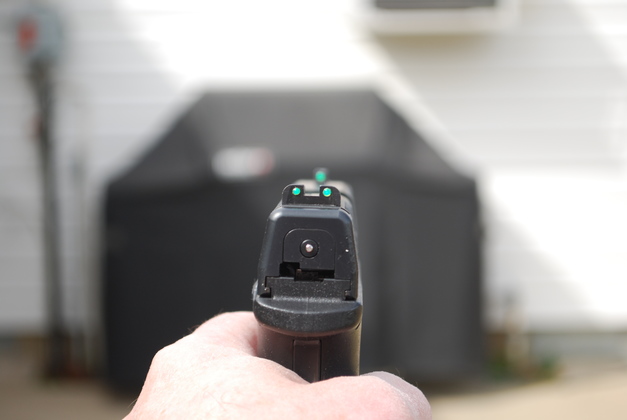
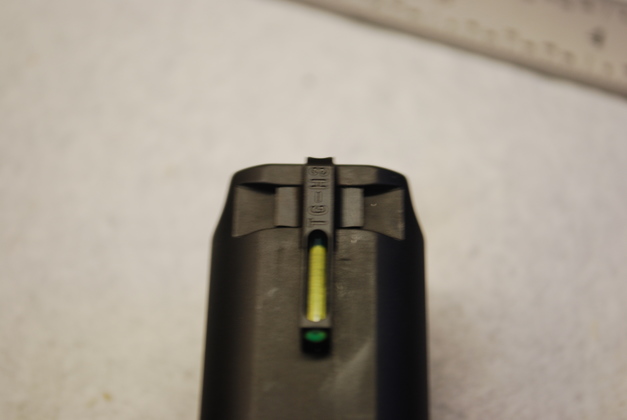
Here in daylight,
|
|
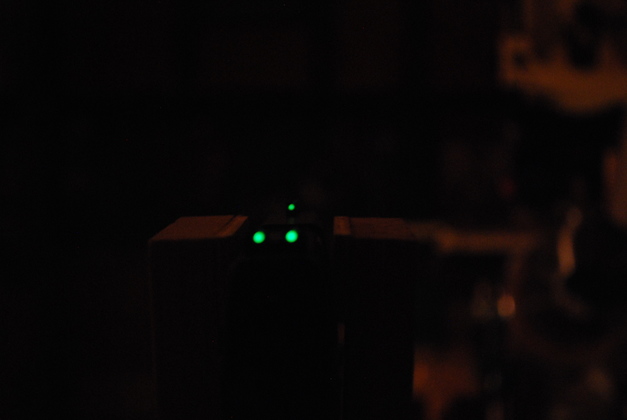
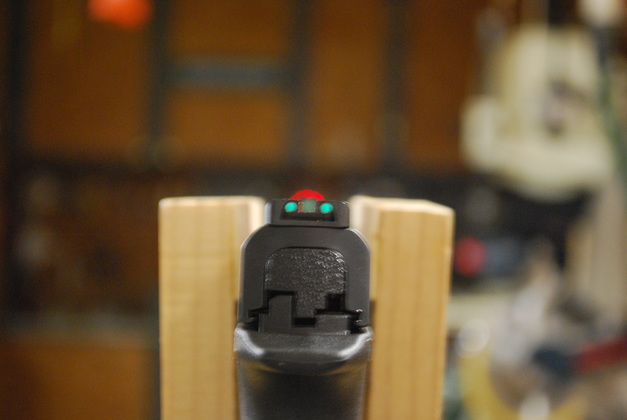
With very low light, a very loooooooooong time exposure, I had to use a tripod.
You'll note the sight picture is the same in all lighting conditions.
This would be normally too dark to fire a weapon, even though you can make out some shapes, you can see the sights just fine.
|
SightReplacement
|
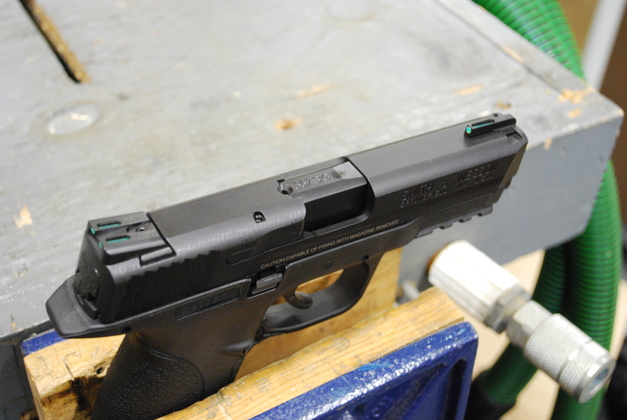
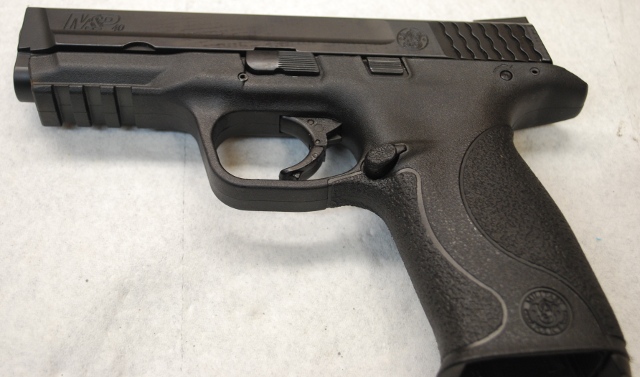
Full sized (4 1/4" bbl) S&W M&P 40 before sight replacement.
I should have shown the sights here!
|
|
I usually use this with the S&W 357Sig barrel, and the .40 S&W magazines.
Just buy the 4-1/4" .40, then the S&W .357 barrel and your ready to go the the range.
|
|
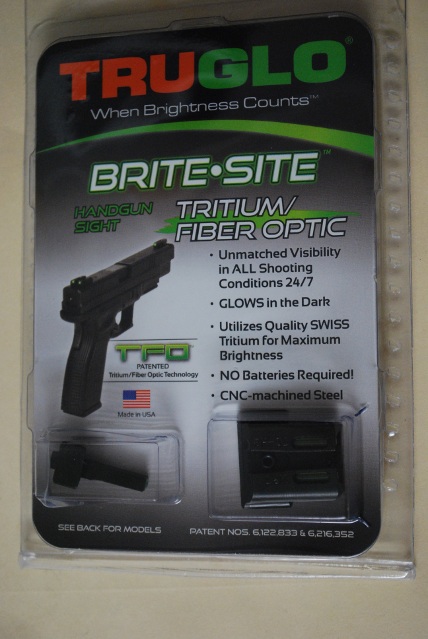
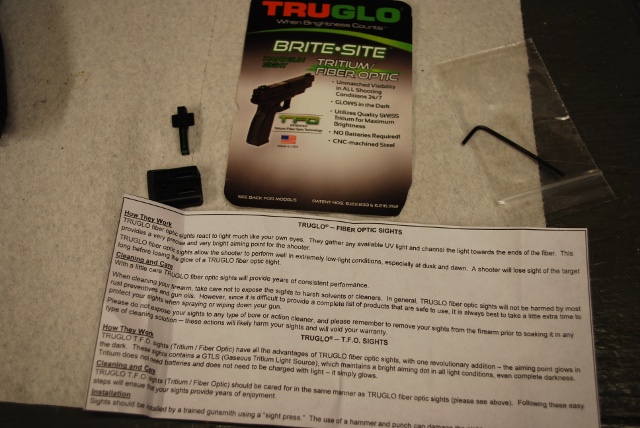
The TruGlo TFO package.
I get most of my TruGlos at BoTachTactical, they're cheaper and have free shipping.
|
|
Heres whats inside.
The actual sights are on the left, above the blurb which explains how they work.
|
|
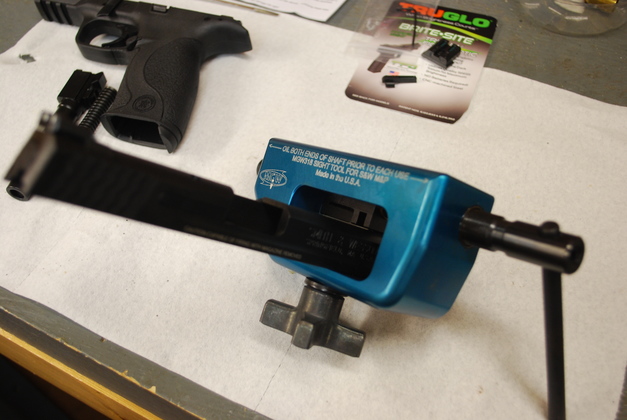
The slide in the sight pusher with the front sight aligned.
This is the Maryland Gun Works Sight Pusher for Smith & Wessons.
It only goes in one way, the sights come off to the left of the slide and go back on in the reverse direction.
|
|
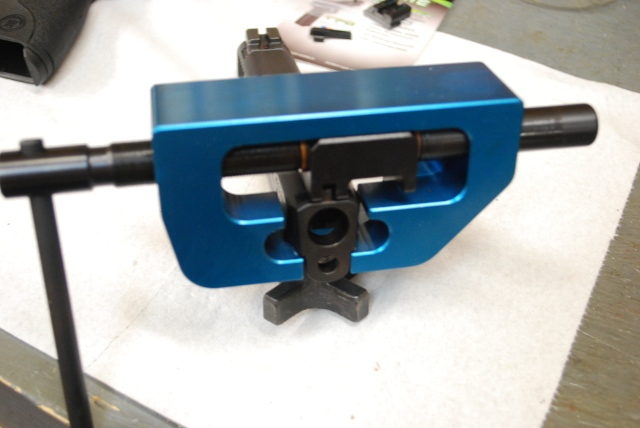
View from the front of the slide, you can see the old front sight lined up with the pusher.
The MGW has separate slots in the pusher block for the front and rear sights.
|
|
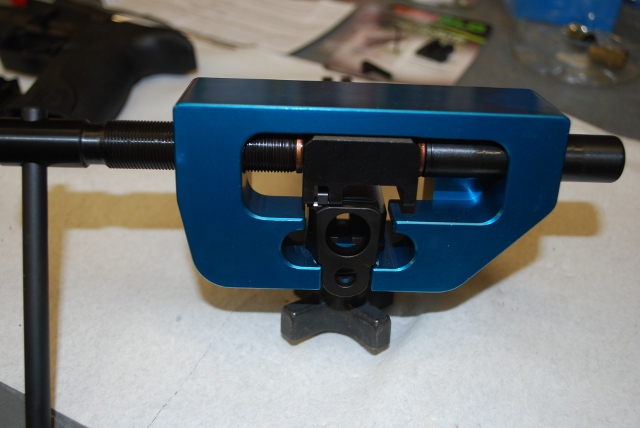
You can see the front sight is just about off, albeit on the incorrect side.
The front sight doesn't make much difference what side you take it off or on, but the back sight sure does.
|
|
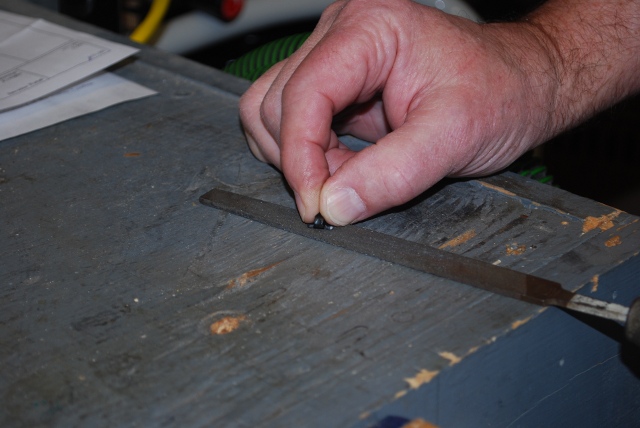
Filing the new front sight.
Note I am holding the bottom of the sight's dovetail flat on a fairly fine file.
|
|
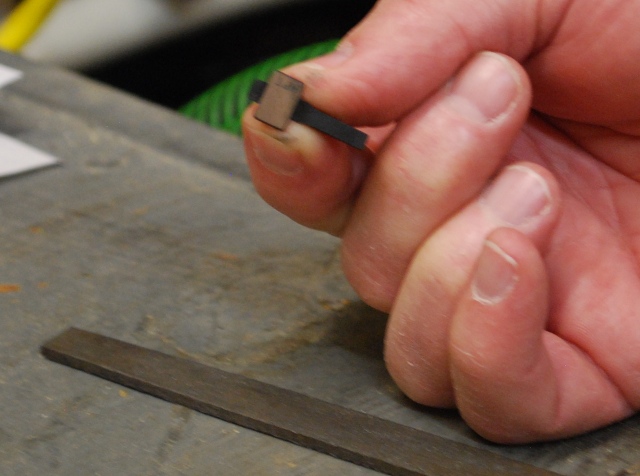
The bottom of the sight's dovetail started out black, but I have removed enough to make it shiny.
This sight is ready to push into the slide's front dovetail.
This take several tries at filing then trying until the sight will slide about half way into the slide's dovetail by hand.
Please look at the rear sight install for more pics of this process.
|

|
First loosen the set screw in the rear sight, before putting it into the pusher.
Removing the factory rear sight with the Maryland Gun Works Sight Pusher.
The MGW pusher for S&W M&P works on both full size and compact M&Ps.
You can see the original white dots are about the same size as the TruGlo dots.
You have to stop about here to remove the cap and spring under the sight.
|

|
Here is the slide pulled out so I can see the spring and cap.
You can remove it easily with a pair of small sharp nose pliers.
Remember each manufacturer is different, I have done numerous XDms, M&Ps, and one Glock, you only have to contend with this spring on S&W pistols as far as I have seen.
|

|
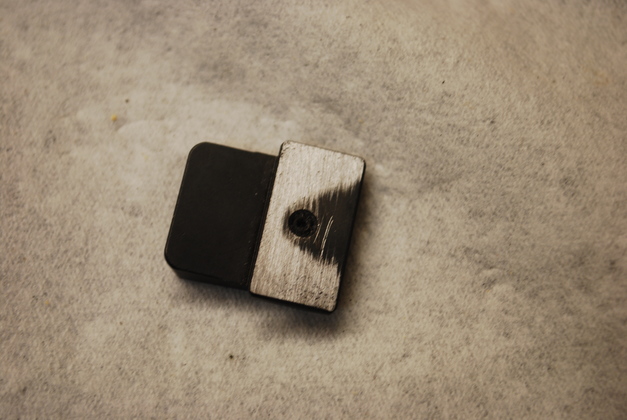
The spring after removal.
I moved the rear sight over about half way, then took the slide out of the pusher so I could get this out without the spring flying off.
Surprise, S&W changed it, now the cap is attached to the spring, making this a little simpler.
|
|
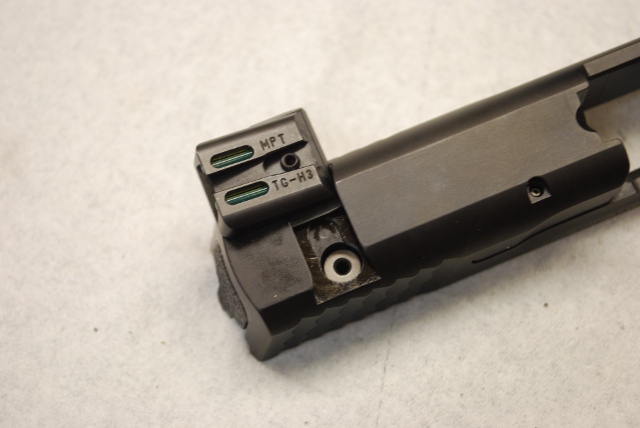
Slide with rear sight and cap & spring removed, showing top of striker capture pin (what I call it).
|
|
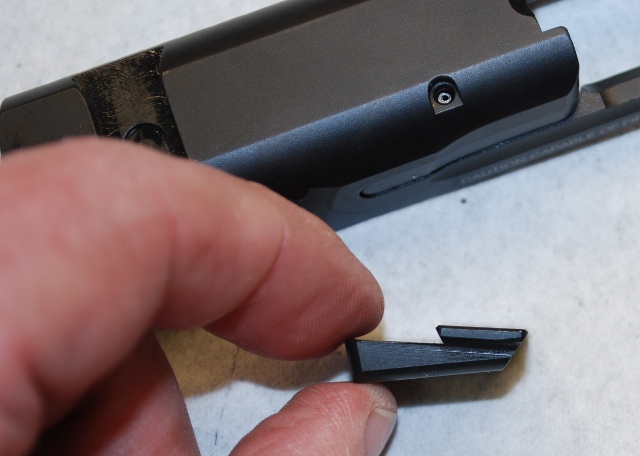
Note dove tail on bottom of new rear sight.
|
|
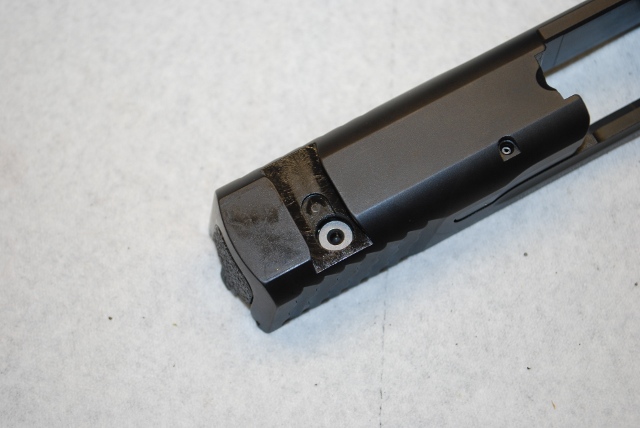
The new sight just starts into the dovetail by hand.
Note the mark left by the original sight set screw, its in the center.
We need to file it so you can move it about half of the sight in, by hand, before we start using the pusher.
|

|
Rear sight being filed, don't forget to be sure the set screw is backed off, you don't want to file it.
Hold the file on a flat surface, hold the sight down against it and move the sight, filing the bottom of the dovetail.
This keeps the bottom of the dovetail flat as you slowly remove metal (it doesn't take much).
Several trial fits then file sessions are the way to go here, go slow and don't over file.
|
|
The bottom of the sight's dovetail comes from the factory black (anodized I think).
Here you can see I am starting to remove a little metal.
|

|
Trial fit, notice the sight is slightly closer to the center.
|
|
The rear sight has been filed enough to move about half way in by hand.
|

|
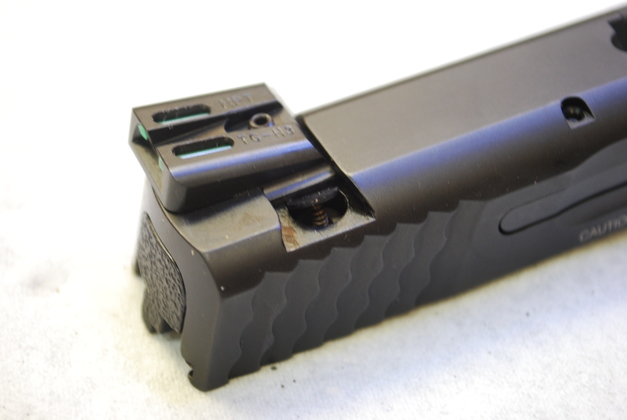
After I start pushing the sight on far enough to just hold the cap down, I put the spring and cap in.
Be careful, you don't want to kink the spring.
|
|
From the side showing spring with cap at an angle.
|
|
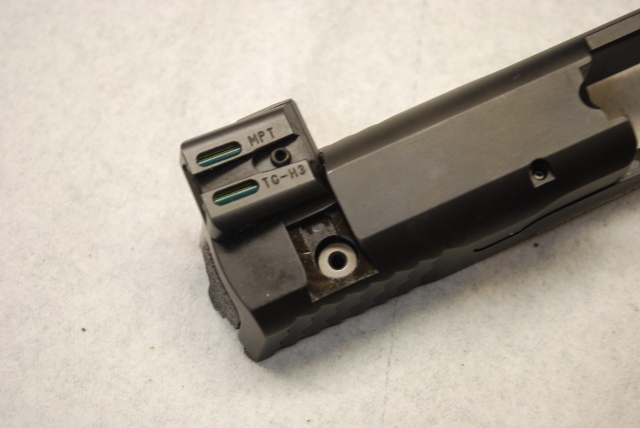
New rear sight from the top.
|
|
New front sight from the top of the slide.
Again I just measure the gap in the dovetail to get a starting place for sighting.
Centering is normally the place to be, but you will ocassionally need to adjust it after you check.
|
|
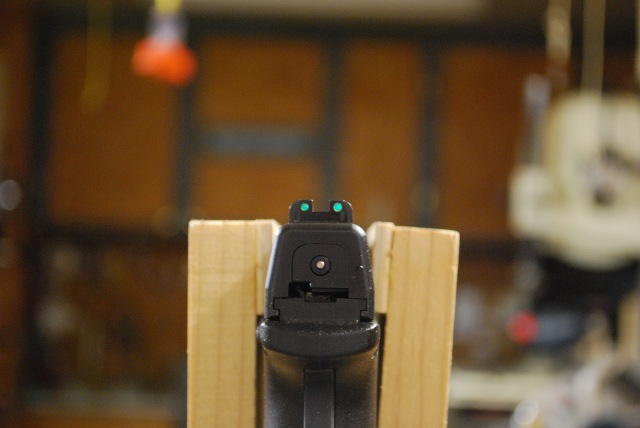
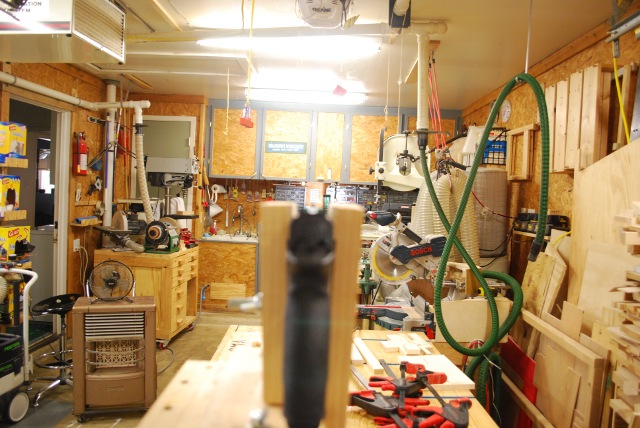
Here is my boresight setup looking down the sights at the target, about 18Ft. away, at the other end of the garage.
|

|
I turned out the shop lights at the other end, the target is still illuminated with a small clamp on lamp and CFL.
|
|
In this pic you can see a red halo caused by the laser dot on the highly reflective target.
I turned out the clamp on lamp's CFL.
|
Go here to see the boresighting setup I use.