GPartd
From: https://www.linuxcapable.com/how-to-install-gparted-on-ubuntu
-linux/
Install GParted on Ubuntu via APT or PPA
Update Your Ubuntu System Before GParted Installation
Before installing GParted, ensuring that your Ubuntu system is up-to-date is
essential. This practice helps maintain system stability and ensures you have
the latest security patches and software updates. To update your Ubuntu system,
open a terminal and run the following command:
sudo apt update && sudo apt upgrade
This command will first update the package list (sudo apt update) and then
upgrade all installed packages to their latest versions (sudo apt upgrade).
Install GParted on Ubuntu via APT Commands
Method 1: Install GParted with Ubuntu’s Repository
Ubuntu includes GParted in its default repository, eliminating the need to
download or install third-party repositories. To install GParted using
Ubuntu’s repository, run the following command:
sudo apt install gparted
This command will install GParted and all its necessary dependencies on your
Ubuntu system.
Method 2: Install GParted with PPA on Ubuntu
If you prefer a newer version of GParted, you can install it from the
“xtradeb packaging” team’s PPA. First, import the PPA with the
following command:
sudo add-apt-repository ppa:xtradeb/apps -y
This command adds the “xtradeb packaging” team’s PPA to your system.
Next, update your APT package list to include the new repository:
sudo apt update
Lastly, install GParted from the newly added PPA with the following command:
sudo apt install gparted
Launching GParted on Ubuntu via CLI or GUI
This section will guide you through different methods of launching GParted
once installed on your Ubuntu system. GParted can be started through the
terminal or the graphical user interface (GUI).
CLI Command to Launch GParted
One method to launch GParted’s graphical interface is by using the
terminal. This approach is constructive for users more comfortable working
with command-line tools. To launch GParted from the terminal, enter the
following command:
gparted
GParted’s graphical interface will appear upon executing this command,
allowing you to manage and modify your disk partitions.
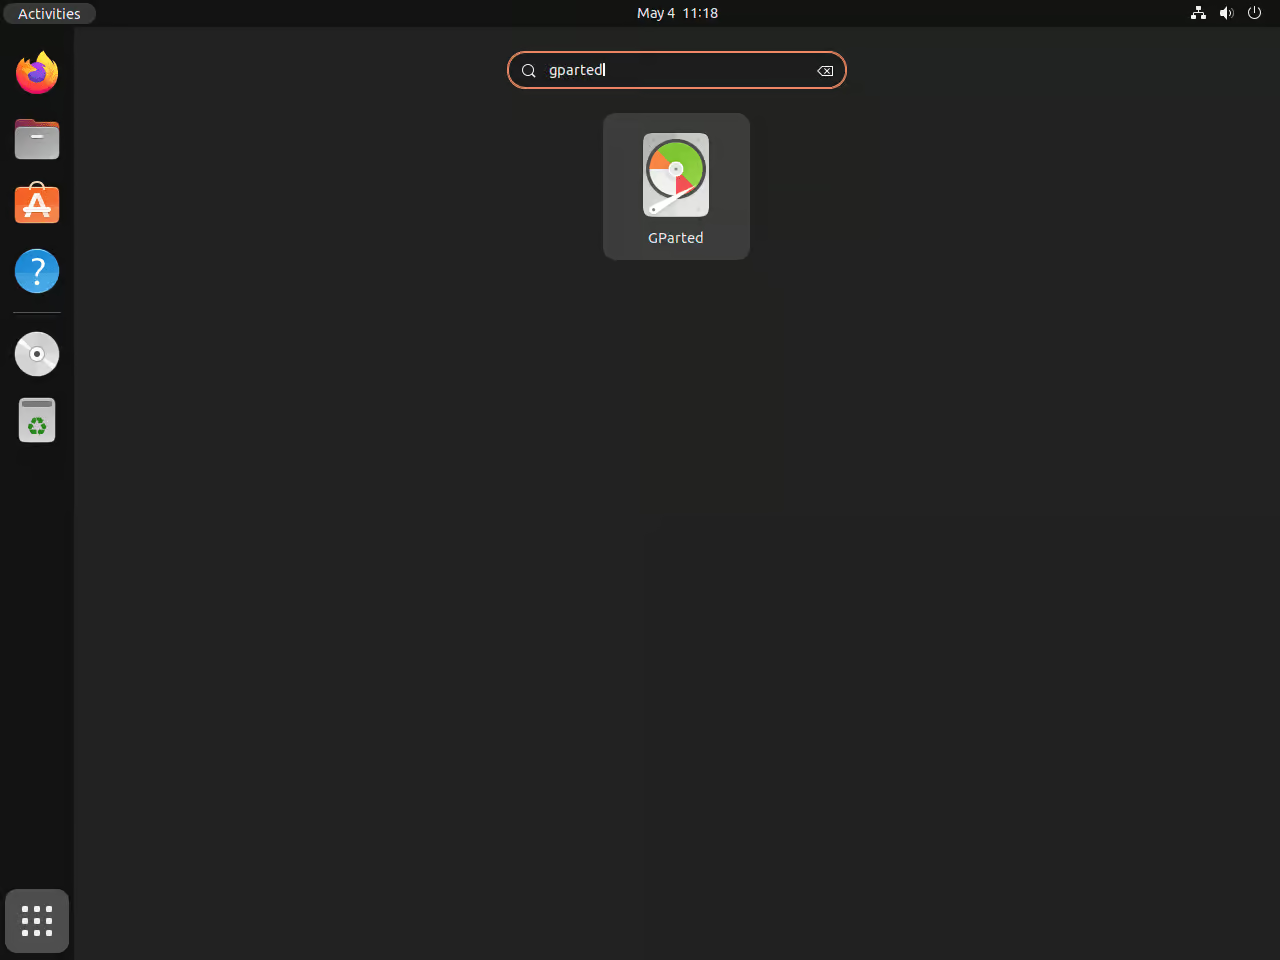
GUI Method to Launch GParted
For those who prefer the graphical interface, GParted can be launched by
locating its application icon in the Ubuntu desktop environment. To find the
GParted application, follow these steps:
- Click on the Activities button in the top-left corner of your screen.
- Select Show Applications at the bottom of the Activities menu.
- In the search bar, type “GParted” and press Enter.
- Click on the GParted icon to launch the application.
 Launching GParted from the Ubuntu application menu on versions 24.04, 22.04
, or 20.04.
Launching GParted from the Ubuntu application menu on versions 24.04, 22.04
, or 20.04.
First-Time Tips with GParted on Ubuntu
Now that you have successfully installed GParted on Ubuntu, here are some
first-time tips on getting started with the software:
Understanding GParted’s Interface
GParted’s interface might seem daunting at first, but it’s designed with
user-friendliness in mind. Here are key points to help you navigate and
utilize its features effectively:
- Device Selection: At the top-right corner, you’ll find the device
selection dropdown. Ensure you’re working on the correct disk before
making any changes.
- Partition List: The main window lists all partitions. Familiarize yourself
with their sizes, file systems, and mount points.
- Capacity Indicators: Colored bars represent partition usage. This visual
aid helps in assessing available space at a glance.
- Right-Click Menu: Access most of GParted’s functionalities by right-clicking
on a partition. This context menu is your gateway to modifying partitions.
Safety and Precautions
Working with disk partitions carries inherent risks, especially for new
users. To mitigate potential issues, consider these safety tips:
- Backup Important Data: Before making any changes, ensure you have backups
of important files. GParted is powerful, but partition editing can lead to
data loss if not handled carefully.
- Check Disk Health: Use tools like gnome-disks or smartctl to assess the
health of your disks. Address any issues before partitioning to avoid
complications.
- Unmount Partitions: Ensure partitions are unmounted before modifying them.
This can be done through GParted or the command line with
sudo umount /dev/sdXN
replacing sdXN with your partition identifier.
- Apply Changes Wisely: GParted allows queuing changes before applying them.
Review your queued actions to ensure they’re exactly as intended.
Optimizing Partition Layout
A well-organized partition layout is key to efficient storage management.
Here are suggestions to optimize your partitions with GParted:
- Consider Separate Home Partition: Creating a separate partition for your
/home directory can make future reinstalls or distro hopping easier without
losing personal data.
- Leave Space for Expansion: When partitioning a drive, leave some unallocated
space. This allows flexibility for future partition resizing or the creation of
new partitions.
- Alignment for SSDs: Ensure partitions are aligned properly to optimize the
performance of SSDs. GParted automatically aligns partitions, but it’s good to
be aware.
- Label Partitions: Use labels to easily identify partitions. This is
particularly useful if you manage multiple drives or have a dual-boot setup.
Advanced Features and Customizations
GParted is not just about creating and deleting partitions. Explore these
advanced features to get the most out of it:
- File System Support: Familiarize yourself with the file systems supported
by GParted, including ext4, NTFS (for Windows compatibility), and FAT32 (for
cross-platform compatibility).
- Partition Flags: Set partition flags like boot or esp for EFI system
partitions. These flags are crucial for proper boot management.
- Check and Repair: Utilize GParted’s ability to check and repair file
systems. This can be a lifesaver for troubleshooting disk issues.
- Advanced Format Settings: When creating or formatting partitions, you can
specify the file system type, size, and label. Make use of these options to
customize partitions according to your needs.
Following these tips, you’ll be better equipped to manage your disks with
GParted on Ubuntu, ensuring a smoother and more efficient experience.
Remember, patience and careful planning are key when working with disk
partitions.
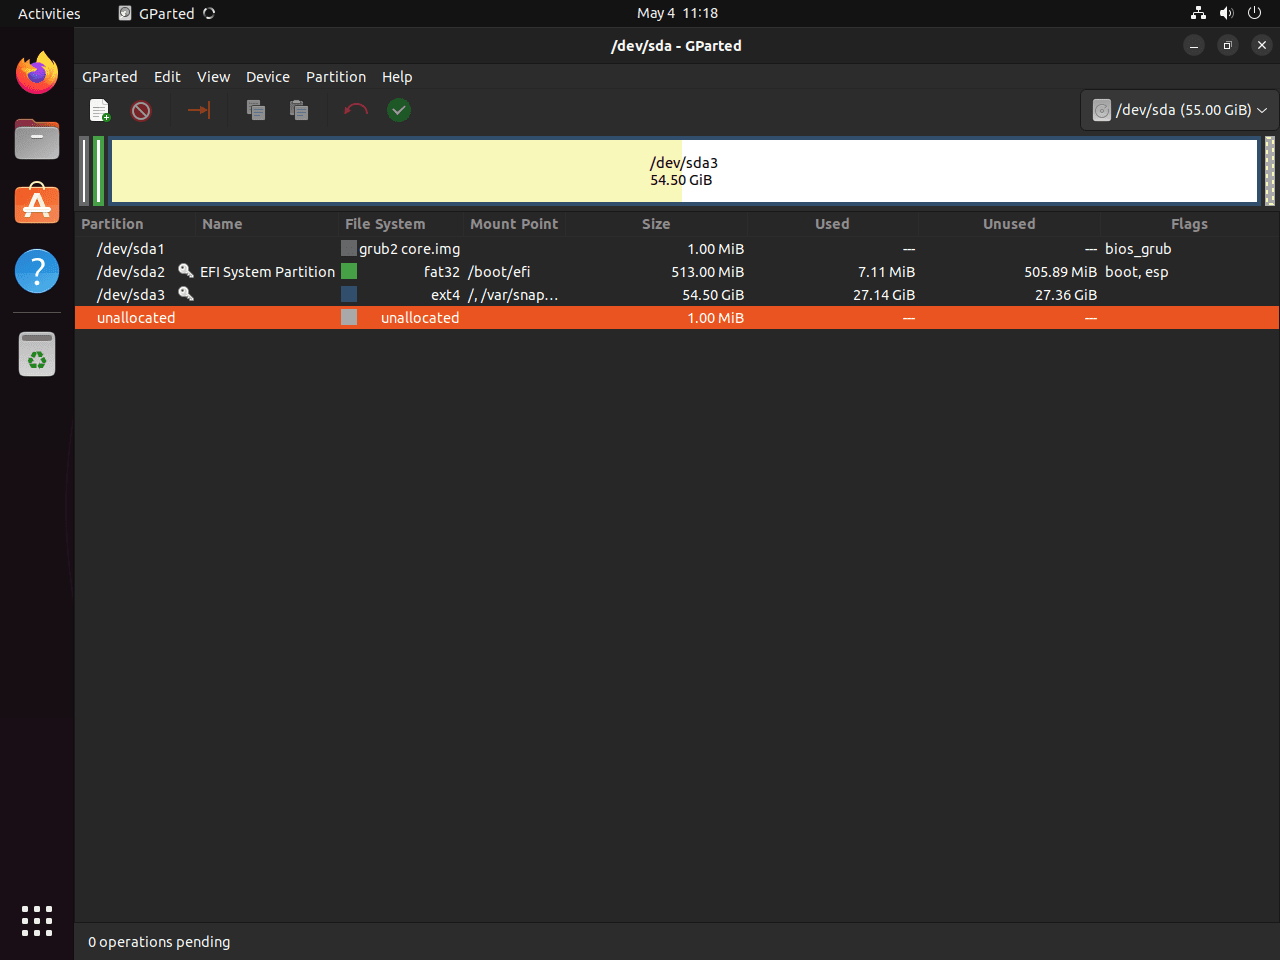 First look at GParted running on Ubuntu 24.04, 22.04, or 20.04 after
successful installation.
PinFirst-time launch of GParted on Ubuntu showcasing a successful setup.
First look at GParted running on Ubuntu 24.04, 22.04, or 20.04 after
successful installation.
PinFirst-time launch of GParted on Ubuntu showcasing a successful setup.
Additional Commands with GParted on Ubuntu
Remove GParted
There may come a time when you no longer need GParted on your Ubuntu Linux
system. In such cases, you can easily uninstall the software and remove all
associated data.
To altogether remove GParted and all data associated with it, enter the
following command in the terminal:
sudo apt remove gparted
This command will prompt you to enter your password, and after doing so, it
will proceed to uninstall GParted from your system.
Closing Thought
In this guide, we’ve walked through the steps to install GParted on
Ubuntu, showcasing two methods: using the APT Package Manager for the
default repository version and opting for the XtradDeb Applications
LaunchPAD PPA for those seeking the latest release. We’ve also delved into
first-time tips for navigating GParted’s interface, emphasizing safety,
optimizing your partition layout, and exploring advanced features to enhance
your disk management experience. As a final recommendation, always remember
to back up your data before making any changes and take your time to
familiarize yourself with the tool’s capabilities. GParted is a powerful
ally in managing your disk space efficiently, and with a bit of practice,
you’ll be mastering your storage needs in no time.
iostat: https://www.linuxcapable.com/how-to-install-iostat-on-ubuntu
-linux/